Hex Pegboard Adjustable Display Stand Stackable


Print Profile(2)

Description
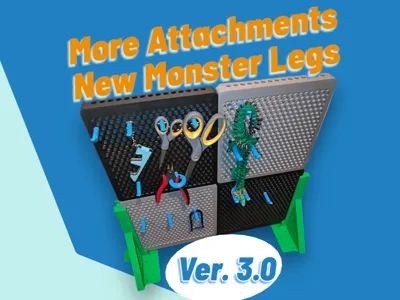
Version 3
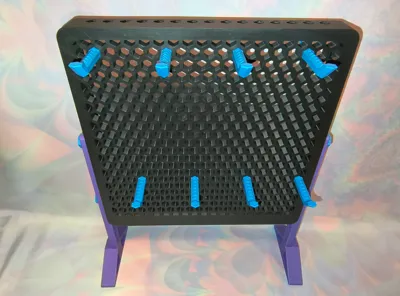
Added Monster Legs for maximum stability especially when adding 3,4, or more hexboards together.
New legs have holes so you can screw down the display/rack if you wish.
New legs also have large areas to be clamped down if need be. Great if the wind is kicking up.
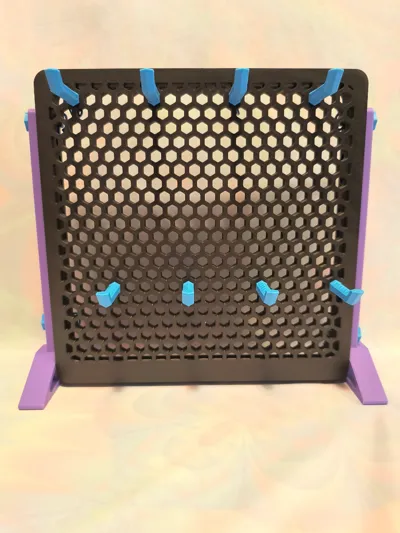
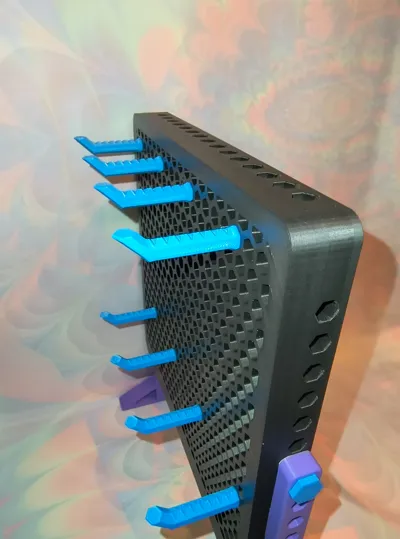
Added 3 new hex style pegs. One round and 2 fork versions.
Added a support block for middle of hexboards for extra weight support.
I will be adding more as time goes on. Maybe side supports If people would like more stability for the third tier high and more attachments.
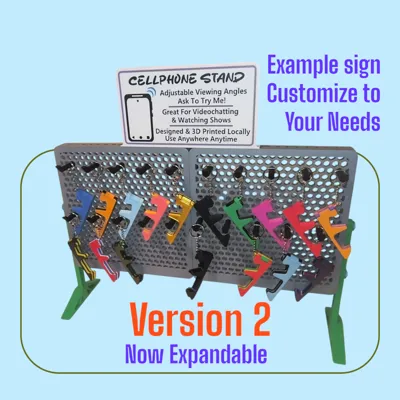
Version 2
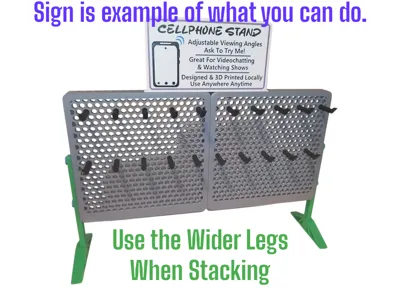
I have added larger legs for more stability and to handle adding more hexboards together. You can now add the expansion hexboard to the original piece. I recommend using 3-4 larger pegs to keep it secure.
Original Release
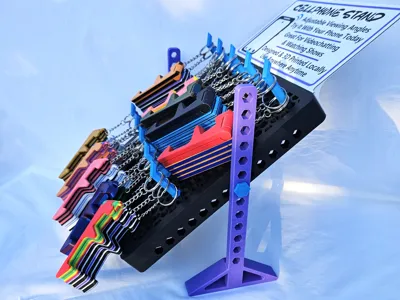
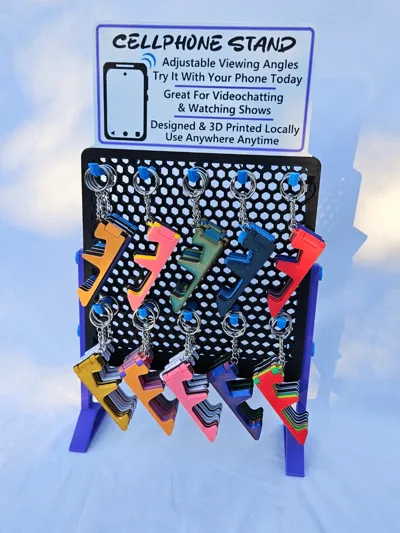
I created this model for a business that needed some thin cool displays. It was originally designed to have adjustable height with a small footprint. It can hold about 3 items on each peg before getting a little front heavy (with the smaller legs). Now it can hold much more with the larger legs. There are now 2 sets of legs to choose from. You could also glue it down or use double sided tape if you want. Or put it in tilt mode haha.
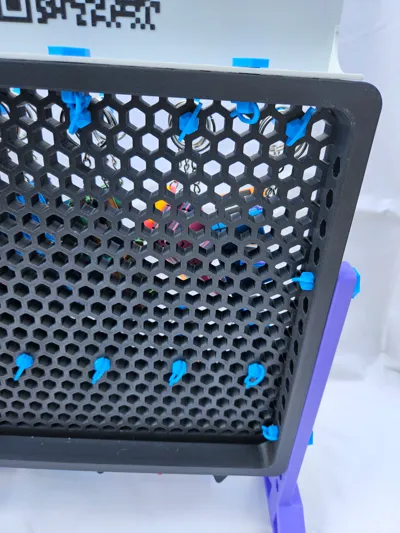
The sign is blank so you can customize it to your needs. Or use the Makerworld's sign maker with my sign dimensions in mind and merge it to mine. Or you don't need to use it. You can also just tape paper signage to it. I added text and a qr code to the back of mine. One tip if you do that, add a dark layer in the middle of the sign. this makes it so light doesn't affect the text showing through to the other side. (It makes it hard to read otherwise)
I may make other attachments in the future or at request if I think others will like it. I haven't tested it yet, but I believe you could stack 2 hexboards. When I make the wider legs, I will test this out.
Please Read:
(update) I found some filaments had issues with printing certain shapes… like the pegs and pins. The solution was to run the flow dynamics calibration on pattern mode. After I made the adjustment, everything came out much better
Before ramming the pegs in, test the fit as it could be difficult for some to get out. Due to different printers and variables, there may be a little sanding/filing on the back of the pegs or cotters (recommend around 100grit). This should mostly be for the pegs that items will hang on. I wanted these to be tight. They are so tight that you may not want to use the cotter pins. I just wanted them to be secured in or if you over sand. There is a quicker option if your pegs don't fit… on a couple I used a small torch. Waving it up and down on the back of the peg as rotate the peg in my hand. Usually 2 passes. I let it cool a few seconds and gently insert it straight into the hexboard. If you don't feel comfortable doing this, just sand it.
I highly recommend cleaning your plate for printing the pegboard piece especially. Using Dawn dish soap or a strong detergent soap equivalent, hot water, and a sponge. While only touching the plate edges dry the plate with a clean rag. I never use alcohol anymore and get many more uses between washes. I also recommend using glue. Either of the Bambu's' glues, stick glue, or hairspray that you know will work. I find large pieces can lift off the plate while printing due to cooling. These steps will give you a better end product.
Feel free to check out some of my other designs. Orangehead | Published - MakerWorld
Boost Me (for free)
I really appreciate your support. Giving a Boost helps me to keep making models. If you can't boost a like is also appreciated. Thank you.
I didn't design this with other makers models in mind, so I doubt it would be compatible. But you can check with the measure tool.
I'm not sure if the x1c/p1p can print without scaling because of the exclusion zone, I know some people can increase their bed size, so I included those models. I can't print and test it as I don't have those machines. If someone does this, please let me know if it works out and the scale you use thanks. If the cotter pins get too small you may be able to use a paperclip or something similar.
Ideas or constructive criticism is welcomed feel free to message me. If you made it this far thanks for your time and I hope you find the model useful.
License
You shall not share, sub-license, sell, rent, host, transfer, or distribute in any way the digital or 3D printed versions of this object, nor any other derivative work of this object in its digital or physical format (including - but not limited to - remixes of this object, and hosting on other digital platforms). The objects may not be used without permission in any way whatsoever in which you charge money, or collect fees.
Comment & Rating (14)