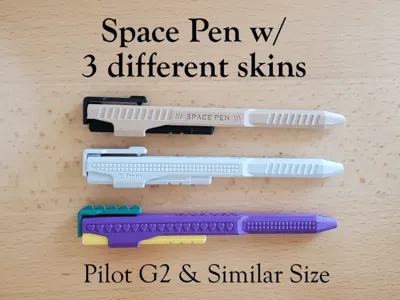
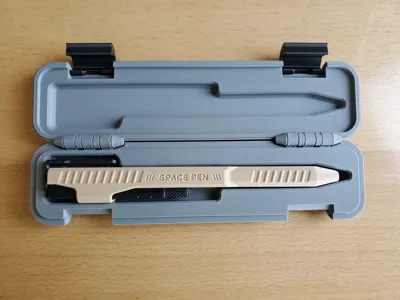
Space Pen


Print Profile(5)


Description
06/23 : Just added another skin style, Row of Hearts and different clip. (5th profile.) Mix and match all.

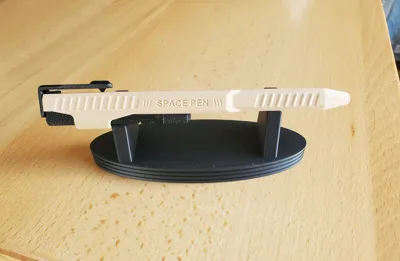
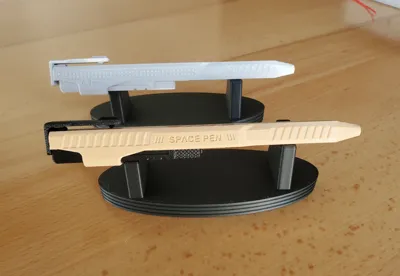
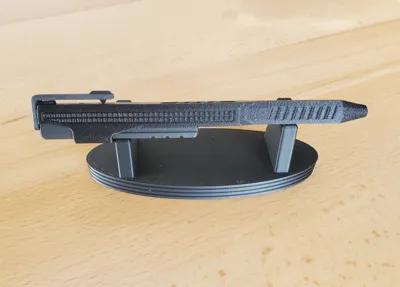
06/18 : Just added a version with a Dot pattern along the sides and a desk stand.

Thank you for checking this out! If you like the design, please give it a “Thumbs up.”!
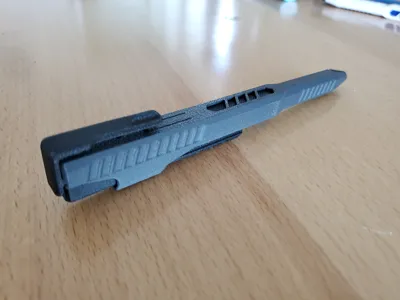
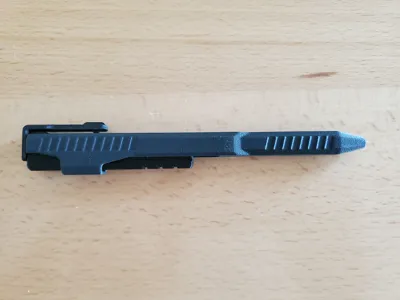
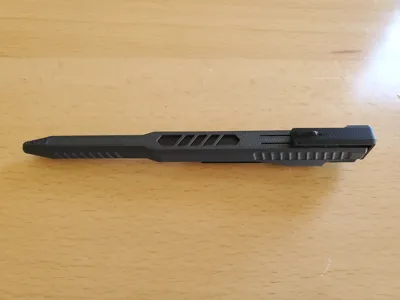
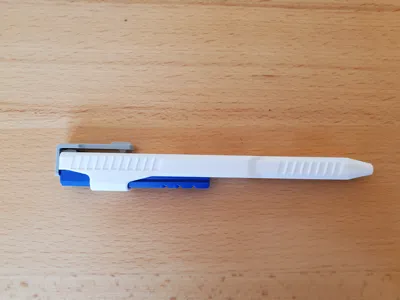
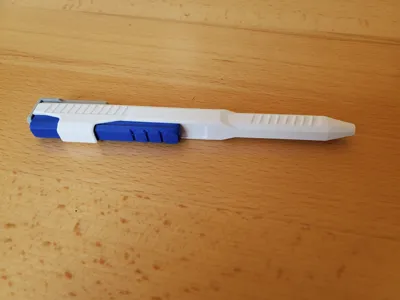
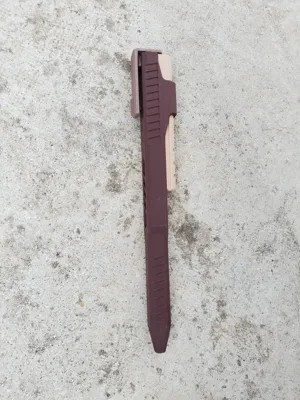
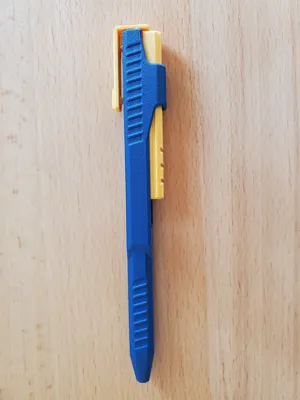
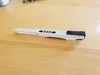
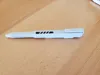
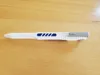
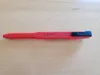
Here is a Pen that slides to engage and uses the clip to disengage. Made from only 4 or 5 printed parts and an ink-core from popular pens.
This is the latest pen with the most up-to-date mods. New features and mods:
- More clearance between the slides, so PLA slides smoother.
- Optimized wall thicknesses to make it thinner, and print more evenly.
- Added thumb rest to allow for quick engagement and release. Easy to fidget this pen.
- Optimized the location and shape of the Lever-Springs. Makes the engagement a bit more secure.
- Tighter Clip assembly to make solid and robust.
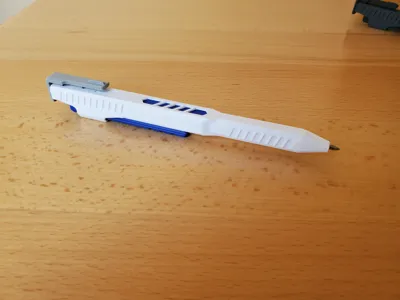
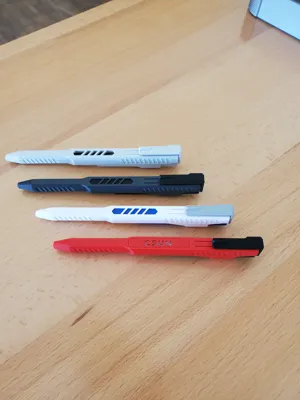
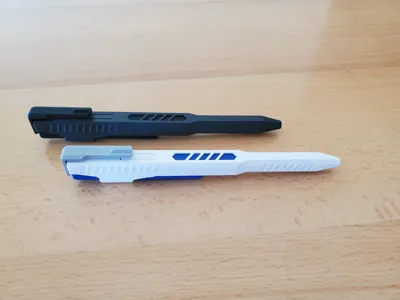
3 versions: (you can mix and match the Different Upper & Lower slides.)
1. Pen with only 4 printed parts. It features a deeper style cut graphics that expose the ink-core.

2. Pen that uses 5 parts for a little more color. It features a color-plate that slides under the graphics to expose color.

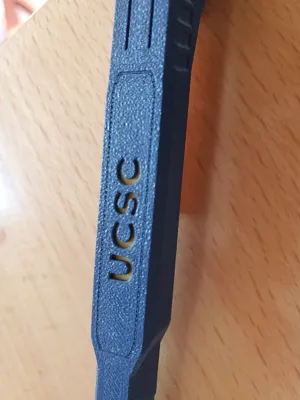
3. Pen that uses 5 parts for a little more color. It features a color-plate that slides under the Text to expose color.
Choose your text wisely. Any text with an island, for example “O A B,” will not have a connection to the island and Upper-slide.

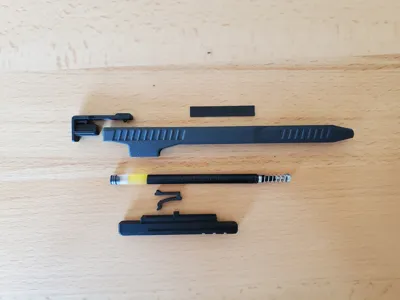
Parts needed: Printed parts, 1 ink-core, and 1 spring from these pens.
- Pilot G2 pen. (Best)
- Mr. Pen
- Amazon Basics Gel Pens, retractable
- Pentel EnerGel
- Sharpie S-Gel
Print Settings: (already set in the profiles.)
- Super important that these long slender parts print flat, and that they don't come off the plate while printing. I used Bambu liquid glue on my older plates, otherwise the Lower-Slide would peel from the plate and not slide well.
- 0.16 Layer height, 2 walls, 10% gyroid infill.
- Normal (manual) support (There is just a little bit for the pen tip.)
- Filaments tested Successfully: PLA basic & Matte, ABS or ABS GF, Petg HF & CF. (PETg prints best)
After Printing:
Remove the support and brim material: (use a tool or strong fingernail.)


Assembly:
1. SUPER IMPORTANT STEP (especially with PLA MATTE and CF)! Insert the Lower-slide into the Upper-slide. Vigorously slide them back and forth until they slide smoothly. Then separated both parts, and blow on the rails to remove small particles. Set the Upper aside.


2. Insert the Lever-spring into the groove of the Lower-slide. Use a hard surface (table) to press the Lever-spring all the way down into the groove. (Do not try to use your thumb, or you may get pinched. It hurts trust me.)


Should look like this, seated and level.

3. (Skip this step for the Deep Cut Graphics.) Insert the color plate into the Upper-Slide. Please review the pics below to see how it goes into place.


Press the color plate down with something until it clicks behind the circled tabs.


4. Insert the ink-core and spring into the Upper-slide.

5. Insert the Lower-slide into the Upper-slide, until it clicks in.


5. Test the pen mechanism a few times. Move the Lower-slide to the left till it clicks, then push down where you see the arrow below. Disassembly instruction further below.

6. Press on the clip. (Not easy to disassemble, so be sure it works before pressing on the clip.) You’re done. Please share your pictures, comments and ratings.


Disassembly: (different pen, but same procedure.)
1. Use your thumb or the edge of a table to push the clip out.

2. Disengage the pen by pressing on the red arrow. Push something into the hole, and Slide the Lower-Slide out at the same time.


3. The ink-core and spring should then slide out when tilted.
----------------Links to other designs------------------------------------------------
Link to case. Space Case.
Link to a collection of stationary.

Boost Me (for free)
If you like the design, send a Boost or give a THUMBS UP! Thank you!
Membership
If you are interested in selling this item, here is a link to the commercial licensing. Thank you!
License
You shall not share, sub-license, sell, rent, host, transfer, or distribute in any way the digital or 3D printed versions of this object, nor any other derivative work of this object in its digital or physical format (including - but not limited to - remixes of this object, and hosting on other digital platforms). The objects may not be used without permission in any way whatsoever in which you charge money, or collect fees.
Comment & Rating (25)