Stryfe Muzzle BCAR


Print Profile(1)
Description
Description:
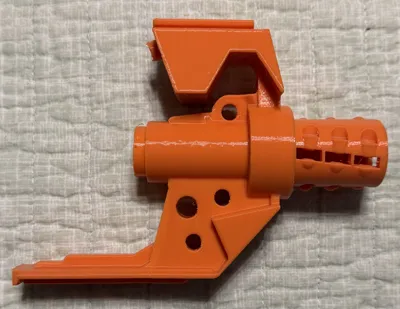
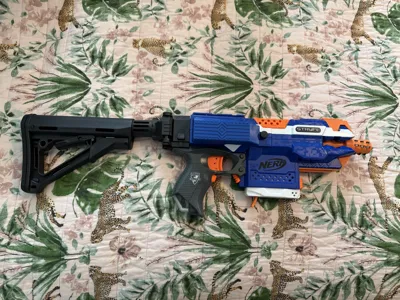
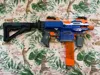
I wanted an accuracy device for my Stryfe, and I needed to decrease the FPS a bit. I tried some PCARs and even a NStrike lug BCAR, but was not thrilled with any of the results. That made me think of other ways to mount it and this new muzzle was born. This kit contains a muzzle with a BCAR and optional rails. With this attachment installed, I am getting rouhgly a 3 inch spread at 50 feet. That is about a 4 inch improvement from the original.
Testing:
I tested this using a single modified Nerf Stryfe and a 3S 850mAh 75C LIPO battery using a XT30 connection, Worker 1.0g darts, and a Daybreak flywheel cage. Readings were averaged over 20 shots. Bearings are always in the slots closest to the blaster.
| Description | FPS | Min | Max | StDev | %Diff from Original |
| Original Muzzle | 159.4 | 148 | 165 | 0.00 | 0.00 |
| Short Muzzle with 0 Bearings | 152.5 | 142 | 158 | 4.6 | -4.36 |
| Short Muzzle with 3 ABEC5 Bearings | 149.4 | 142 | 155 | 3.7 | -6.27 |
| Short Muzzle with 6 ABEC5 Bearings | 148.2 | 140 | 143 | 3.3 | -7.03 |
| Short Muzzle with 9 ABEC5 Bearings | 146.6 | 140 | 151 | 3.5 | -8.06 |
Remixed Models:
Rev 2 EX BCAR. by Epicxxxx
- Using the Classic 6dot7
- Cut off some of the bottom where the attachment to the muzzle was
- Covered the threading
- Attached it to the Stryfe muzzle
- Minor reshaping of the interior
Nerf Stryfe (UltraStryfe) Max FPS Brushless Barrel & Rails by Ultrasonic2
- Closed most of the holes in the original design
- Add some support structures to the top and bottom to make the hold more solid
- Added a guide for compatibility with daybreak flywheel cages
- Shortened the front and attached the BCAR
- Reshaped the interior to fit smoothly with the BCAR
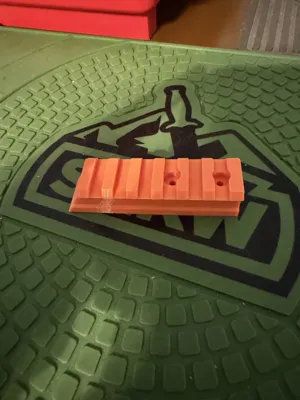
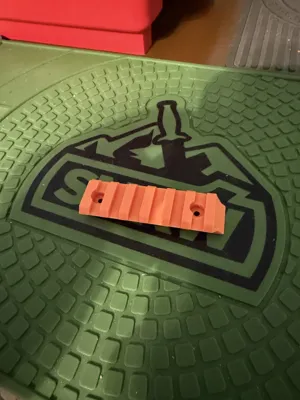
Nerf Stryfe Picatinny Top Rail by Gruneun
- Added M3 screw holes in the right places to fit the muzzle
- Reduced the front wall thickness to provide better access to the jam door
- Angled the front wall
Picatinny Rail Section by metto50
- Cut the rails to better fit the top and bottom sections
- Raised the top rail to be even with the rear
- Closed holes on the end of the lower for a more seamless look
- Added M3 screw holes in the right places to fit the muzzle
Materials:
2x M3x6mm Screws
2x M3x16mm Screws
9x M3x10mm Screws
9x F683ZZ 3x7x3mm Bearings (ABEC5 or better preferred)
Instructions:
I would suggest printing with 4 walls, 20% gyroid infill and the muzzle tip pointing up. SUPPORTS ARE REQUIRED for the muzzle. This is how the 3mf is set. BE VERY CAREFUL WHEN REMOVING SUPPORTS FROM THE MUZZLE. The insert going to the flywheel cage is very thin and can break off, especially when using fewer walls.
- Insert the bearings to the BCAR with the wide areas towards the screw heads.
- Add the screws (M3x10mm) to hold the bearings in place - repeat for each of the 9 bearings. Set the new muzzle aside.
- Attach the lower rail with 2 M3x6mm screws on the BCAR muzzle.
- Remove the existing muzzle and front sling point and replace with the BCAR muzzle
- Install the upper rail with 2 M3x16mm screws.
- Slide the rear rail over the existing railing in the back.
This remix is based on


Comment & Rating (0)