Faraday flashlight


Print Profile(1)
Description
This faraday light is designed as a hobby project: when you shake it the LED lights up.
Materials:
1 Copper wire spool https://www.amazon.com/dp/B07GBMKMKY?ref=ppx_yo2ov_dt_b_fed_asin_title&th=1
1 Capacitor https://www.amazon.com/dp/B0F8C1VMT6?ref=ppx_yo2ov_dt_b_fed_asin_title&th=1
4 Diodes https://www.amazon.com/dp/B0FC2CWKPL?ref=ppx_yo2ov_dt_b_fed_asin_title&th=1
1 Magnet https://www.amazon.com/dp/B096KB1RN6?ref=ppx_yo2ov_dt_b_fed_asin_title
1 breadboard
1 5k resistor
connecting wires
tape/paper
3D printed parts (duh)
soldering stuff
switch (optional)
LEDs
Helpful links:
https://www.instructables.com/Shake-Flashlight-1/
https://www.creative-science.org.uk/gensimple1.html
https://www.creative-science.org.uk/gensimple2.html
(I used this information to create this model)
instructions:
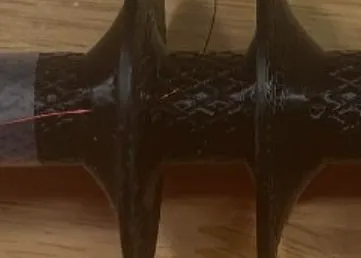
- Thread an end of the copper wire into the bottom of the flashlight.
- Wind the wire over the spool, but every several layers add a layer of tape or paper so as to keep the stability between the layers
- After you finished winding it, solder a able to one end of the copper wire, so it can be plugged into a breadboard
- Place the magnet inside the tube, and use the caps to glue the tube shut. Make sure it is a strong seal.
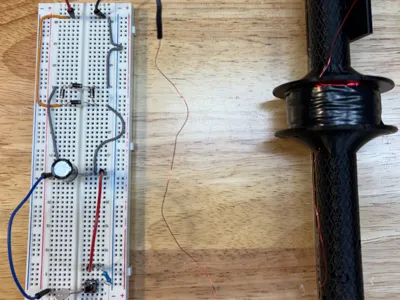
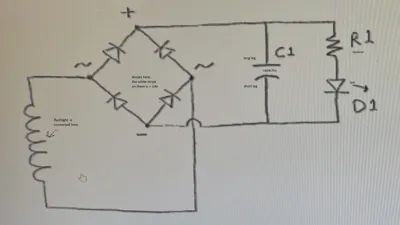
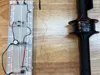
- Build a circuit on the breadboard as seen in the photo.
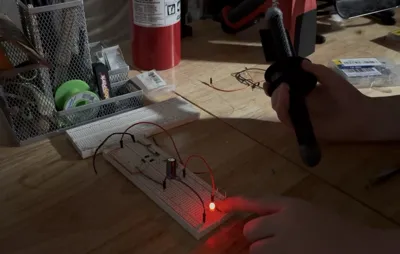
- If you filled out everything correctly, after you shake the flashlight for 30 seconds and turn the circuit on with the switch, the LED will glow or several seconds.
Note: this circuit is designed to be on while you're shaking, and the capacitor is only there if fill in the spaces between the magnet passing through the coil.
Other note: if you have any questions or comments, please leave a comment and I will reply. also, pictures for the steps are bellow:


Boost Me (for free)
If you find this model satisfactory, please consider boosting me.
Comment & Rating (3)