


Print Profile(1)
Bill of Materials
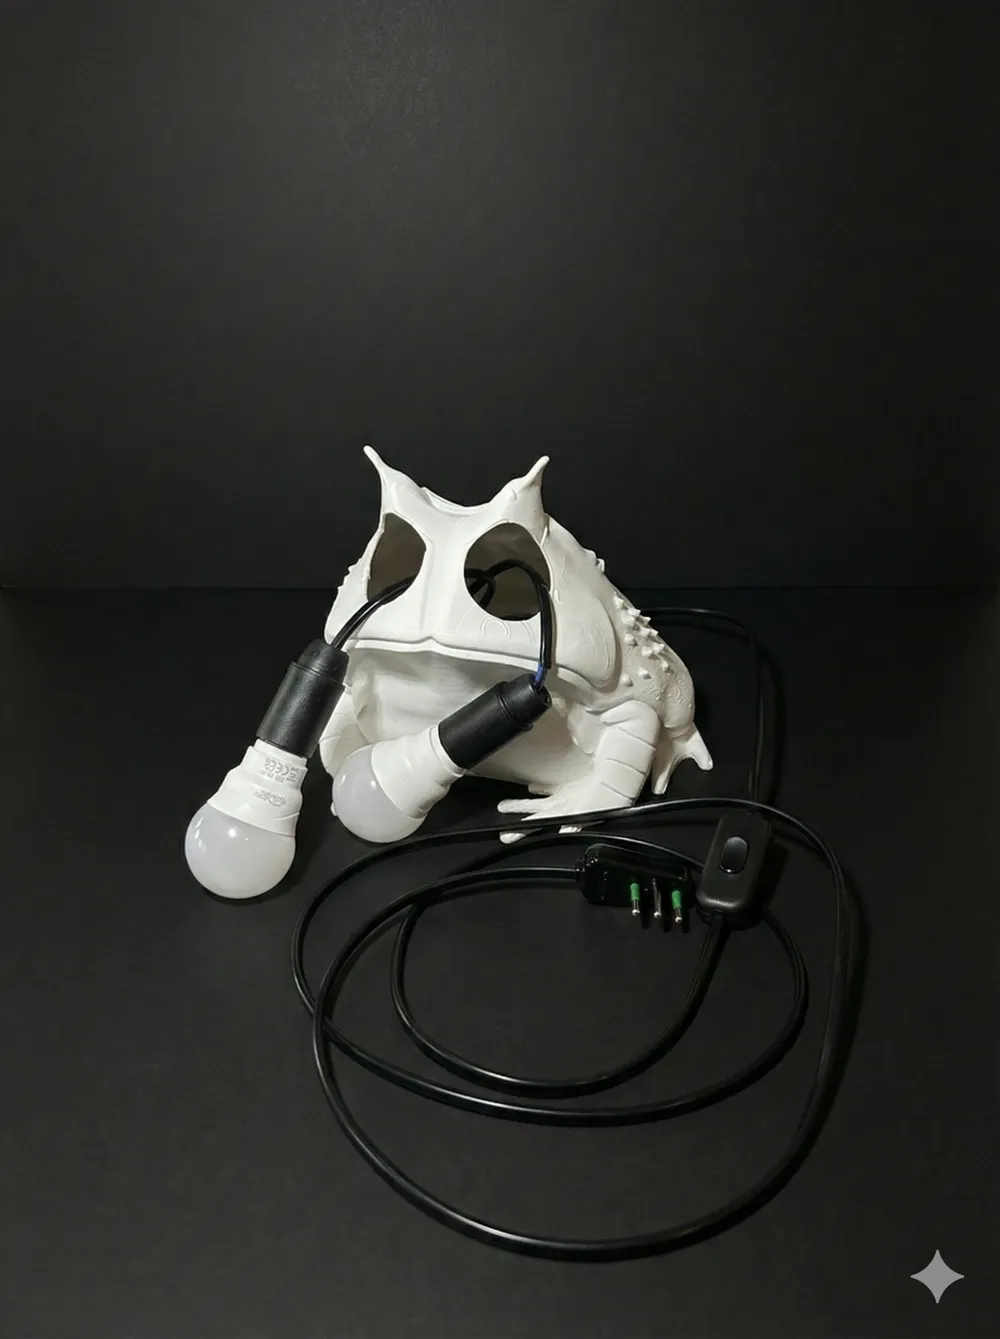
- LED RGB light bulb x 2:
- Light sockets x 2: Compact model if possible
- IR remote x 1: Usually included with the bulbs
- Power cord with switch and plug x 1: Standard two-prong cable
- Wire connectors x 2: WAGO or similar
Description
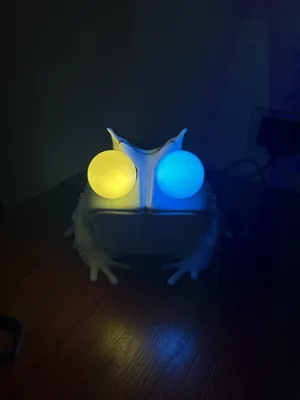
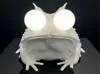
🐸 ALL GLORY TO THE HYPNOTOAD! 🌀
Stop scrolling. Freeze. Look into his eyes. BZZZZZZZZZZZT. Have you always dreamed of an intergalactic amphibian that controls your mind (and your living room lighting)? He is finally here. I’ve turned the legendary Futurama Hypnotoad into a functional lamp, ready to hypnotize you and your guests.
Why this model is "Magic":
- Maximum Modularity: We don’t all have the same spare bulbs in our drawers. I’ve designed the eye cylinders as modifiable components. You can easily adapt them to the diameter of your specific bulbs or sockets without having to overhaul the entire model.
- "Mind Control" Effect: I personally used E14 color-changing bulbs with an IR remote. Changing the Hypnotoad’s eye colors while sitting on the sofa is an experience that borders on divinity (or madness, depending on your perspective).
Technical Notes & Tips (Read before the brainwashing):
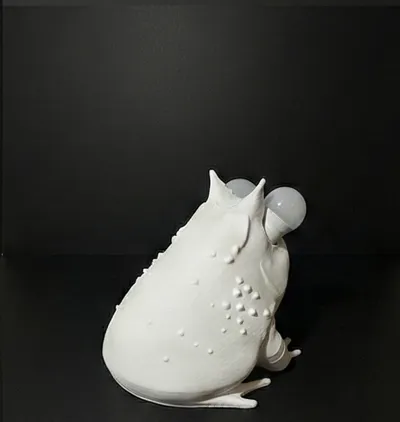
- Heat Test: The prototype in the photos is printed in PLA. I kept it on for 6 consecutive hours and it held up great.
- ⚠️ Disclaimer: LED bulbs run cool, but they still generate some heat. If you plan to keep the Hypnotoad on for prolonged hypnosis sessions (or as a permanent nightlight), I strongly recommend printing it in PETG, ASA, or ABS. Better to avoid having our supreme leader melt right at the best part!
- Zero Extra Supports: Don't go crazy with slicer settings. The model is designed to print with a simple internal Tree Slim support already included. It snaps off with extreme ease and leaves no visible marks on the exterior surface. Just load and print!
Fully Customizable:
You aren't locked into one type of socket. I’ve included modular cylinders that act as "bores" for the shell exactly where you need them:
- Large Cylinders (Front): To adapt the eye-sockets to your bulbs (I used E14 RGBs).
- Small Cylinder (Back): To create the perfect passage for your power cable.
Quick Guide: How to "bore" the shell in Bambu/OrcaSlicer
No CAD skills required-the slicer does the work:
- Import the .3mf file or the model along with the cylinders.
- Select the cylinders in the "Objects" list (left sidebar).
- Right-click the cylinder and ensure it is set as a "Negative Part."
- Use the Scale tool to set the exact diameter of your bulb (for the eyes) or your cable (for the back).
- Position them so they intersect the shell and... click Slice! The holes will be generated automatically.
Project Contents:
- Hypnotoad Body (with "Easy-Off" internal support).
- Negative Cylinder Kit (Eyes + Cable) ready to be scaled.
- A sudden, uncontrollable urge to serve your new amphibian overlord.
Post photos of your "Makes" with the craziest colors you can find! ALL GLORY TO THE HYPNOTOAD!
License
You shall not share, sub-license, sell, rent, host, transfer, or distribute in any way the digital or 3D printed versions of this object, nor any other derivative work of this object in its digital or physical format (including - but not limited to - remixes of this object, and hosting on other digital platforms). The objects may not be used without permission in any way whatsoever in which you charge money, or collect fees.
Comment & Rating (2)