
MakerChip Auto Swapper
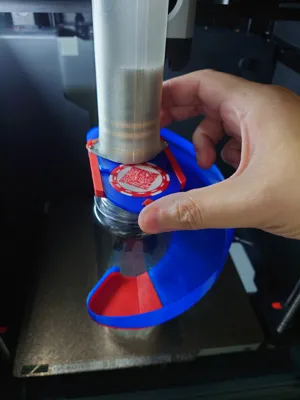
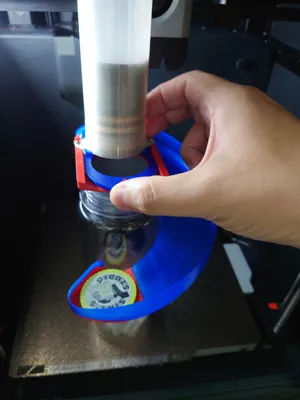
Print Profile(1)

Description
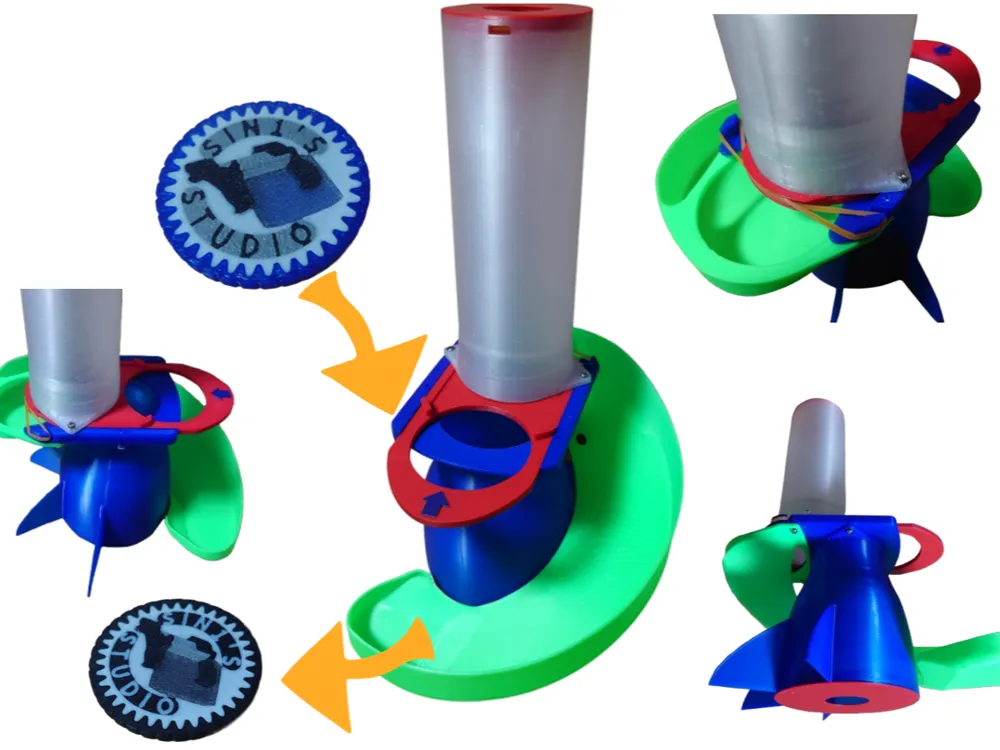
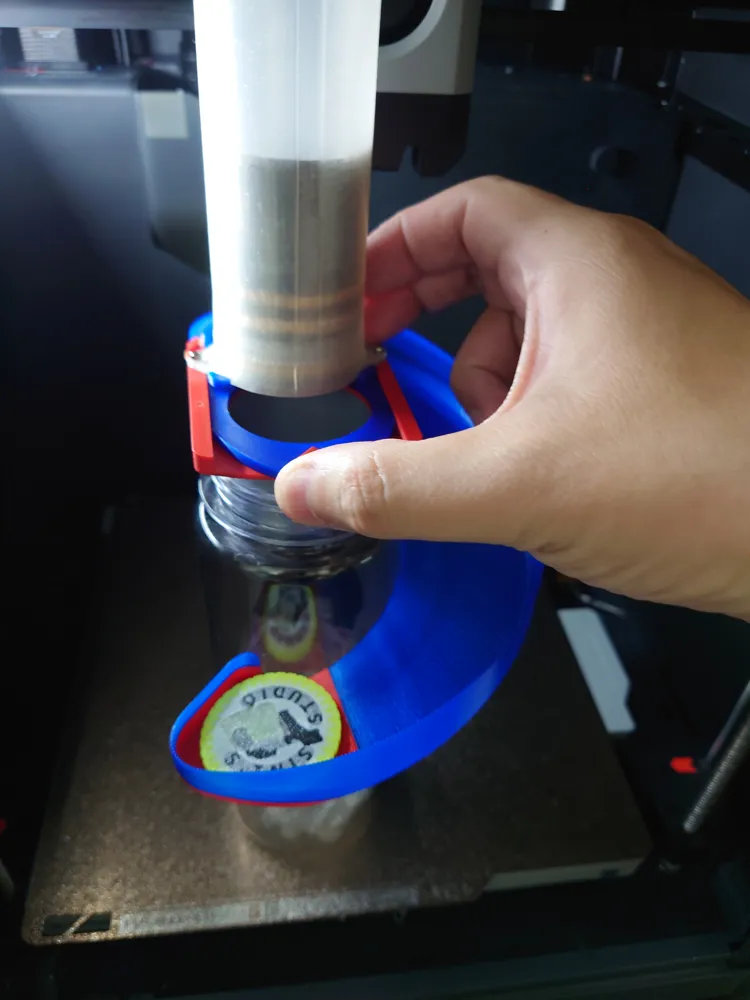
When participating in an event, you might want to exchange maker chips even if you leave your booth
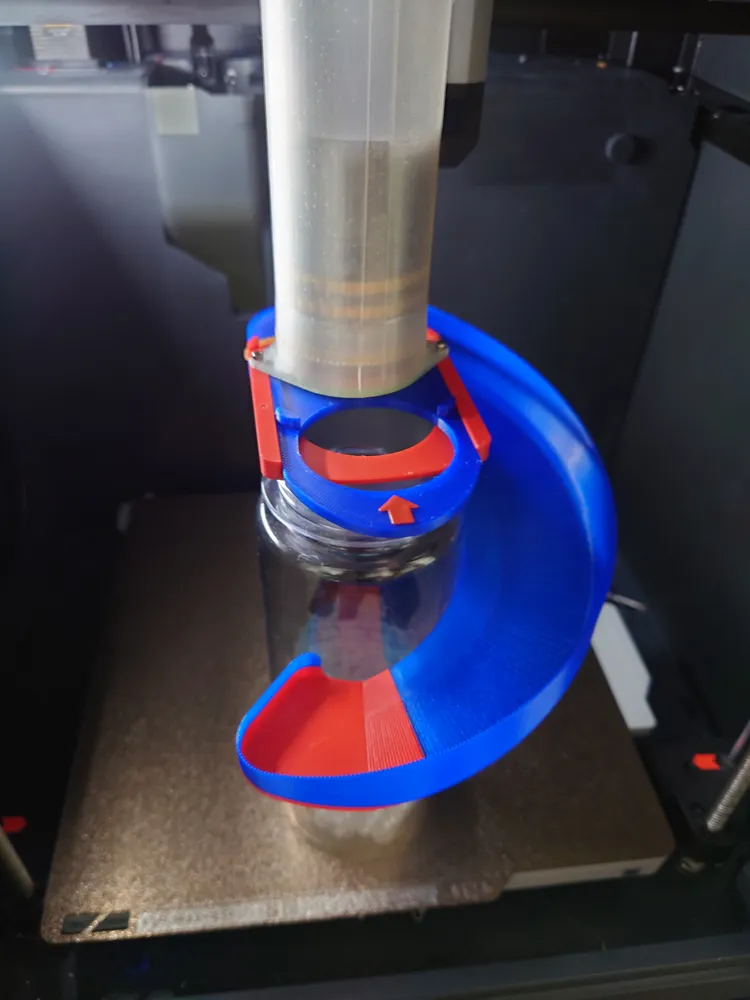
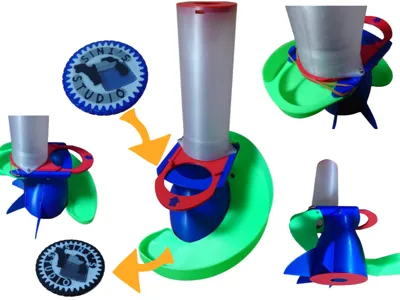
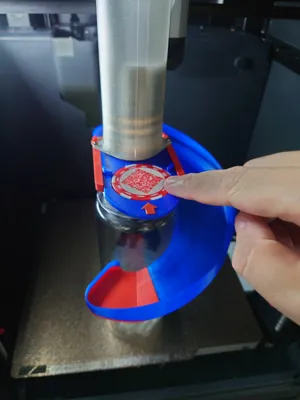
For such occasions, I created a machine that exchanges maker chips unattended
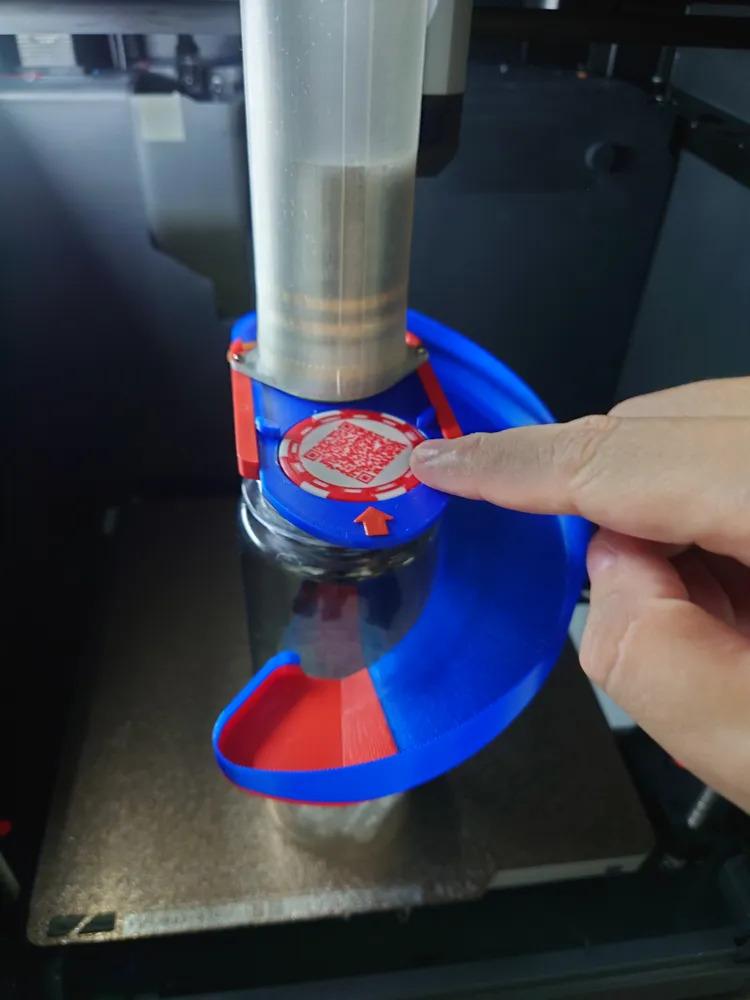
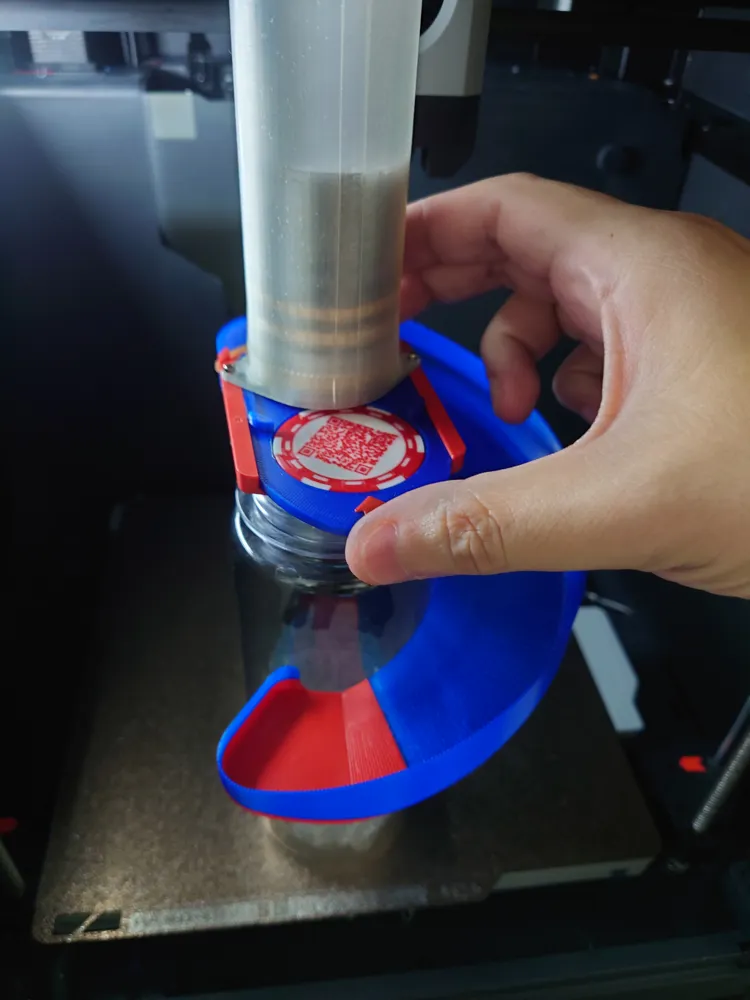
There are also great predecessors, but this one uses a simple slide mechanism
25/9/26 Update: Updated to an improved version. Btm_pipe is now stable, and filament consumption for Slide has been reduced
■Parts
S_Plate: This is a core part that slides to exchange coins. It would be easy to understand if you change the color of the arrow part
M_Plate: This is a core part that slides to exchange coins. It can also be pushed back using a φ40mm rubber band
Top_Pipe: This is a cylinder for storing a large quantity of your own coins. You might want to customize it
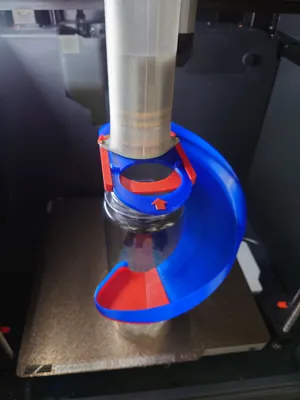
Btm_Pipe: This is a cylinder where exchanged coins fall, and also the base of the main unit. You might want to customize it. It's not essential; in the photos, a commercially available transparent water bottle is used as a substitute instead
Slide: This is a slide where your coins fall while sliding. It's not essential for functionality but for fun. Since it uses a lot of material, you might want to customize it
φ40mm rubber band x1
M2 x 6-8 x12
■Assembly instructions (Video to be created separately) 25/11/29 Update
1. Insert S_Plate into the groove of M_Plate, press down with Top_Pipe, and fix it with screws
2. Attach the rubber band to M_Plate
3. Fix Btm_Pipe to M_Plate with screws
4. Fix Slide to M_Plate with screws
5. Attach lids to Top_Pipe and Btm_Pipe as needed
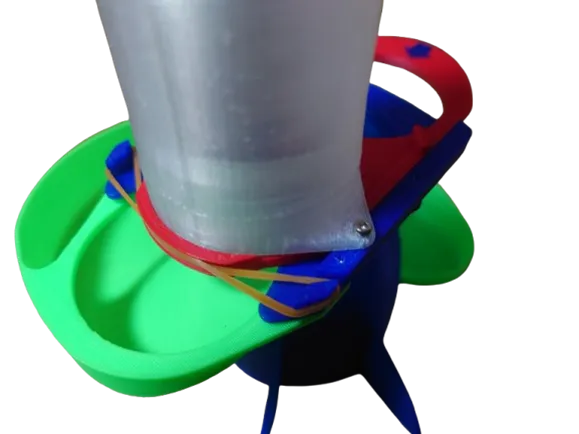
M_Plate has three sets of screw holes; Top_Pipe is fixed to the front side, and Btm_Pipe and Slide are fixed to the back side. It would be good to attach the rubber band to M_Plate as shown below: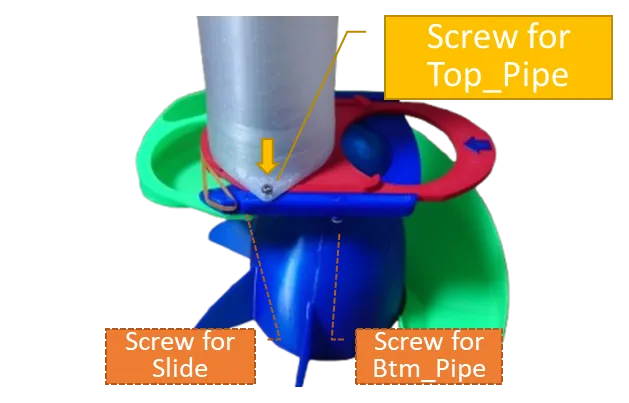
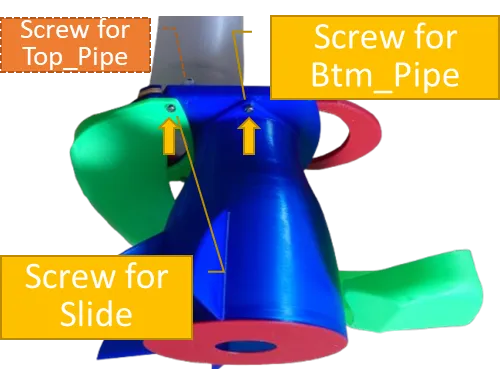
■How to use
Please watch the video below
Boost Me (for free)
If you actually use it and find it helpful, please Boost!
License

You shall not share, sub-license, sell, rent, host, transfer, or distribute in any way the digital or 3D printed versions of this object, nor any other derivative work of this object in its digital or physical format (including - but not limited to - remixes of this object, and hosting on other digital platforms). The objects may not be used without permission in any way whatsoever in which you charge money, or collect fees.


Comment & Rating (5)