Personalized Tag


Print Profile(0)
Description
### Introduction to Personalized Tag
#### Project Name: Personalized Tag
#### Design Tool: Tinkercad
#### Project Overview:
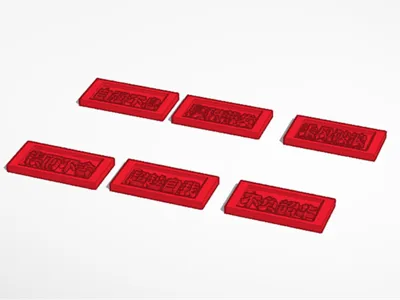
Welcome to my 3D printing project - the Personalized Tag. Designed using Tinkercad software and completed with 3D printing technology, the finished product exhibits a unique texture and three-dimensional feel.
#### Production Steps:
1. **Basic Shape Construction**: Create a rectangle in Tinkercad as the basic shape for the tag. Adjust its dimensions to fit the desired design proportion, ensuring enough space for text content.
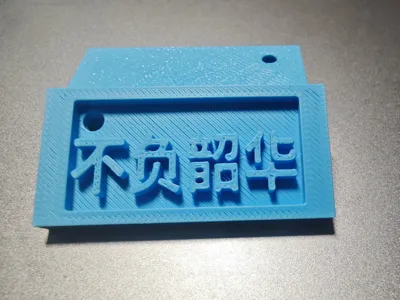
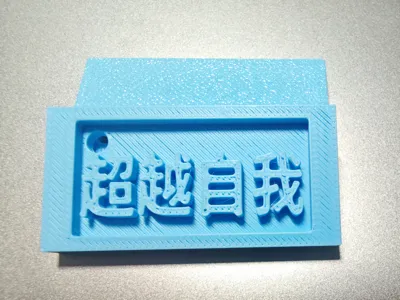
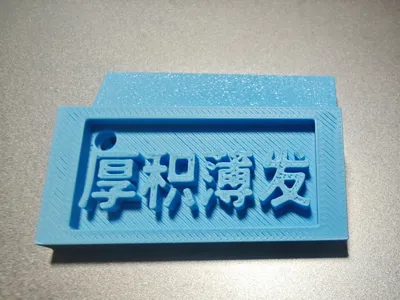
2. **Adding Text**: Use Tinkercad's text tool to input the four Chinese characters '不负韶华' within the rectangular area. Adjust the size and position of the text to center it and make it clearly visible.
3. **Detail Refinement**: To enhance visual appeal and practicality, add a small circular hole at both the top and bottom of the tag for easy hanging. You can also adjust the text depth and font style as needed to achieve the desired three-dimensional effect.
4. **Final Check and Export**: Carefully inspect the entire model to ensure all parts are correct and meet design requirements. Then export the model in a suitable 3D printing file format (such as STL), ready for printing.
#### Technical Highlights:
- **Text Processing**: Learn how to add and adjust text in Tinkercad, mastering techniques for text depth and font selection.
- **Detail Control**: Pay attention to the model's detail processing, such as the position and size of the circular holes, and the clarity and three-dimensional feel of the text.
- **3D Printing Settings**: Understand basic 3D printing settings, including parameters like layer height, infill density, etc., to ensure print quality and success rate.
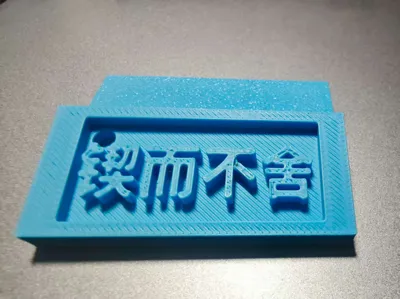
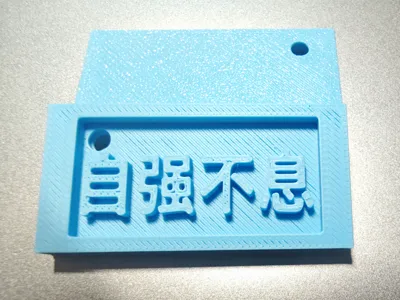
#### Finished Product Display:
The final 3D printed Personalized Tag has a blue appearance with a delicate texture, showcasing the unique charm of 3D printing. The text part is clear and three-dimensional, effectively conveying the theme of '不负韶华'. The small circular hole at the top allows for easy hanging, making it both practical and aesthetically pleasing.
#### Conclusion:
Through this Personalized Tag project, I not only mastered the basic operations of Tinkercad and relevant knowledge of 3D printing, but also experienced the entire process from design to finished product. This was a fulfilling and enjoyable process, and I believe that on my future design path, I will continue to improve and create more exciting works. I hope this '不负韶华' Personalized Tag can also bring you inspiration and motivation. Let's cherish our time and bravely pursue our dreams!
License
You shall not share, sub-license, sell, rent, host, transfer, or distribute in any way the digital or 3D printed versions of this object, nor any other derivative work of this object in its digital or physical format (including - but not limited to - remixes of this object, and hosting on other digital platforms). The objects may not be used without permission in any way whatsoever in which you charge money, or collect fees.
Comment & Rating (0)