


Print Profile(1)

Description
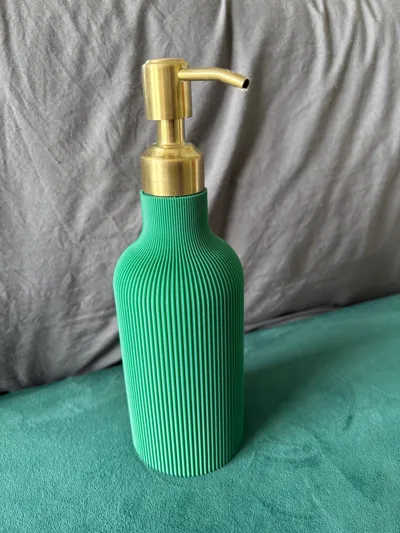
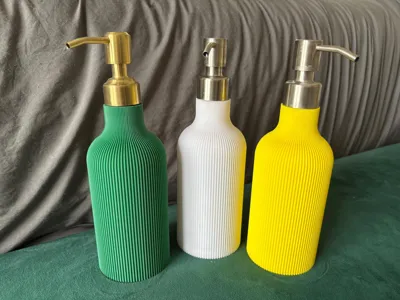
Midcentury Modern Pump Bottle – Stylish Dispenser for Soap, Lotion & More
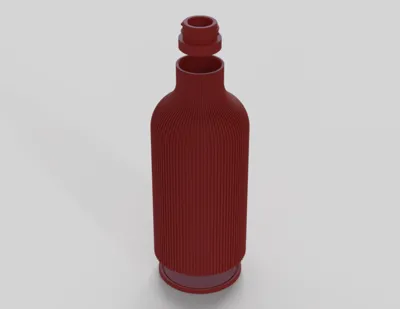
Designed for versatility, it works seamlessly as a dispenser for liquid soap, hand sanitizer, lotion, or other household liquids. The geometry is optimized for 3D printing, with thoughtfully designed threads and clearances to accommodate most standard pump tops. I've put a lot of effort into making the assembly process as straightforward as possible. Parts are designed to be printable in sections, making it easy to test for fit before committing to a full print—saving time and reducing waste. If you run into any issues, feel free to reach out and I’ll be happy to help!
I recommend printing the threaded top first to test the fit with your selected pump before printing the rest of the parts. This is the soap pump I used, and while most pumps of this size share the same thread type, it's always best to test fit beforehand.
Below are the dimensions for the top if a different thread type is needed.

The parts should be watertight as printed, but to ensure long-term durability and prevent any chance of leaks, I recommend sealing them with 2-part epoxy resin.
- Apply resin to the interior of the body and bottom plate separately to ensure full coverage. I used a silicone applicator brush, which makes spreading the epoxy easy and cleanup simple, since epoxy doesn’t bond to silicone.
Note: Avoid applying epoxy in the highlighted assembly areas of the body and bottom plate, as this can make fitting the parts together difficult.


2. Once cured, clean up any material that may prevent the bottom plate from fully inserting into the body.
3. Attach the bottom plate to the body by placing the body upside down and filling the highlighted trough with resin. Then insert the bottm plate into the body.


4. After 24 hours of curing, fill the bottle with water and place it on a paper towel. Check for moisture or leaks.
- If leaks are detected (usually between the bottom plate and body), don’t worry—it’s an easy fix.
- Dry the bottle thoroughly.
- Pour more epoxy into the bottle from the top and rotate it slowly to coat the inner seam. Continue rotating as it sets to ensure full coverage.
- Once cured, retest for leaks.
5. Once the body and bottom are sealed and cured, you can glue the threaded top in place. Sealing this part is not necessary.
6. Measure and cut soap pump tube to length so it will reach the bottom of the bottle when installed. Cut it at a 45° angle to ensure proper flow of liquid from the bottom.
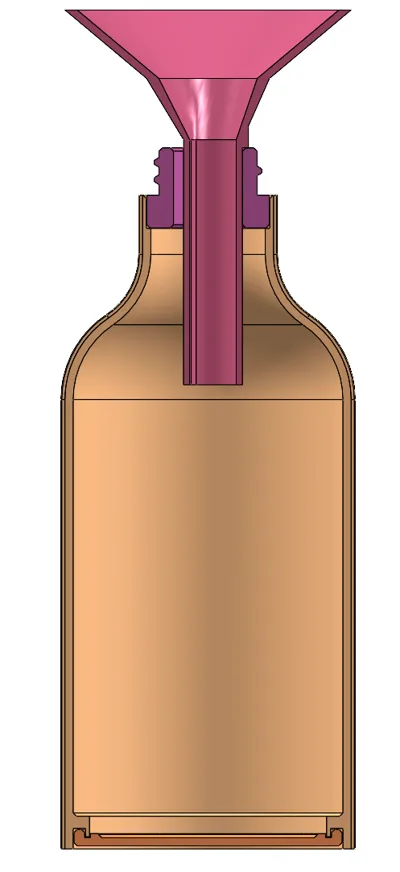
Included Bonus: Funnel
A funnel is also included to help with filling thicker liquids like lotion. It allows you to squeeze the lotion bottle while air escapes easily from the pump bottle, making the process faster and cleaner.

Materials
License
You shall not share, sub-license, sell, rent, host, transfer, or distribute in any way the digital or 3D printed versions of this object, nor any other derivative work of this object in its digital or physical format (including - but not limited to - remixes of this object, and hosting on other digital platforms). The objects may not be used without permission in any way whatsoever in which you charge money, or collect fees.
Comment & Rating (4)