Heli-Rocket


Print Profile(1)

Description
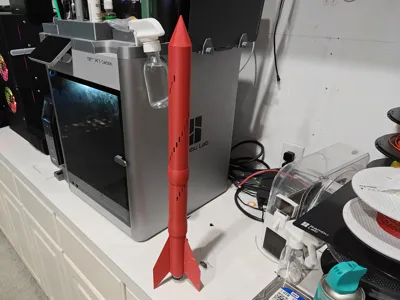
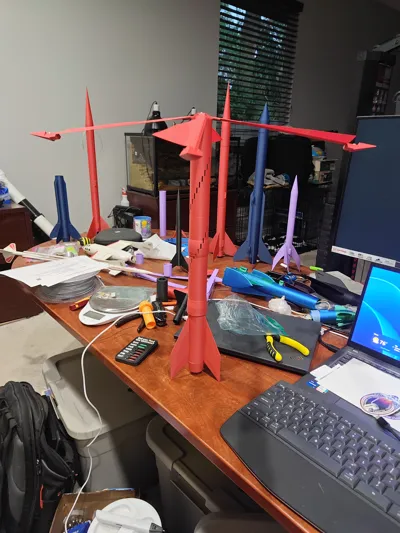
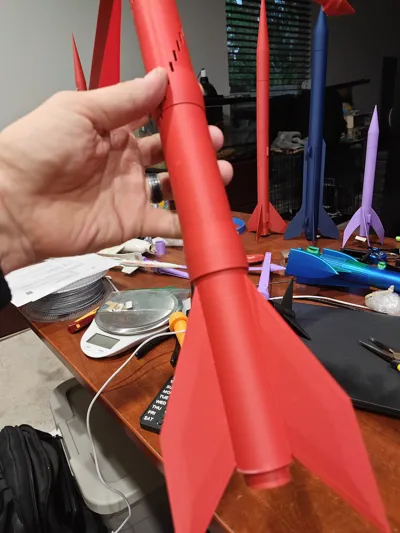
This rocket is a prototype that I feel is finally launch worthy. I wanted to try something new with model rockets but there's only so much you can change about size, shape, fins, etc. It's all been done. So I decided to try some new recovery systems. This led me to several weeks of pain and suffering printing dozens of test components and destroying early prototypes by throwing them off my roof…
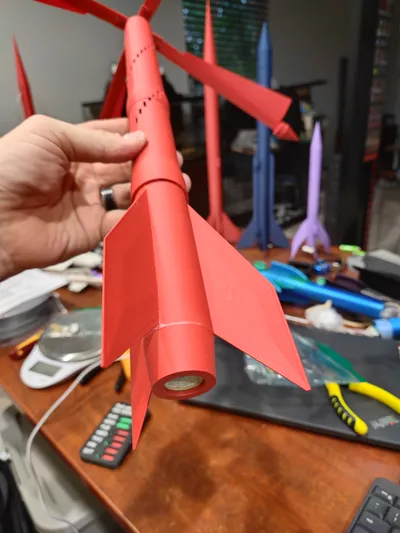
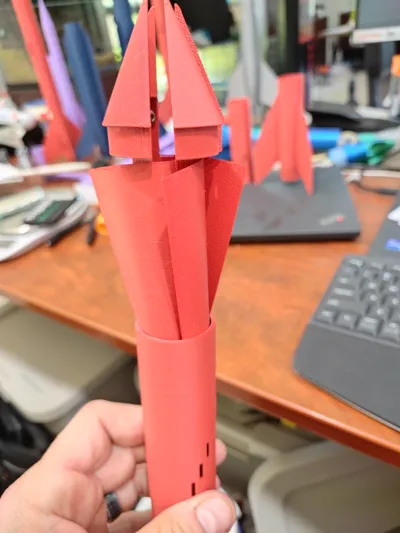
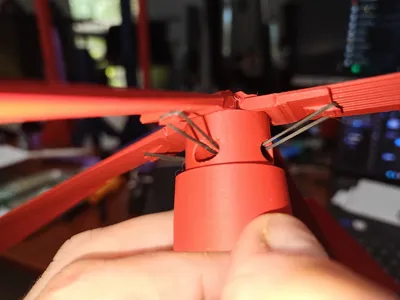
So, this rocket I'm calling Heli-Rocket because inside the body is a piston that holds 4 helicopter style rotor blades that will deploy on the report charge. The rocket will then auto-rotate down safely. The rotor 'wings' are an attempt to give the rotors more surface area without just attaching a sheet of plastic to them, effectively making them a parachute. The rocket fins are long and narrow to minimize wind resistance turning descent rotation.
Boost Me (for free)
Boosting this model will let me know that you like my work and would like to see more!
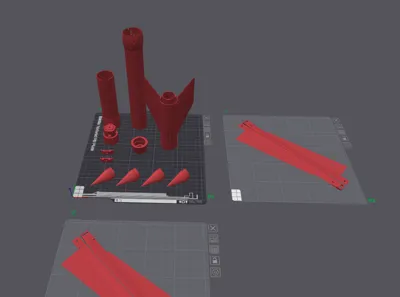
NOTE: If you downloaded just the STLs, there are some slicer changes to need to make:
- Global setting changes:
- 0.2mm layer height
- 15% Gyroid infill (for non-solid parts)
- sparse and solid infill line width to 0.6mm
- sparse and solid infill line height to 0.24mm
- No support
- Fins: Enable normal support, print upside down, 100% infill (the fins don't need support, but internal engine retention does)
- Nose Cone pieces: print on side, no support
- Piston and Piston Head should be merged, centered, and stacked
- Rotors: printed 100% infill
- Rotor Wings:single layer, with ironing at 15% (this helps ensure they're a solid piece)
- Rotor wing should slightly overlap and be merged with Rotor
- Rotor Cap 1 and 2 are best printed on their side for strength, 100% infill
IMPORTANT NOTES:
- The Rotor Wings can bend and break easily. I suggest storing the rocket with the rotor wings extended out of the body tube. I've also left a bevel between the wing and the rotor so replacement wings can be printed and attached easily.
- I suggest test fitting all pieces before making anything permanent. A trouble spot seems to be around the 4 nose pieces fitting together snugly and fitting inside the body tube. This section may require some sanding for proper fit.
- The piston can become lodged in to top of the rocket and difficult to remove after a launch. If stuck, support the body tube with 1 hand and try to wiggle the piston to loosen it. I've also had some luck gently tapping the top of the piston with a small hammer or the handle of my pliers. Just be sure to hold the rocket, DO NOT set it down when hammering the piston, you'll break the fins.
Documentation (1)
License
You shall not share, sub-license, sell, rent, host, transfer, or distribute in any way the digital or 3D printed versions of this object, nor any other derivative work of this object in its digital or physical format (including - but not limited to - remixes of this object, and hosting on other digital platforms). The objects may not be used without permission in any way whatsoever in which you charge money, or collect fees.
Comment & Rating (27)