Lightbox "RS"


Print Profile(1)

Bill of Materials


Description
Hi everyone,
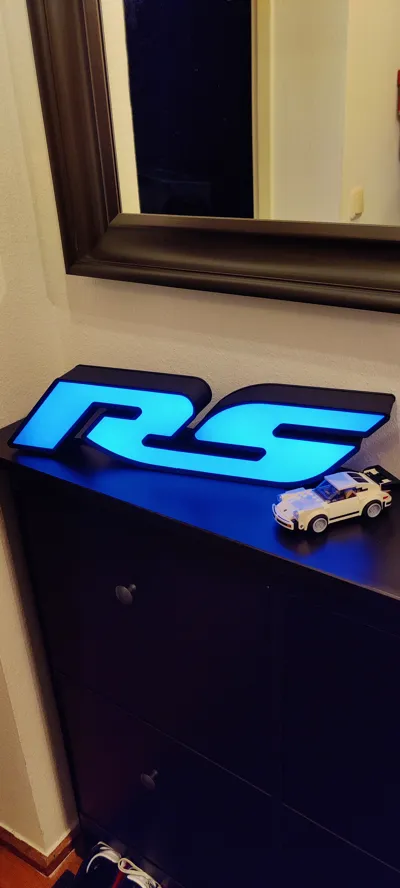
Today I tried something new and built a lightbox.
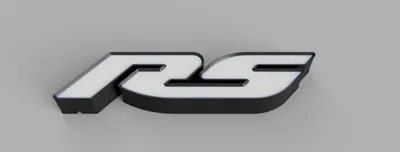
The RS logo is a tribute to motorsport and definitely shouldn’t be missing in any garage or workshop!
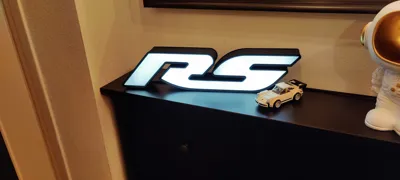
Whether you place it on a shelf or hang it on a wall—no problem.
The dimensions are approximately 55cm wide and 12cm high.
The cable routing is designed so that it can run either downward or backward, and holes for wall mounting are integrated into the back.
You'll need a bit of skill and a few extra materials for assembly:
- You'll definitely need an LED strip about 1.5 meters long (for example, KA004).
- Crystal-clear glue is also important, as you'll need to secure a few parts.
- I recommend using aluminum tape to help distribute the light more evenly inside the housing.
Assembly Instructions:
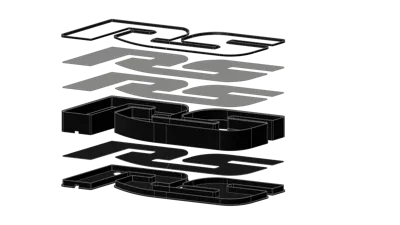
First, print “R Base,” “S Base,” “R Base Top,” and “S Base Top.”
Once you have the parts, connect the two base pieces and glue them together.
Now you can feed the cable through the opening and install the electronics for the LED strip.
If you're using an LED strip with a remote control, make sure the receiver is facing upwards!
“The IR signal will pass through the diffusers, allowing you to switch the lights.”
Next, glue the top parts onto the base—but first, cut a channel with scissors for the LED strip,
and if necessary, for the electronics and IR receiver.
Now you can attach the LED strip to the finished base.
I recommend using hot glue or fast-curing superglue, as the adhesive on most LED strips doesn't last long.
Now you can glue in the two body parts—make sure to deburr the edges first,
so the housings fit properly.
Glue the two bodies together using the FIX TOOL to align the connection points precisely.
Once the glue is set, you can optionally apply the aluminum tape on the inside.
Next Step are the inner diffusers
“To achieve better light distribution, these should be printed with transparent filament—white filament will also work, but at the cost of brightness.”
Place the two diffusers onto the center rail and glue them down.
Now the top diffusers
“These are printed in white and upside down to ensure a smooth top surface.”
Place the two diffusers on the top rail, carefully trim them with scissors,
and pay special attention to the transition from the “R” to the “S” so that no light leaks through.
Once everything fits precisely, glue the diffusers in place.
Final step:
Clip the two top parts into place and glue them from the back.
Congratulations—you did it!
I hope you like the result!
License
You shall not share, sub-license, sell, rent, host, transfer, or distribute in any way the digital or 3D printed versions of this object, nor any other derivative work of this object in its digital or physical format (including - but not limited to - remixes of this object, and hosting on other digital platforms). The objects may not be used without permission in any way whatsoever in which you charge money, or collect fees.
Comment & Rating (1)