Search models, users, collections, and posts

Magnet Insertion Tool v2

GIF
GIF

Print Profile(13)

All
A1
H2D
H2D Pro
H2S
P2S
H2C
X2D
A2L
A1 mini
P1S
P1P
X1
X1 Carbon
X1E

5x1 Variant - 2 Plates, 0.2mm layer height
Designer
4.3 h
2 plates
4.9(24)

6x2mm (Gridfinity Spec) - 0.2mm layer, 2 walls, 12% infill
8.3 h
3 plates
4.9(118)

P1S 8x2mm 0.2mm layer, 2 walls, 12% infill
4 h
2 plates
4.9(27)

6x3mm - 0.2mm layer, 2 walls, 15% infill
8.5 h
3 plates
4.7(20)
Click to see more

Open in Bambu Studio
Boost
2465
6486
508
503
3.3 k
1.6 k
Released 

Bill of Materials

Maker's Supply Kits and Parts
Select all
M3x5 SHCS Machine Screw (20PCS) - AA158
M3x10 SHCS Machine Screw (20PCS) - AA159
1.4x20mm Black (100PCS) - RA011
D6x2 mm Round Magnet (20PCS) - CA004
D5x1 mm Round Magnet (20PCS) - CA002
D6x3 mm Round Magnet (20PCS) - CA007
D8x2 mm Round Magnet (20PCS) - CA005
List other parts
  • supportedMagnets of Choice x 3:
  • Superglue x 1:

Description


UPDATE 20.09.2024

  • 6x3mm Magnet Variant added

INTRODUCTION

v2 of my Magnet Insertion Tool, with

  • optimized Tip size
  • trigger suspension 
  • self reloading Magnet Magazine

HARDWARE

Magnet sizes currently tested and supported:

  • 5x1mm
  • 6x2mm
  • 8x2mm
  • 6x3mm

Magnets i used:

5x1mm (reflink)

6x2mm (No longer available on Amazon)

8x2mm (No longer available on Amazon)


FILAMENT

i used this PLA+ but any other Pla should work as well

PLA+ (reflink)


Other Hardware you need:
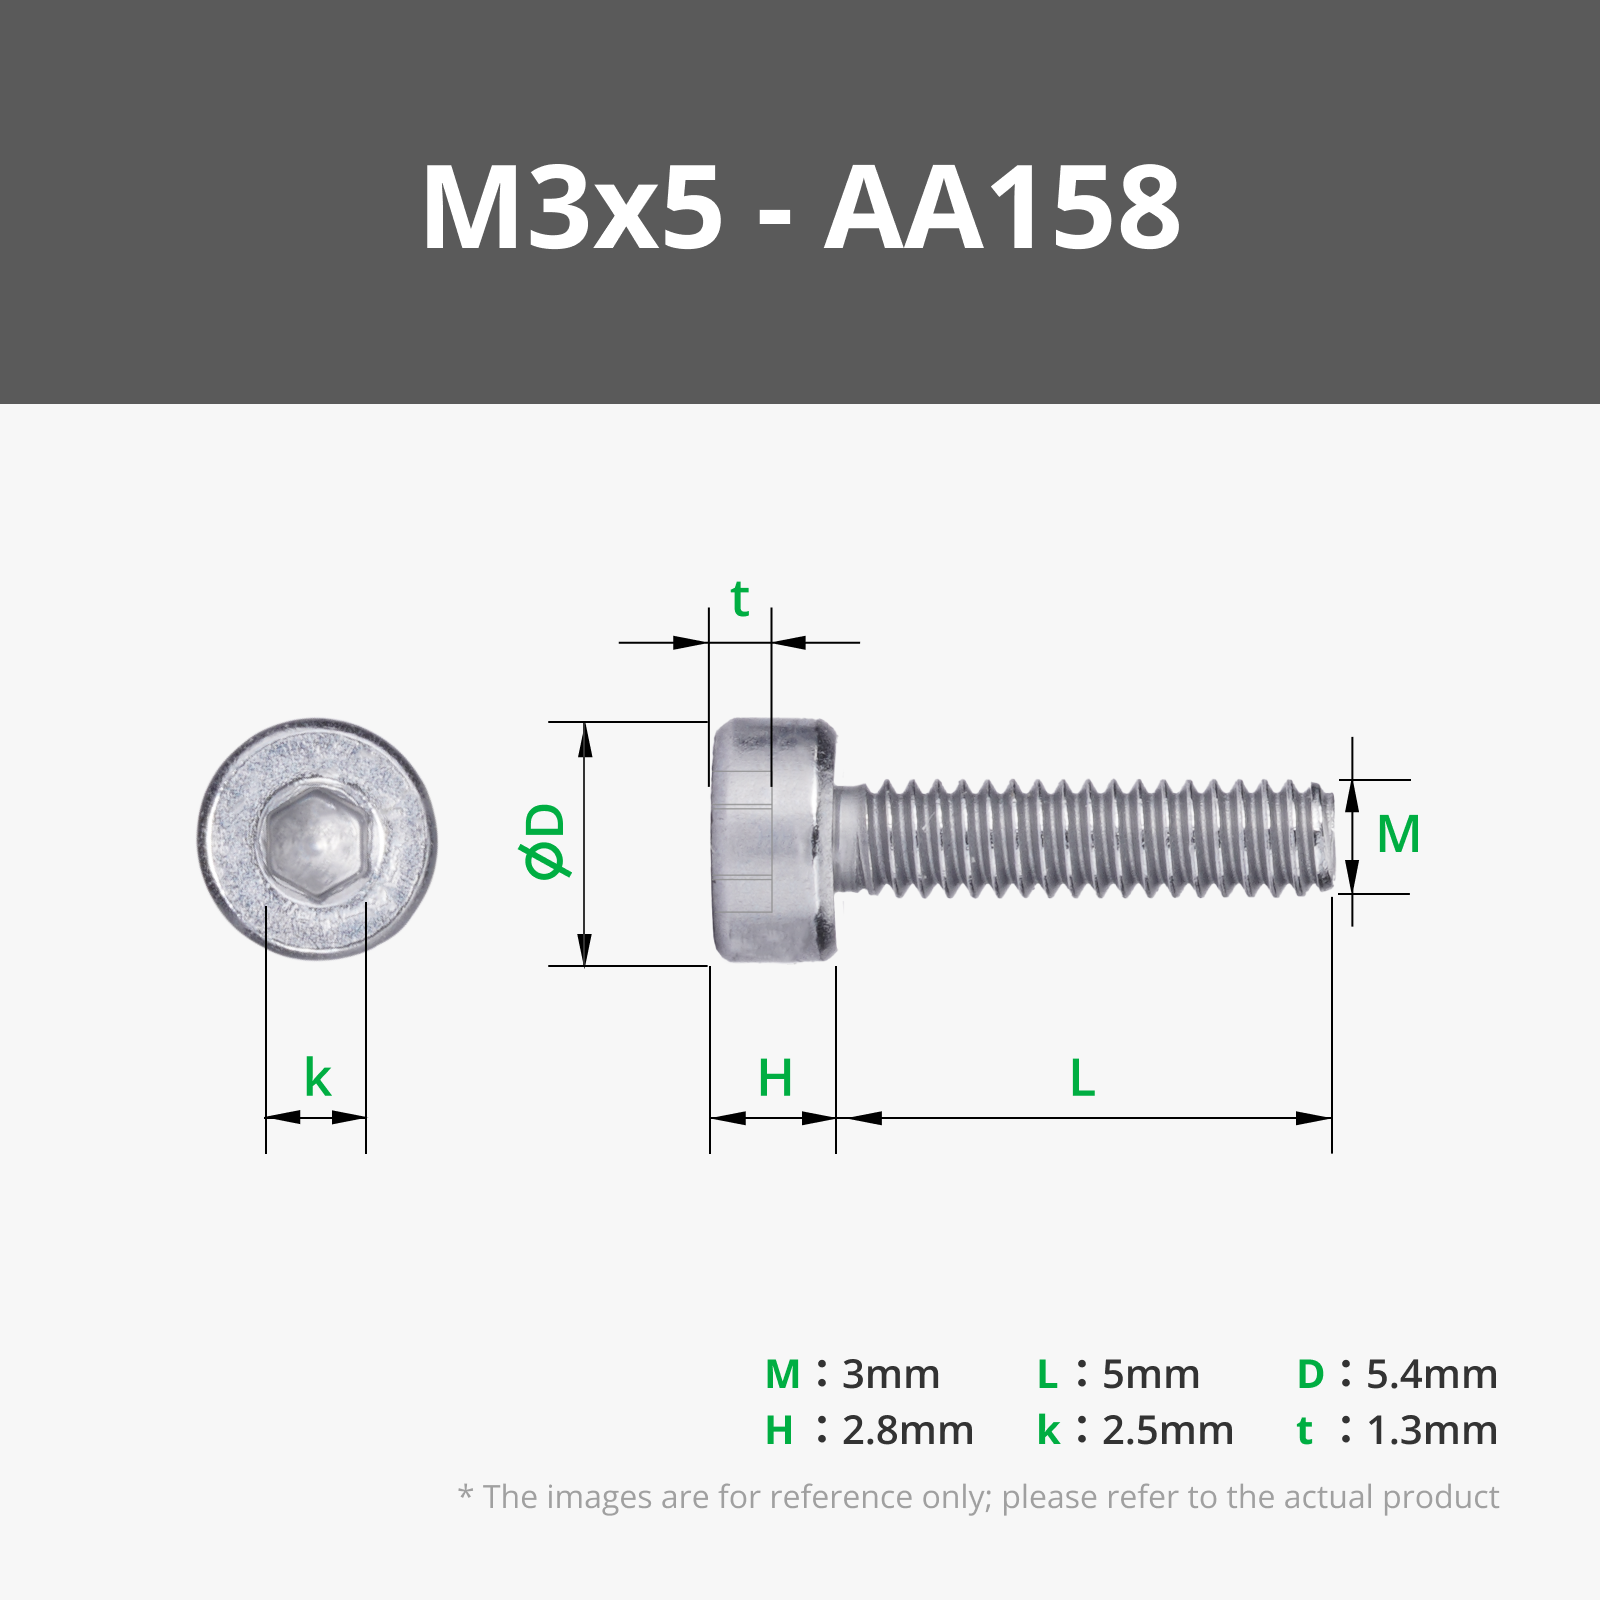
  • 2x M3x6mm
  • 3x M3x10mm
  • Rubberband
  • 3x Magnets of selected size


ASSEMBLY


There is a PDF attached to the files with assembly instructions as well as some simple Assembly steps shown in the Video

I reccomend printing 2 tools. 1 for each pole of the magnet. I printed one in Red and one in blue.


Support my work by becoming a PATREON

or BUY ME A COFFEE


Documentation (1)

Assembly Guide (1)
AssemblyInstructions1.1.pdf

Comment & Rating (508)

(0/1000)

I didn't watch the video and really doubted that this would work down until I hit the plunger. It's witchcraft! Really it's just brilliant design and magnets but just using this is so much fun I was so disappointed when I ran out of gridfinity trays. One suggestion would be to put a general size of the rubberband in the parts list, and also I couldn't find M3 5mm, only M3 6mm. But they still worked like a charm. Boosted!
The designer has replied
designer
21
Reply
Thank you! glad you gave it a try. i have never used the bambulab rubberbands so im not sure if they work for that. if someone can confirm they work i can add them to the partlist.
2
Reply
Print Profile
6x2mm (Gridfinity Spec) - 0.2mm layer, 2 walls, 12% infill
great project but still need a little refine due to locking issue + I hate to work with rubber bands... they are not only broken down with each day more and more but also always slip and much more... IDK that's only me or what but rubber bands sucks af.
3
Reply
I have the Neiko spring assortment. I think a well placed compression spring in here would help a lot!
(Edited)
3
Reply
Replying to @BaconManDan :
I like this idea alot. Using a spring would be much more consistent, reliable and long lasting. Hopefully the creator can incorporate that change fairly easily.
(Edited)
2
Reply
You are most definitely not alone. I don't want to have to open a gadget up once a week because the rubber bad broke or just even getting the tension just perfect is a nightmare. Has to be the correct size or it won't fit around the hook... etc. I hate using rubber bands LOL. Yeah use a spring! It works though.. Kudos on the engineering. Boosted.
0
Reply
Print Profile
6x2mm magnet (Gridfinity) 0.2mm layer, 2 walls, 15% infill
Super useful and practical Printed in PETG Clear/Transparent
Show original
3
Reply
Thank you for sharing this model. It's really well designed and highly functional. Your instructions were clear and easy to follow. I printed this in Bambu Matte Charcoal (body) and Matte Dark Red (case/cap). No major issues with these materials. I used a slightly stronger than normal N52 NdFeB (ø6x2mm) magnet, which caused some issues with the "loading" and transfer of the new magnet to the end of the picker. To address this, I slightly shaved / sanded down the diagonal of the picker, which gave the magnet a slightly easier bending radius to make the turn. Note for others who are printing this model: When I live, they sell sets of M3 screws only in odd sides - and I had trouble obtaining a M3x5, but the M3x6 screw worked. Because of the good design, you actually don't need to tighten too much the screws as the screw body holds things in place, rather than the binding force of the screw. The strength (crush-ability) of the material you print in will determine how much you can tighten the screw (otherwise you will split the materials), but in this case over-tightening isn't required.
The designer has replied
designer
2
Reply
Thank you for sharing your experience!
1
Reply
Boosted
i feel a little slow, am i suppose to cut the end off?
The designer has replied
0
Reply
No. Its supposed to be closed. The Magnet will slide to the tip from the little hole next to it
1
Reply
Boosted
Replying to @EmGi :
thank you lol, i was so confused
0
Reply
I printed the 8mm x 2mm version for the Deadpool helmet and everything printed wonderful. I started putting this together and when I got to the part where you put the magnets in the piece in the picture. The 8x2 magnets do not fit. The magnets are too big to fit. is this a known issue or is the file wrong?
The designer has replied
0
Reply
did you measure the size of your magnets? some people reported that their magnets are slightly larger than stated
0
Reply
Replying to @EmGi :
I did and you are correct! Magnets were slightly bigger than stated. I have them reordered and will try again once they arrive! Thank you!
0
Reply
Fantastic Works perfectly I also added a small label field so I can distinguish it faster Can the 6x2 also hold 5x2 magnets
The designer has replied
Show original
1
Reply
Looks good. Yes 5x2mm magnets should work with the 6x2mm variant
Show original
0
Reply
Got my second one printing now - I've gone with the red and blue accent colours too. Thanks so much for this design it rectifies the 2 reasons I didn't print v1
The designer has replied
0
Reply
Glad you like it. did you assemble the first one already? If yes did you have any problems with it?
0
Reply
Replying to @EmGi :
The first part that is screwed cracked on the outermost hole. Hard to say if that is a design or printing fault but may benefit from moving along a fraction. The second case has got cracked pretty quickly on some of the thin diagonal sections by the screw holes, I'd prefer these slightly beefier
0
Reply
Replying to @the_manoeuvre :
Interesting. What Filament did you use? I used Elegoo Rapid PLA+ and had none of these problems. But yeah those thin diagonals seem like a risk
0
Reply
would love a version that uses a spring, I kinda hate working with rubber bands but awesome design and engineering my friend.
The designer has replied
0
Reply
thanks! v3 will probably have a spring instead of the rubberband
0
Reply
Print Profile
6x2mm (Gridfinity Spec) - 0.2mm layer, 2 walls, 12% infill
works well though the elastic band is a bit fiddly
1
Reply