
Print Profile(1)
Bill of Materials





Description
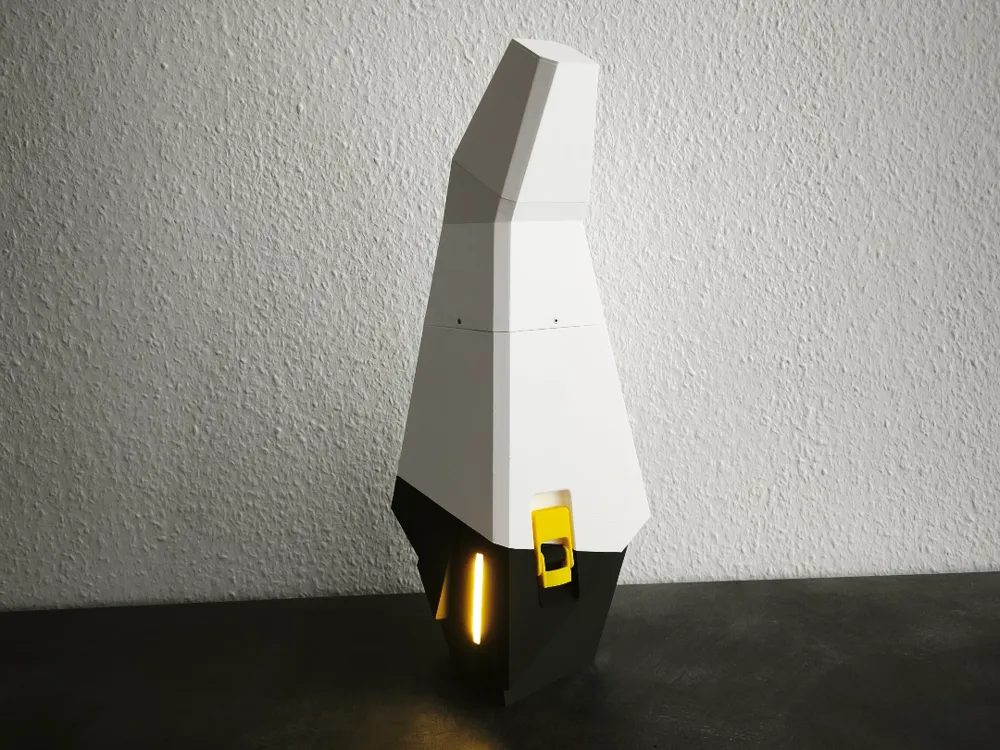
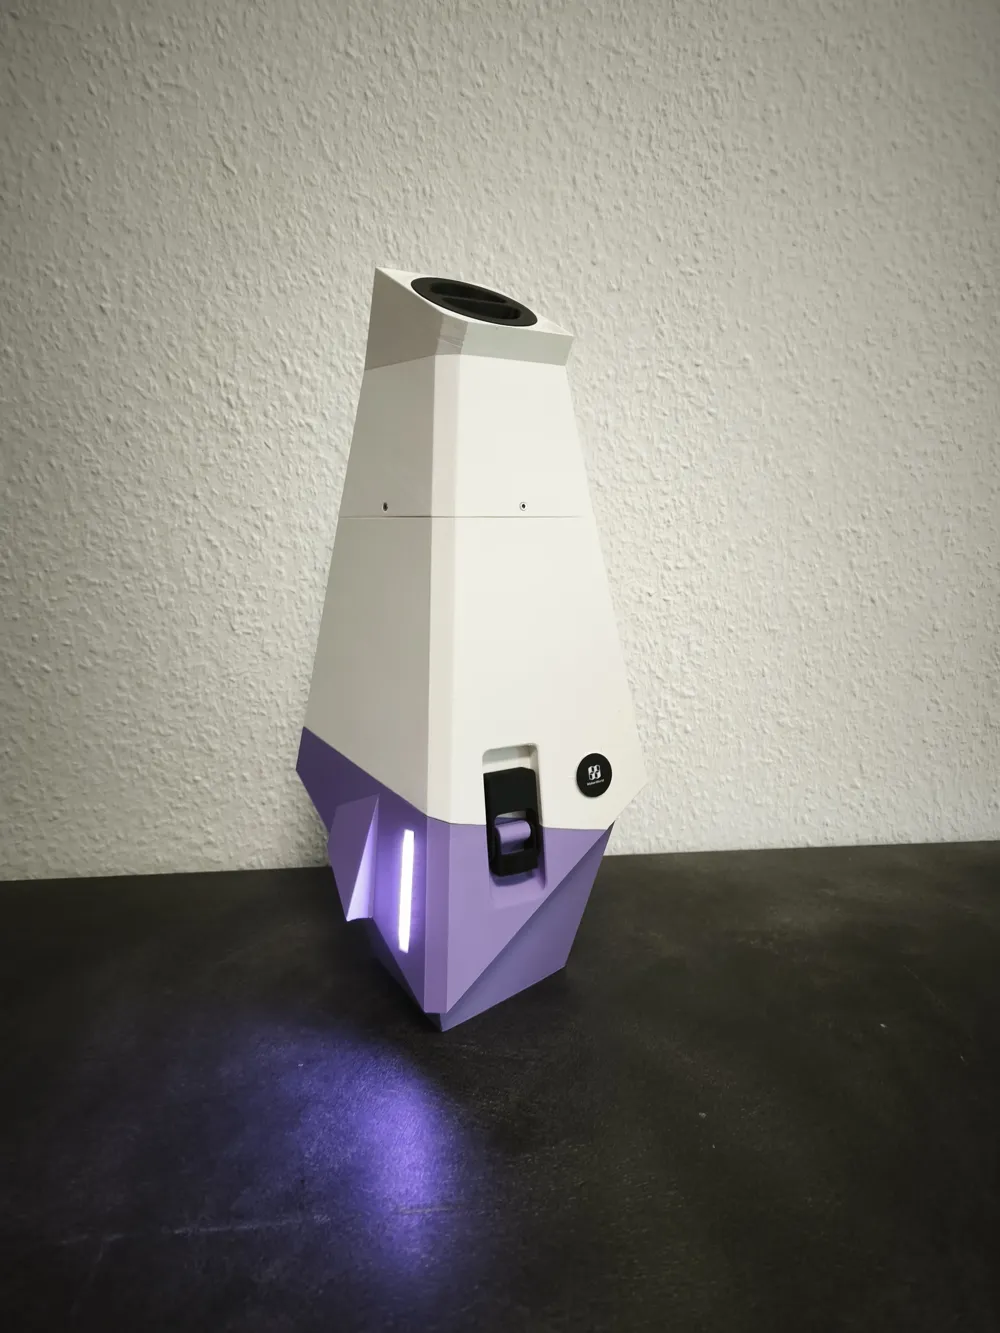
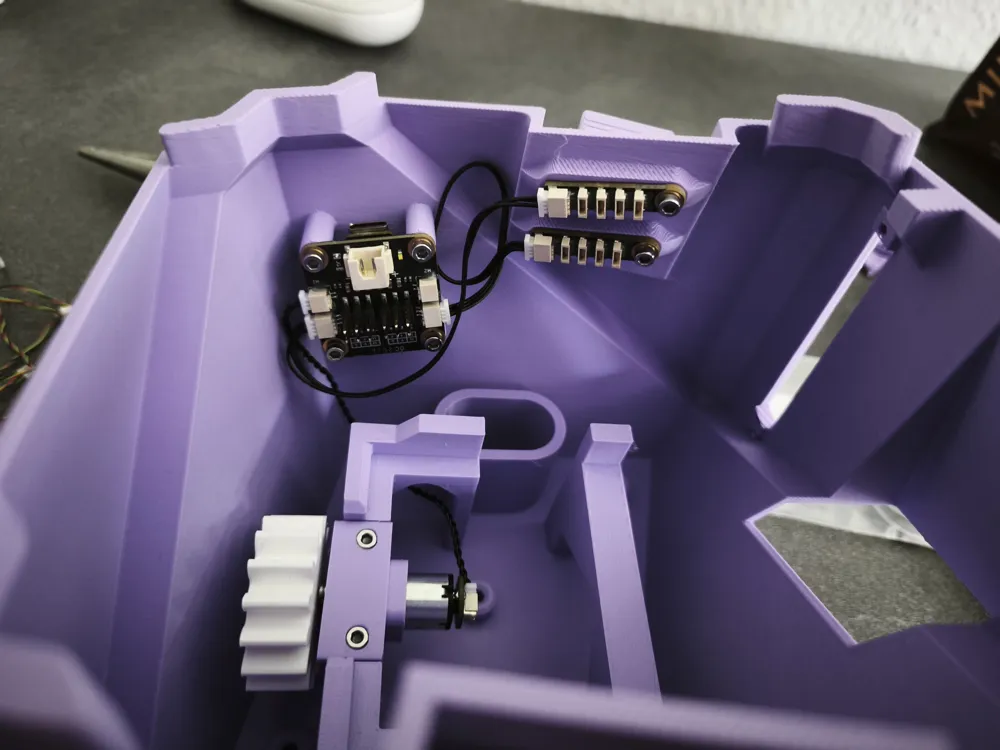
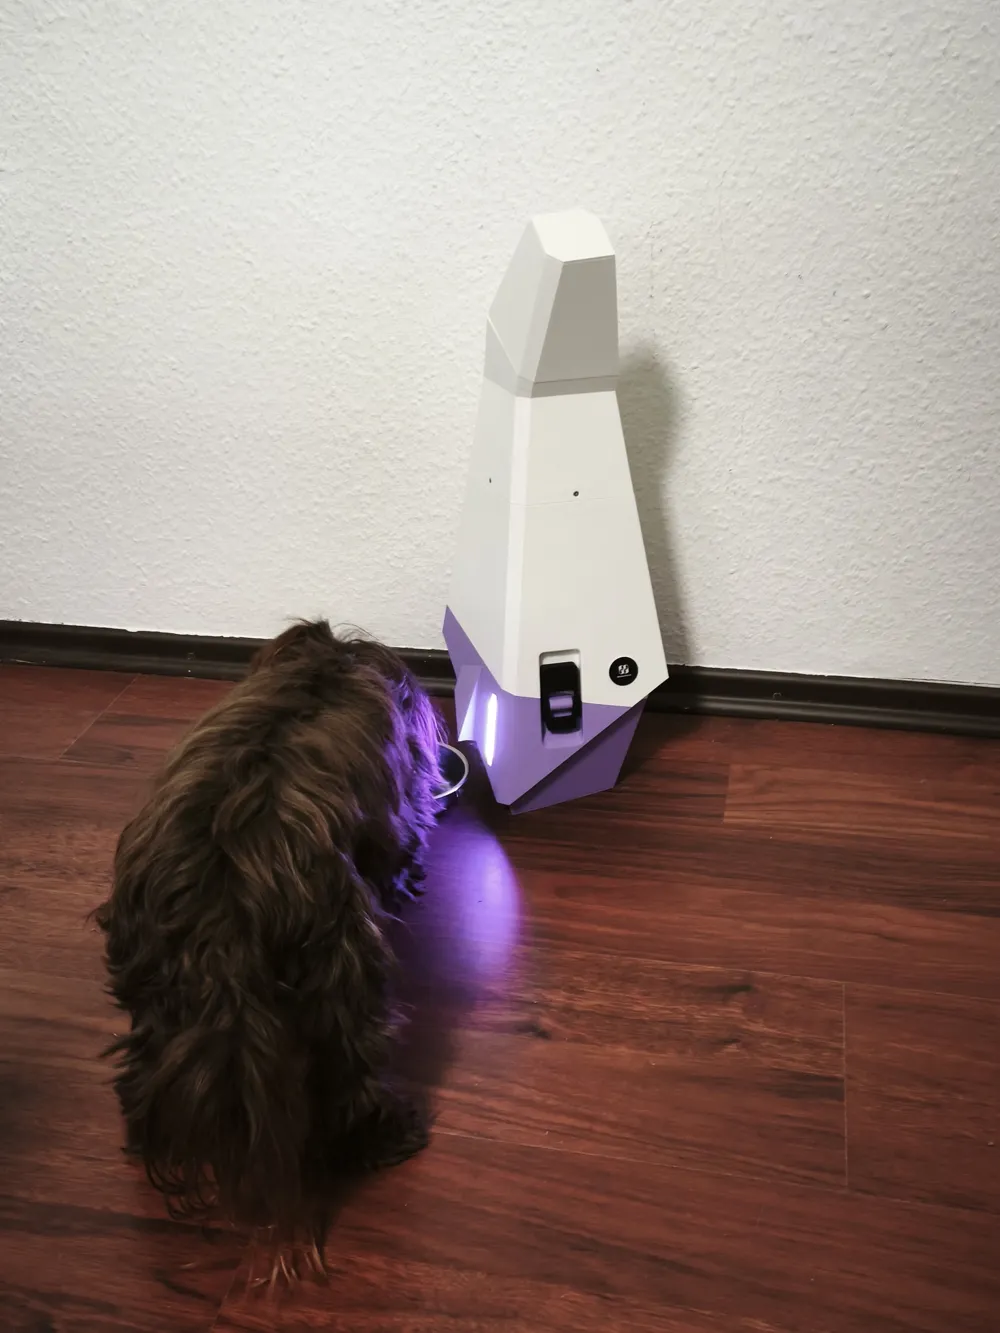
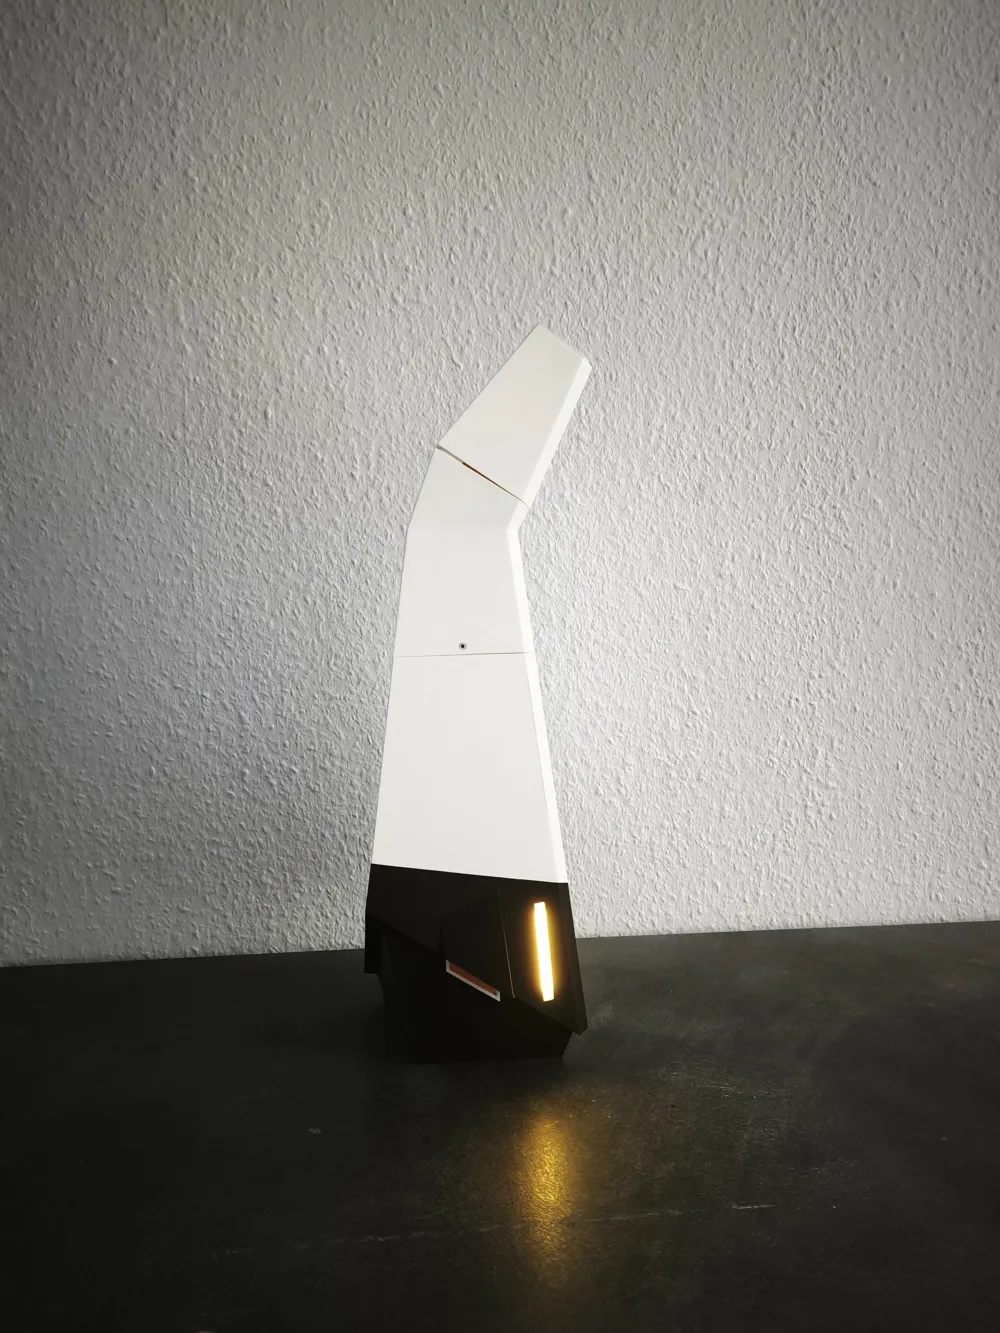
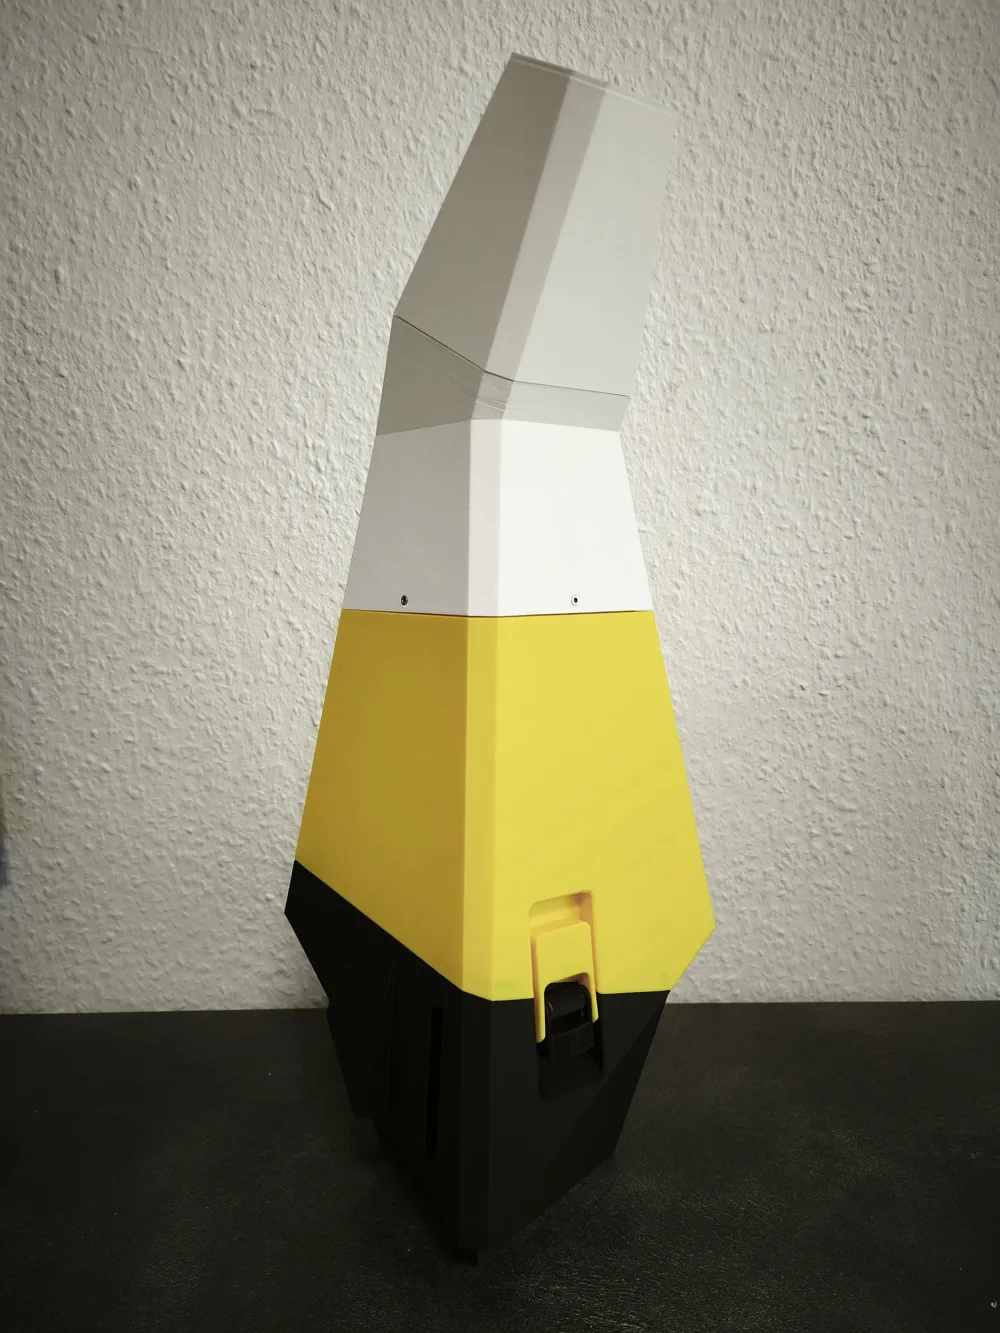
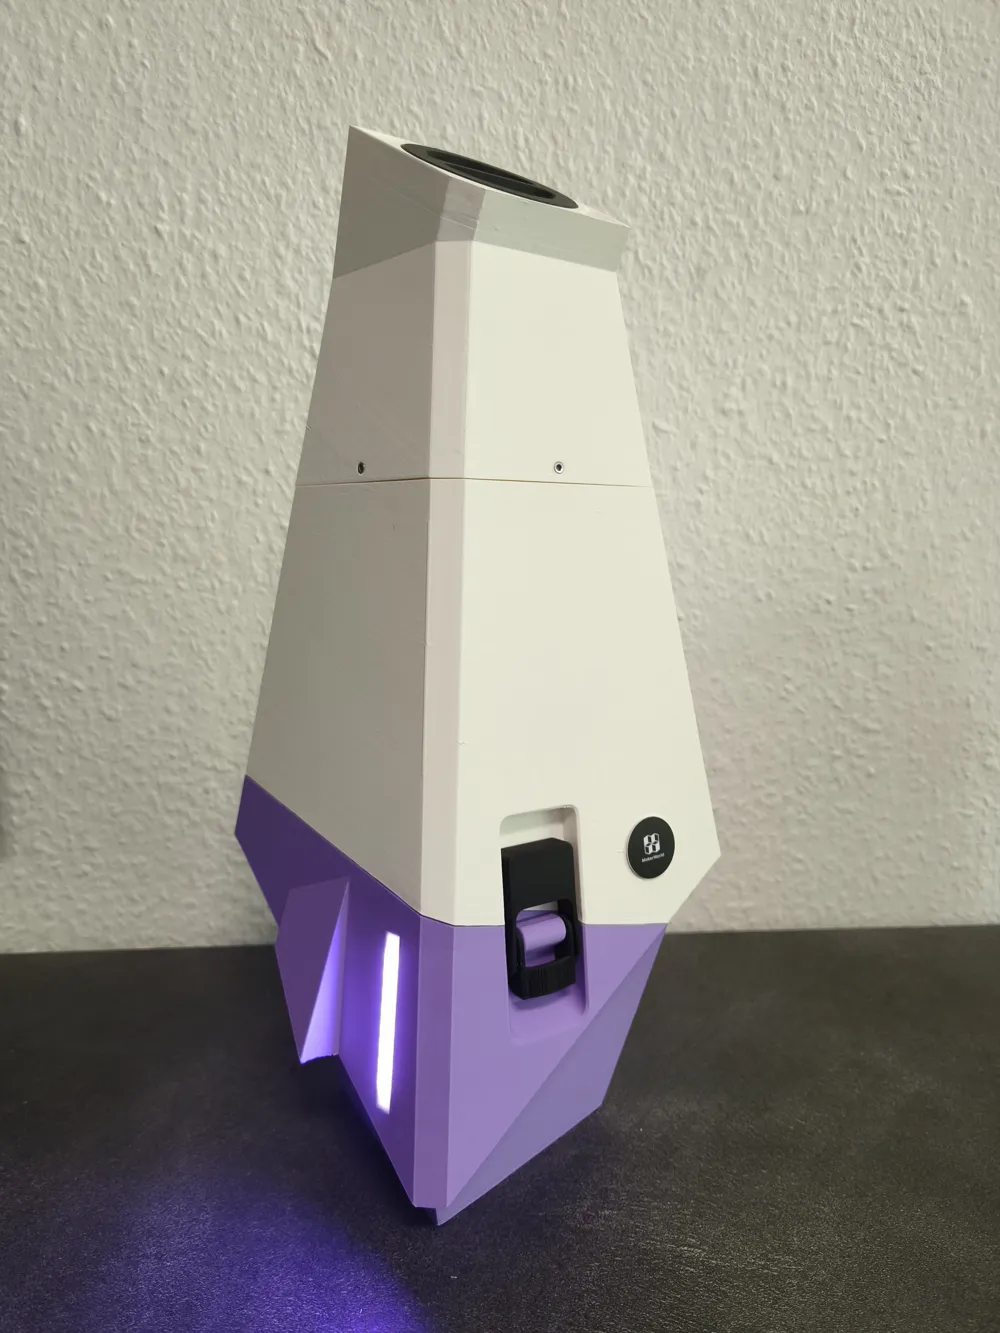
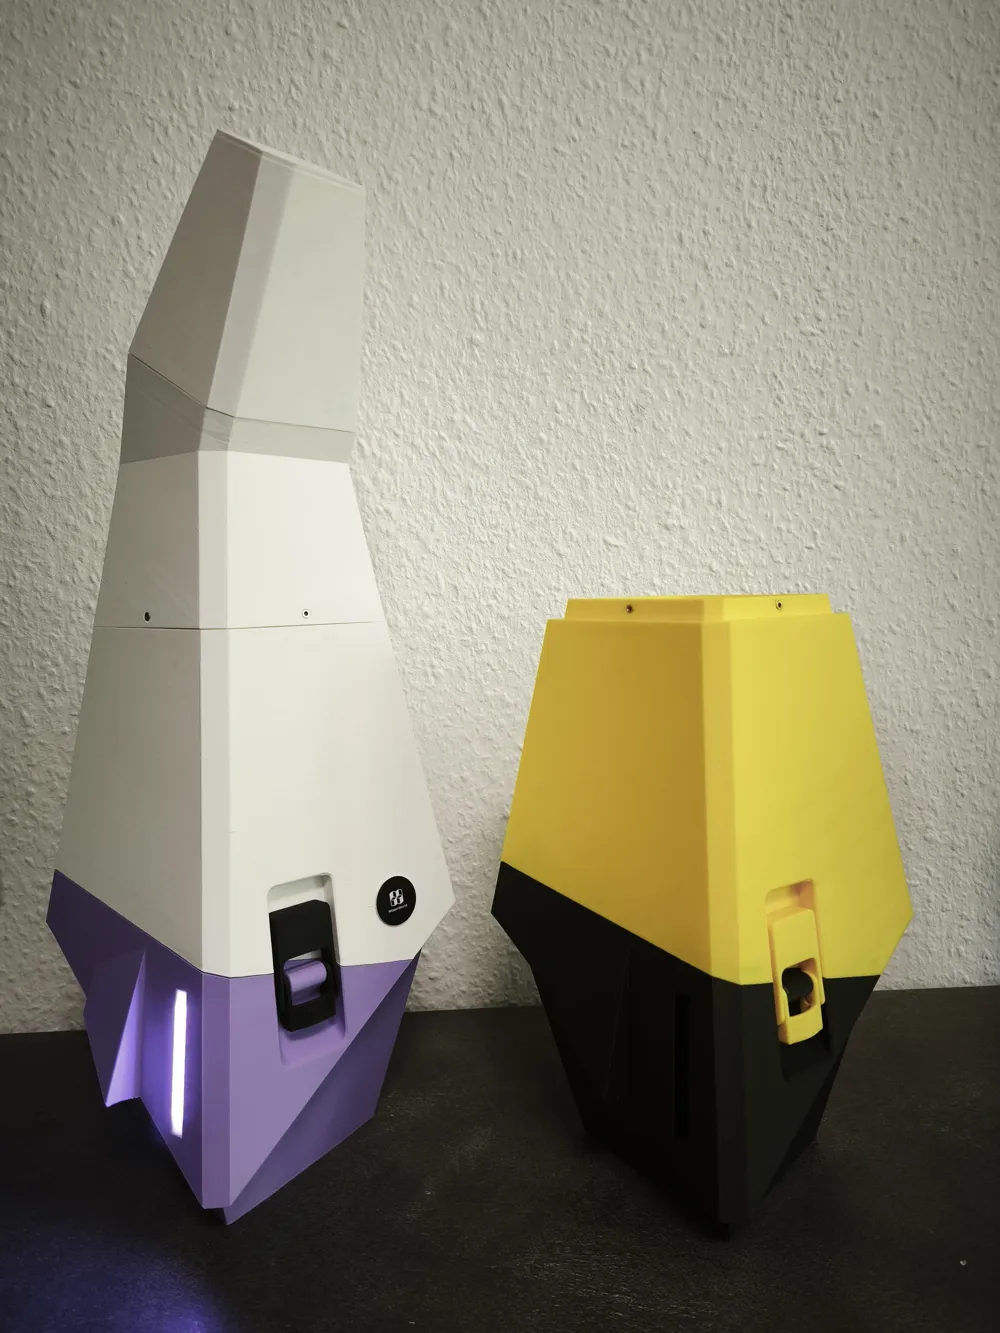
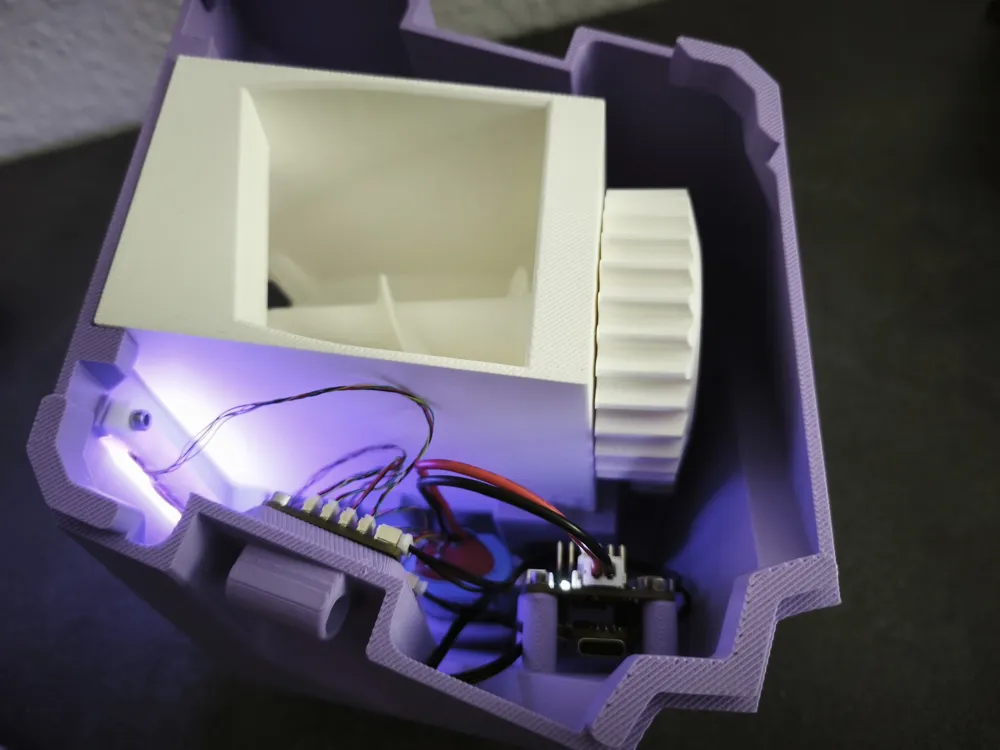
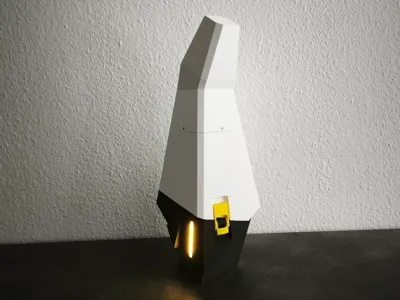
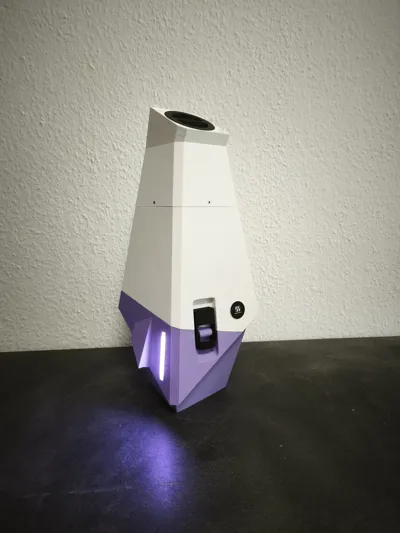
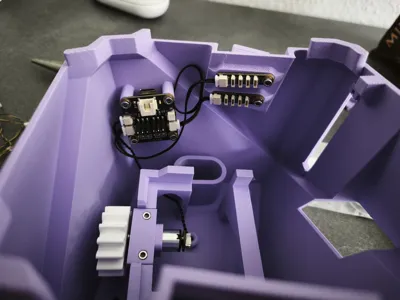
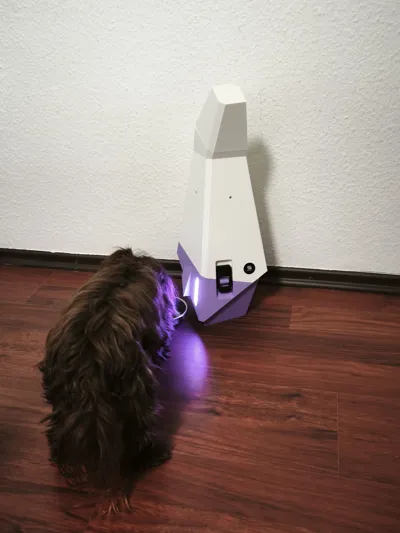
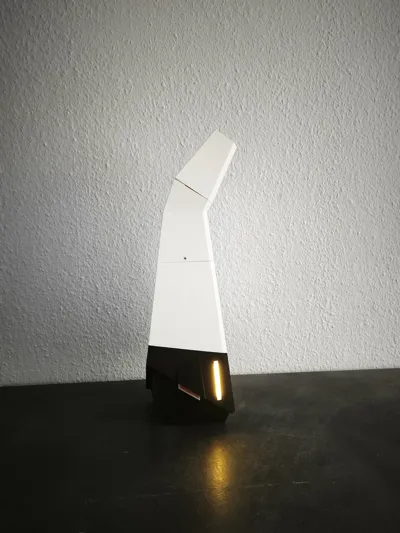
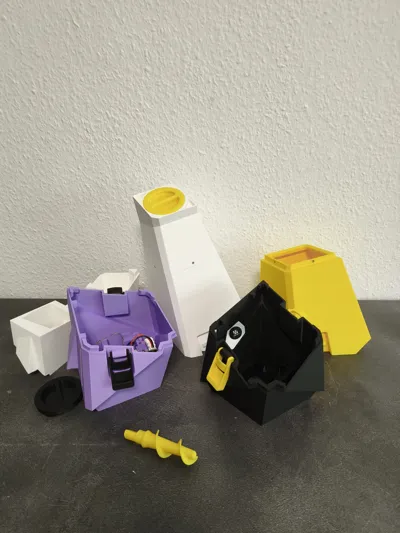
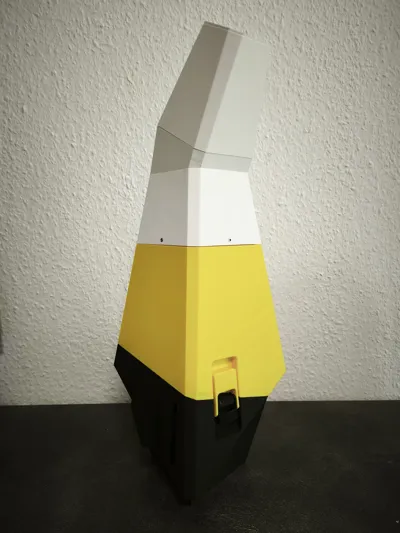
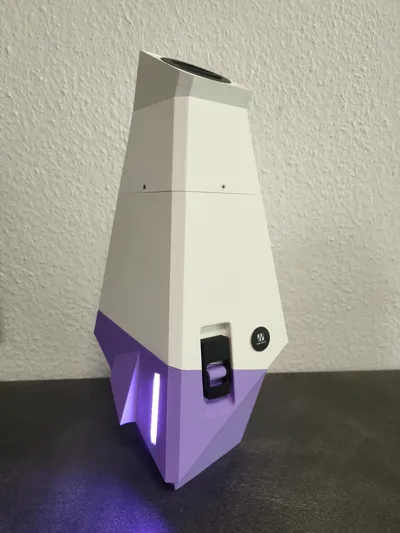
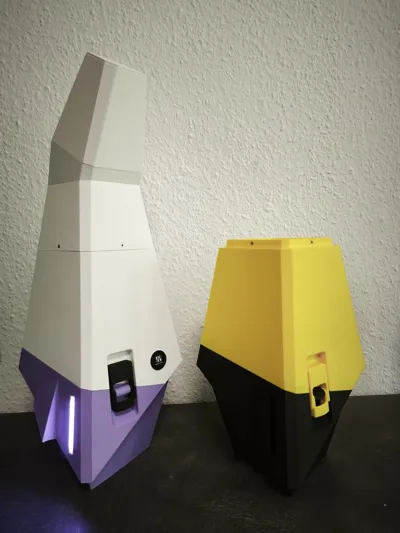
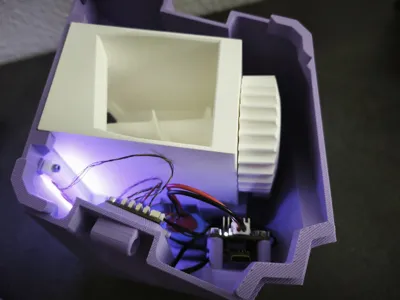
I've wanted to design my own pet feeder for a while, and once I got going, the idea for a sleek, futuristic look came together fast. I'm really happy with how it turned out, and I hope you like the design as much as I do. Turning it into a fully working feeder, though, was a nightmare. The sleek shape looked great, but packing all the electronics and mechanics into it was a serious challenge for me.
I set myself two main requirements for this build:
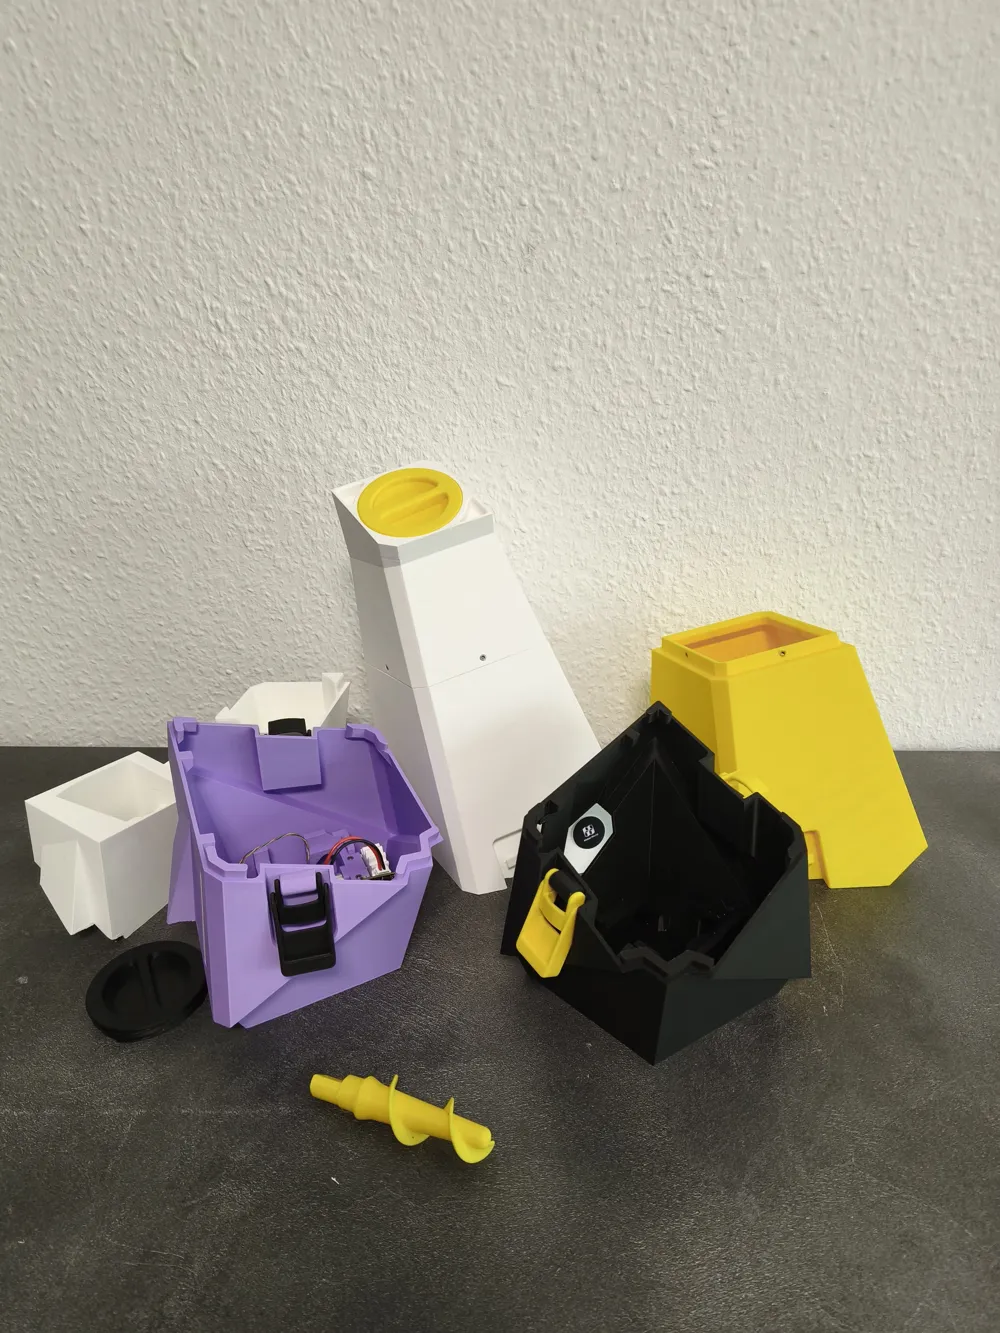
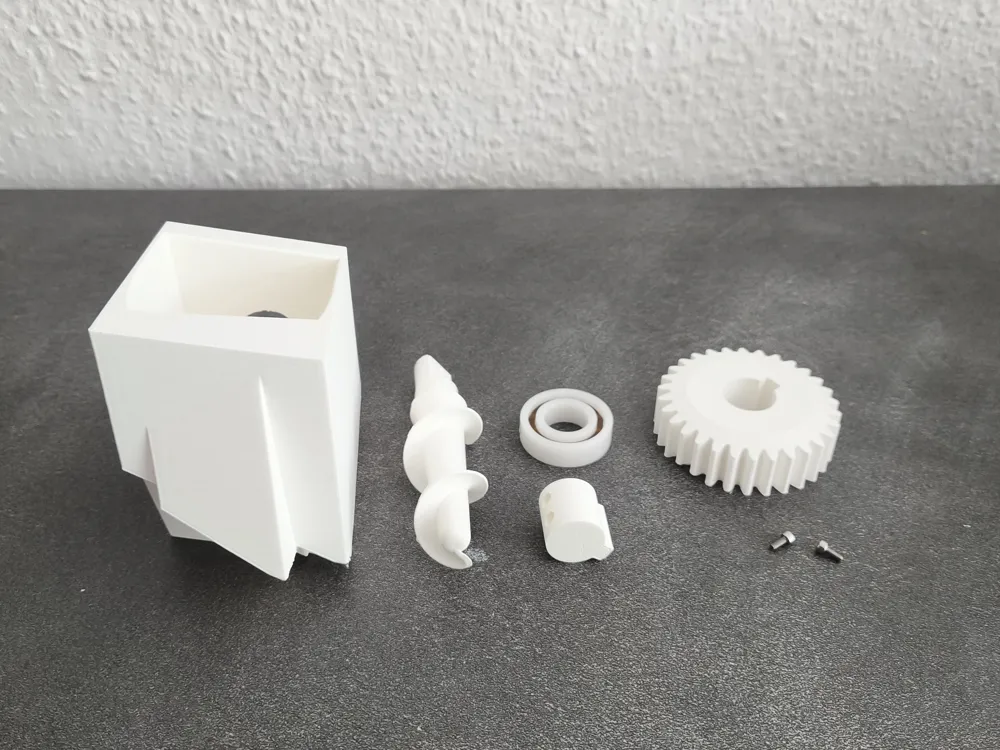
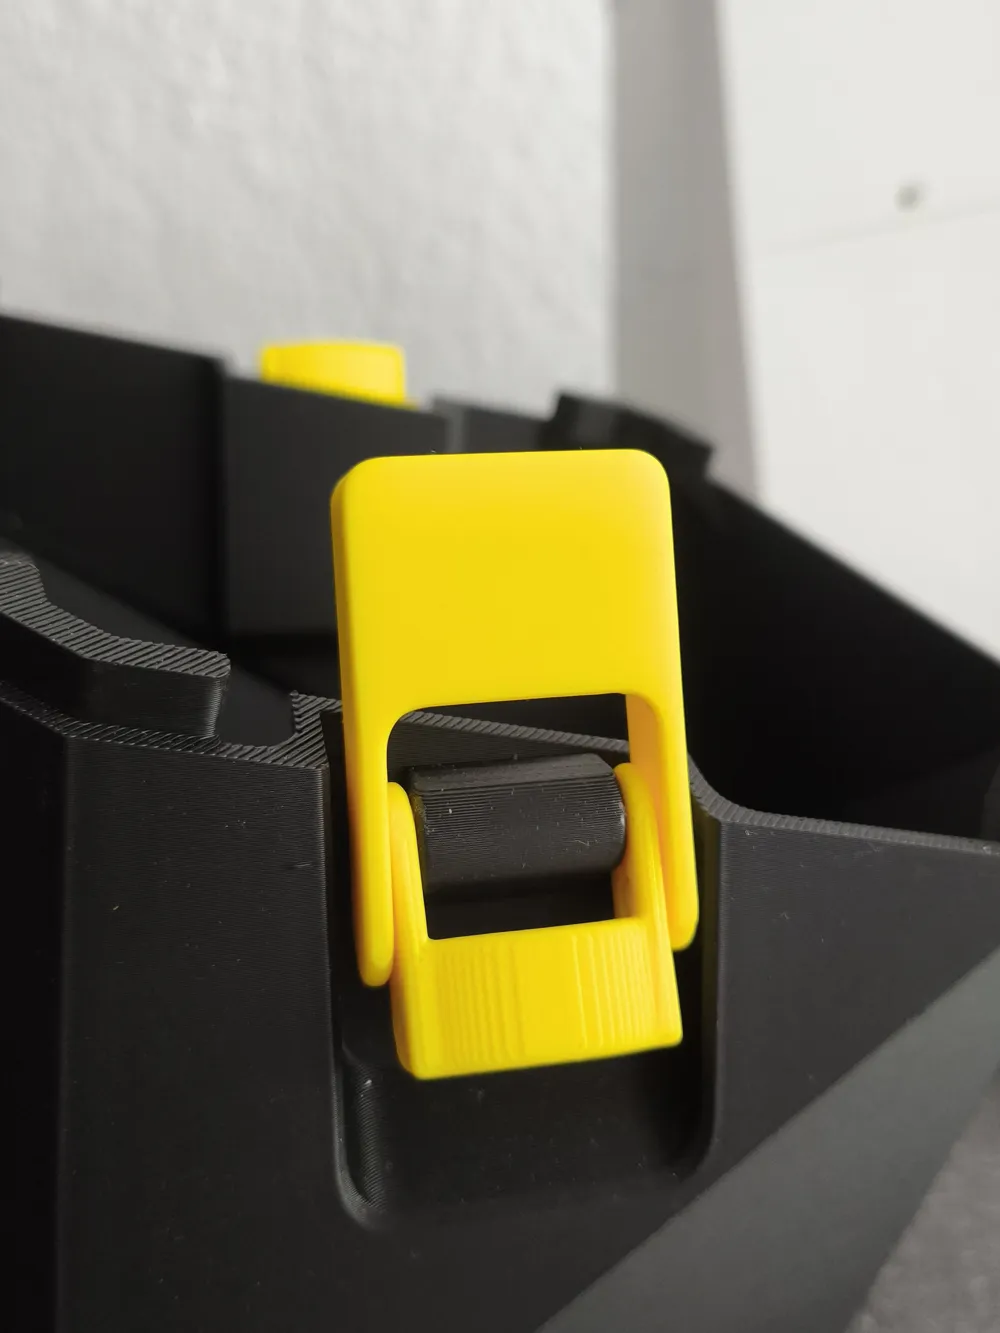
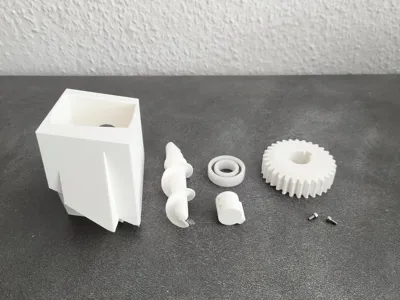
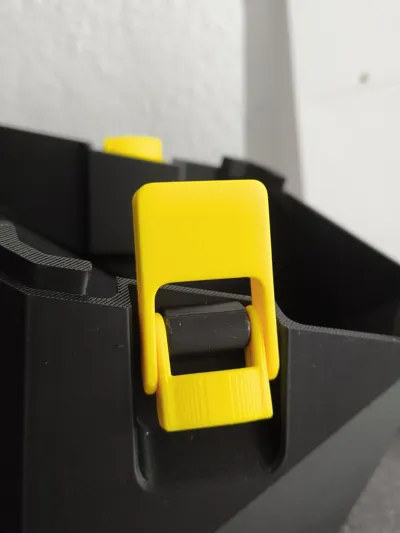
- Modern design that's easy to clean. Every part that comes into contact with food needed to come out fast, without tools and without touching any electronics. Just flip open the latch, lift out the container, and pull the auger housing out, done.
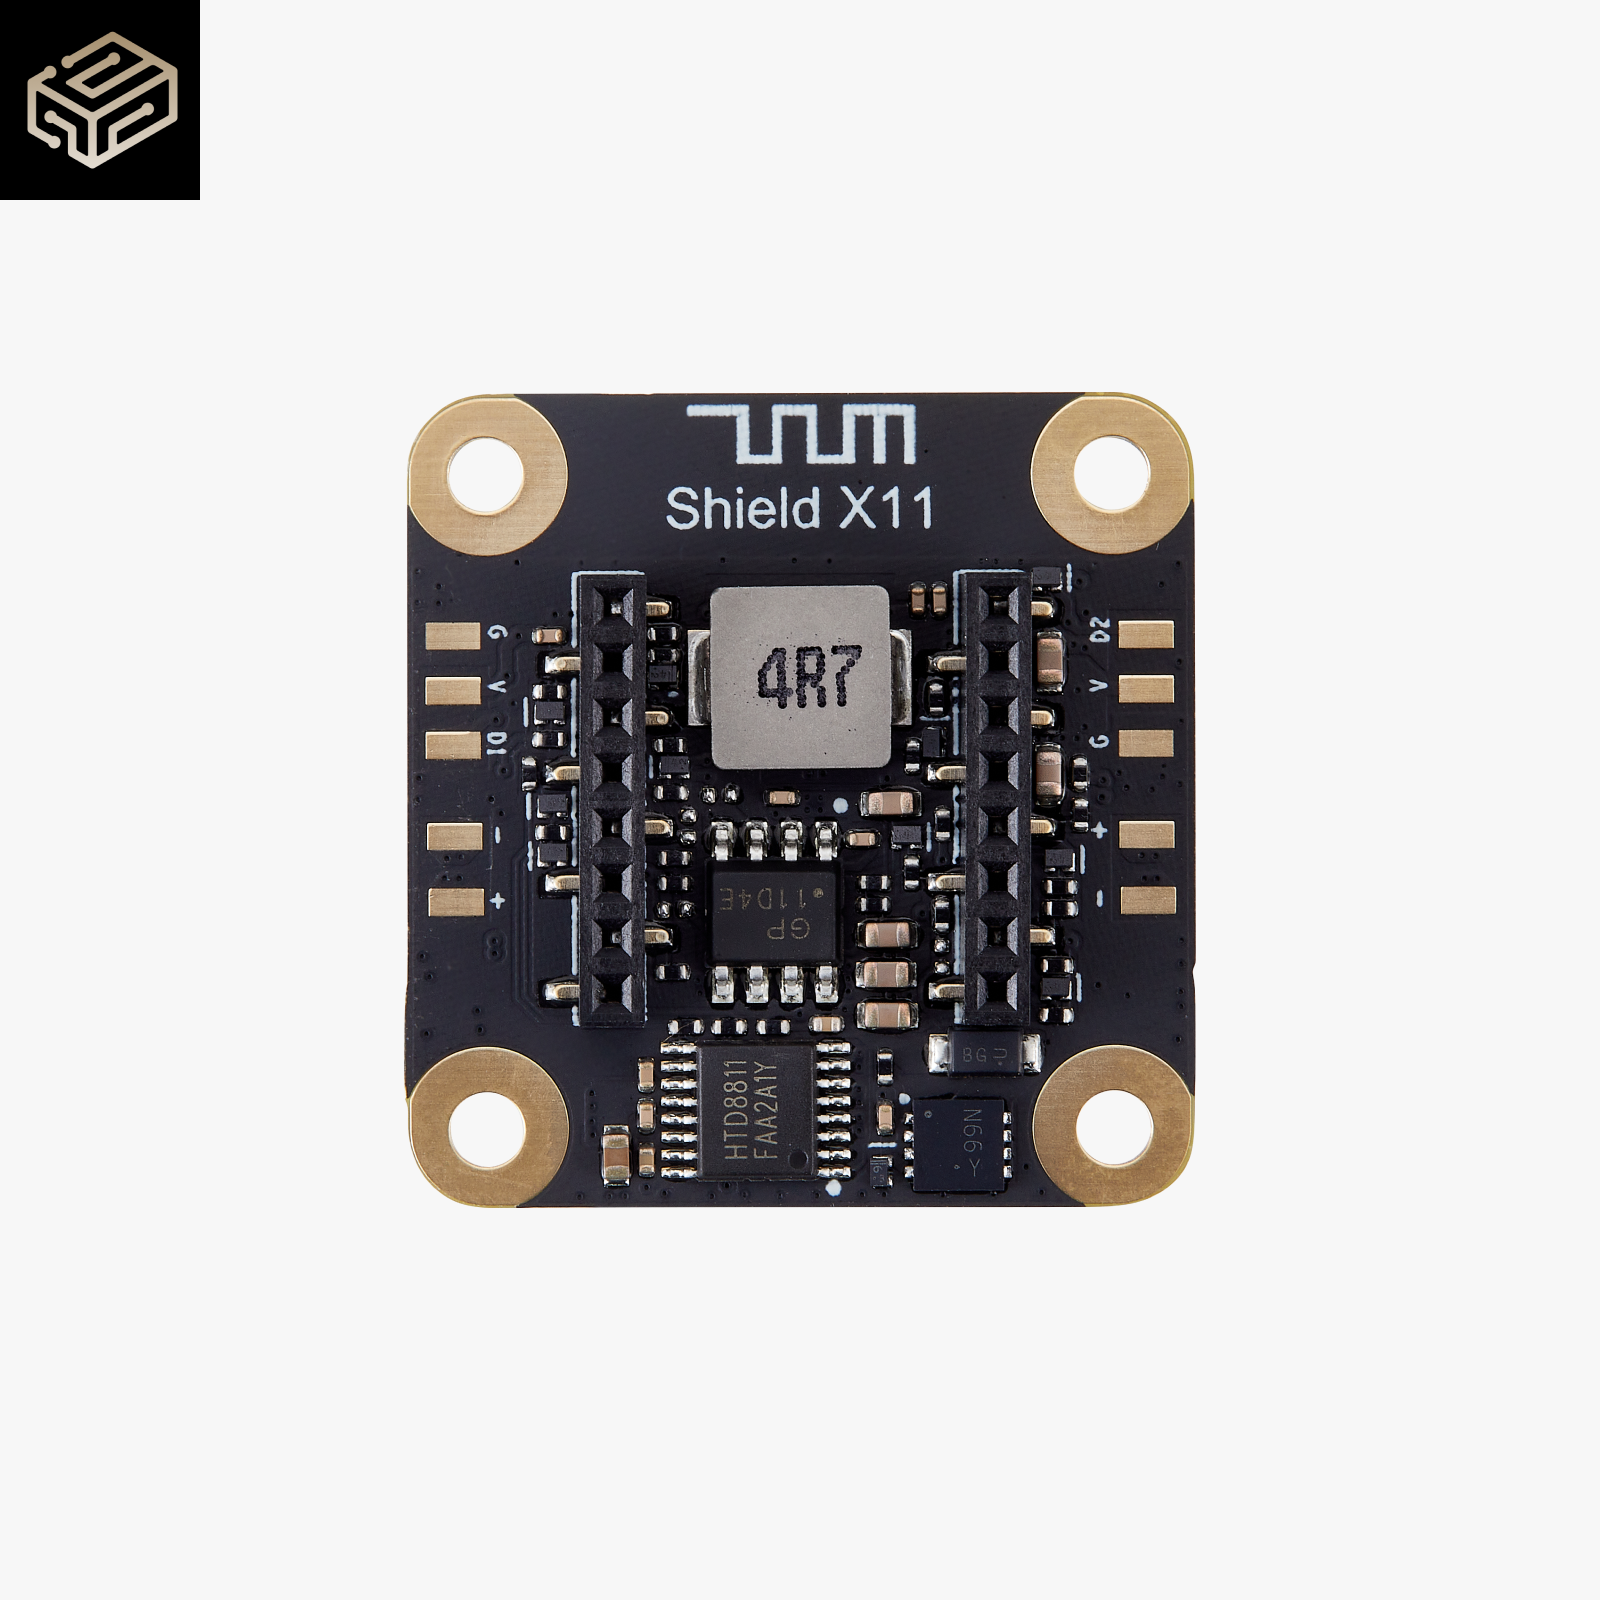
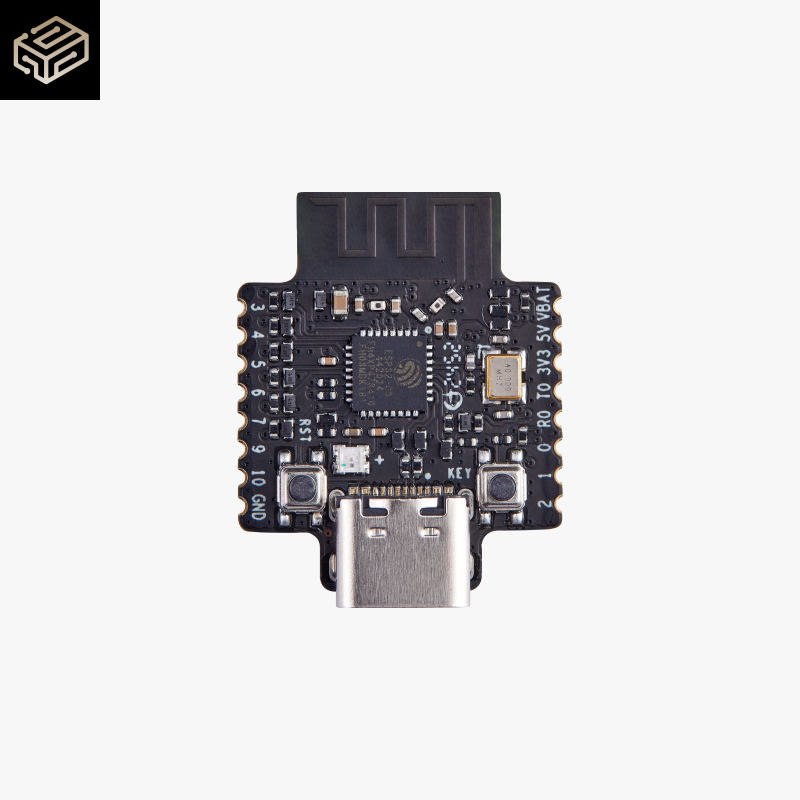
- Official parts only. Since I wanted to test the CyberBrick system and control the feeder over WiFi. It was the perfect opportunity.
How It Works:
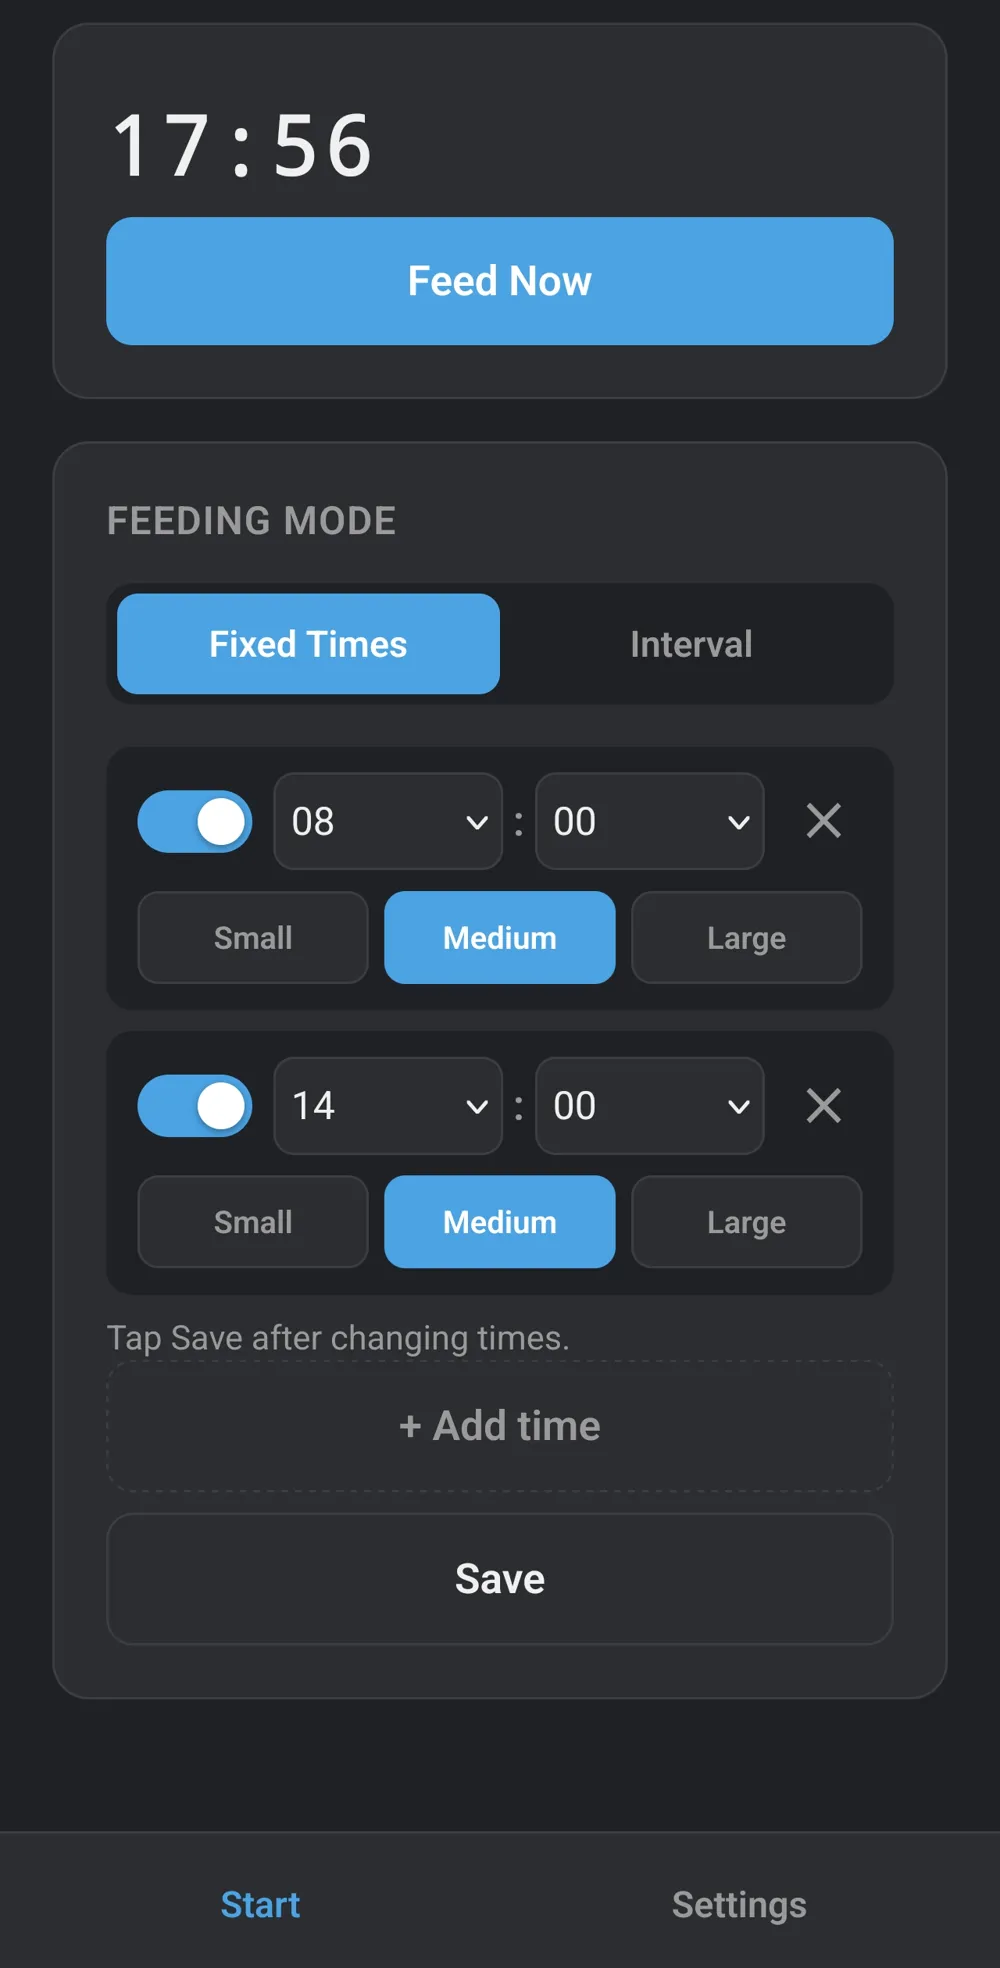
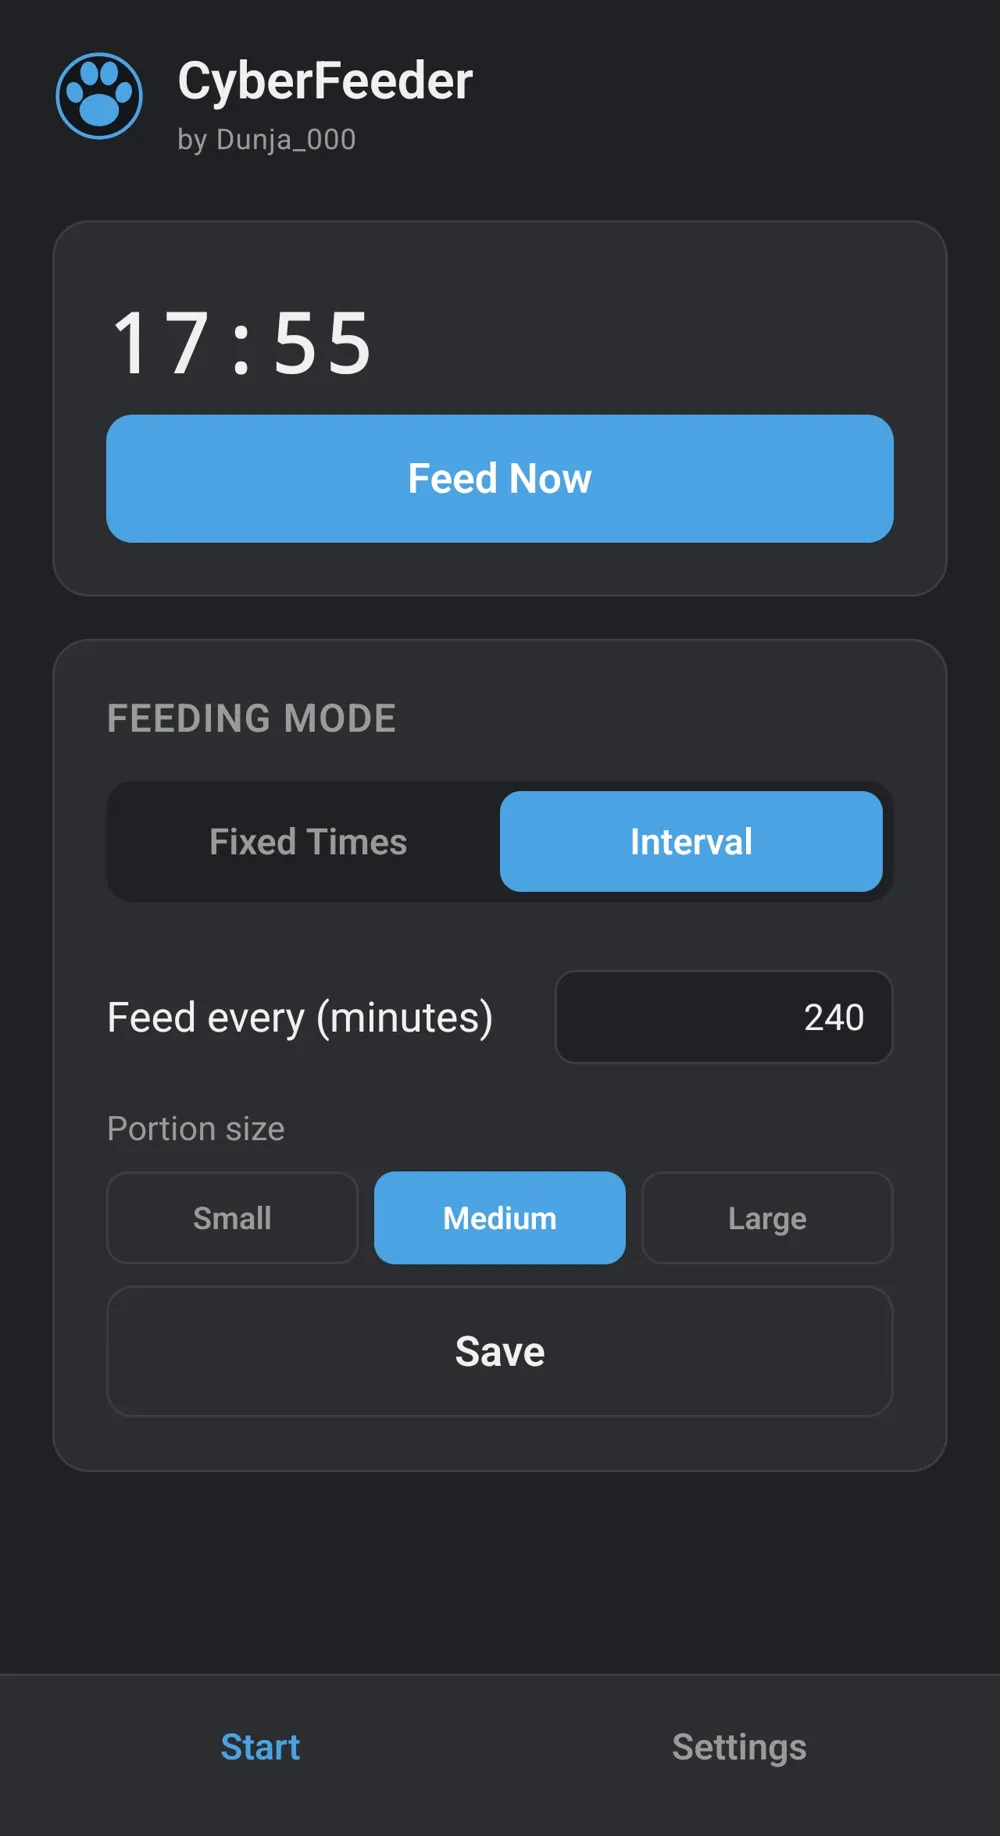
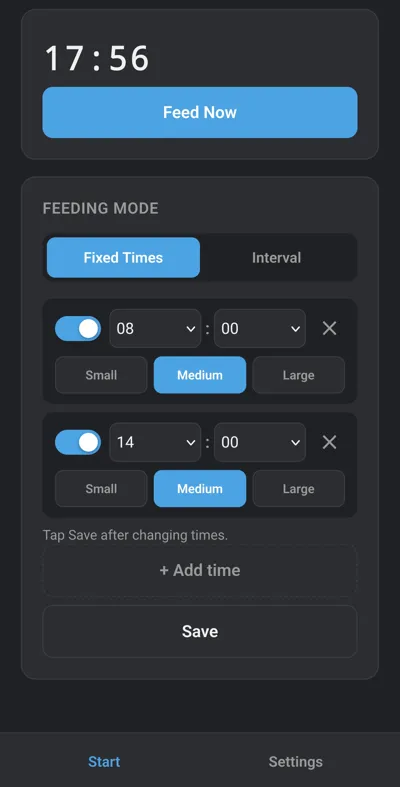
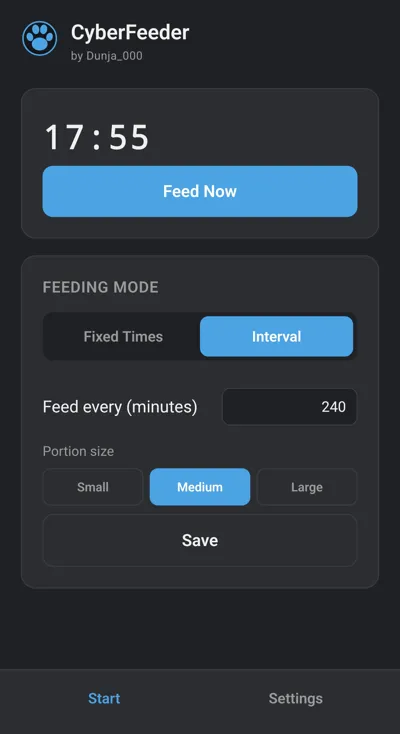
Setup is simple: connect to the WiFi network broadcast by the Multi-Function Core Board, and you'll be taken straight to the feeder's web interface. From there you can:
- Choose interval feeding (feed every X minutes) or scheduled feeding at set times
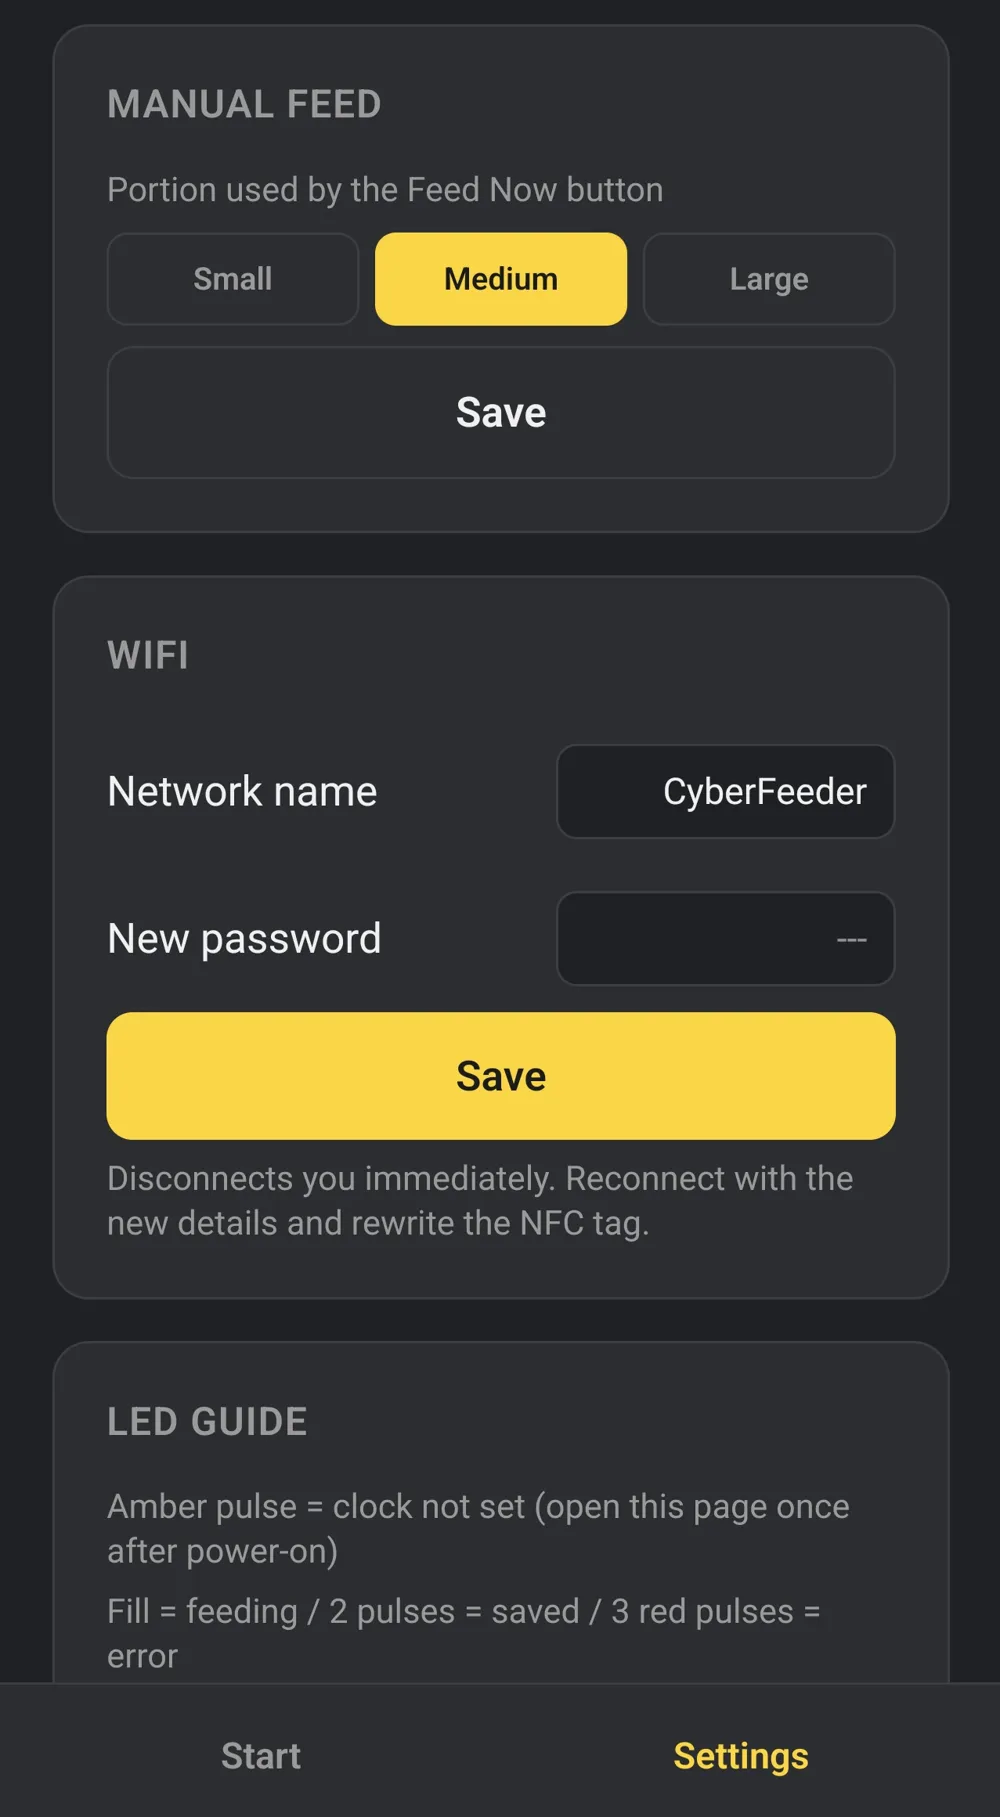
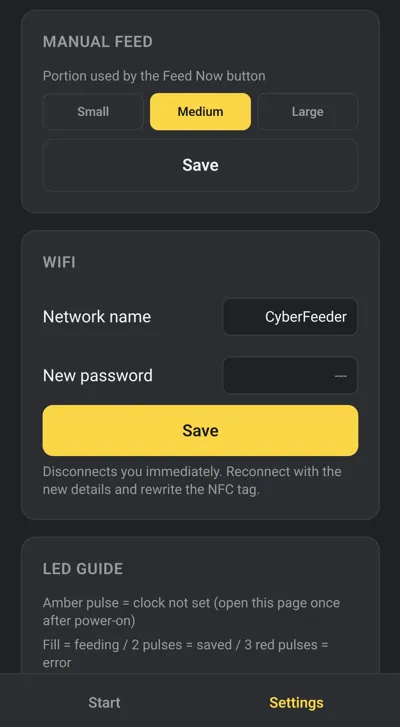
- Trigger an instant feed with the press of a button
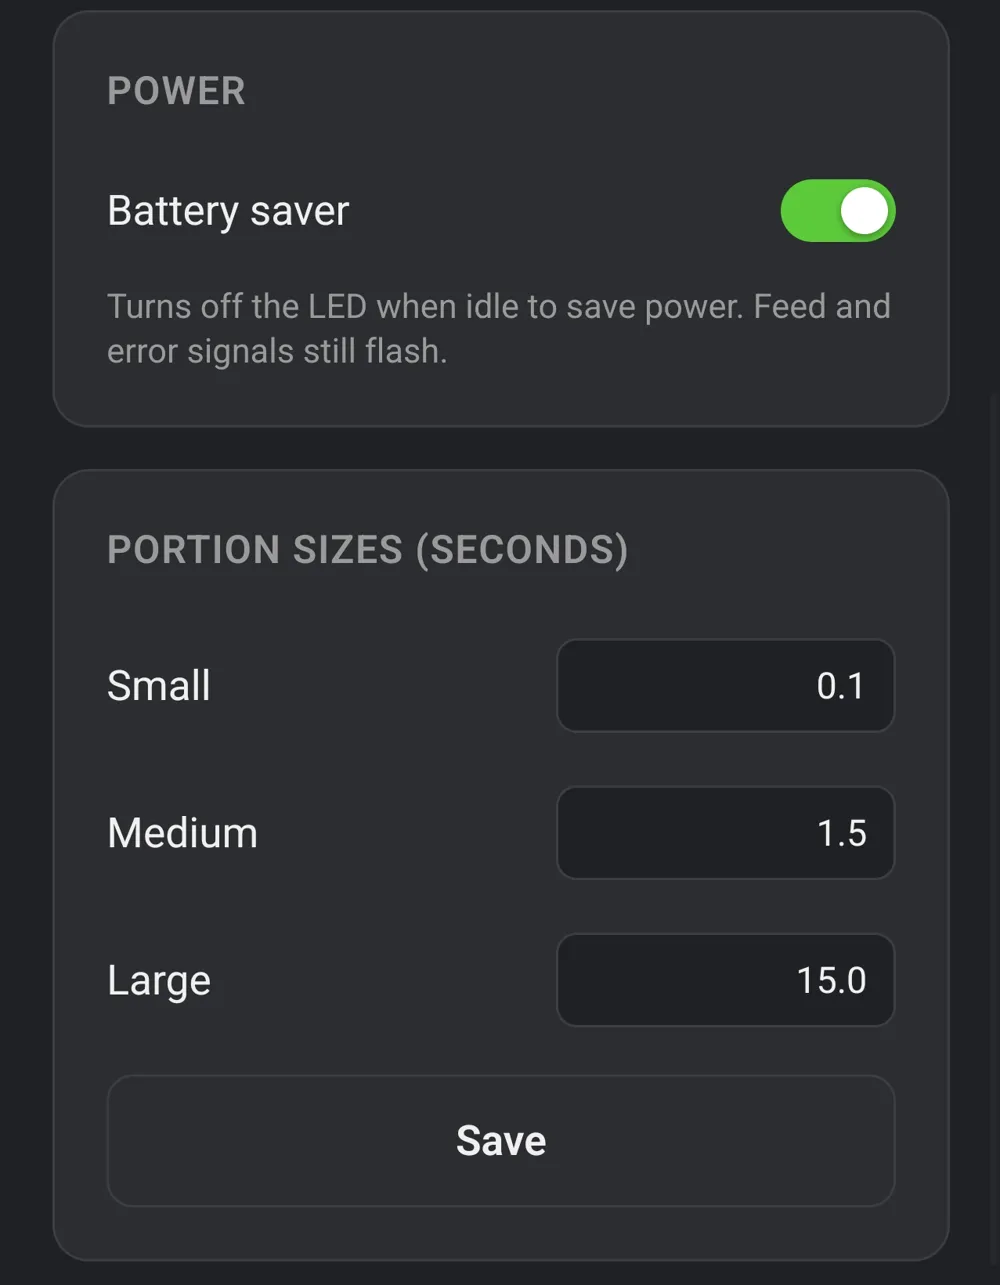
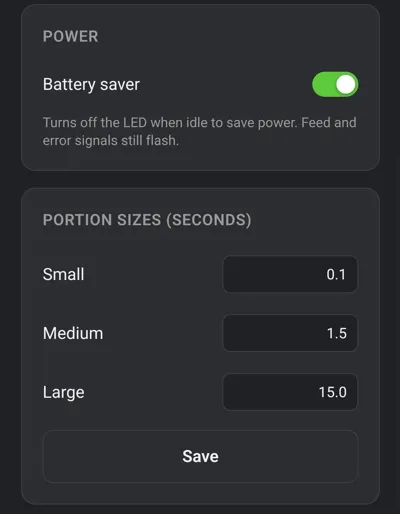
- Adjust the portion size
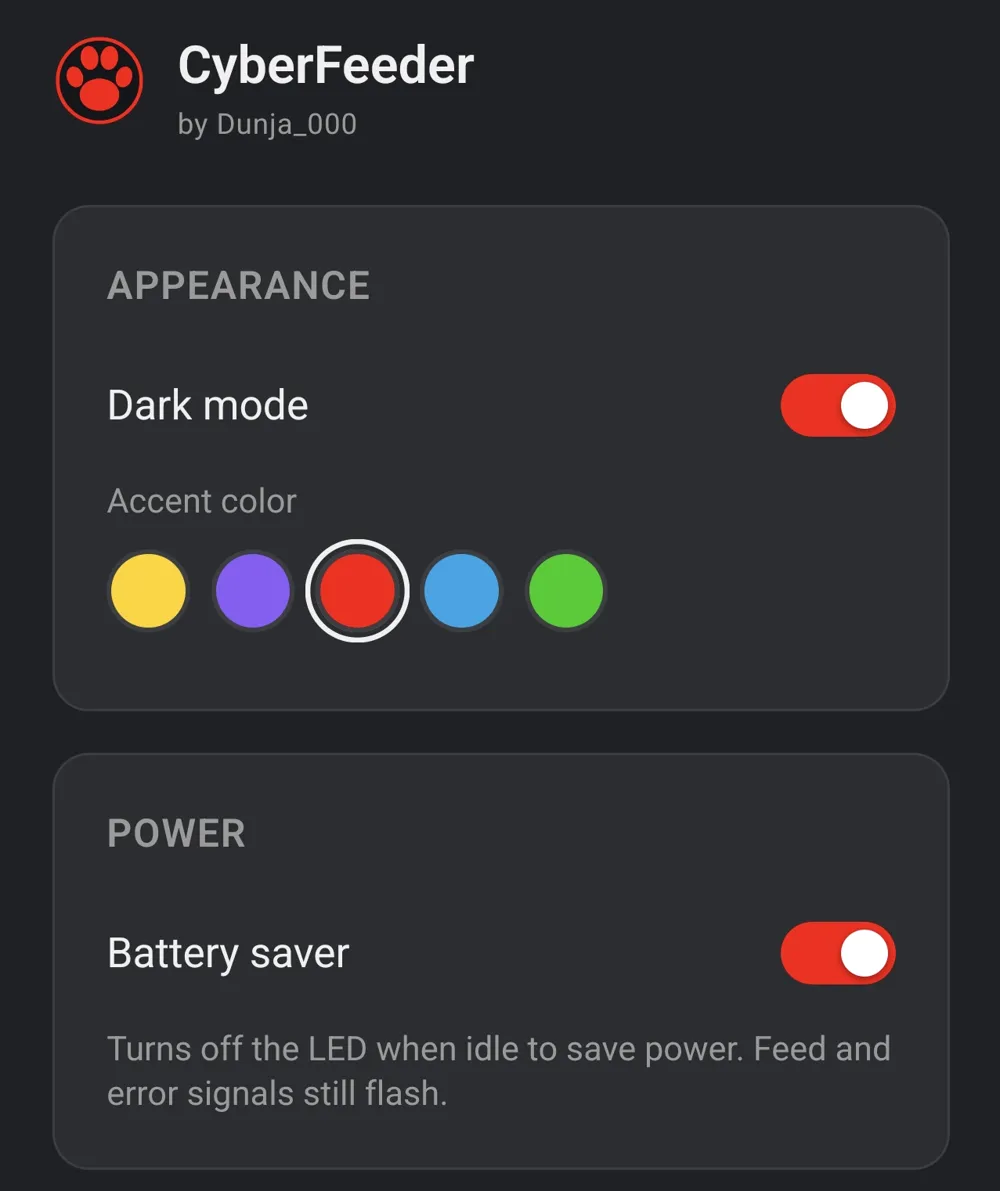
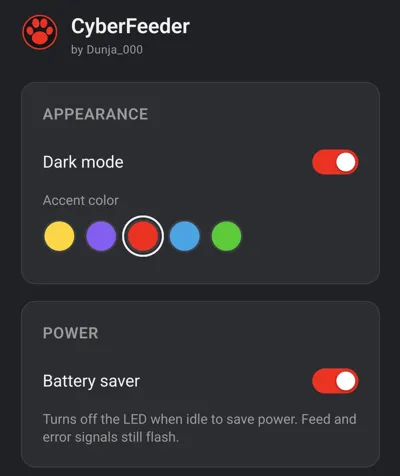
- Pick your own accent color for the interface, the RGB LEDs match it automatically
- Switch between light mode and dark mode
- Set a custom network name and password
- Turn on battery saving mode, so the LEDs stop staying on all the time
The interface itself has a clean, modern look to match the feeder.
Tools:
- Soldering iron
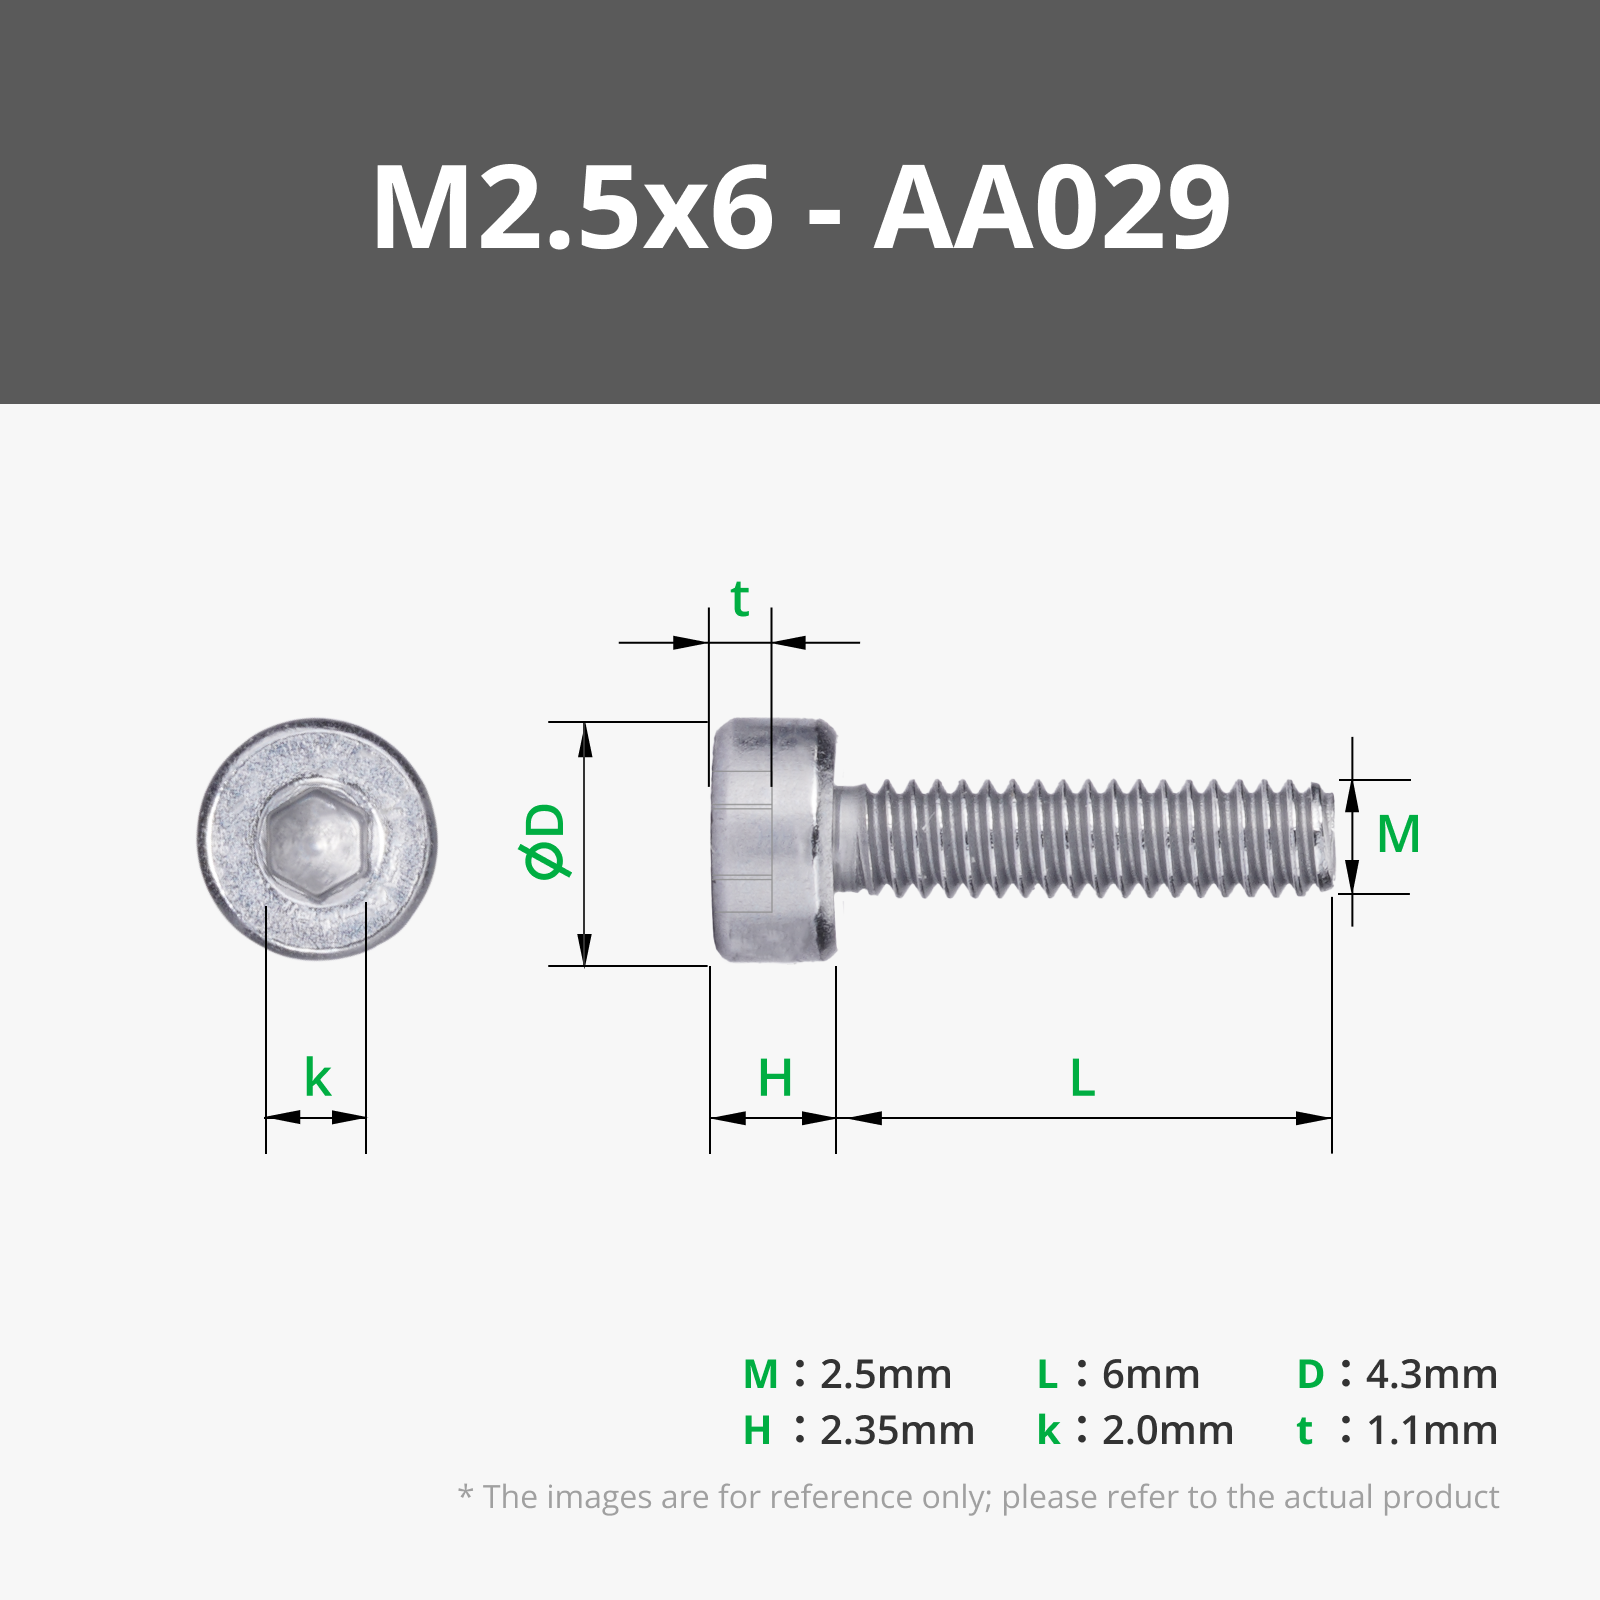
- Screwdriver to match the screws above
- Scalpel or hobby knife, for cleaning up the printed parts
I generally wouldn't recommend using plastic in the kitchen or for anything food related.
This is more of a fun tech project than a certified food safe appliance, so keep that in mind.
Boost Me (for free)
I'd love to hear what you think of the CyberFeeder
I ran out of time to fully figure out the correct way to set up a CyberBrick listing, so this is going live with my best guess for now, hopefully I can still get the CyberBrick badge sorted out afterward.
That's why the code is on GitHub.
https://github.com/by-Klein/CyberFeeder
I'd especially appreciate feedback on the assembly guide, let me know if anything's unclear.
Documentation (1)
License

You shall not share, sub-license, sell, rent, host, transfer, or distribute in any way the digital or 3D printed versions of this object, nor any other derivative work of this object in its digital or physical format (including - but not limited to - remixes of this object, and hosting on other digital platforms). The objects may not be used without permission in any way whatsoever in which you charge money, or collect fees.
Comment & Rating (2)