
PTFE Guide Nano
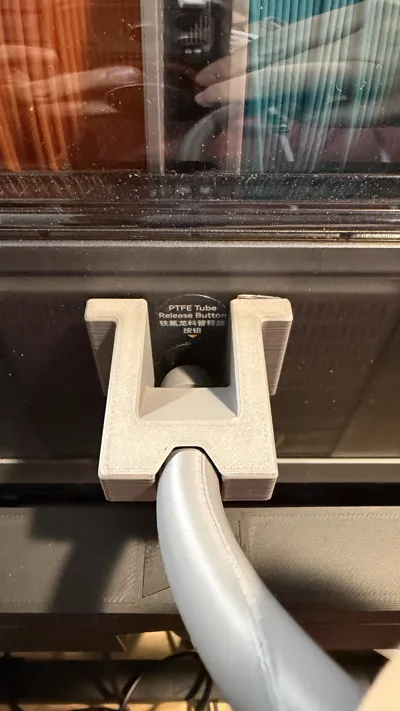
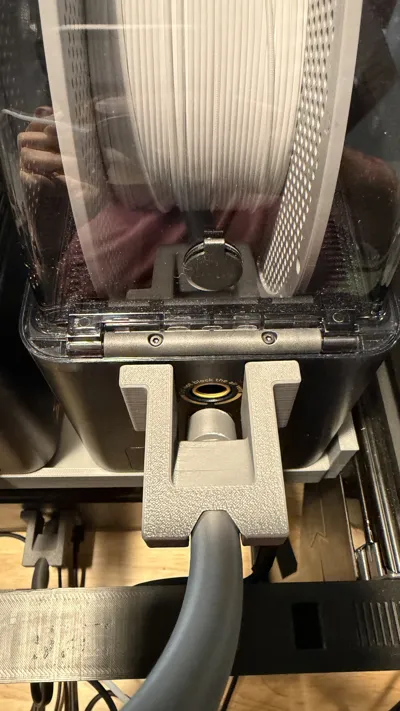
Print Profile(1)
Description
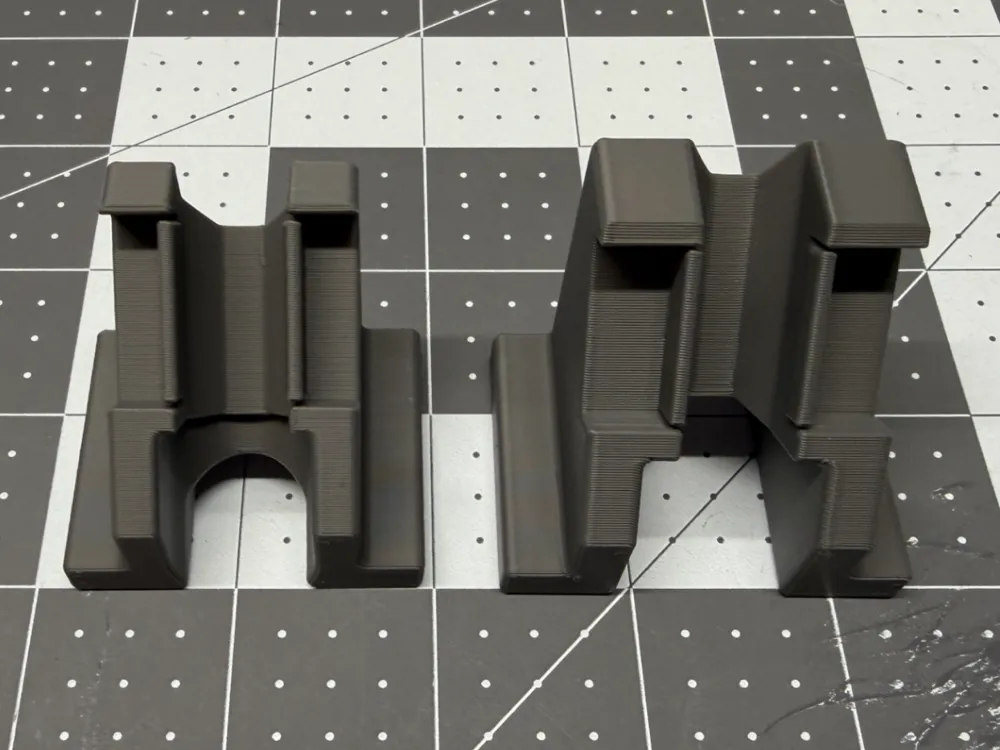
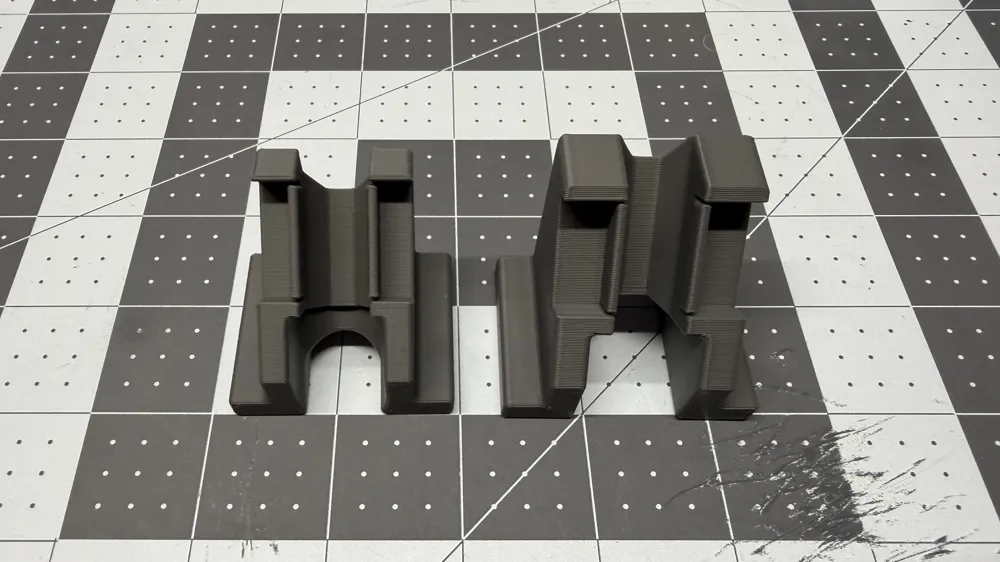
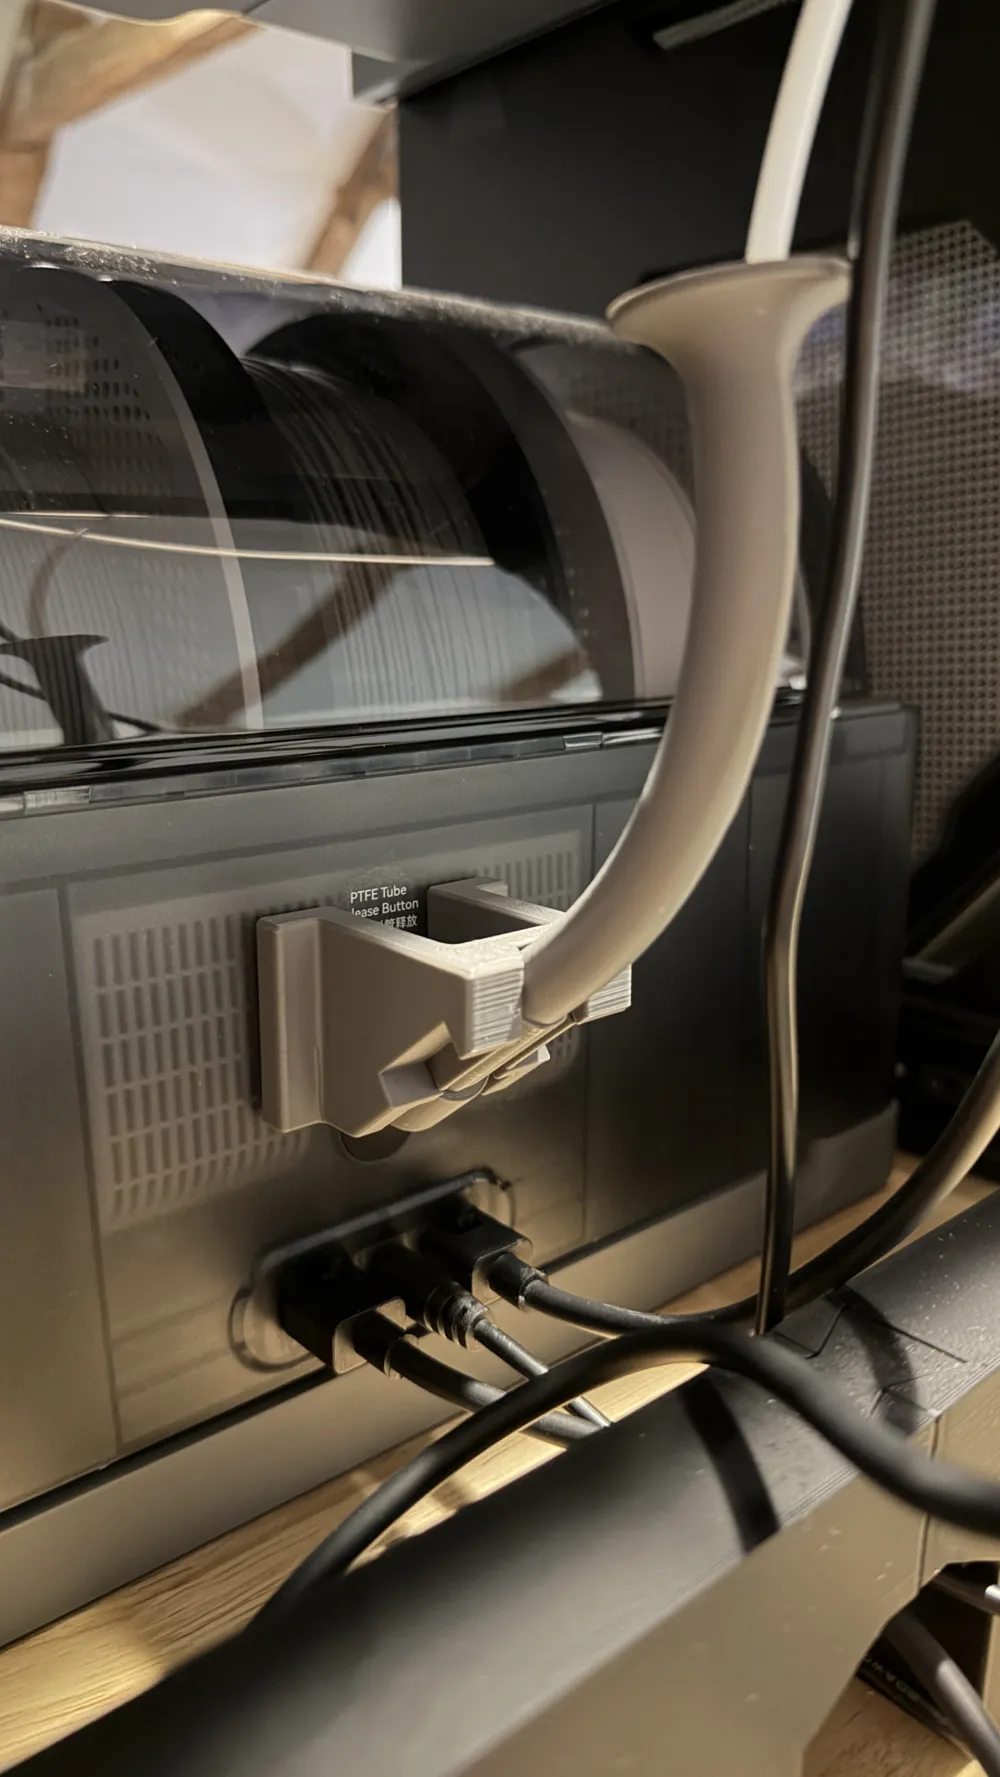
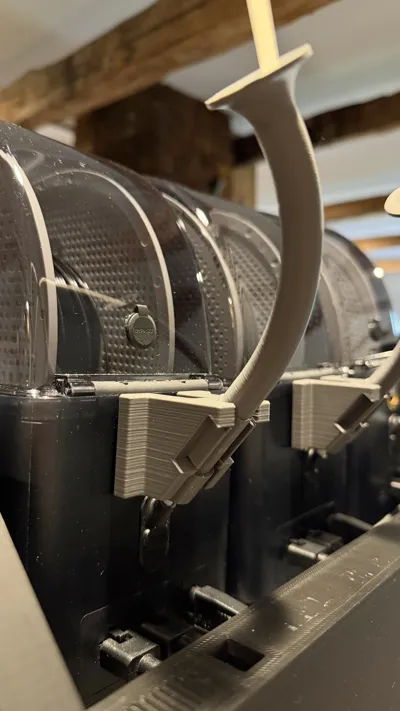
This is a Remix of Bambu Labs PTFE guide that was released alongside the Filament track switch. After months of usage, I started to notice some of the design flaws and things that I did not like. I downloaded the step files Bambu Lab provided in their original listing and proceeded to make my changes.
The changes I made are:
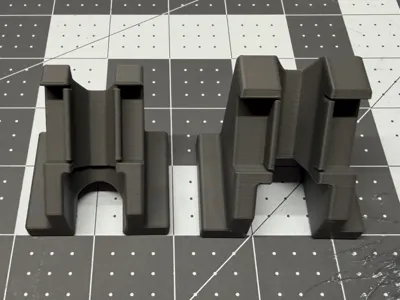
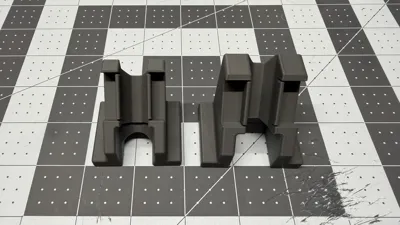
- Reduced the PTFE guide's overall footprint to simplify it, reduce the use of filament and make it more widely compatible with AMS stacking solutions.
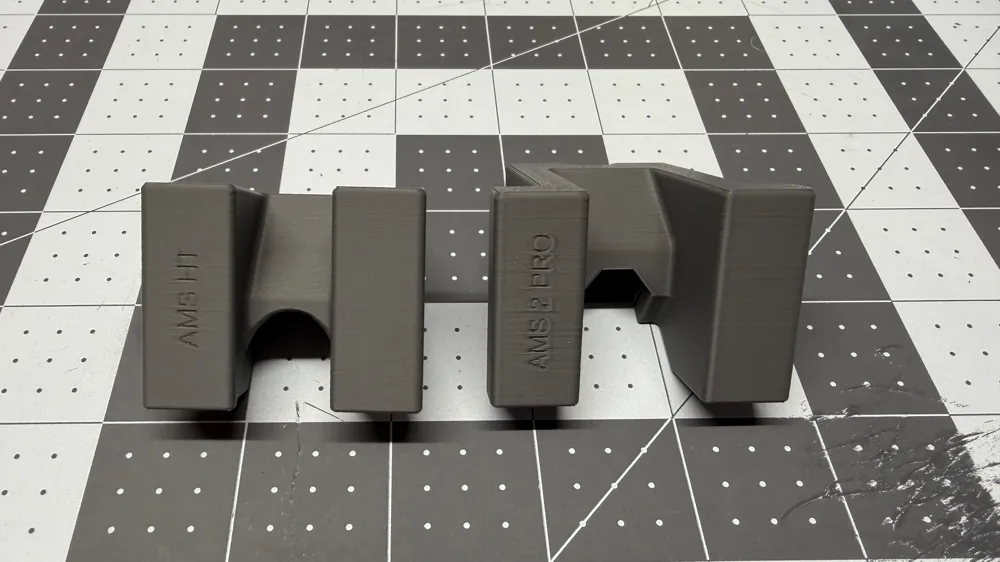
- Widened the sides of the guide to make room for the use of piece of 25mm x 10mm double sided tape (I used the Gorilla Invisible Hold Mounting Tape).
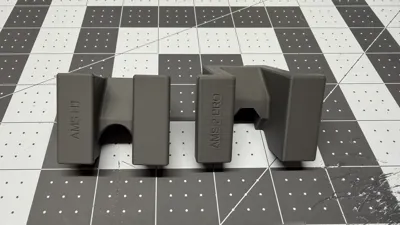
- Slightly increased the thickness of the guide to increase strength and rigidity, and ensure correct alignment with the AMS, AMS 2 Pro, AMS HT.
- Strengthened the tabs that hold the tube by increasing its thickness by .25mm. While this seems very minimal, it is very effective at preventing the tube from dropping down over time.
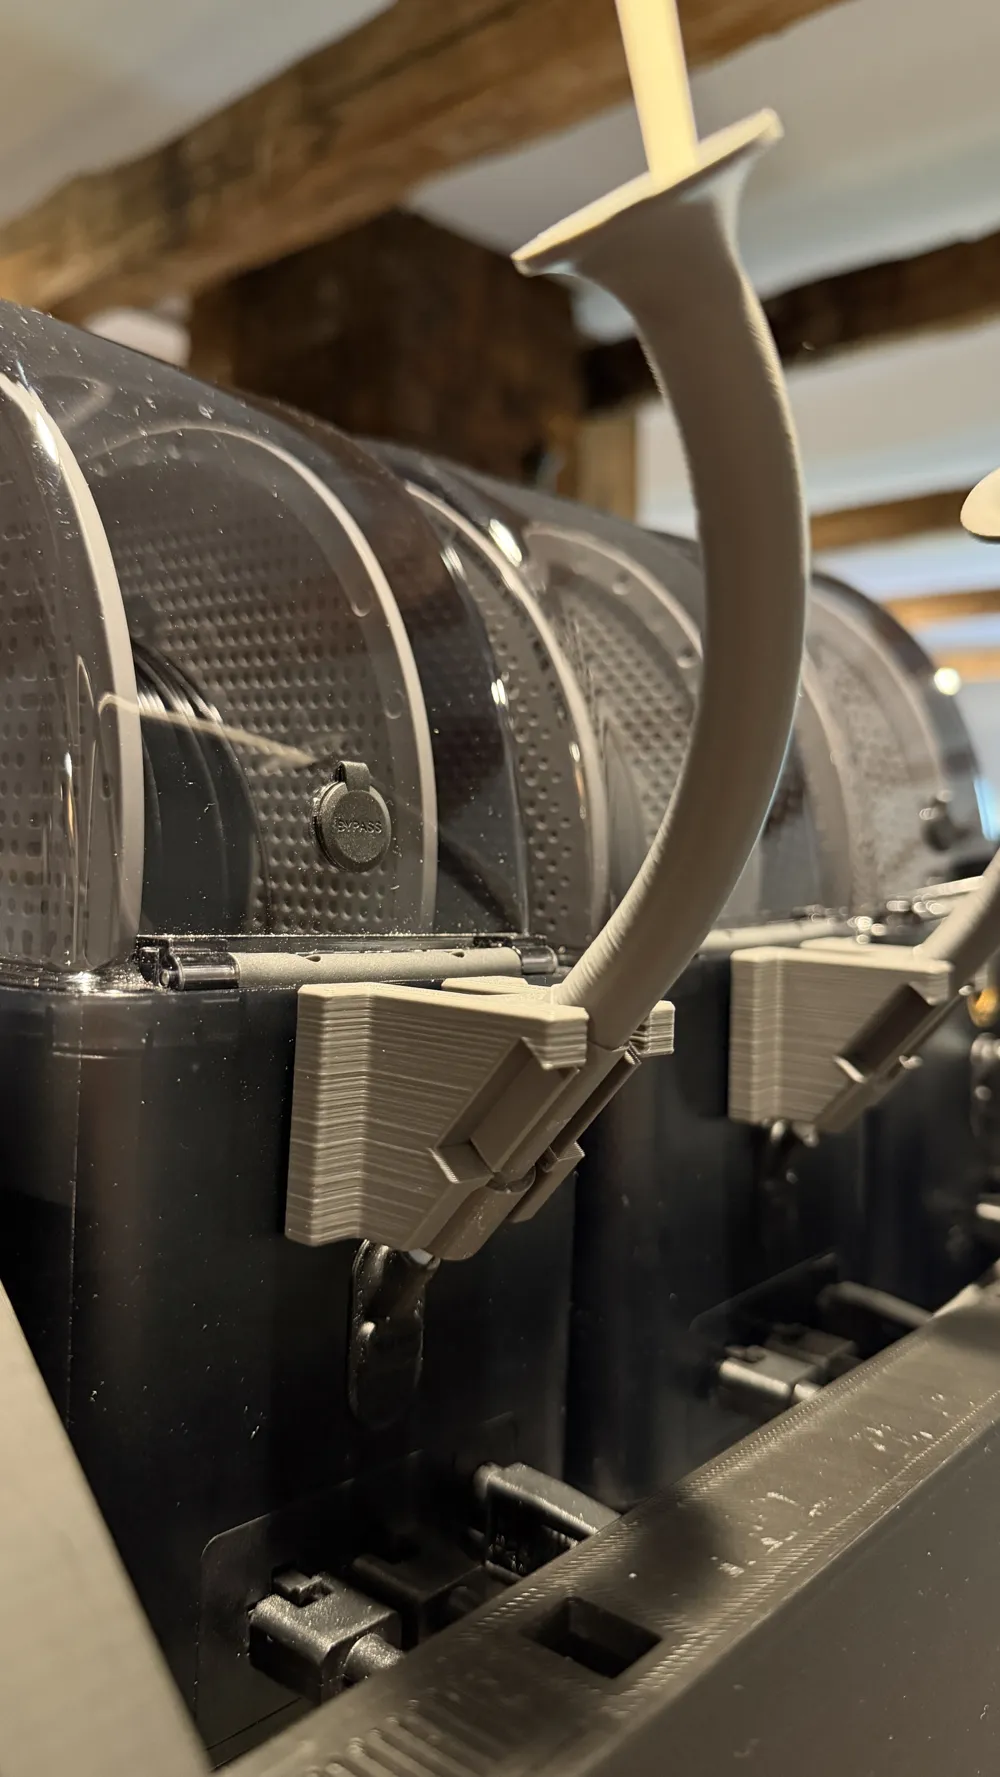
An unexpected benefit from my changes is that you can place the guide exactly where the PTFE tube wants to be.
Installations instruction:
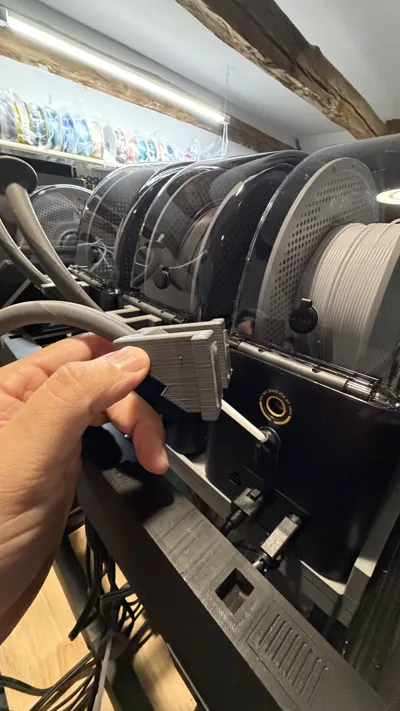
- Cut a 10mm by 25mm piece of double sided tape and place them on the tabs that face the AMS, AMS 2 PRO, and AMS HT.
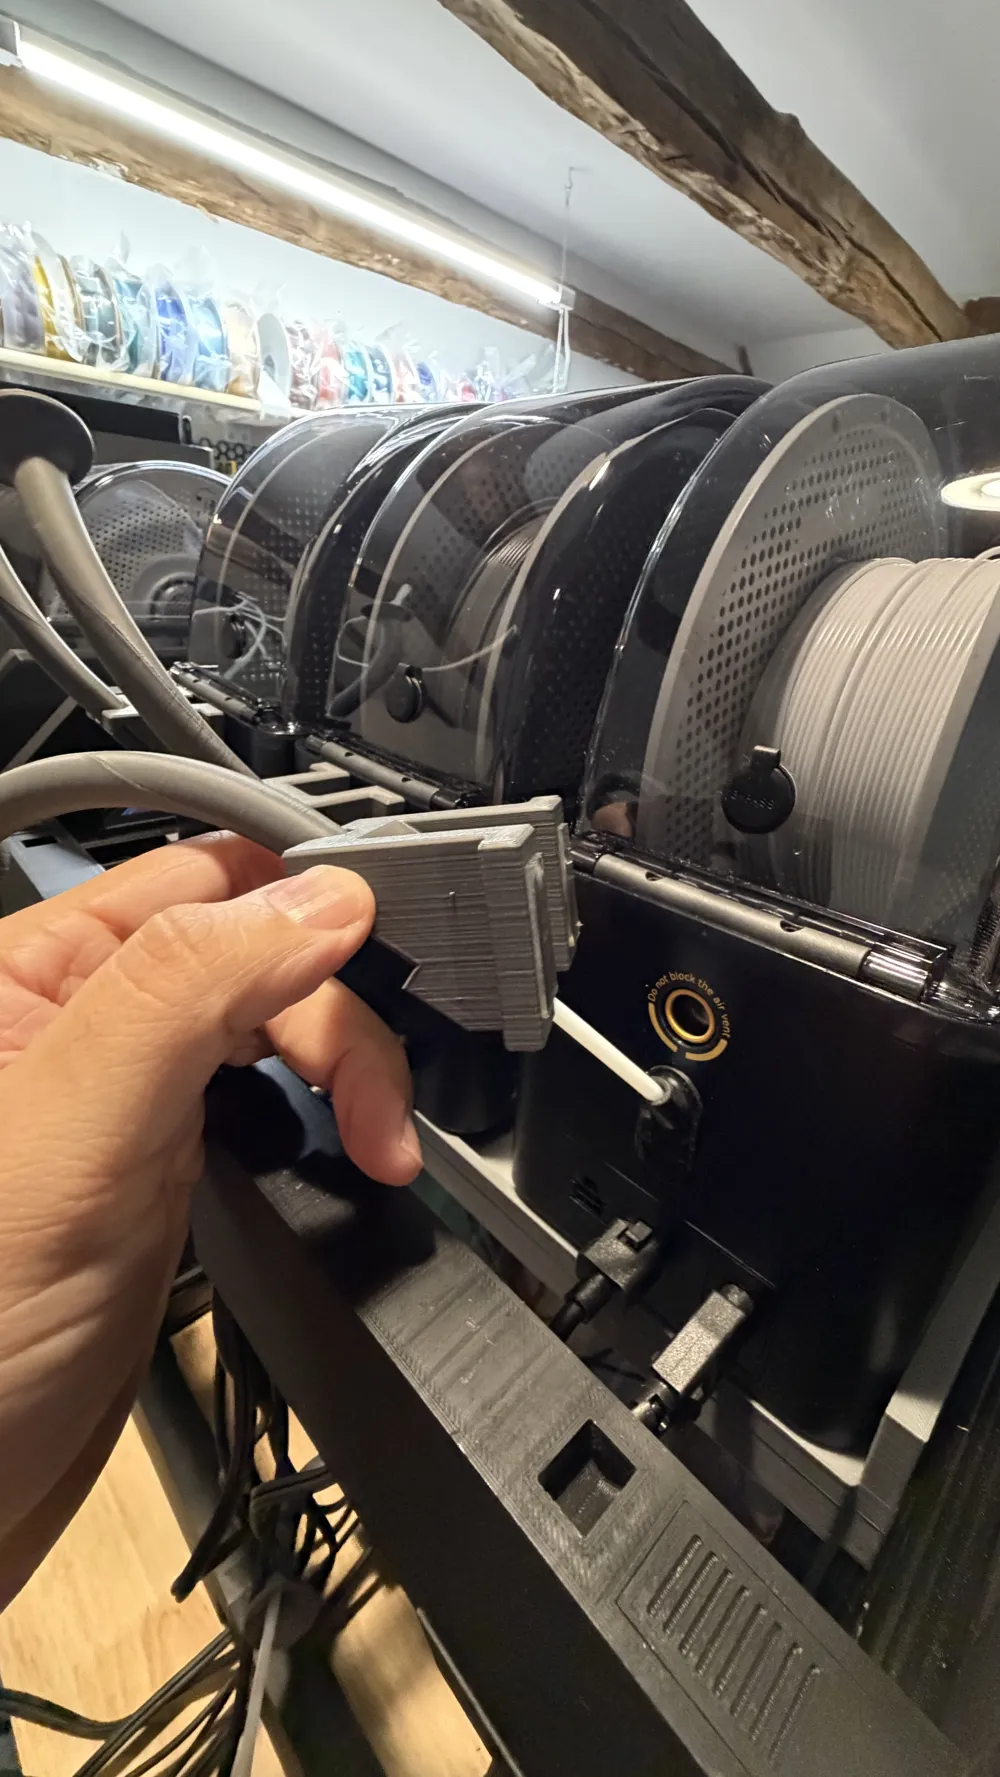
- Place the tube into the base.
- Remove the plastic/paper lining from the tape.
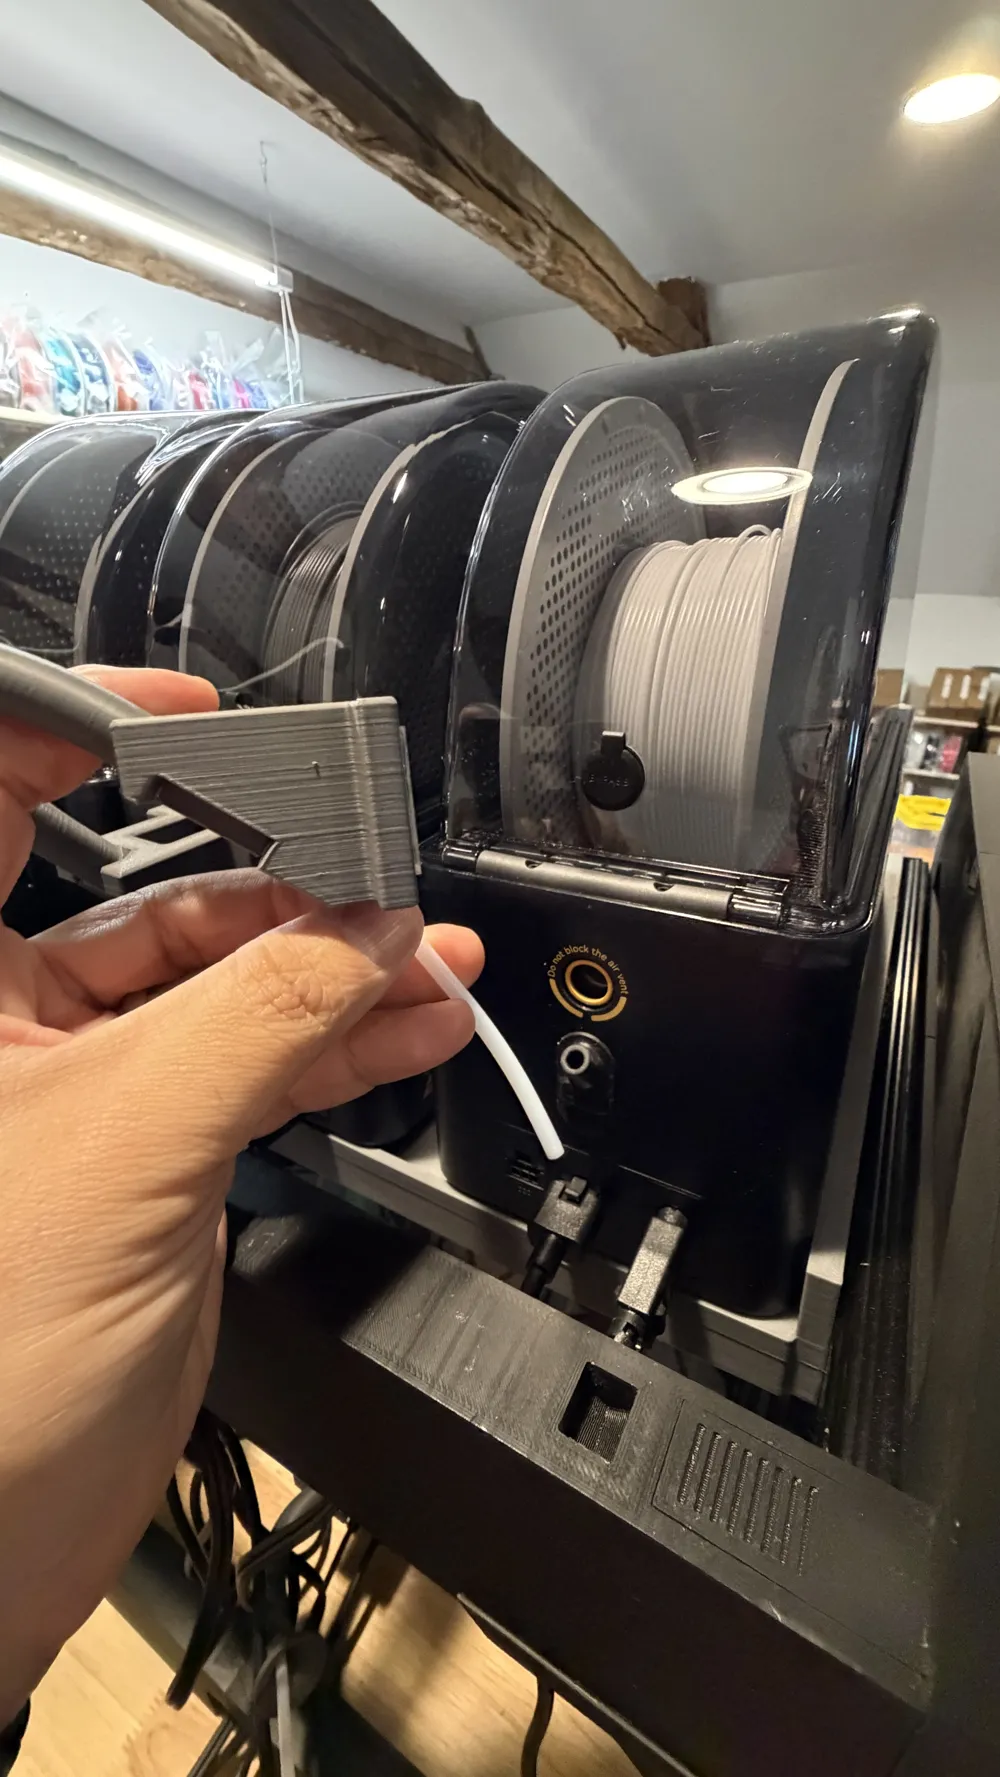
- Remove the PTFE tube from the AMS.
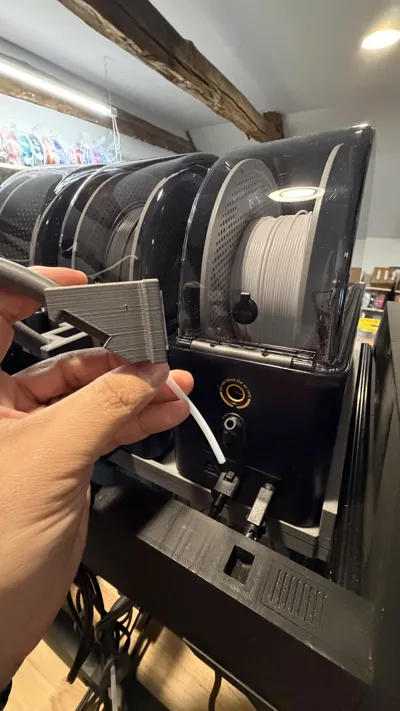
- Slide the PTFE tube into the guide tube.
- Slide the PTFE tube into the AMS.
- Use the PTFE tube to help you install the guide and ensure proper alignment.
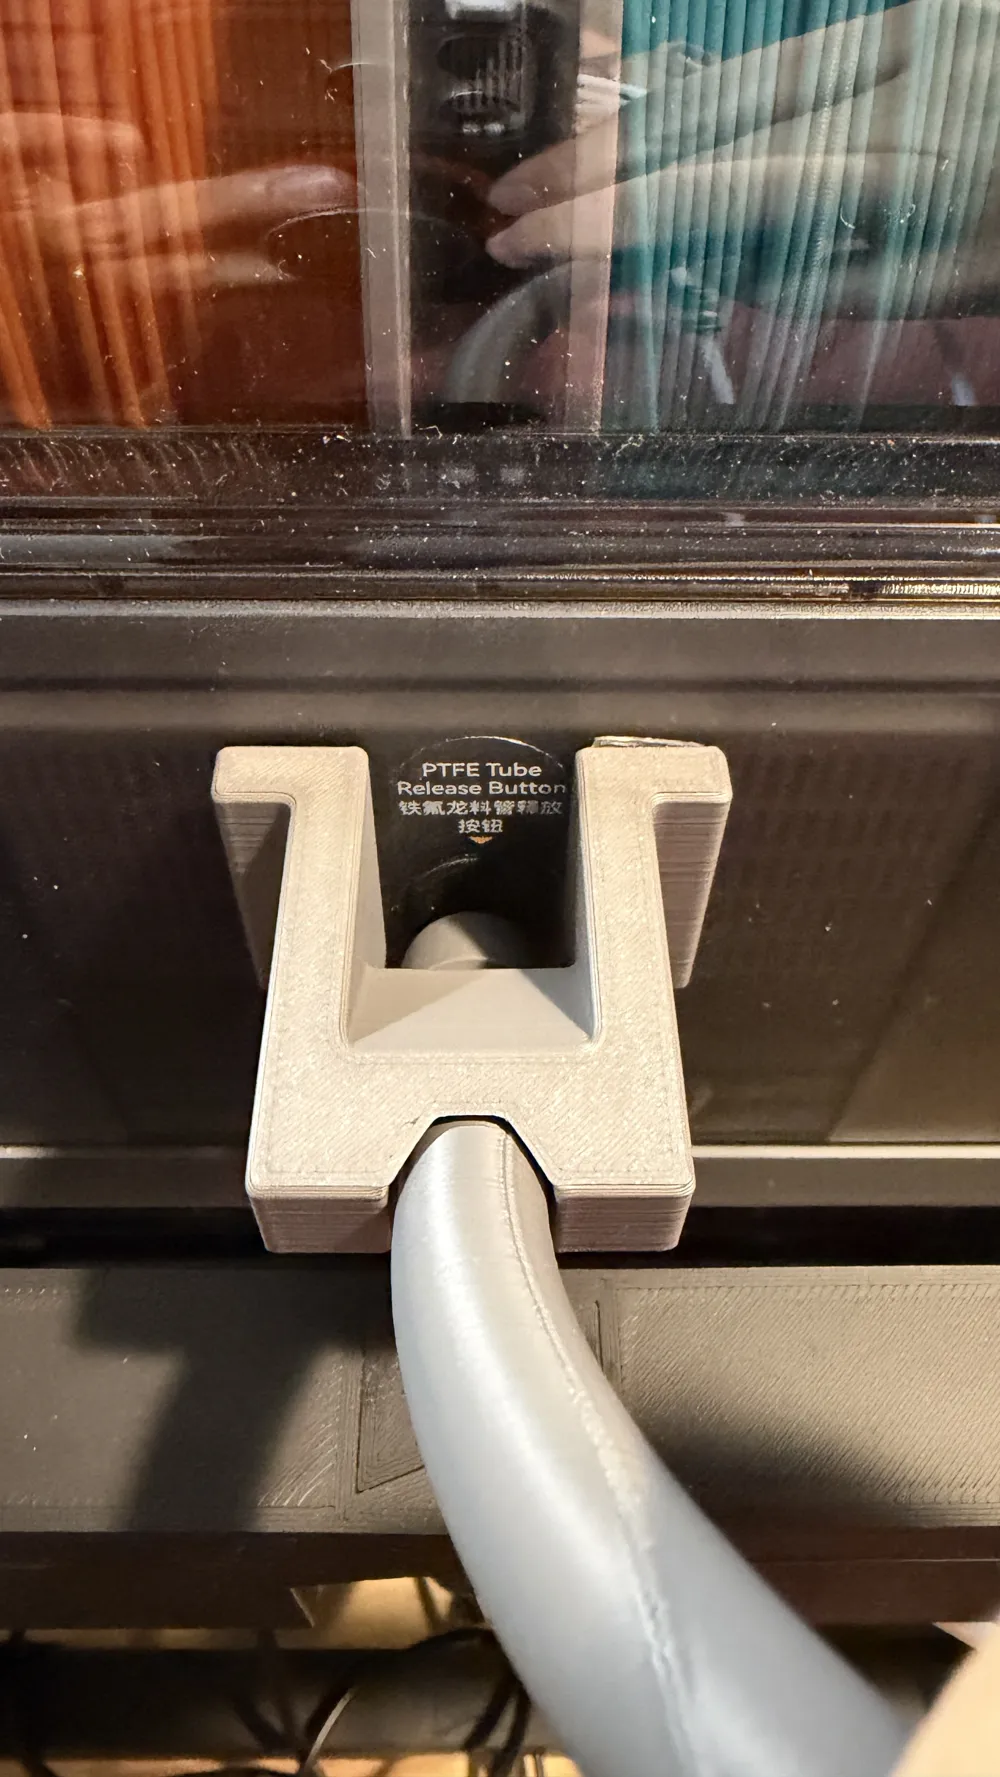
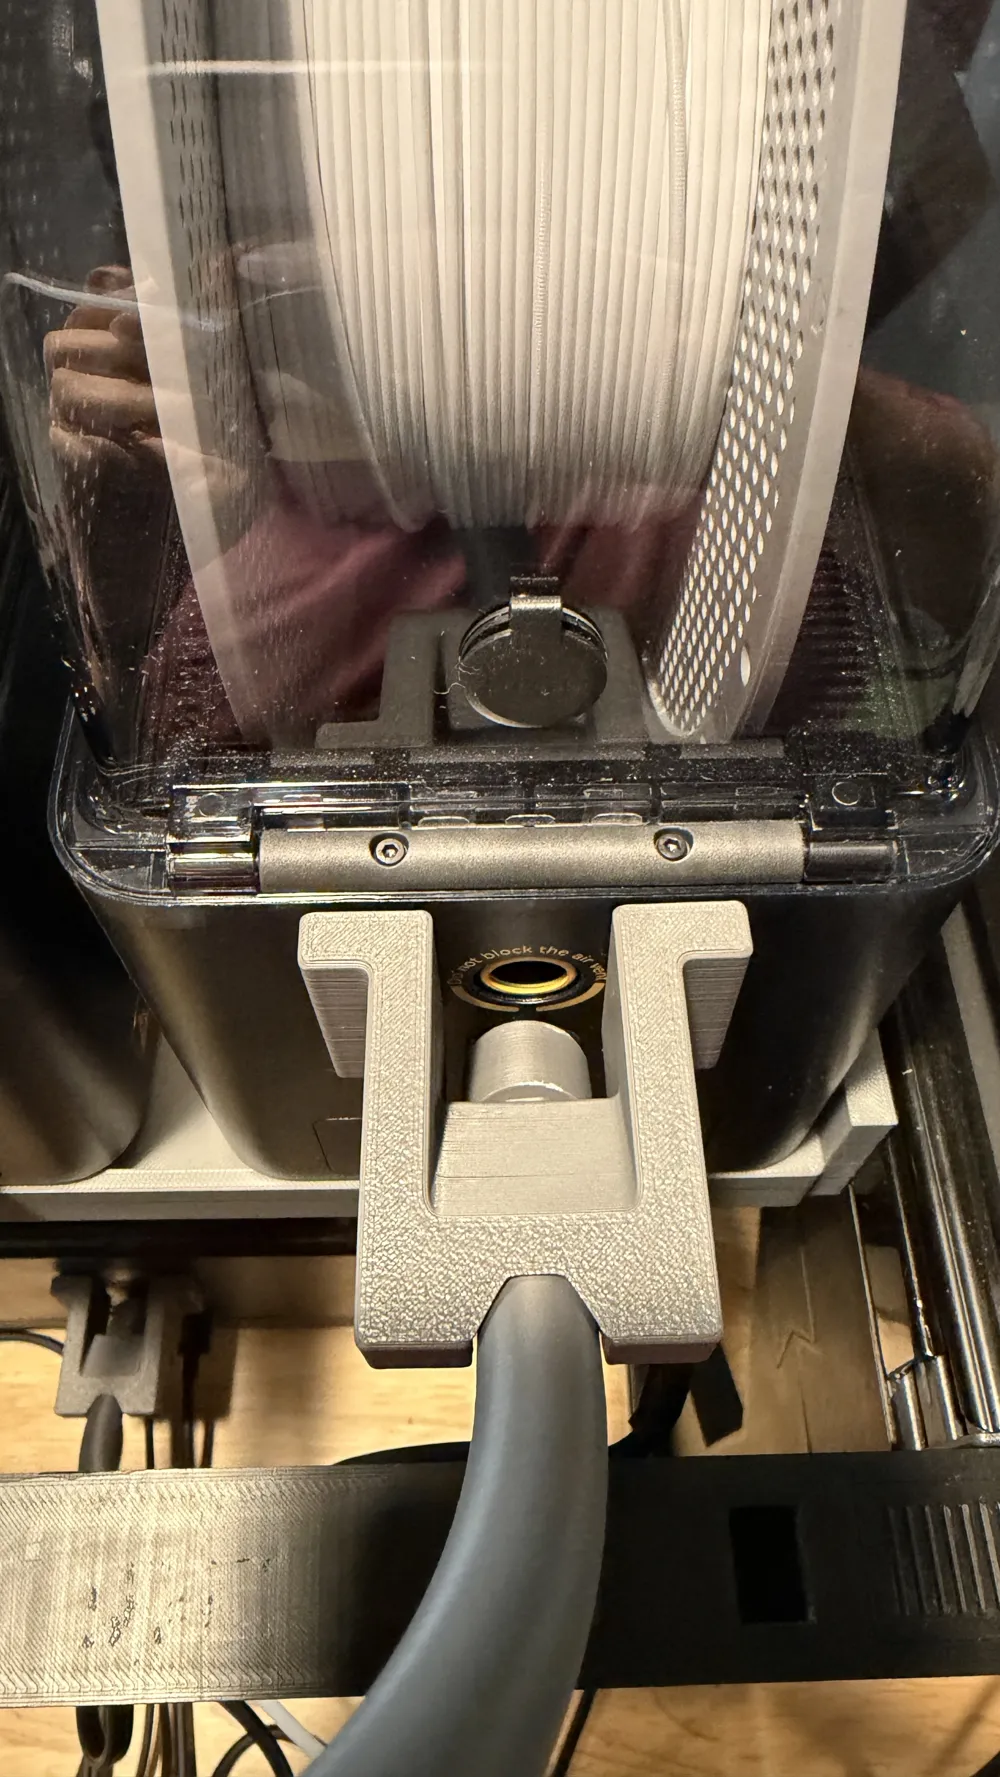
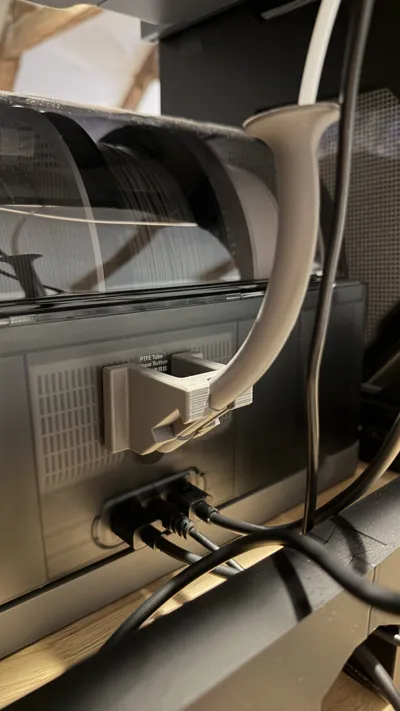
- Aim for having the AMS and AMS 2 PRO release button to be right in the center of the guide. For the AMS HT, ensure air vent is in center of the guide.
- Please refer to the photos provided which are for an AMS 2 PRO and AMS HT. I do not have an AMS 1 so I am unable to provide a photo for that. If you have one, I would greatly appreciate you posting a photo in the comments and let me know if I can use your photo in my listing. I will ensure to give you credit for your contribution.
- Press the base firmly against the AMS, AMS 2 PRO, and AMS HT.
I have tested this and have had no issues. As long as you use a good quality tape, you should not have any issues. I used the Gorilla Invisible Hold Mounting Tape because it is strong, sticky, and can be easily removed without leaving staining or debris.
Please share any feedback and let me know if you run into any issues to make changes.
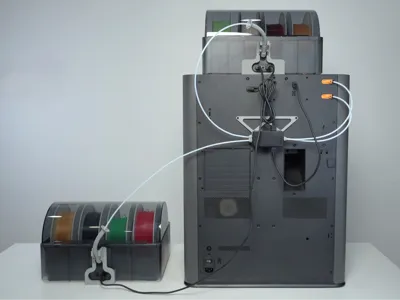
This remix is based on

License

You shall not share, sub-license, sell, rent, host, transfer, or distribute in any way the digital or 3D printed versions of this object, nor any other derivative work of this object in its digital or physical format (including - but not limited to - remixes of this object, and hosting on other digital platforms). The objects may not be used without permission in any way whatsoever in which you charge money, or collect fees.


Comment & Rating (0)