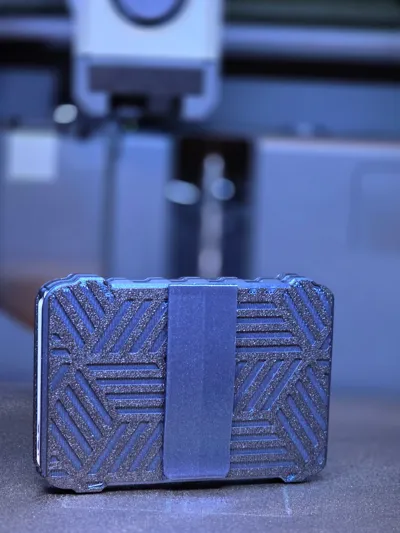
DaOne Wallet


Print Profile(2)


Bill of Materials

Description
AMS and NON AMS Profiles
Please read instructions below!!!
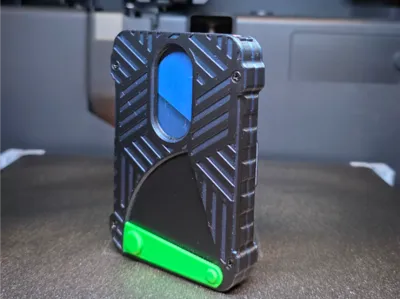
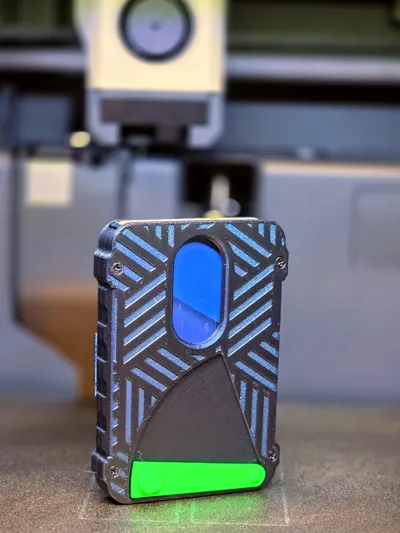
I have created this wallet after searching far and wide for something that both works well, is ergonomic to use, and just works as intended!
After not finding anything that fit exactly what I was looking for, I decided to set out to create my own wallet. IT JUST WORKS!
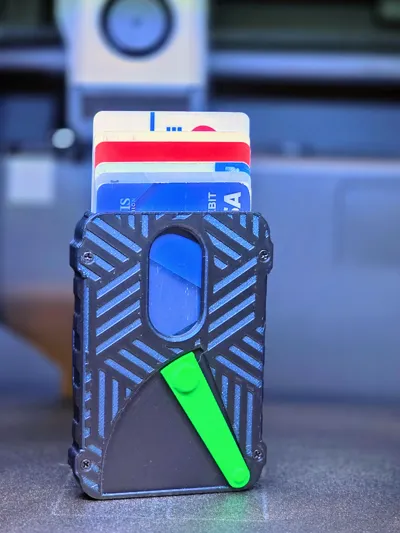
Its kind of a culmination of many different ideas that I love! It can hold from 6-8 cards. 6-7 if a few cards have raised lettering, 8 if most cards are flat.
I have created print profiles for both AMS and NON AMS users. Both will work great for any filament. I have done proof of concept testing with PLA, ASA, PETG, and ABS. PLA actually worked just as good as the others due to the print orientation allowing for a strong mechanism.
Instructions:
- Print models
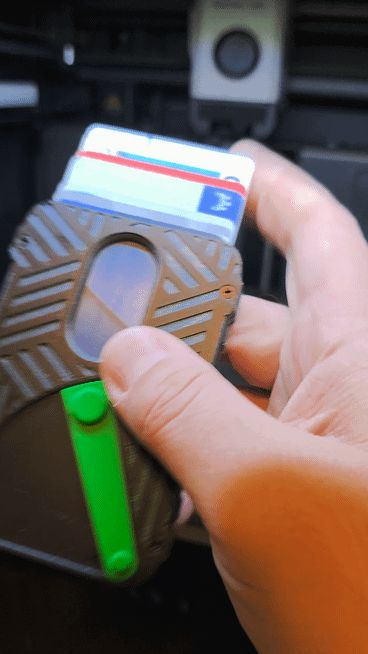
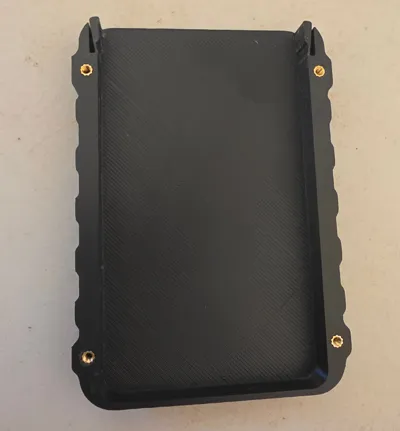
- The base has a printed spring-like mechanism that holds the cards in placed when not in use. Put a little pressure on them to break the small connection to the base. This will allow the spring function to start operating as intended.
- You have TWO choices when attaching the top to the base:
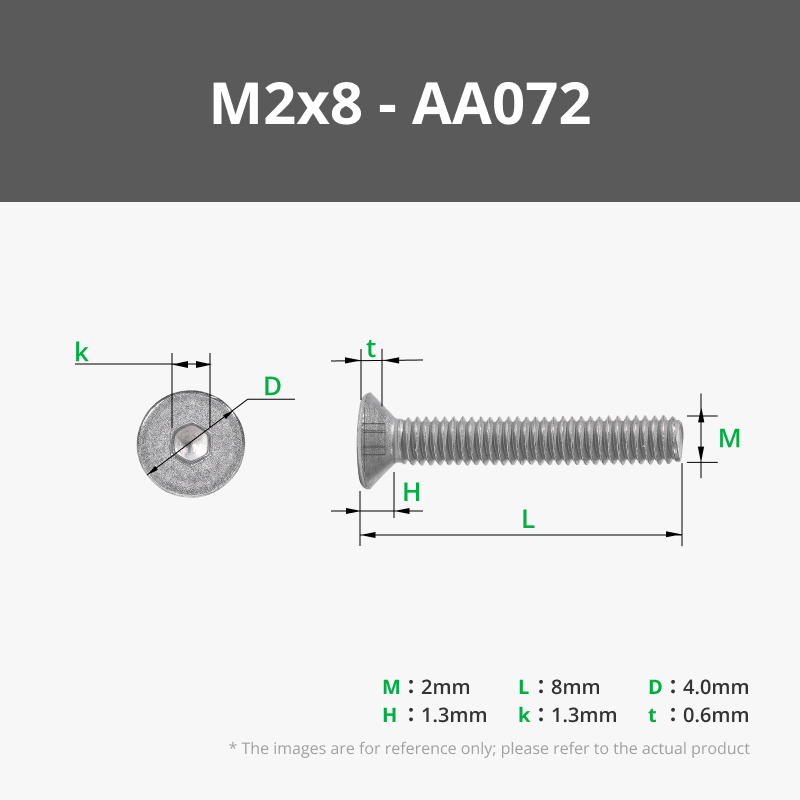
- Used threaded inserts (Size M2x4 is perfect, but M2x2 to M2x7 inserts should work fine as well). Then use the same size M2 countersunk screw (5mm to 8mm long) to connect the top to the base. (RECOMMENDED)
- If you do not wish to use Threaded inserts, I successfully tested M3 countersunk screws as well. They fit very snug without any retrofitting. You will need a M3 screw with at least 5mm length.
- Lastly, press fit the money clip to the back of the wallet. No glue is required, but recommended if you have a loose fit.
Feel Free to purchase the makers supply parts, but you can always procure your own! I got the hardware I used from Amazon. The Threaded inserts came in a kit that came with the soldering iron with different tips for perfect insertion. I am sure Maker's Supply parts will work wonderfully as well!
Enjoy! And any feedback is welcomed :)
Boost Me (for free)
Feel Free to boost if you would like! :)
License
You may create derivative works based on this object, provided that all such derivative works are published exclusively on the MakerWorld platform and include proper attribution to the original creator. You may not share, upload, host, distribute, or publish this object—or any derivative work of this object—on any other digital platform, marketplace, or distribution channel. Commercial use of this object and any derivative works is strictly prohibited. This includes, but is not limited to, selling, renting, sublicensing, or using the object in any context in which you receive monetary compensation or other financial benefits.
Comment & Rating (0)