
Print Profile(1)

Bill of Materials
Description
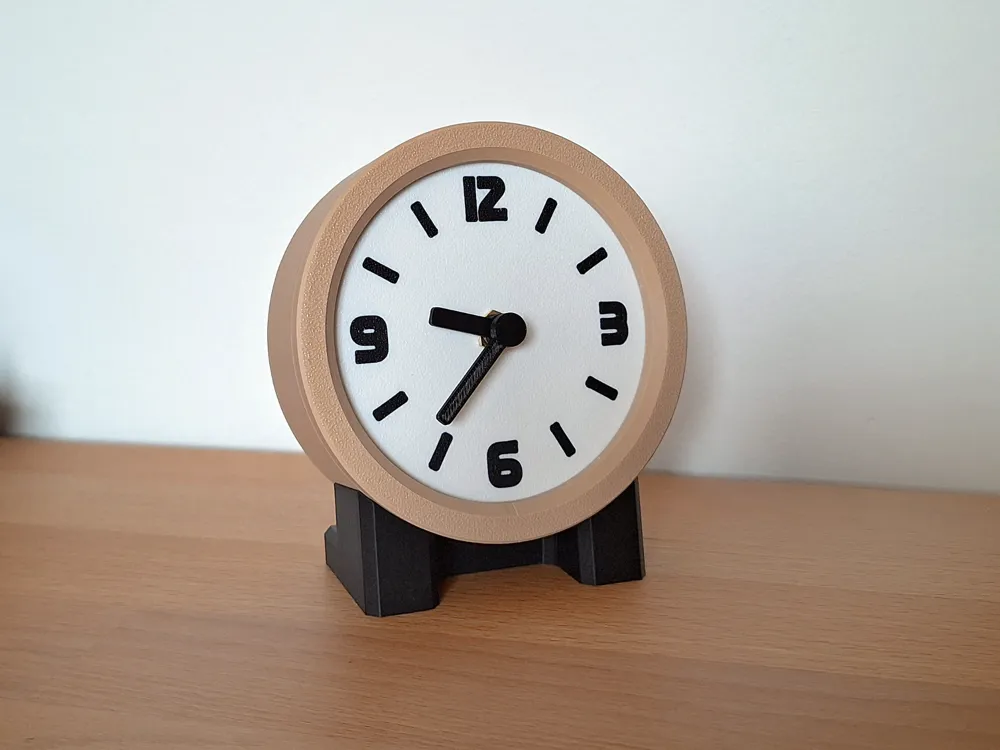
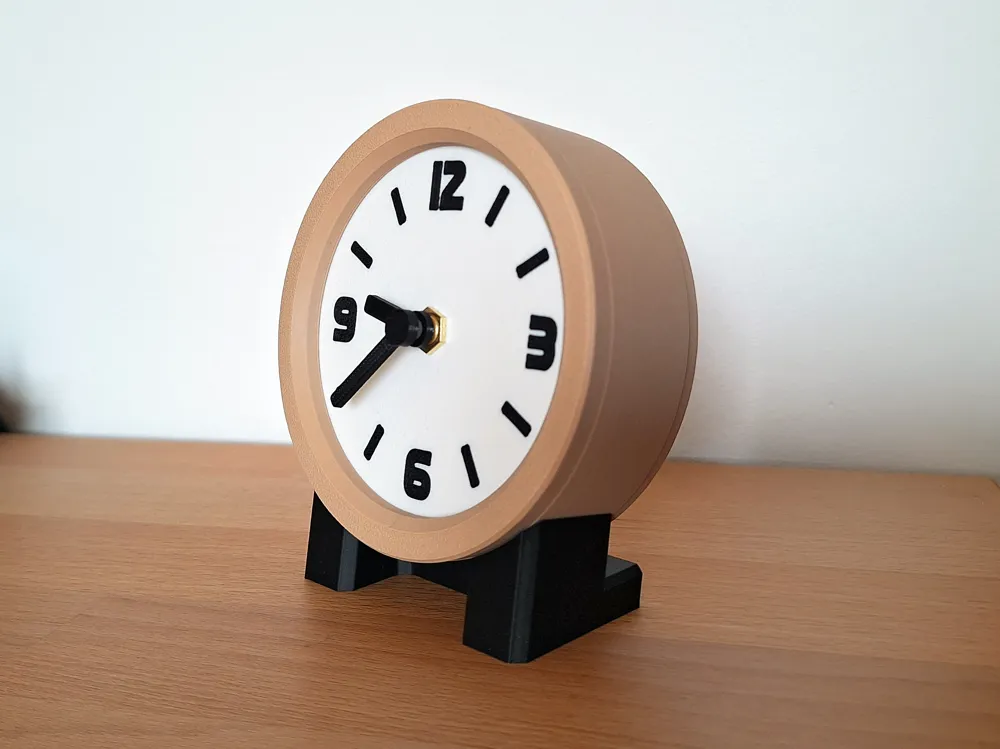
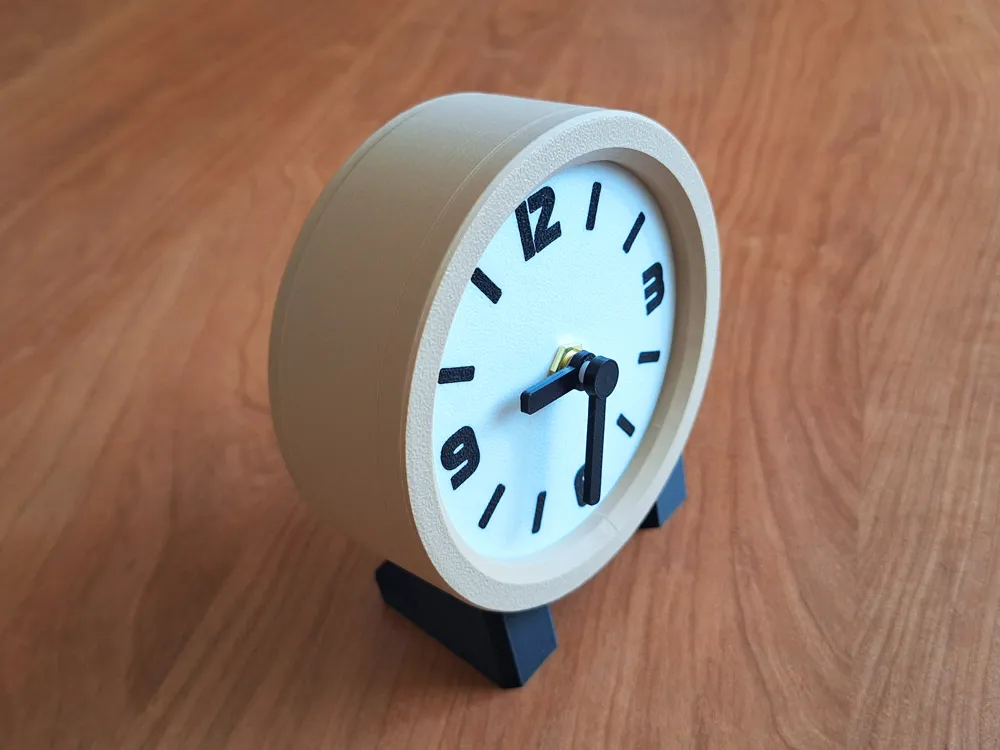
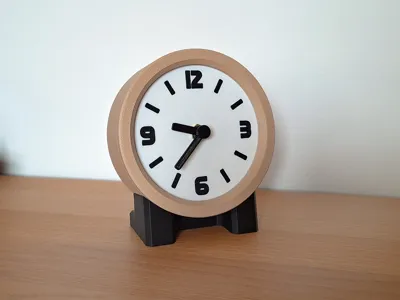
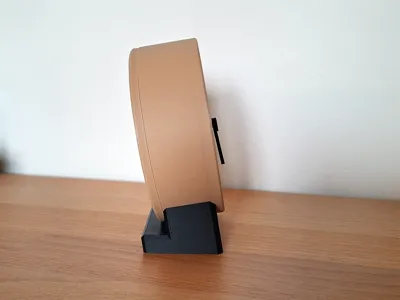
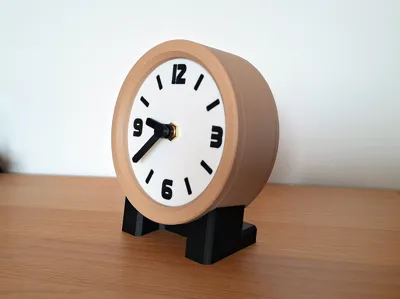
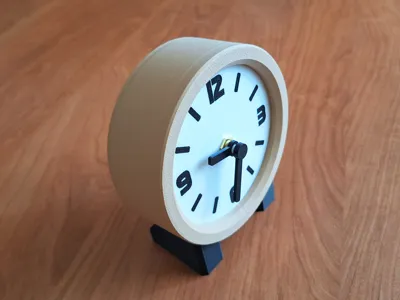
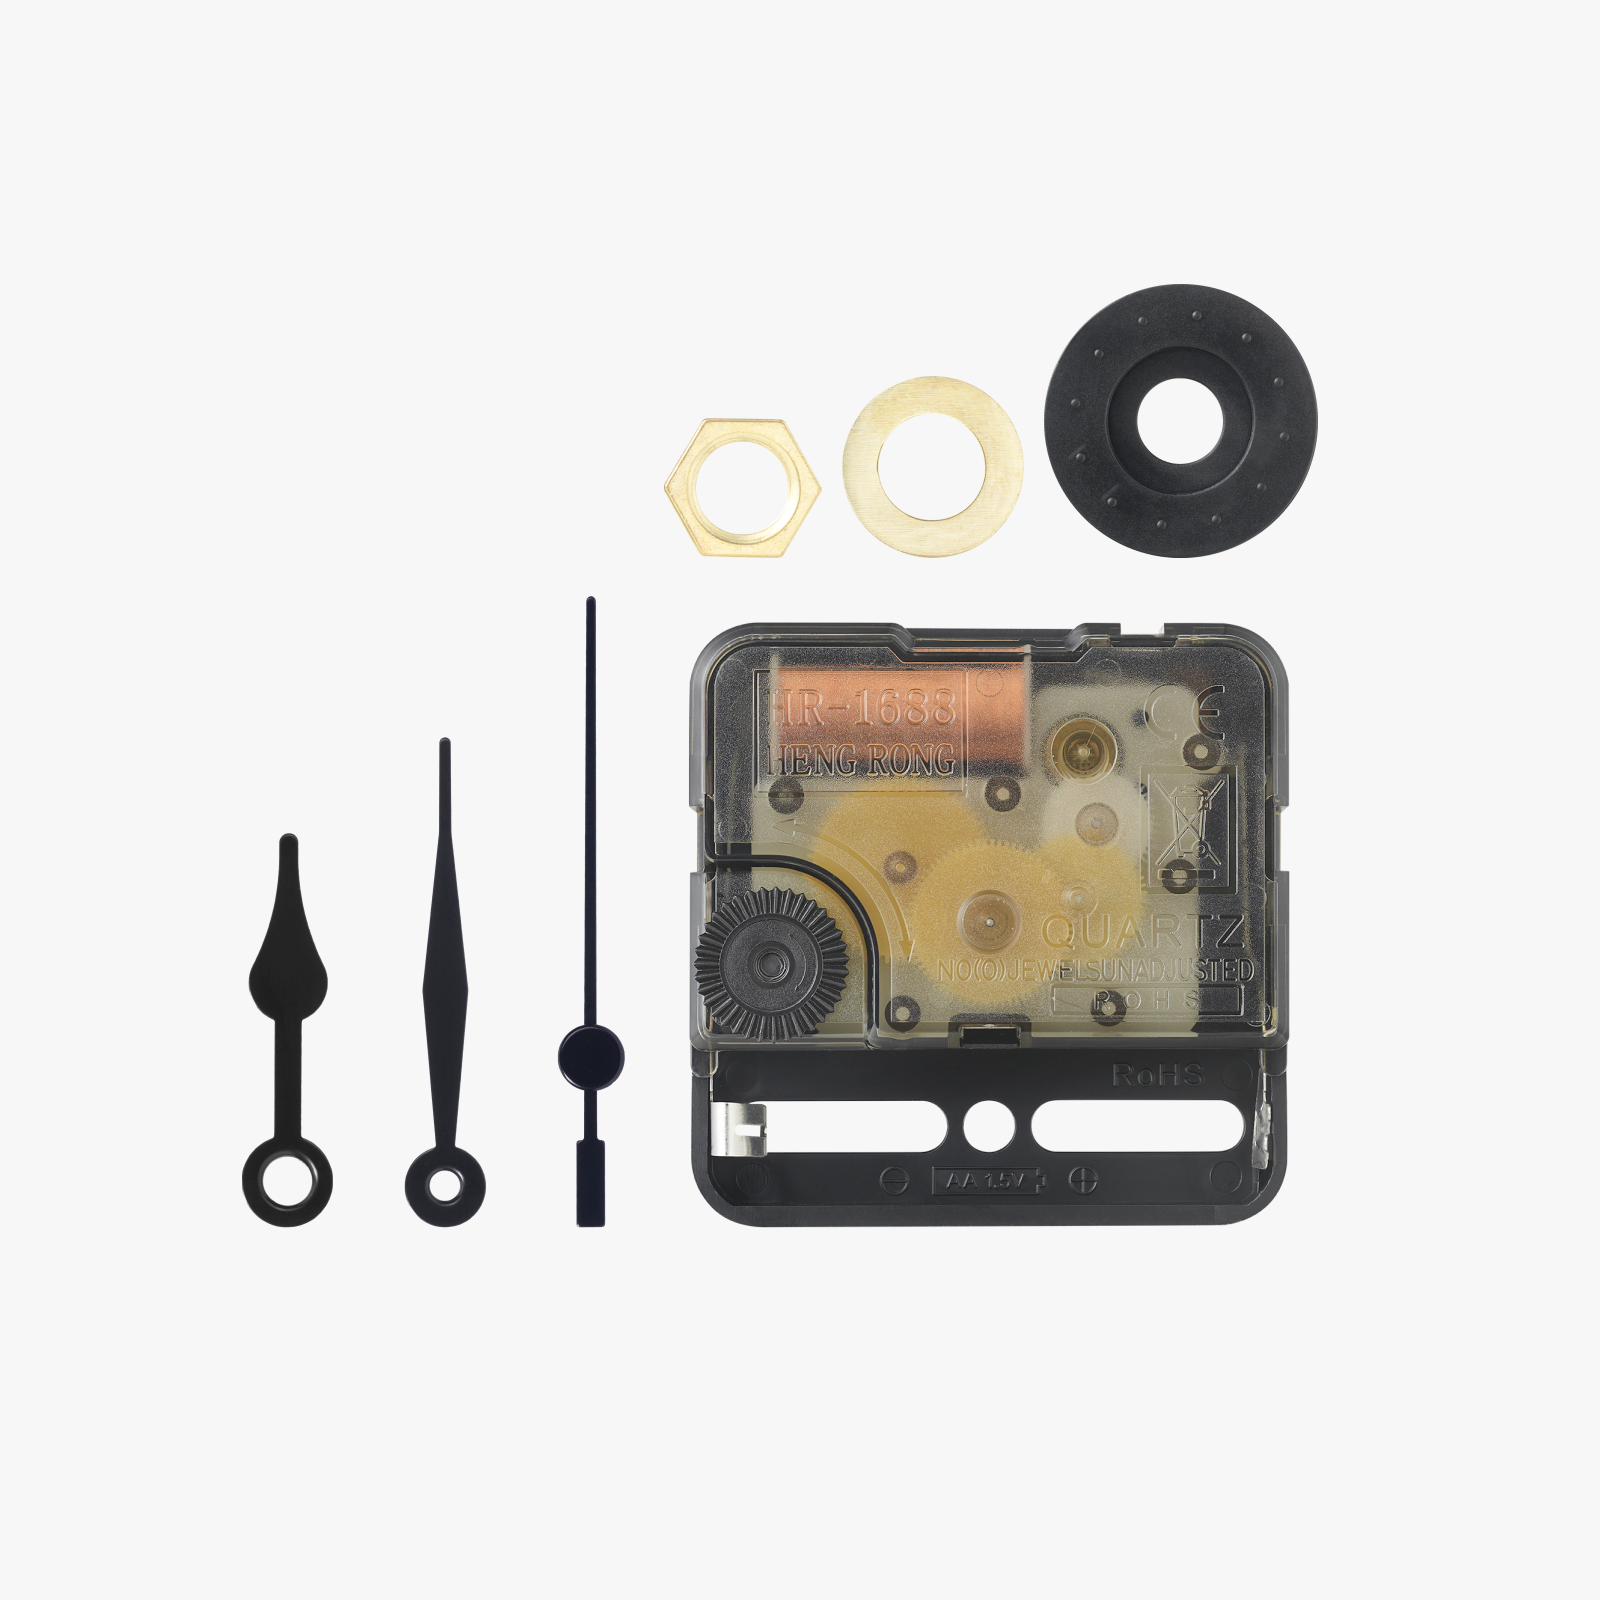
A tabletop or desk clock to be assembled with the clock components kit 011.
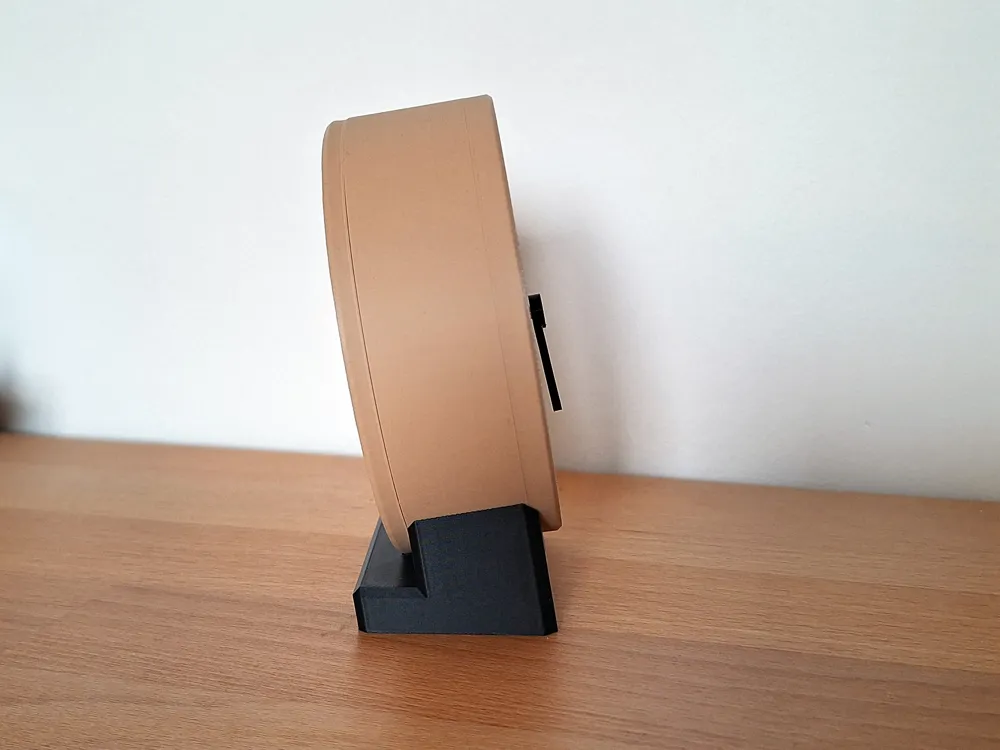
The dimensions are 110 mm wide, 123 mm high, and 50 mm deep.
Assembly
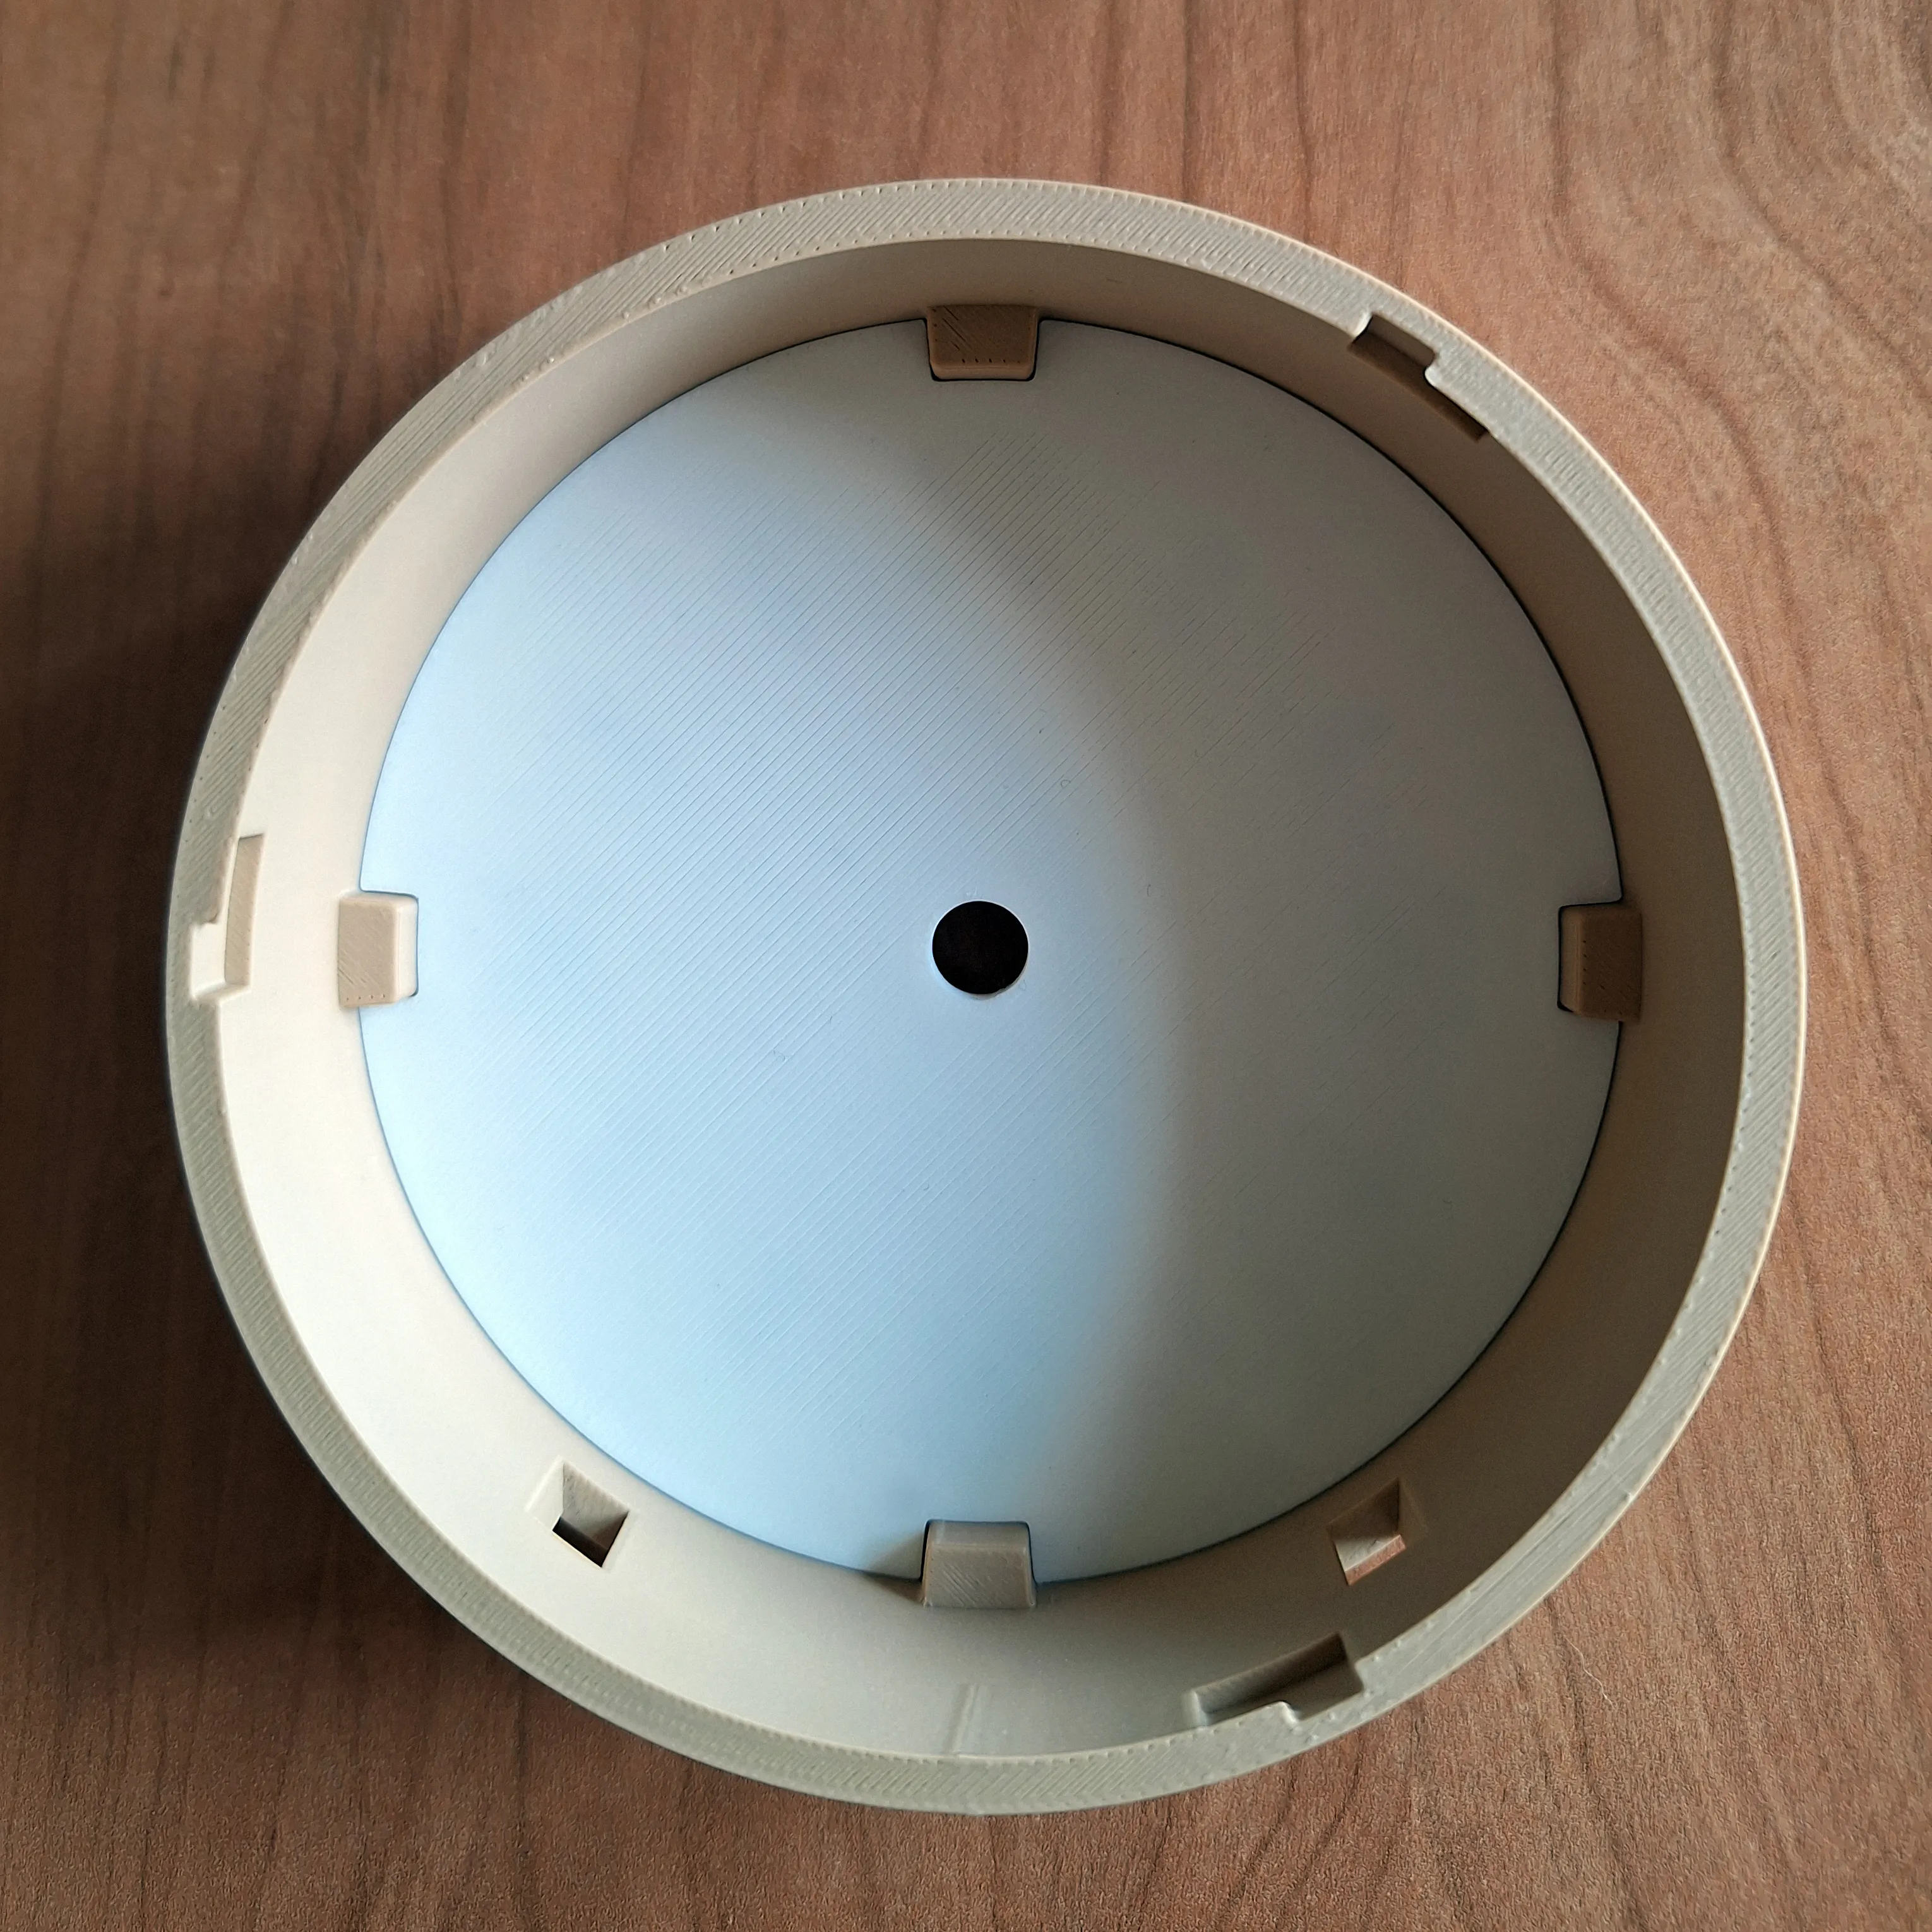
1: Start by inserting the dial into the clock body.
Insertion is by pressure. Tolerances are tight, you should not need glue.
But this may vary depending on the filament you use.
Pay attention to the direction of insertion. The lower part of the main body is the one with the two slots
that will house the clock stand.
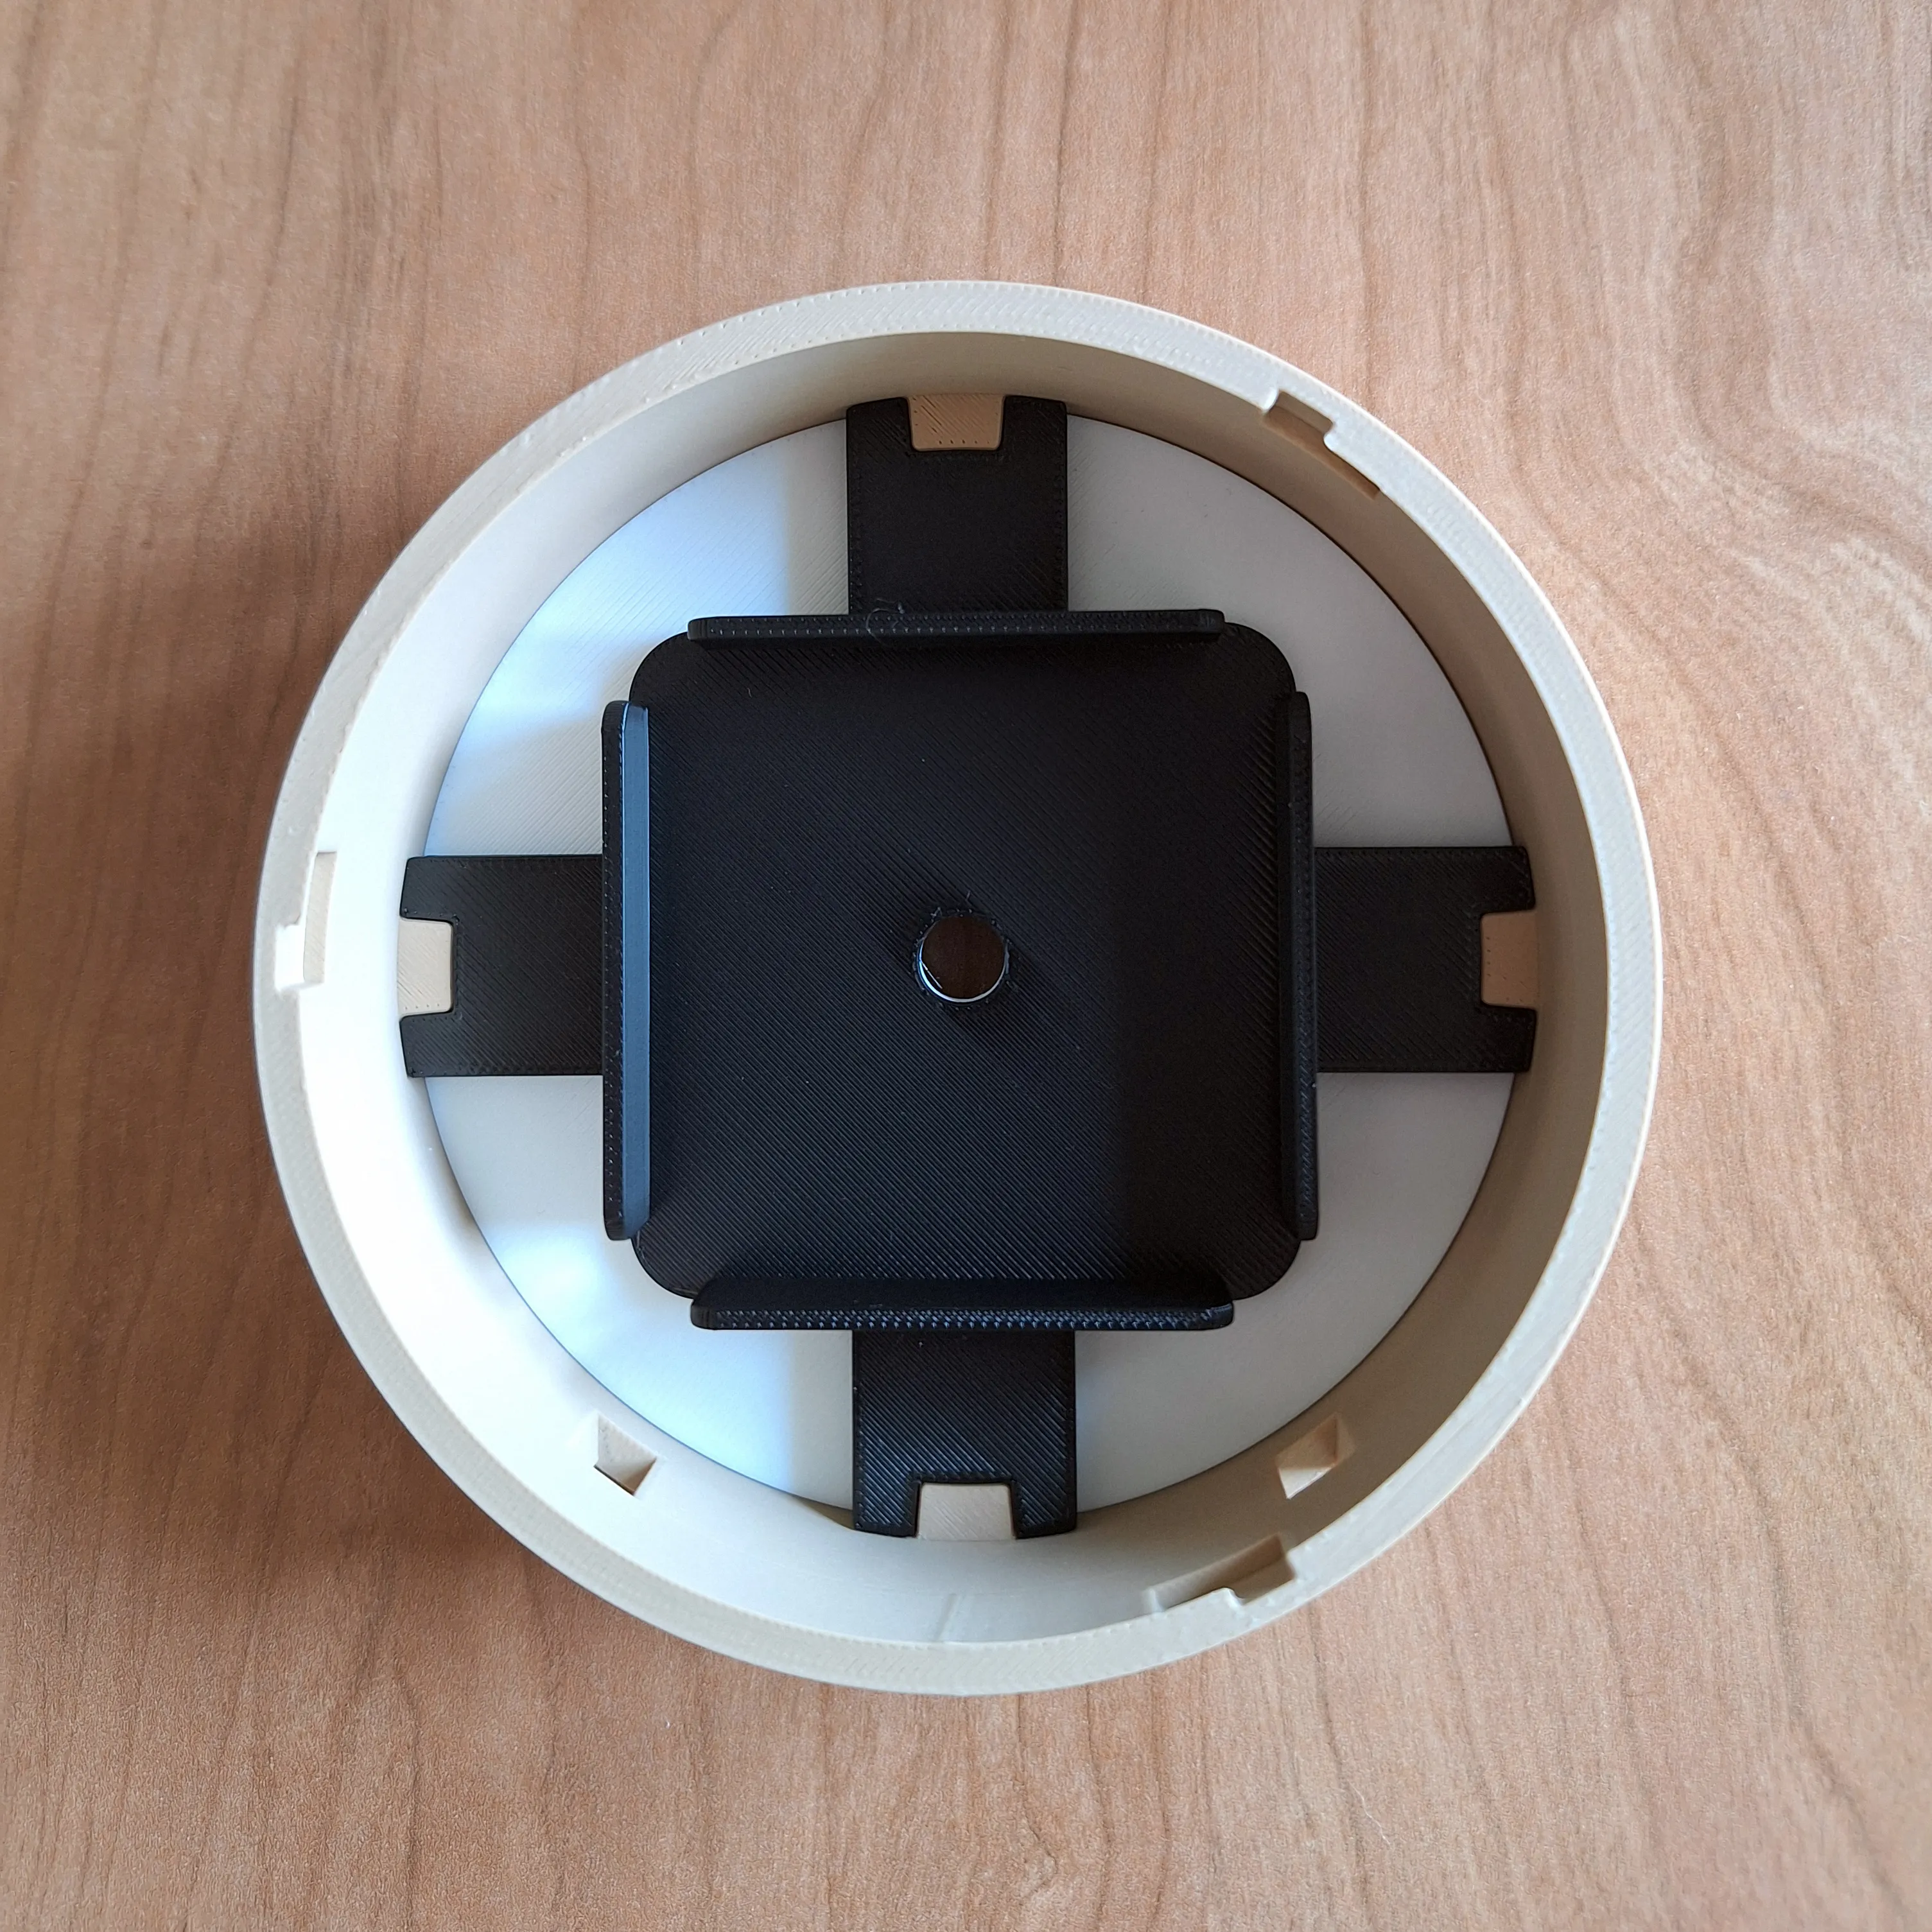
2: Insert the mechanism support inside the main body just behind the dial.
In this case, the direction is not important.
3: Insert the mechanism, rotate the assembled part and lock it with the hexagonal nut provided in the kit.
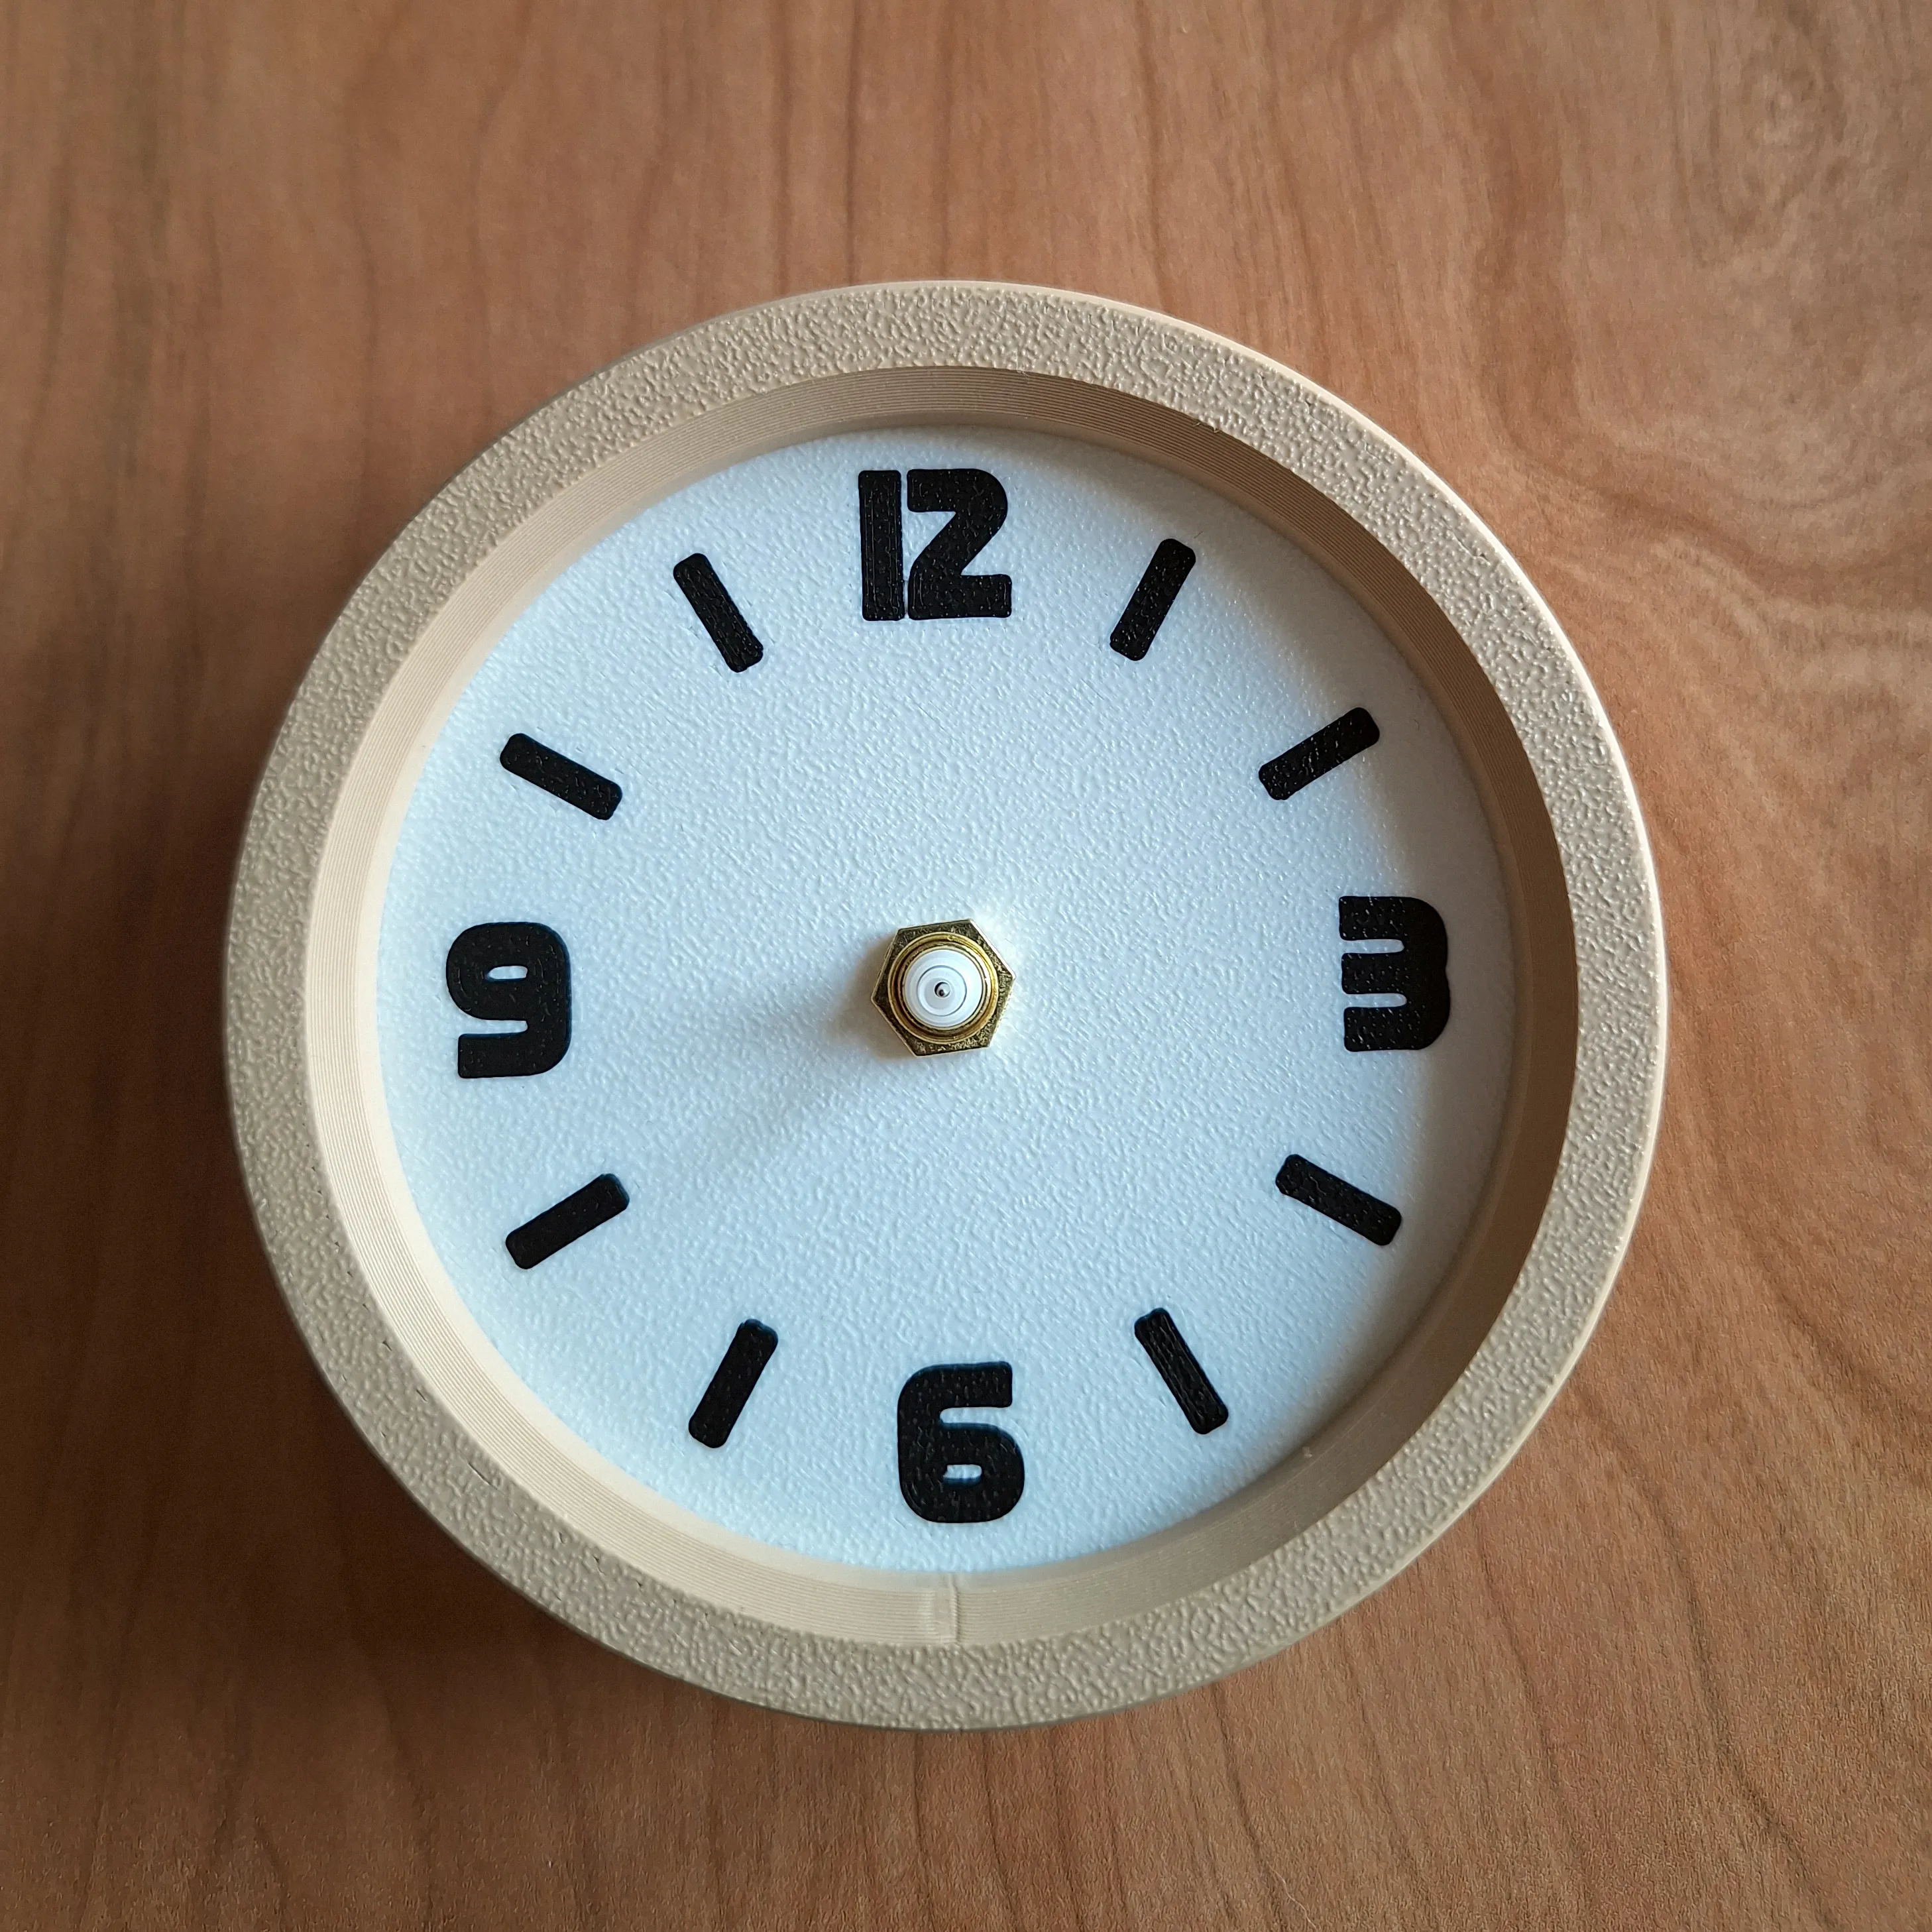
4: Insert the hands, first the hour hand then the minute hand.
Insert a 1.5 V AA battery and set the time.

5: Close the clock body by matching the notches on the lid
with the openings on the main body and rotate to the right
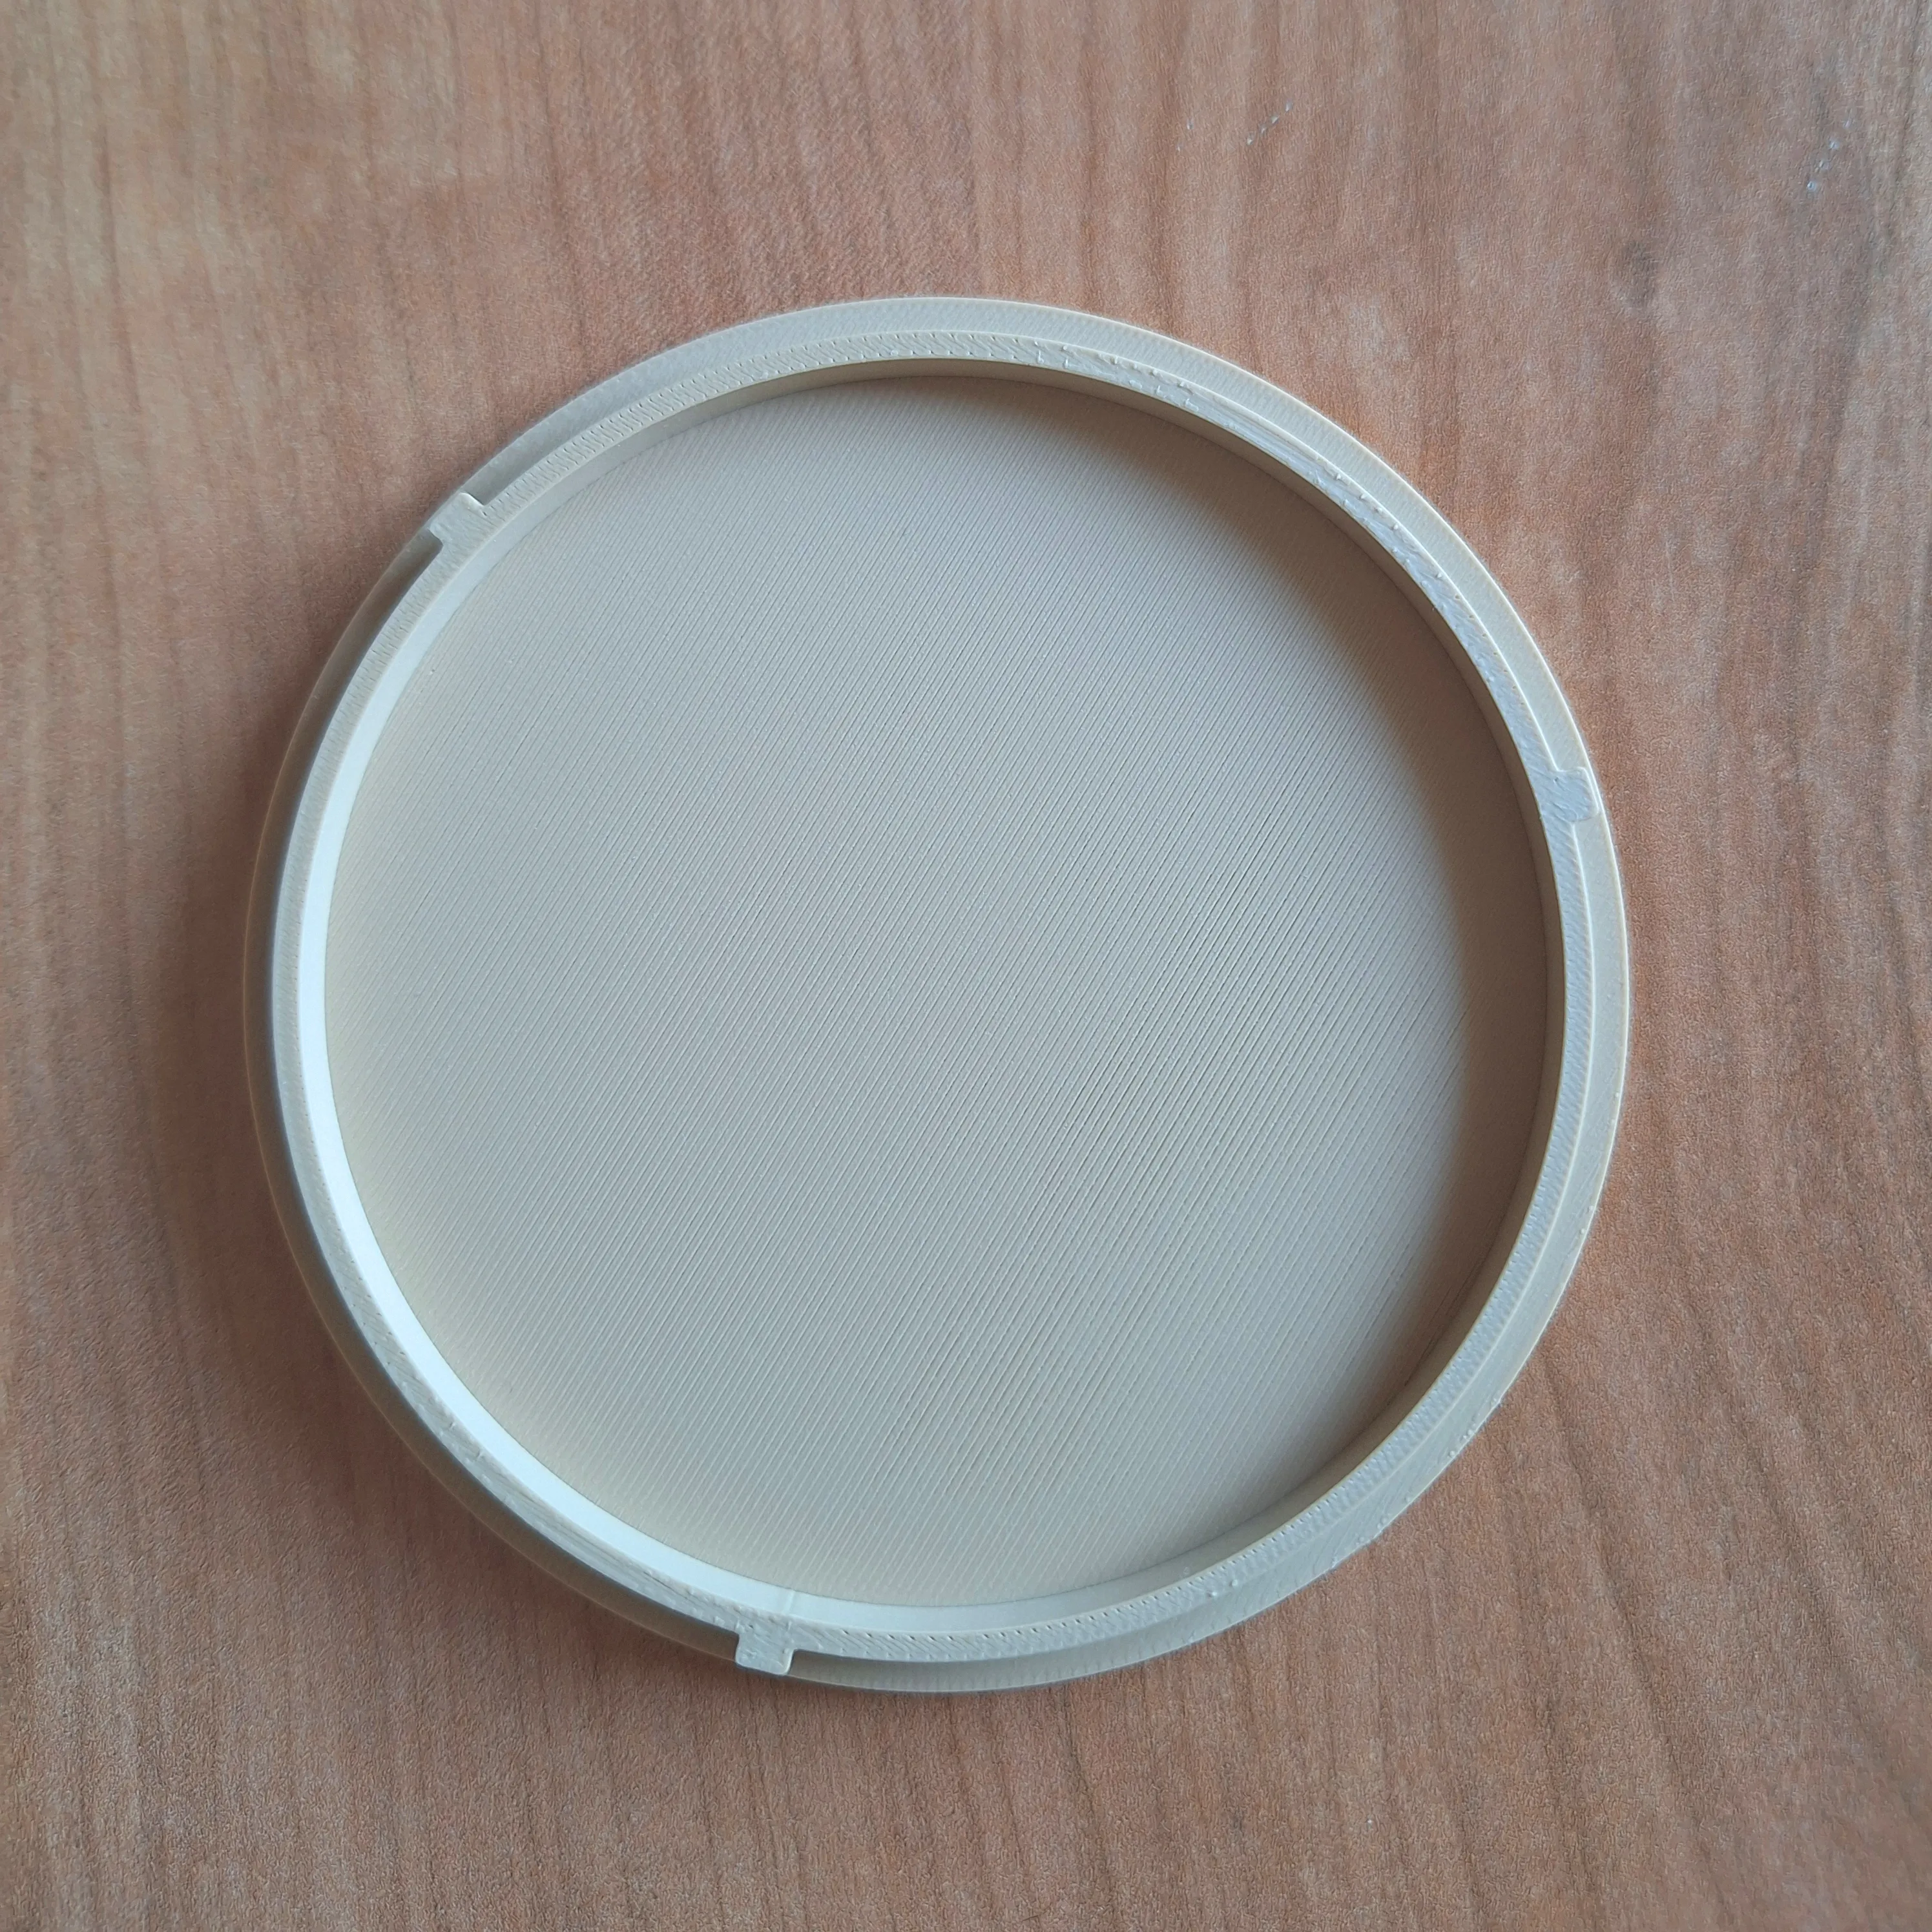
6: Assemble the stand by aligning the notches with the openings on the main body and pressing lightly.
The clock is ready!
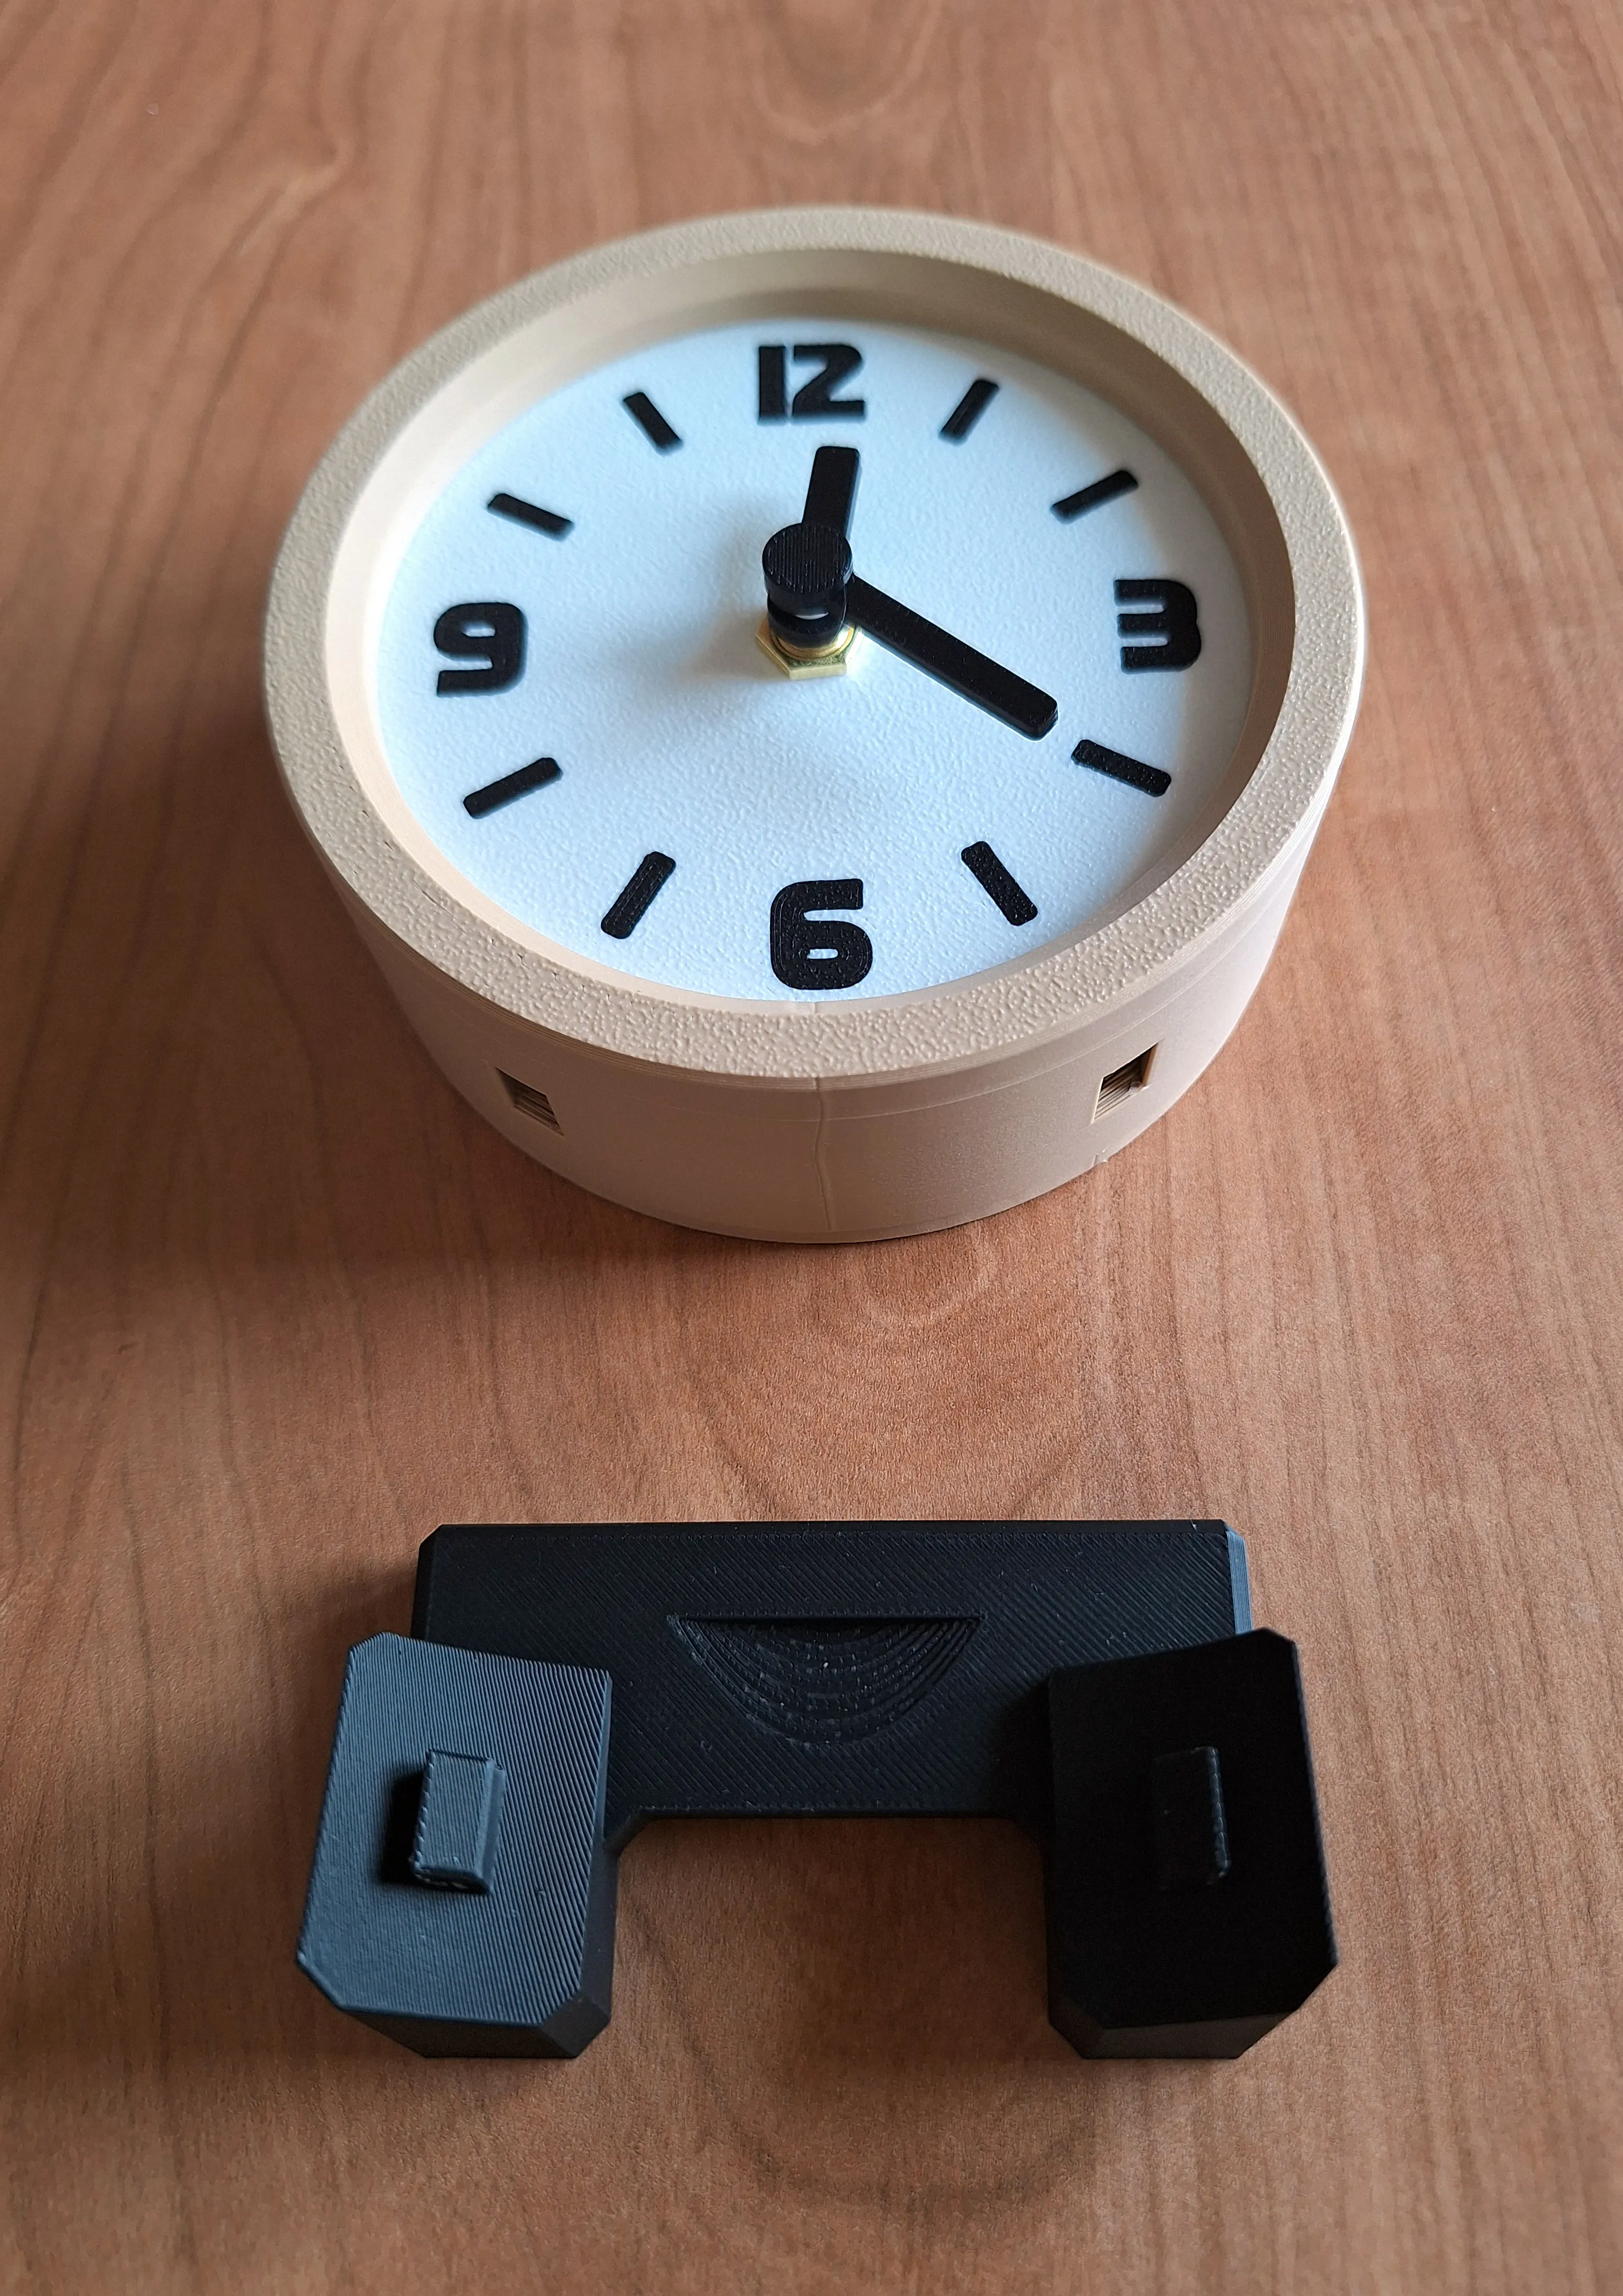
The 3MF file also contains a “no ams” version of the clock face.
License

You shall not share, sub-license, sell, rent, host, transfer, or distribute in any way the digital or 3D printed versions of this object, nor any other derivative work of this object in its digital or physical format (including - but not limited to - remixes of this object, and hosting on other digital platforms). The objects may not be used without permission in any way whatsoever in which you charge money, or collect fees.


Comment & Rating (3)