


Print Profile(1)

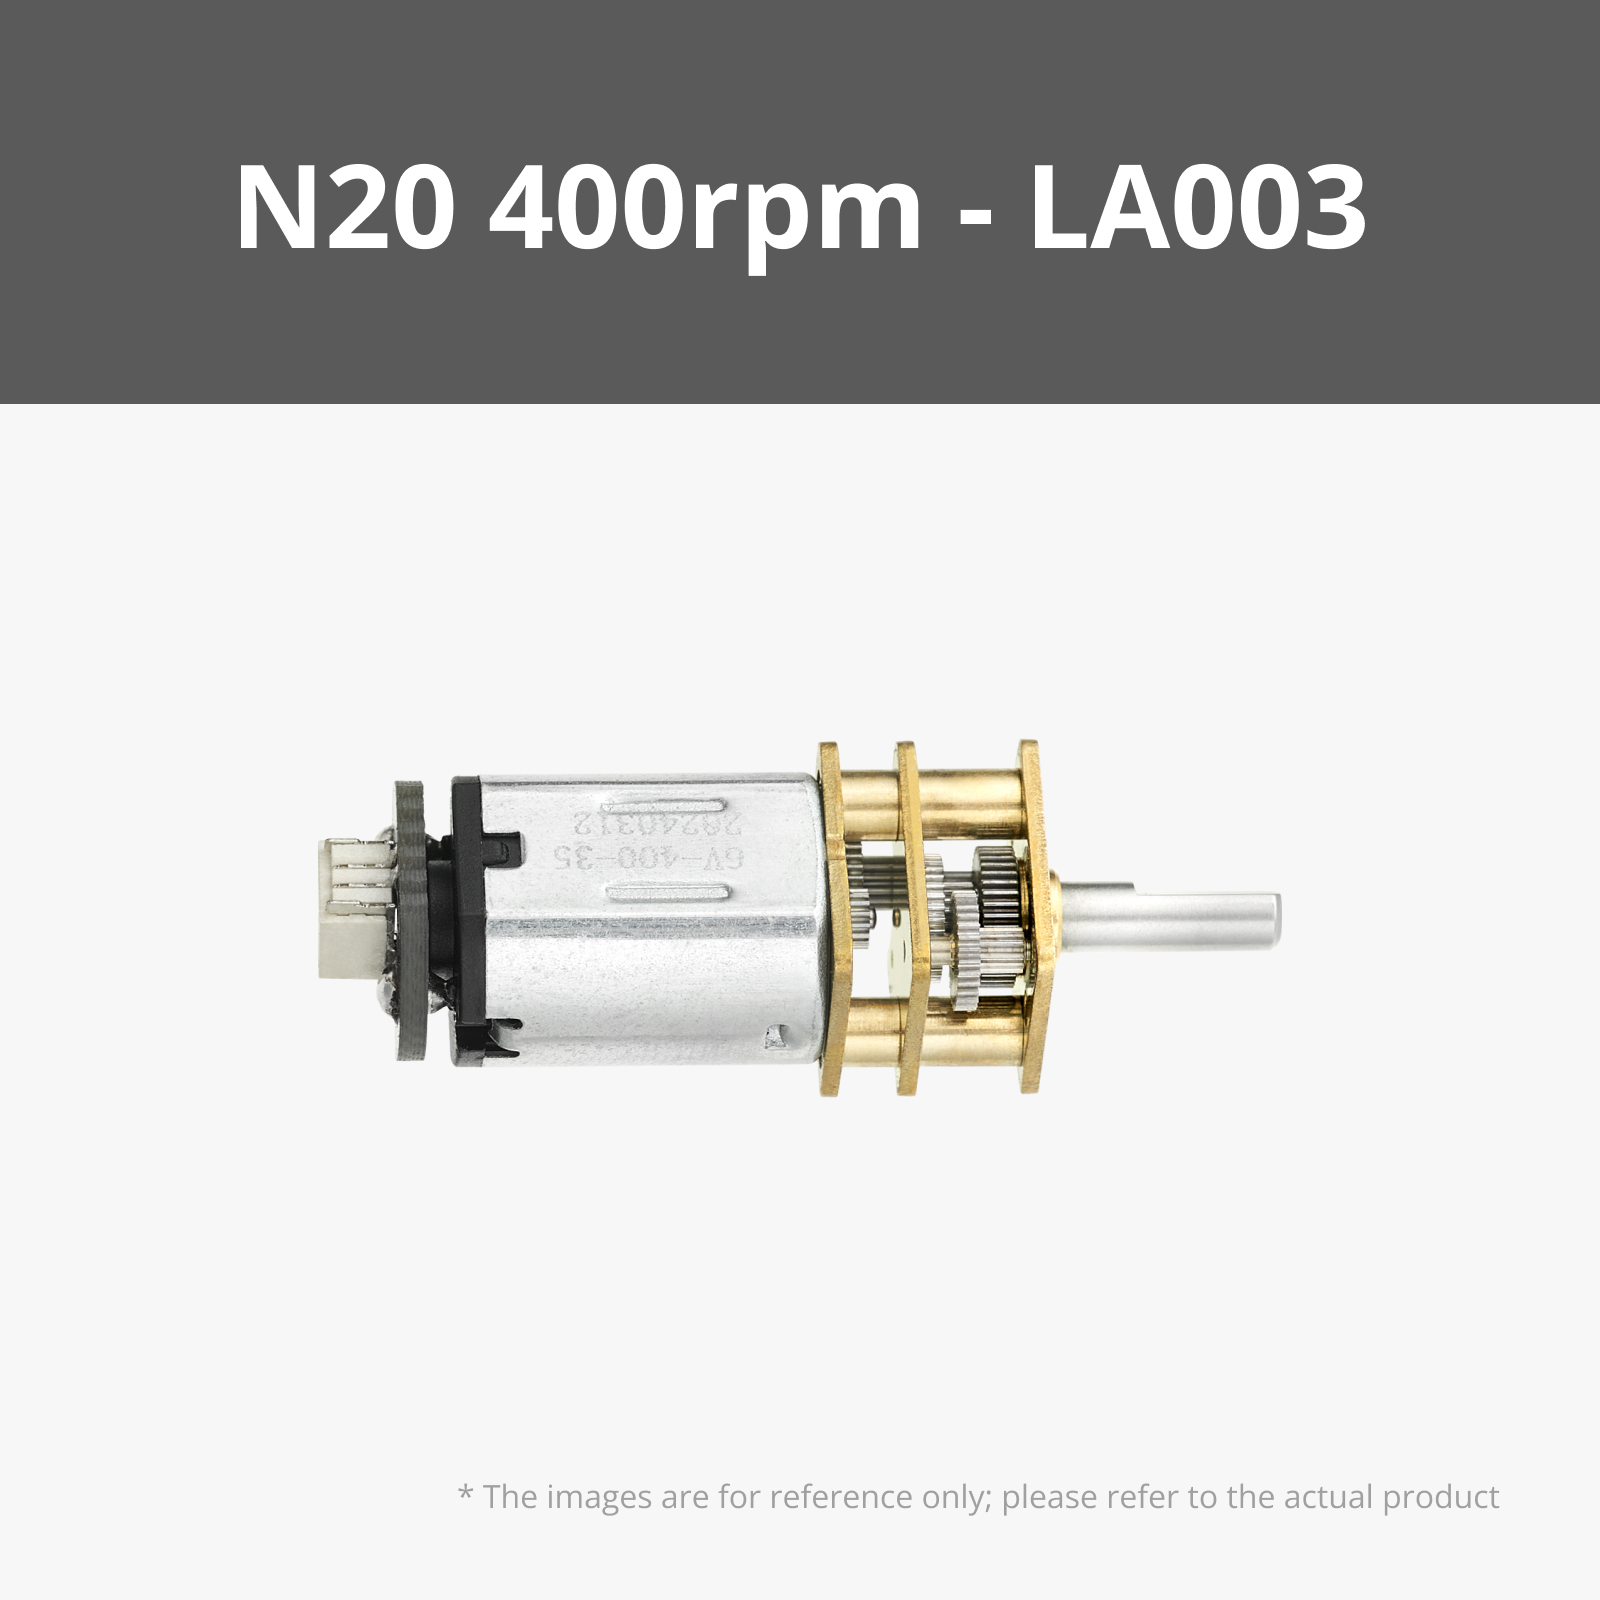
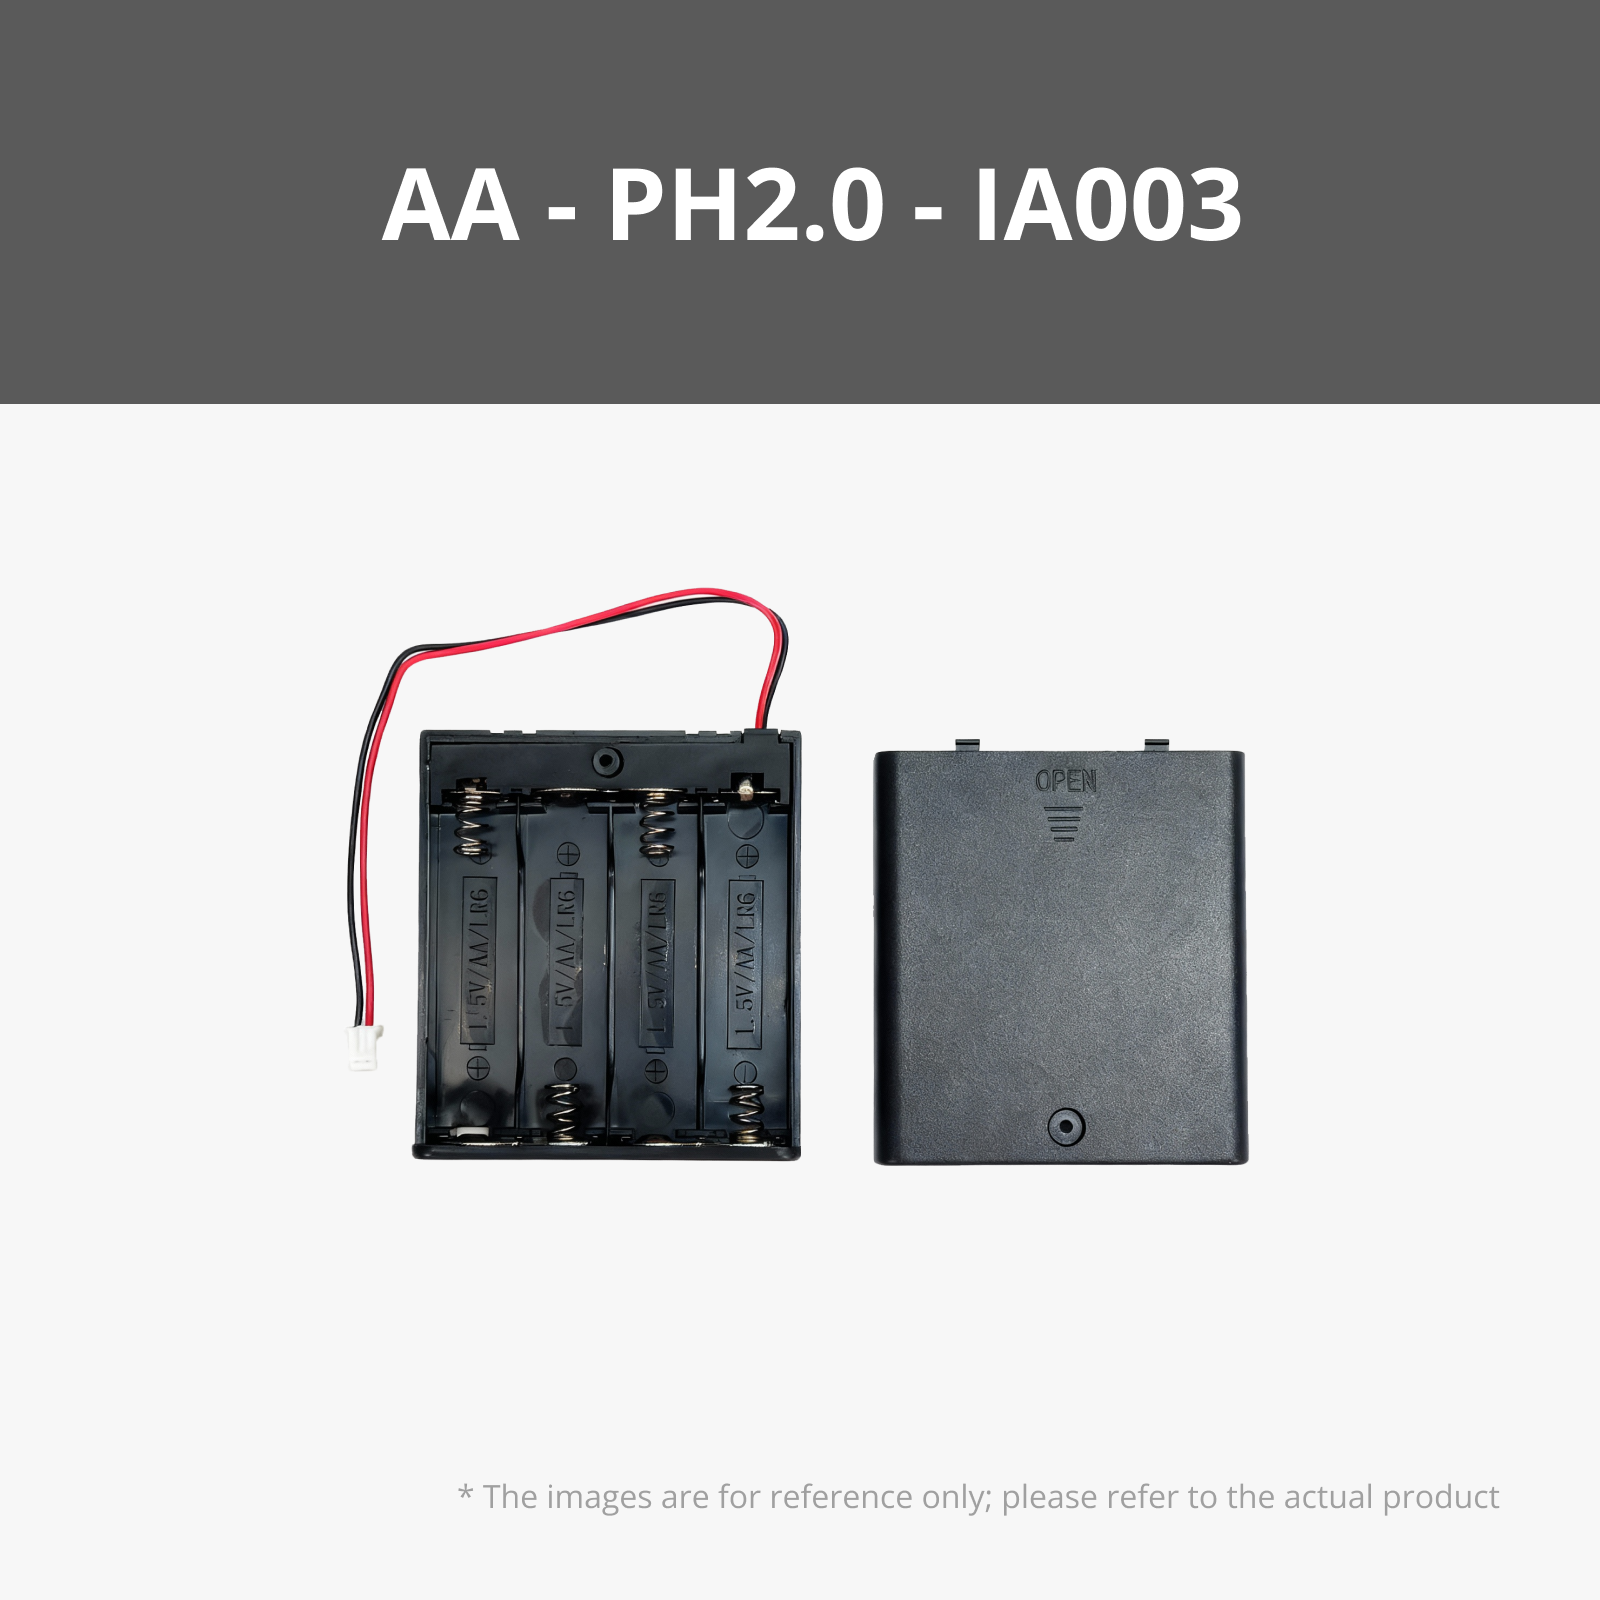
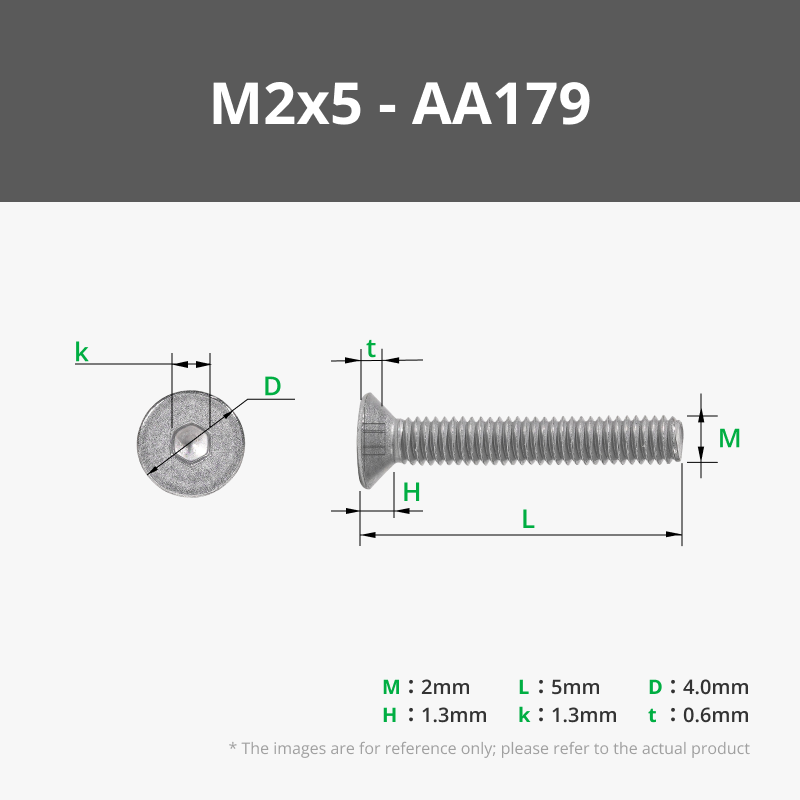
Bill of Materials


Description
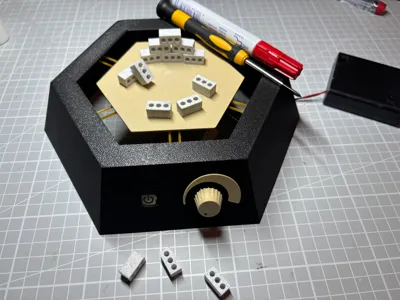
SeismicMotion – 3D-Printed Earthquake Simulator
Boost Me (for free)
my heart would also tremble for a boost
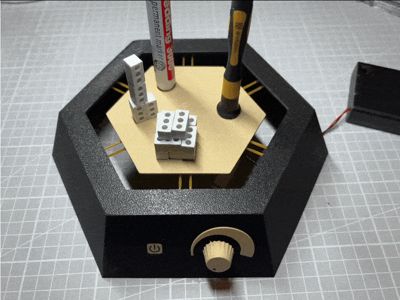
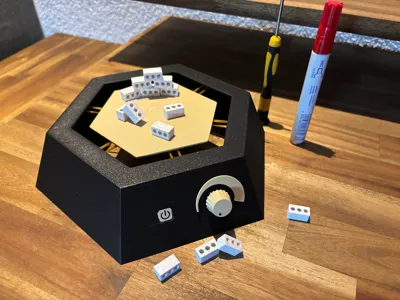
The SeismicMotion is a 3D-printed earthquake simulator that realistically demonstrates the effects of vibrations on buildings or objects.
The central platform is suspended by six rubber bands and set into motion by a small motor.
The vibration intensity can be continuously adjusted via a potentiometer.
Additionally, three different counterweights allow for varying levels of oscillation strength.
Thanks to its clever design, the entire device can be printed almost without supports, except for the motor mount.
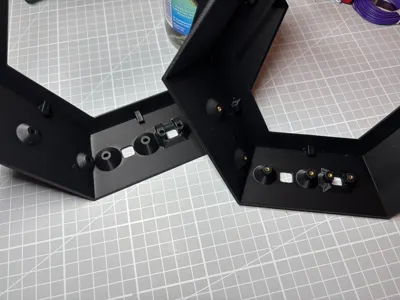
- Assembly:
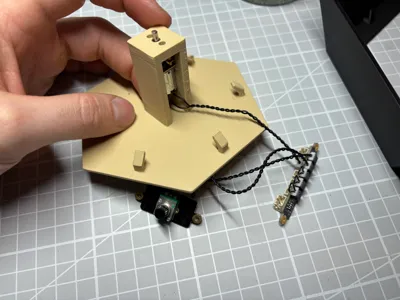
- The motor is secured using M1.6 x 4 mm screws, while other parts use M2 screws.
- Thread Head Inserts have been integrated for a stable screw connection, they must be melted with a soldering iron into the holes provided, as shown in the pictures
- Electronic Connections:
- Motor to CH1
- Potentiometer to SW1
- Power switch to SW0
- Power Supply:
- SeismicMotion can be powered via a battery pack or directly through a power outlet.
Use Cases:
- Testing model structures or small objects for earthquake resistance
- Scientific or educational experiments
- Just for fun – observing how different objects react to vibrations
Note:
- When assembling, make sure that the button is inserted into the designated slot first.
- The potentiometer controls the motor speed.
- The interchangeable counterweights allow you to adjust the earthquake intensity.
- I printed the bricks from the profile 1:12 Scale Mini Bricks by "Oki", they are not included in the print profile.
Boost Me (for free)
Thank you
License
You shall not share, sub-license, sell, rent, host, transfer, or distribute in any way the digital or 3D printed versions of this object, nor any other derivative work of this object in its digital or physical format (including - but not limited to - remixes of this object, and hosting on other digital platforms). The objects may not be used without permission in any way whatsoever in which you charge money, or collect fees.
Comment & Rating (37)