Classic Timeless Stool


Print Profile(2)


Description
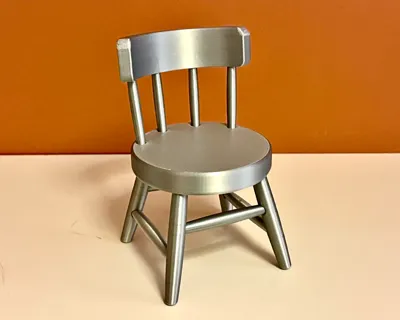
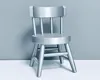
Classic Timeless Stool
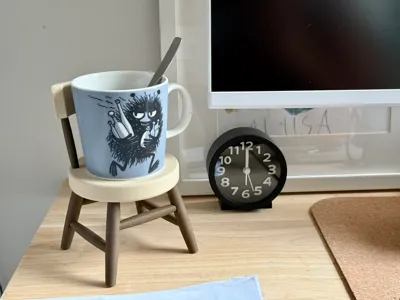
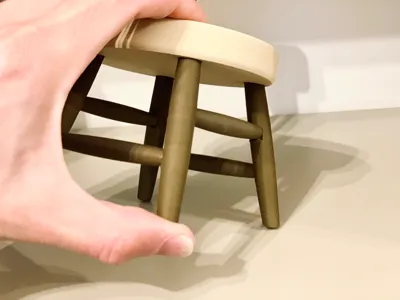
A classic timeless stool that is printed in parts and assembled. You can use it to hold a coffee cup, keys, or whatever you like. If you print it for children, they will surely find a use for it.
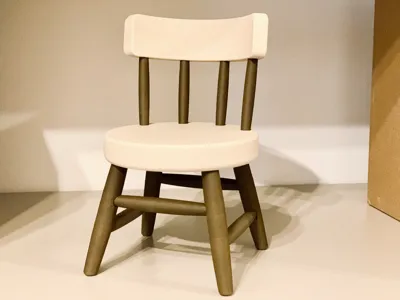
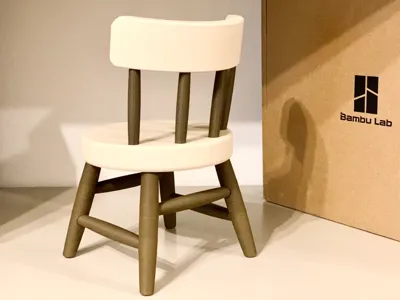
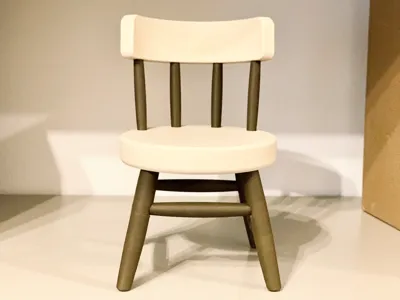
The model in the pictures is printed with Bambu Lab Wood filament, Black Walnut and White Oak.
A few words about the model, printing, and assembling:
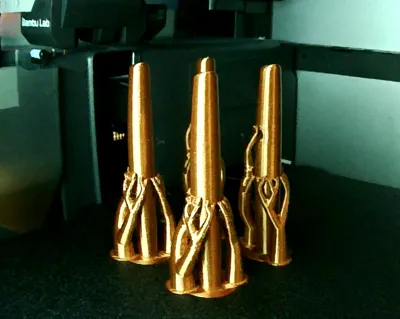
The print profiles include a brim and vertical tree supports on the bars, ensuring good print quality even on a textured plate. Additionally, the parts are grouped in sets of four to improve adhesion and prevent all parts from detaching if one starts moving during printing.
The parts of the stool have a good fit. The stool holds together almost without glue, but I still recommend using glue. However, keep these things in mind before gluing:
- Finish the ends of the crossbars (brim) and the edges of the recesses, then test the fit by assembling the stool.
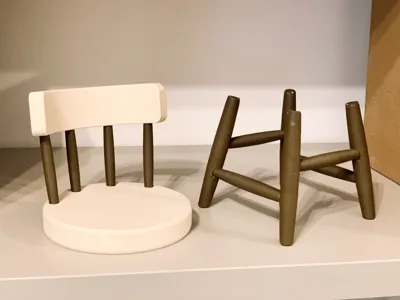
- First, build the frame with the legs and crossbars, then attach it to the underside of the seat by pressing the leg ends onto the seat, as shown in the attached image. Be careful not to break the parts, as print orientation and filament type (e.g., matte filament) affect durability.
- Note that the shorter crossbars go on top, and the longer ones go underneath.
- The idea is that the front crossbar is on top to leave more ”legroom”.
- The lower seat frame parts should be glued simultaneously to ensure they fit well and align correctly. I recommend using slow-setting super glue, but if you prefer a faster option, apply it carefully into the gaps on the already-assembled model.
- The backrest doesn’t require special assembly instructions, but it should also be glued all at once to ensure all parts fit properly.
I hope you managed to read everything and are well prepared to print this model. Happy printing and building! I hope you’re satisfied with the final result! 😊
Boost Me (for free)
Membership
License
You shall not share, sub-license, sell, rent, host, transfer, or distribute in any way the digital or 3D printed versions of this object, nor any other derivative work of this object in its digital or physical format (including - but not limited to - remixes of this object, and hosting on other digital platforms). The objects may not be used without permission in any way whatsoever in which you charge money, or collect fees.
Comment & Rating (5)