Search models, users, collections, and posts

Tresor
IP Report
Print Profile(1)

0.2mm layer, 3 walls, 15% infill
Designer
4.5 h
8 plates
Open in Bambu Studio
Boost
12
36
1
0
24
4
Released
Description
Content has been automatically translated.
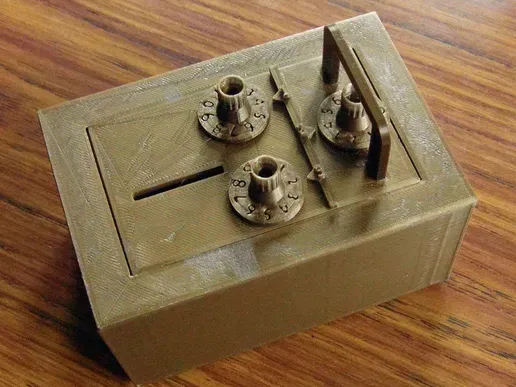
This intricate three-combination lockbox measures: x= 120, y= 80, z= 62.60 mm.
It comprises six files requiring a single print each:
- Box.stl
- Doorframe.stl
- 2 Wedges.stl
- Door.stl
- Handle.stl
- Markings.stl
and one file requiring three prints:
- Wheels All.stl
ASSEMBLY:
- The door hinges to the frame using a filament piece cut to the correct length from your printer. Ensure smooth opening and closing (use sandpaper secured to a small board with two thumbtacks to gently smooth edges if necessary).
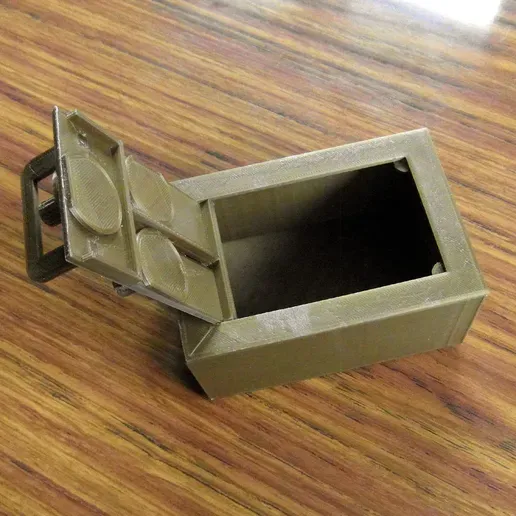
- Adhere the two wedges to the underside front of the doorframe to prevent the door from falling into the box.
- Fit the three disc locks into the three holes on the underside of the door.
- Position the three wheels on the top of the door, initially without adhesive.
- On the door's top, fit the markings strip between the three wheels, refer to the image.
- Affix the handle to the two holes on the front of the door's upper surface using adhesive.
SETTING THE COMBINATION:
- Position a locking disc to allow door opening (see image).
- On the door's upper side, slide a wheel onto the axle, apply a drop of strong adhesive to the top of the axle, and thread the wheel so the chosen number aligns with the marking.
Repeat this process for the remaining two wheels, noting all three digits!
FINAL ASSEMBLY:
After verifying correct functionality, attach and glue the frame and door unit to the box.
Optional decorative elements (representing major world currencies) may be printed and affixed to the money box walls as desired.
License

This user content is licensed under a
Creative Commons Attribution-Noncommercial


Comment & Rating (1)