
Rocket Jet

Print Profile(3)


Description
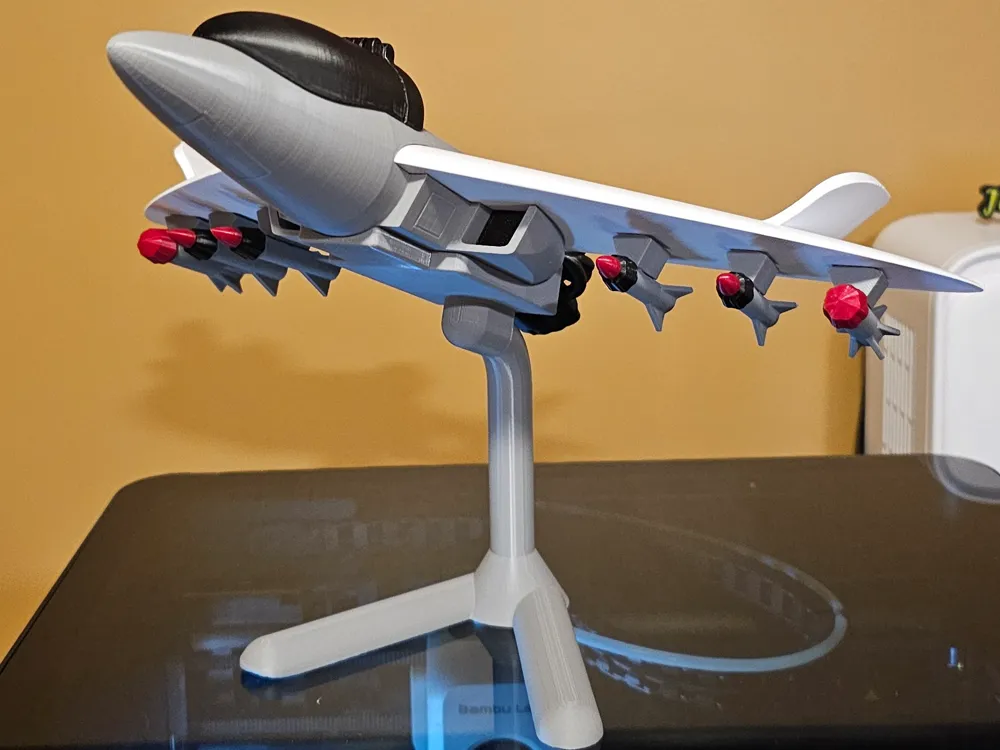
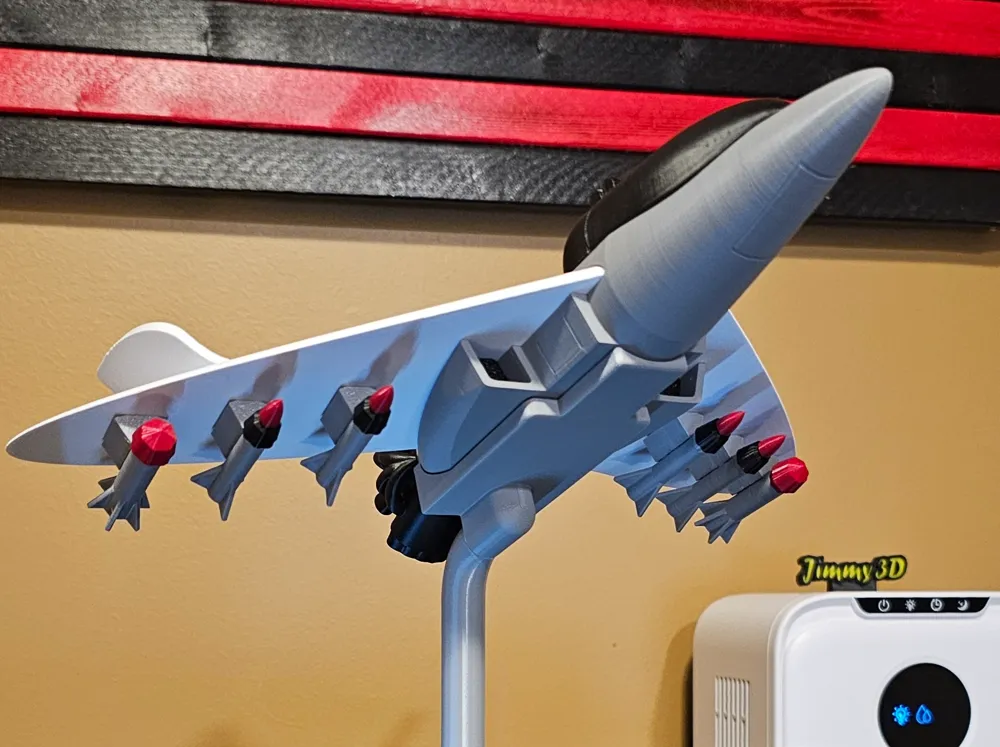
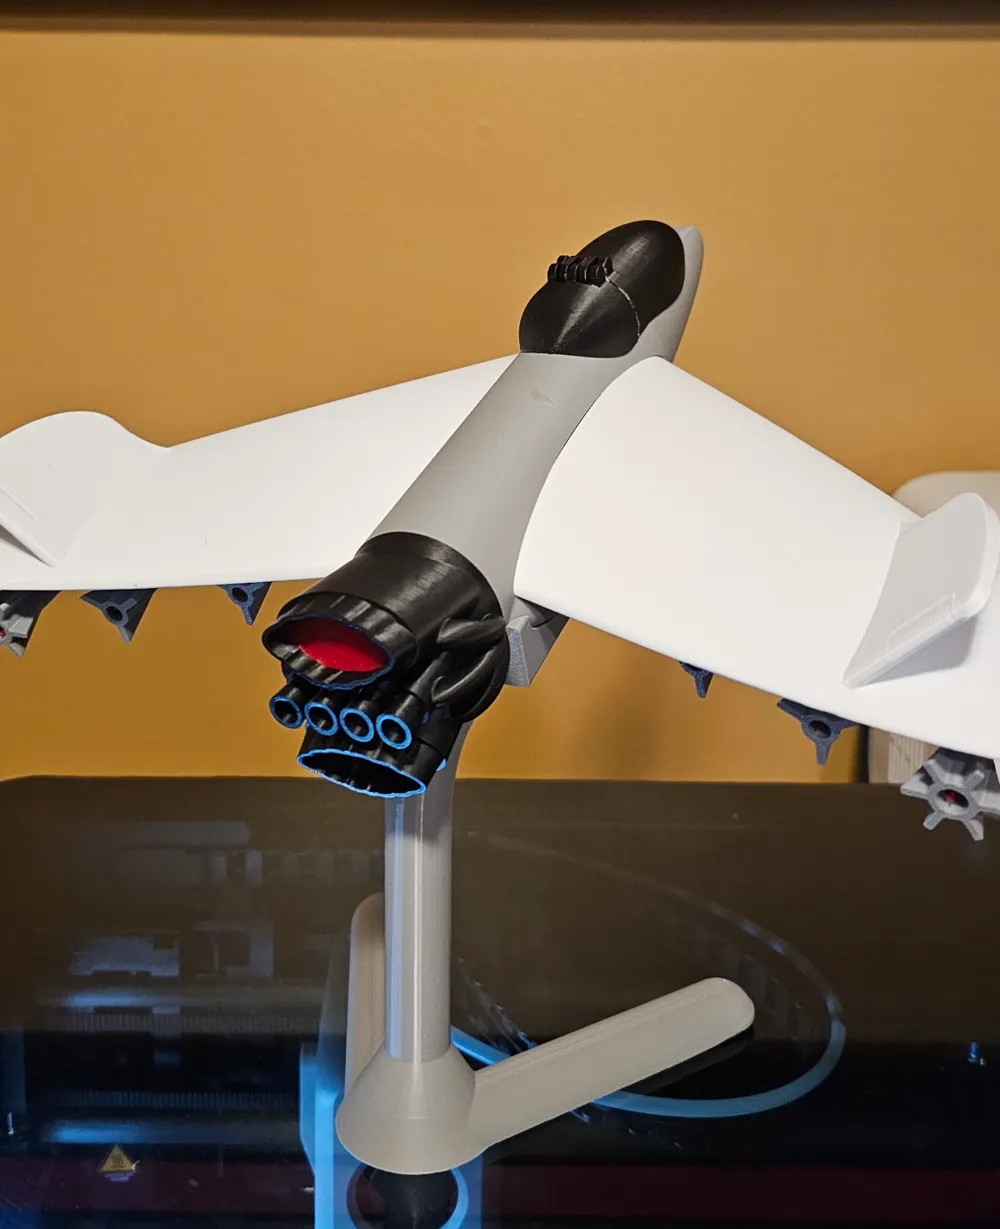
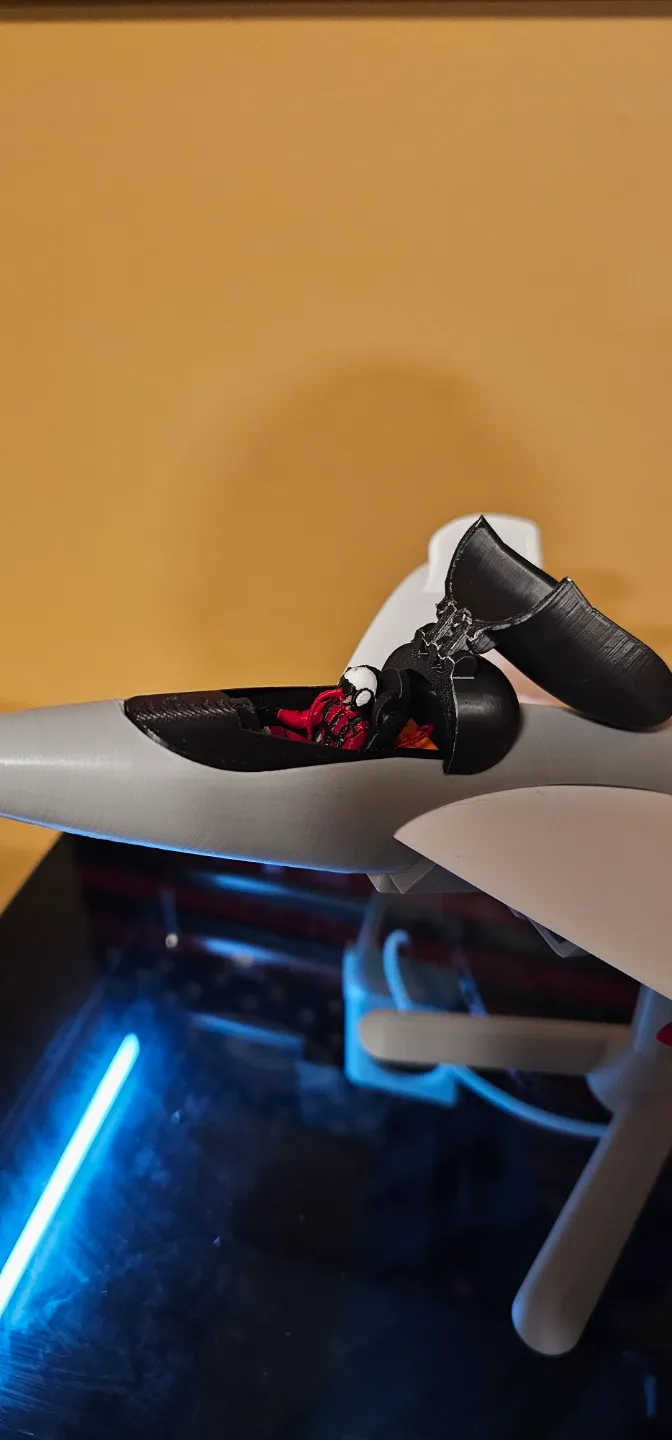
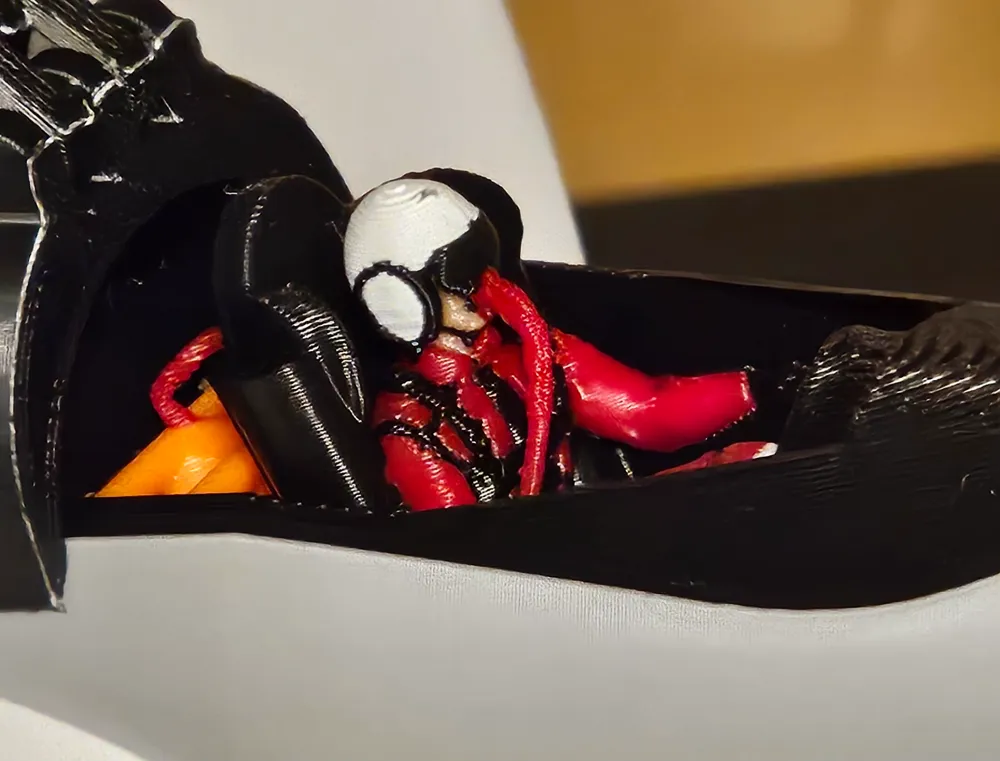
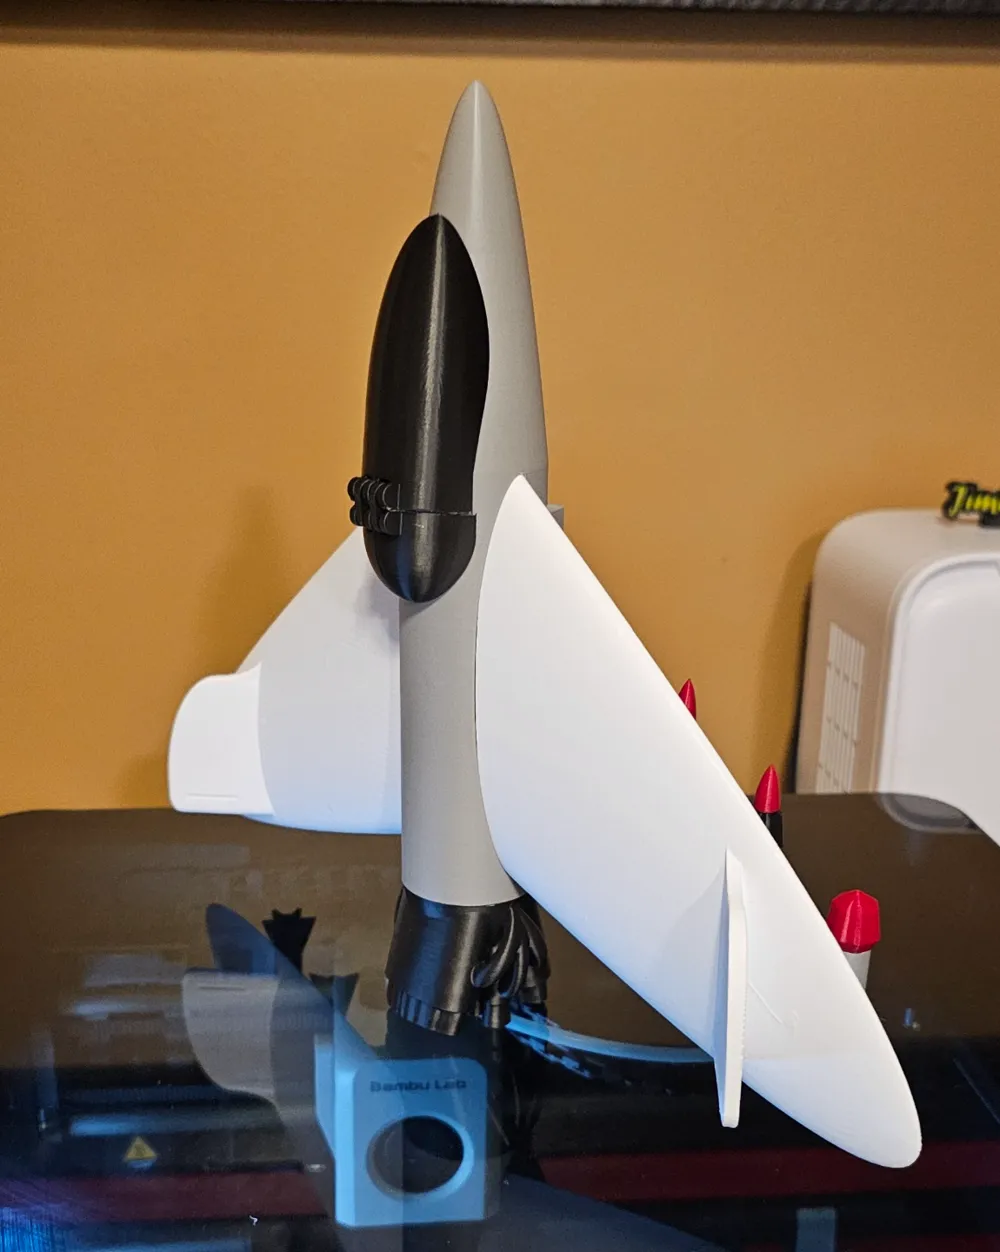
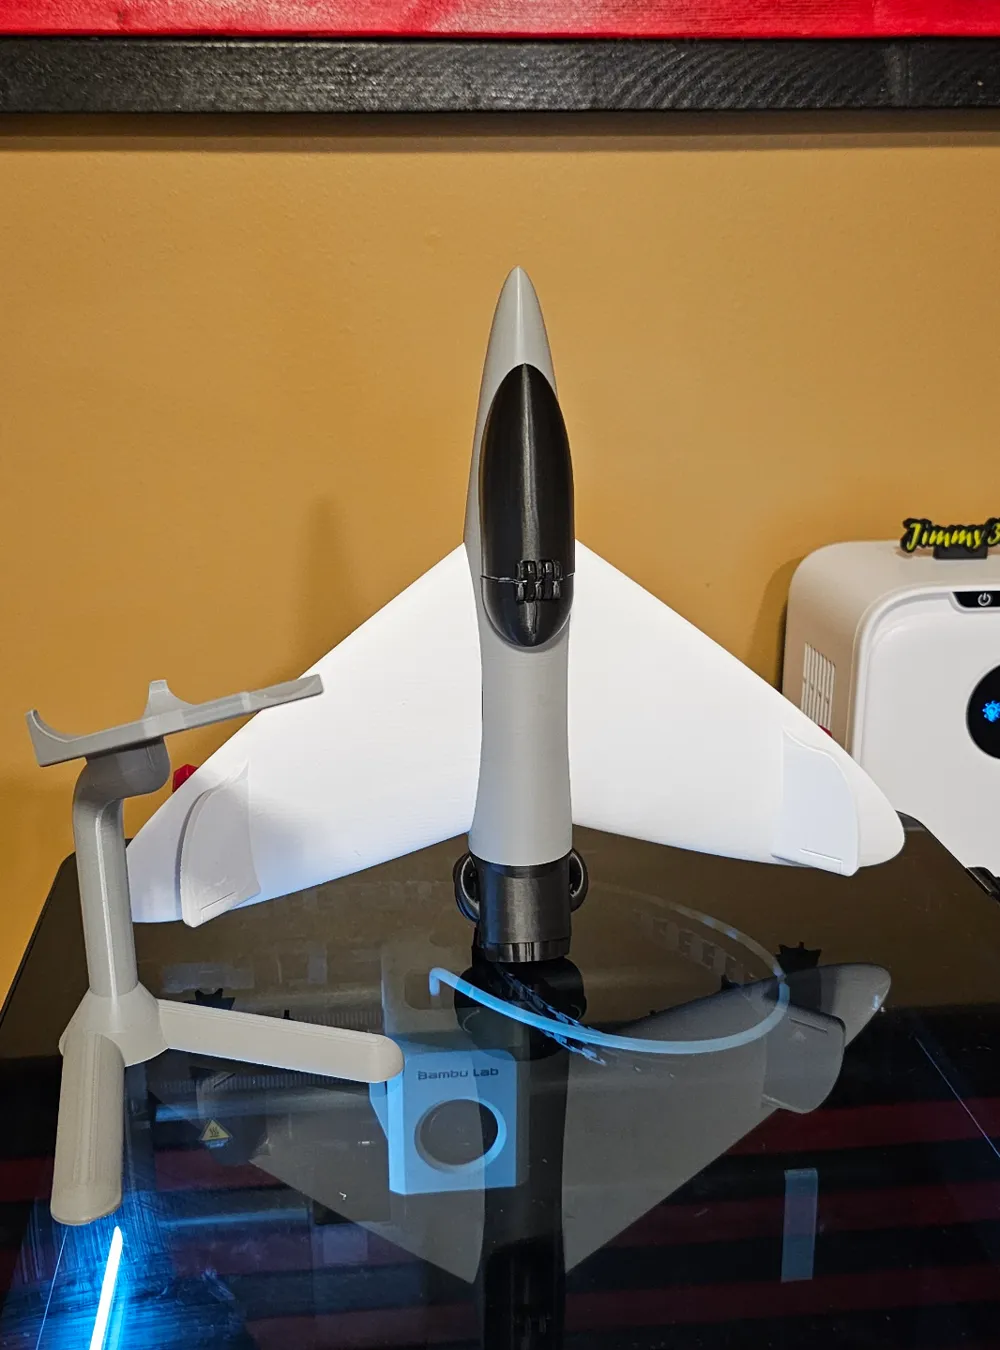
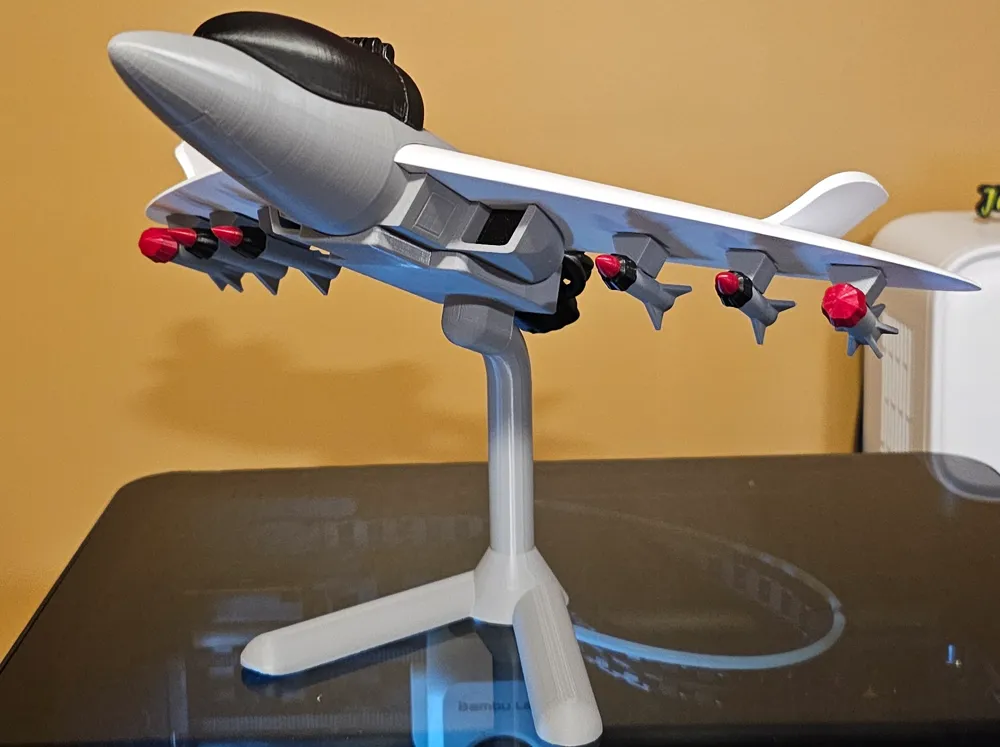
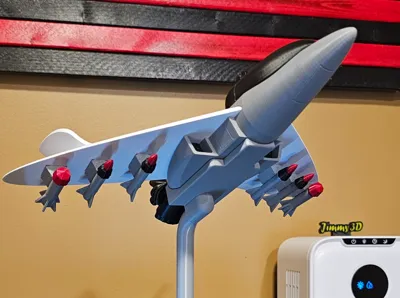
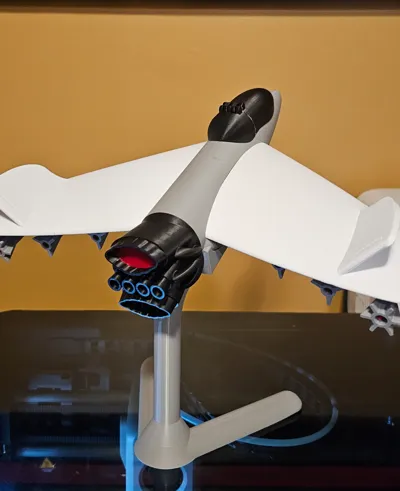
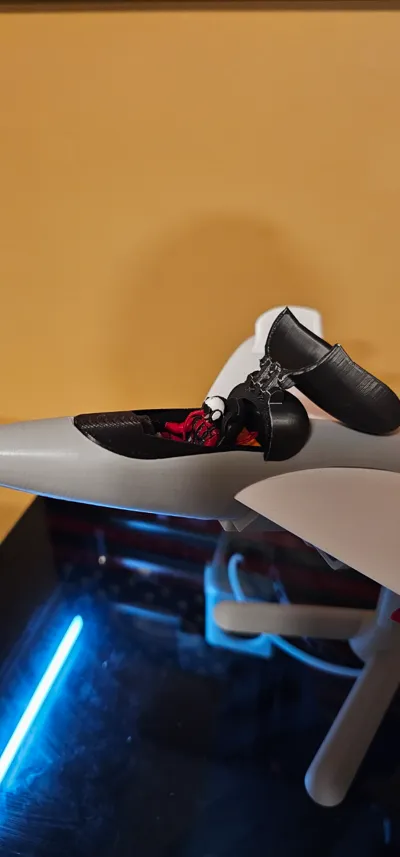
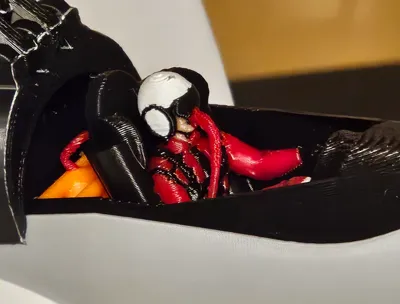
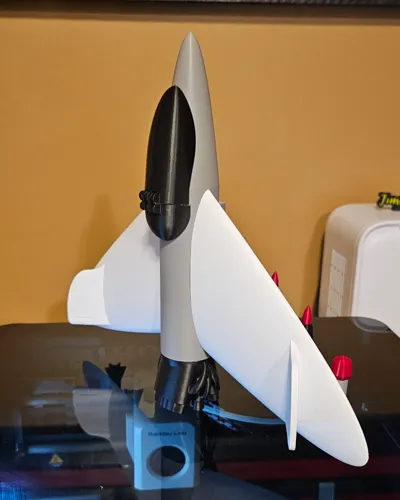
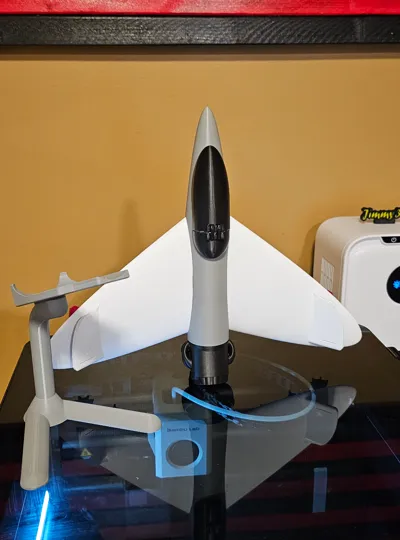
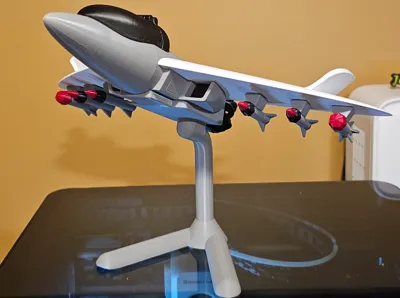
Original design intent to be easy to print and modular. Designed to highlight vertical take-off using 6 rear thrusters - just like a rocket! Has 6 on-board missiles. Rear thrusters have 4 key holes to allow the maker to rotate the thruster pack 90 degrees to their preference. Cockpit has 6 primary compression tanks that double as oxygen for the single pilot and in an emergency can pop the canopy right before ejecting the pilot.
A second profile is added that uses less colors (only 2) and print plates in design. Optional add-ons also in a separate print profile. I also include 2 cockpit STLs if you get inspired and want to add your own cockpit design. It should drop right into the cockpit well.
I used gorilla glue to secure parts but they are minimal and use alignment keys with exception of canopy, just need a dab of glue along the rear rim of the back canopy section for the hinged canopy cover to stay secured and operating. I did not glue the cockpit in place so as I can mix and match new cockpit designs later, but it fits snugly for me and does not drop out when inverted.
Enjoy!
- Print Jet body
- Print wings and pegs - drop a dab of glue in three holes for right side of body and on right wing, install the peg and insert the wing with the front most tip inserted first; press the wing to body and hold for 30 seconds until super glue sets
- Repeat to add the left wing to the body
- Test fit the thrusters to the rear of the jet body, lining up the peg holes. Thrusters can be oriented with the center smaller thrusters aligned up and down or left to right. Using glue, set the four thruster pegs and attach - hold 30 seconds until glue sets
- Install missiles on the bottom side of the wings, using one missile per peg hole. The missile brackets are contoured to fit each style of missile. Two longer, skinner missiles go inside closest to the body with the short stubby missile one the outer peg hole. Recommend a small drop of glue in the missile hole and the wing hole; also add a drop to the flat portion of the missile bracket to secure to the wing.
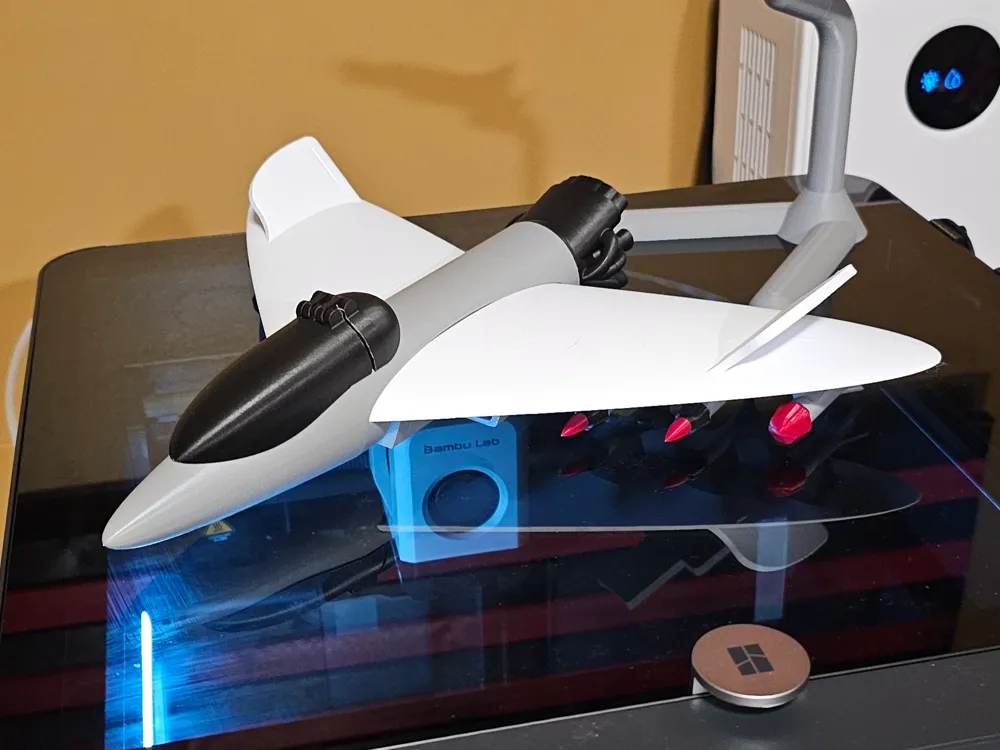
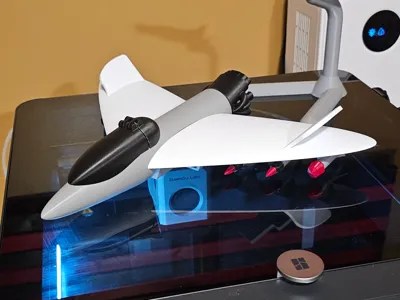
- Print and install the cockpit - couple of options from which to choose: 6-color, 4 color, 1 color - print based on your preference of print time and desired color detail. I do not recommend gluing the cockpit in as it fits snugly and enables you to change it out later if you desire.
- Print and install the canopy. This is a print in place canopy. Test fit the canopy over the cockpit. The canopy should completely straddle the cockpit and the back portion should be far enough back so it just misses the rear or the cockpit (this is so you can lift the cockpit out later). When aligned properly, securely hold the front portion of the canopy to the body and flip the back portion up (exposes the 6 tanks behind the pilot) and dab some glue on the outer rim of the canopy portion you flipped up (rear most rim of canopy when fully closed). Rotate the back portion of the canopy into place onto the body and hold in place 30 seconds or until the glue sets. The front portion nor the hinge should be glued.
- Print and install any optional shading - I added red thruster silhouette inserts (black would look good also) and black silhouette shadows for the air intakes. Neither of these need glue for my print as they are a tight fit. I used a small flat screwdriver to gently press in the edges of the silhouettes to wedge them into place.
- Print and install the display stand if desired for display.
License



Comment & Rating (3)