
Onn remote shell replacement
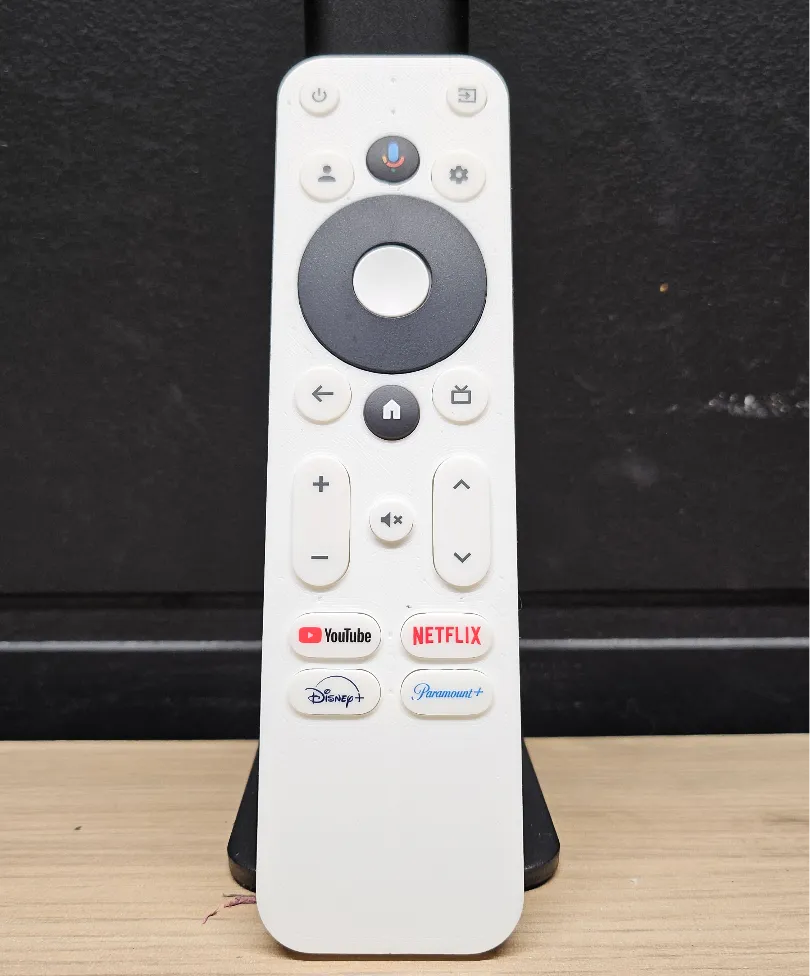
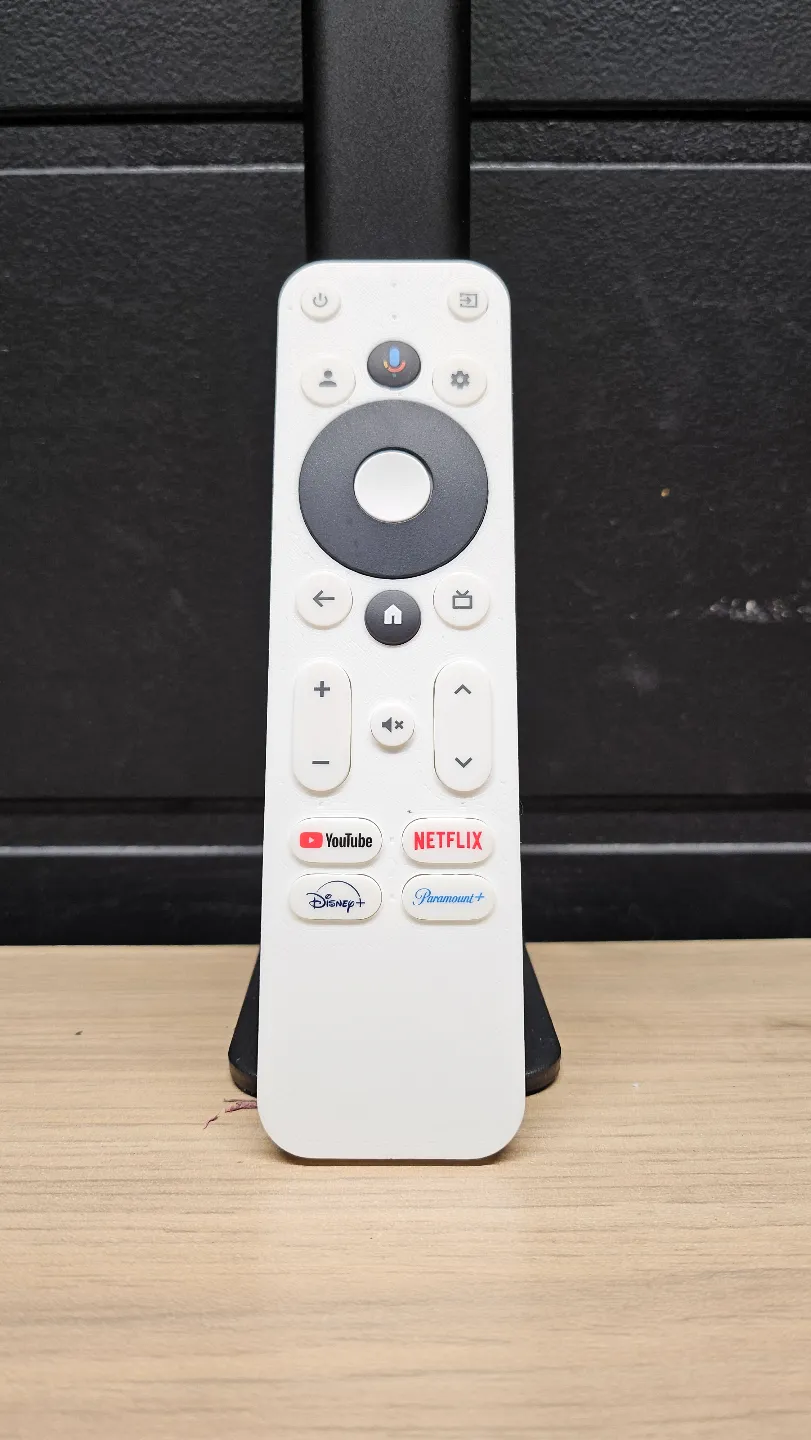
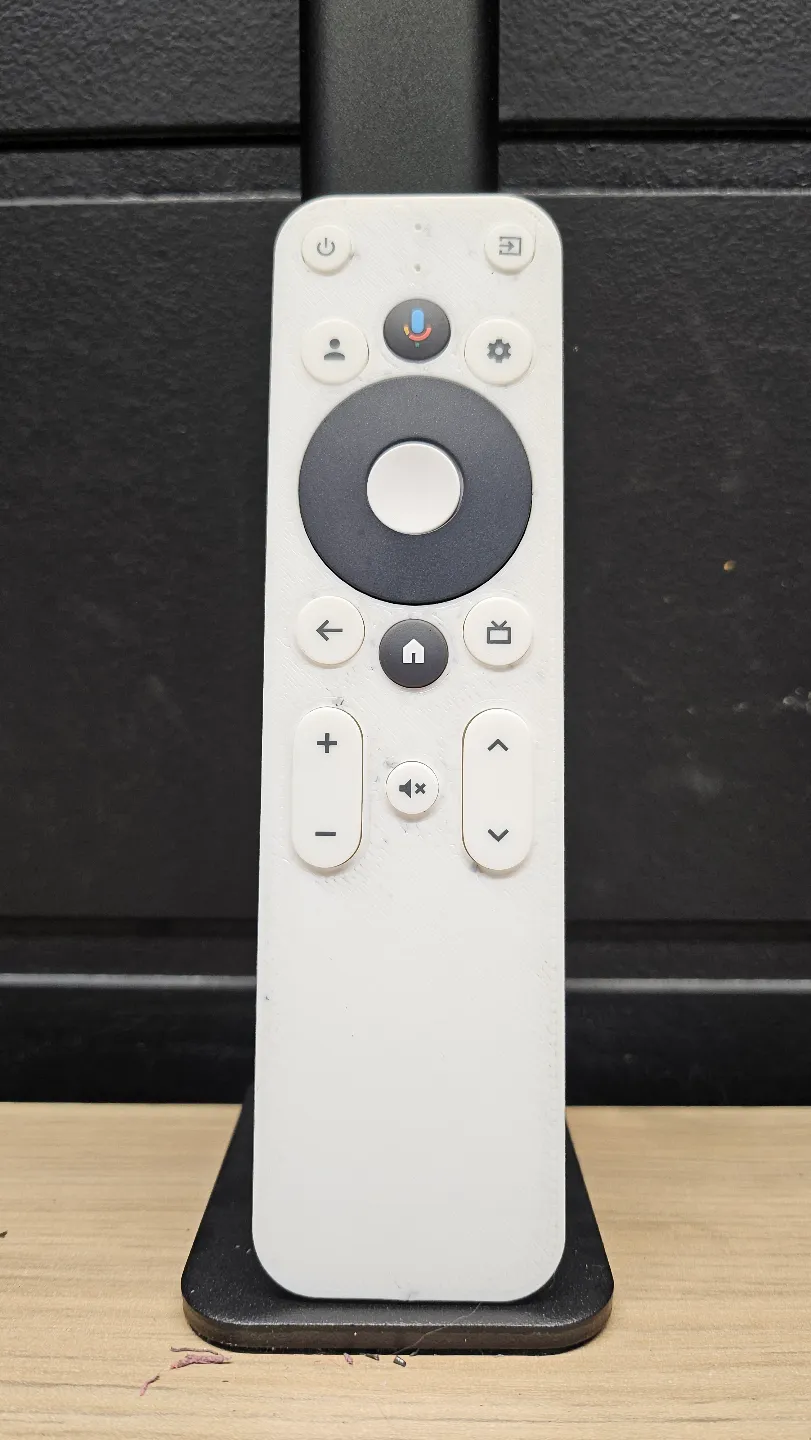
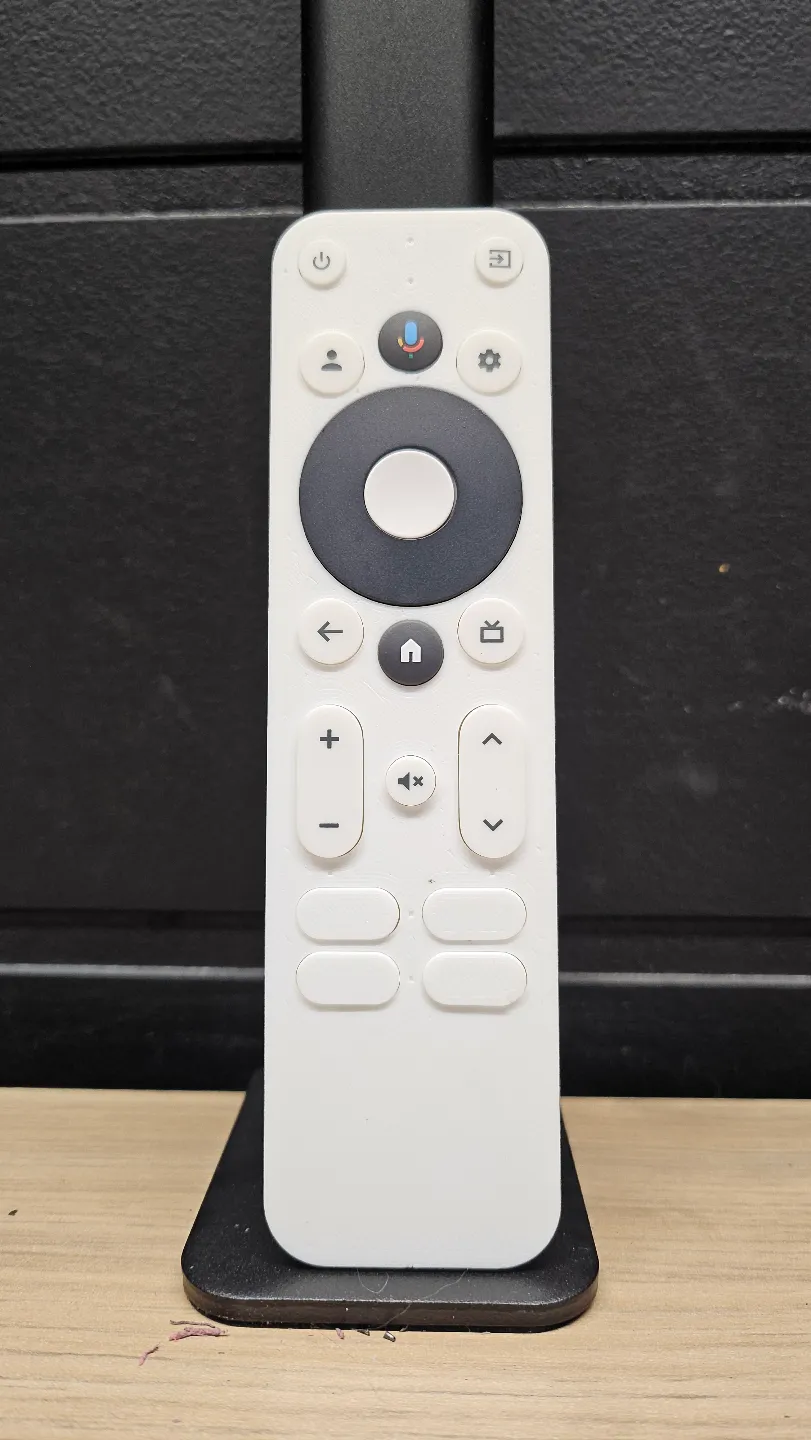
Print Profile(3)


Description
This model is still being improved!
-This model is still a work in progress, expect changes and improvements
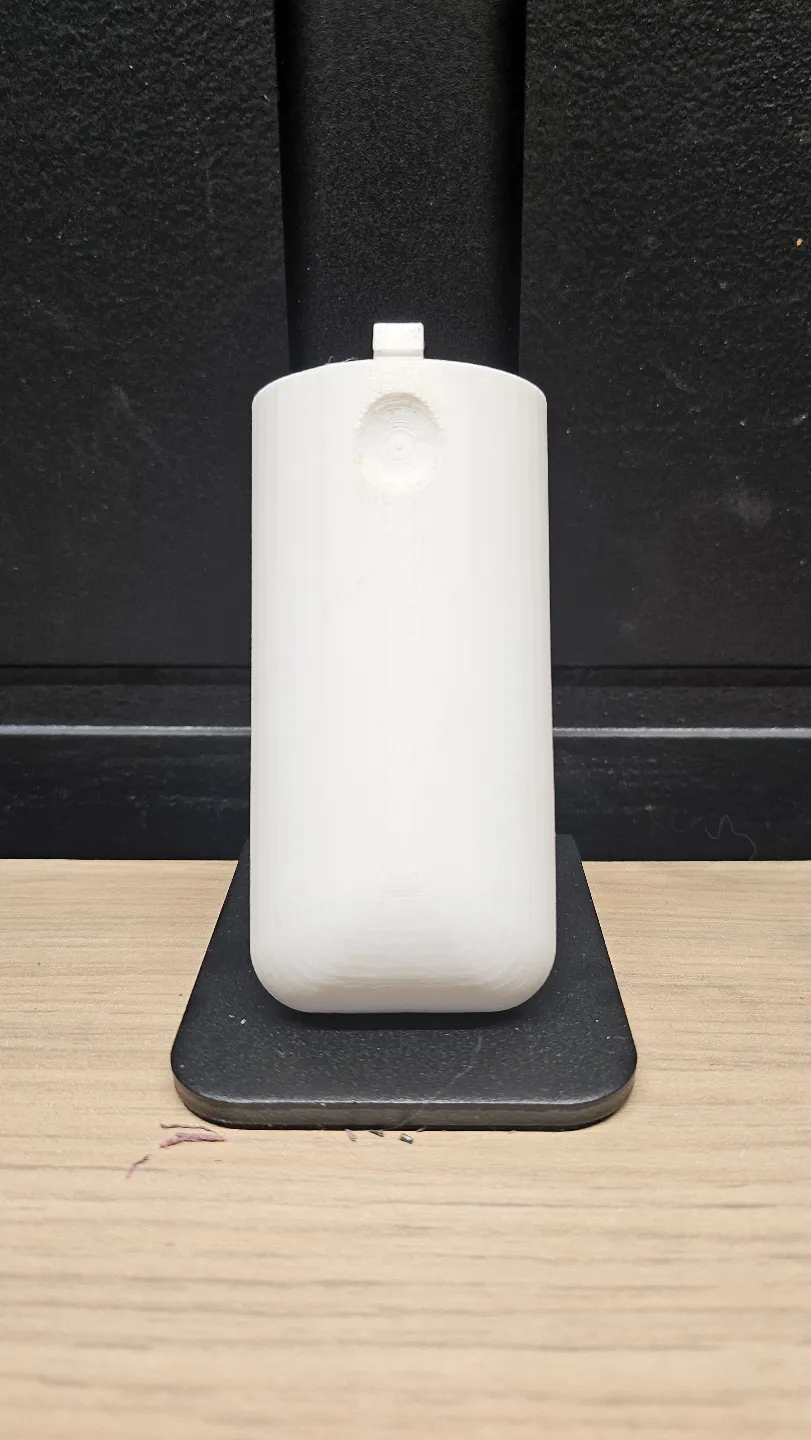
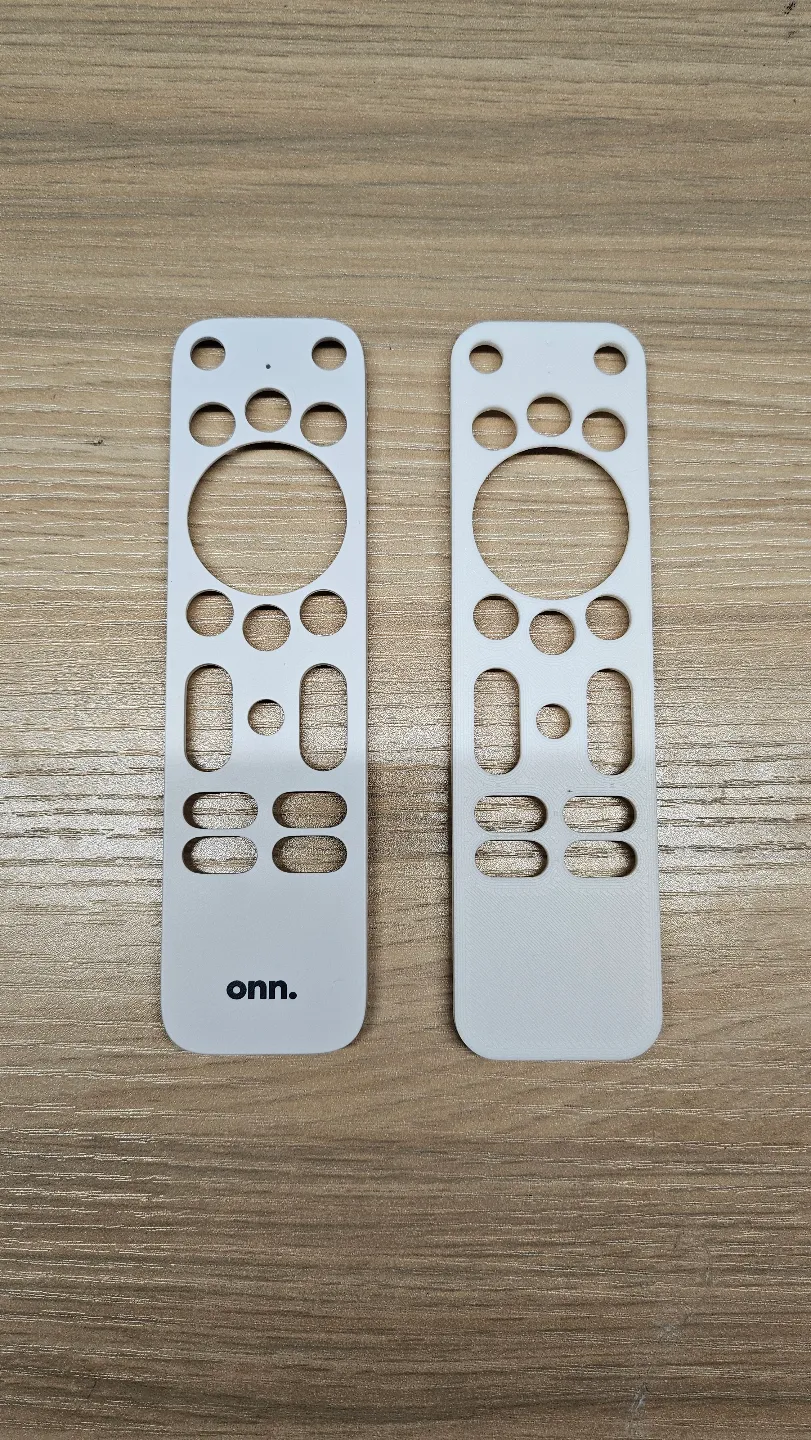
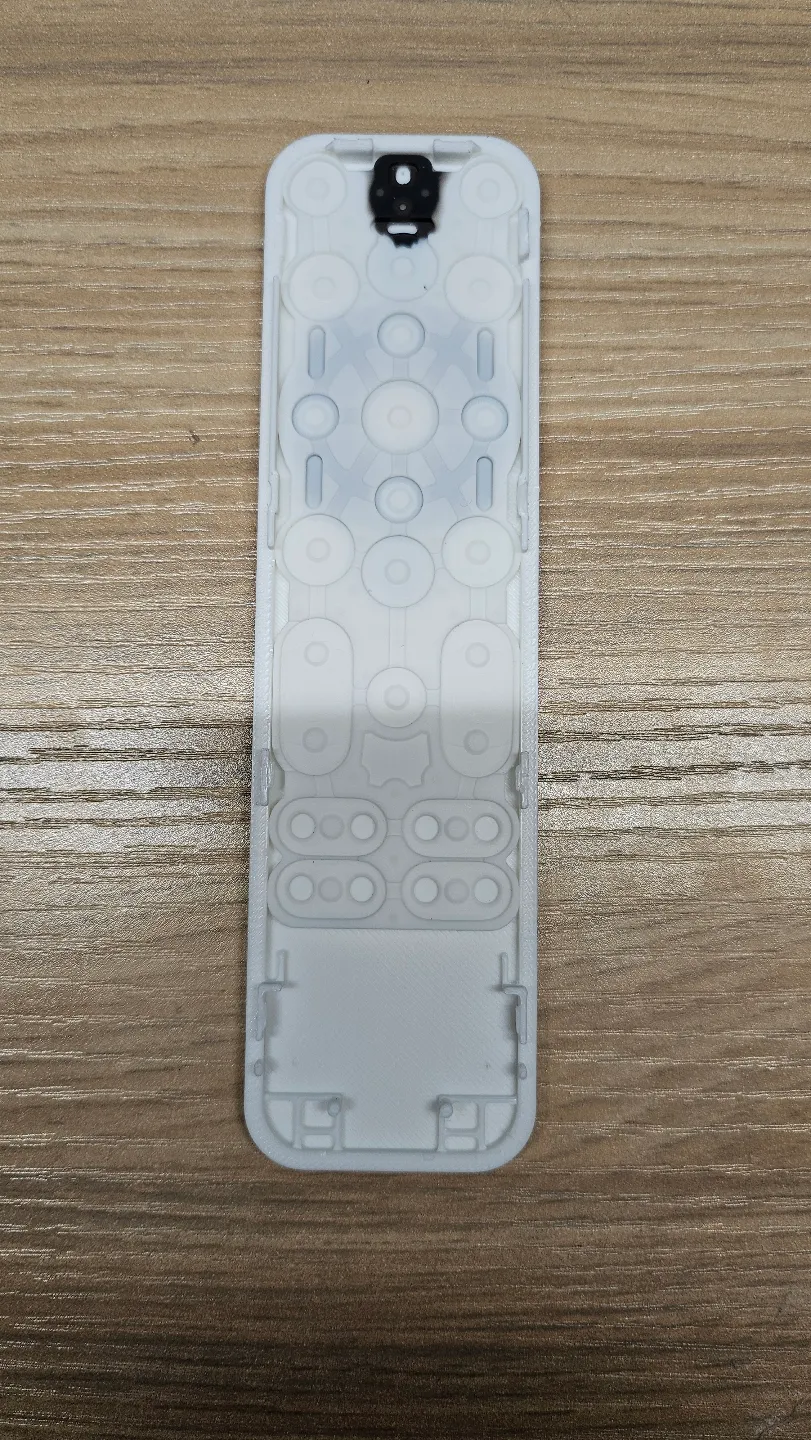
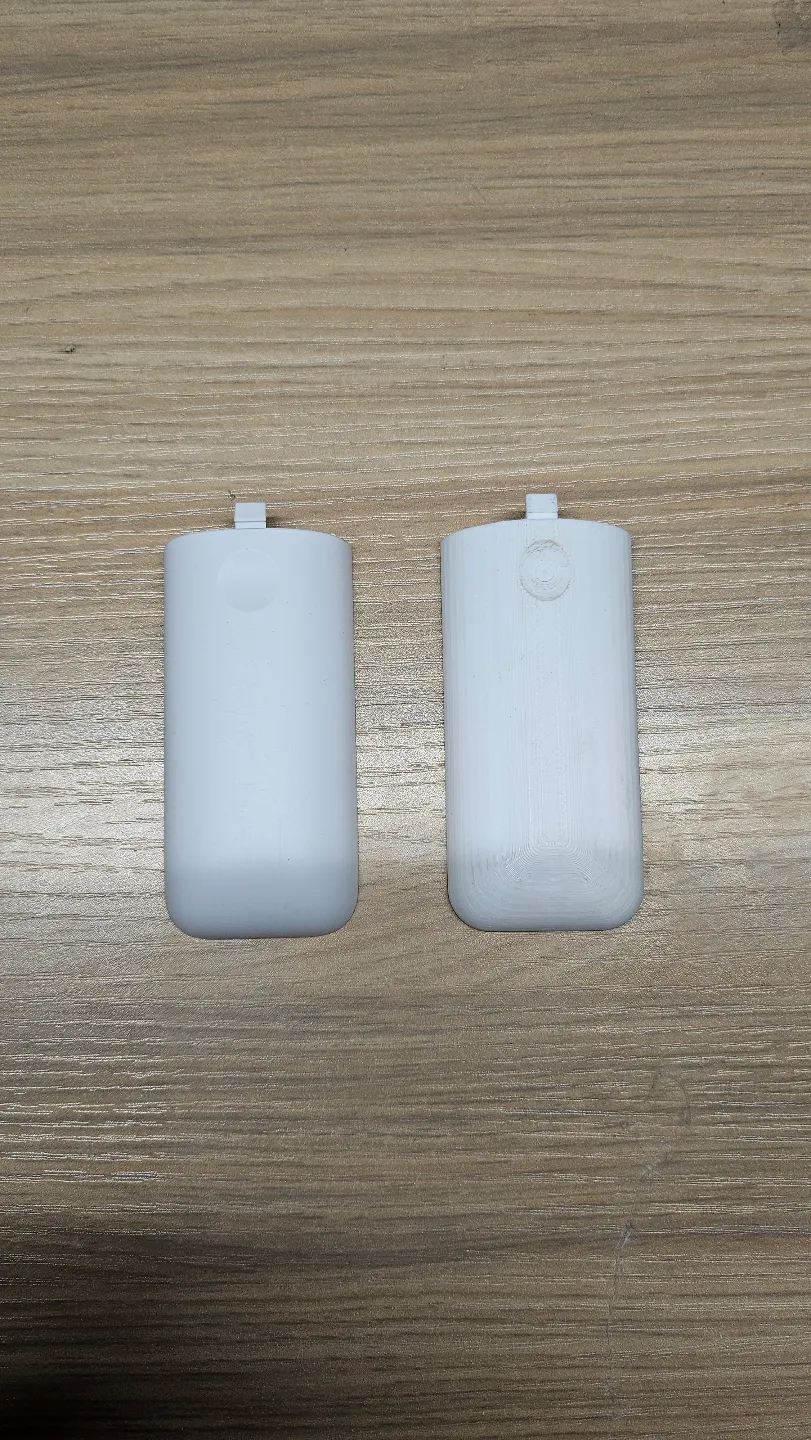
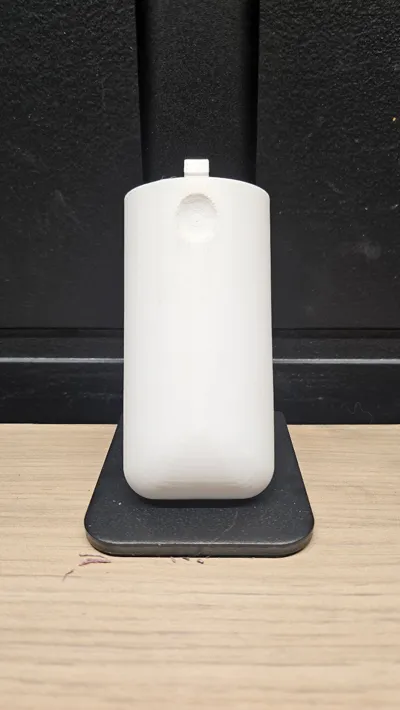
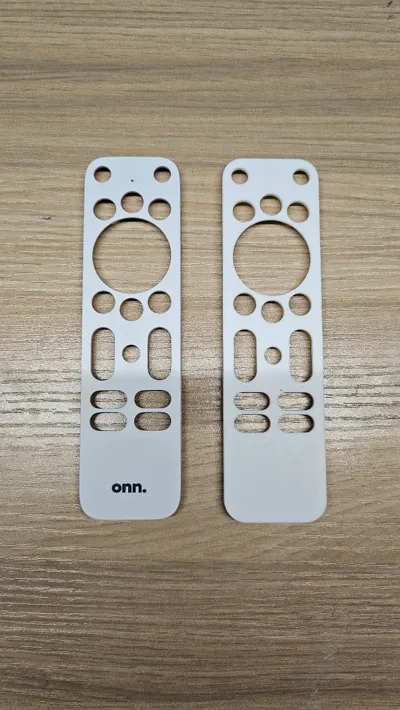
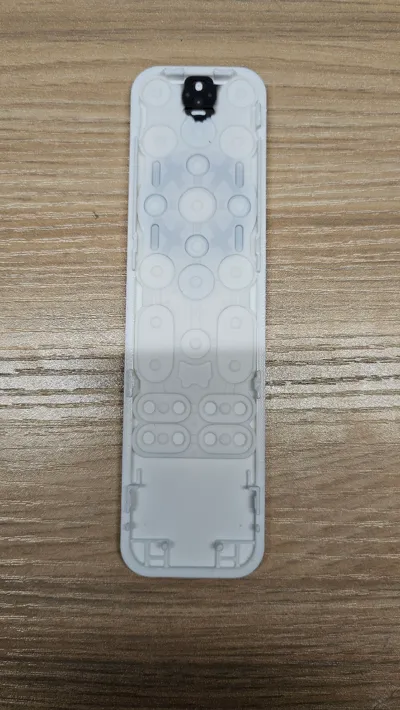
-Currently the face and battery cover pieces are available, the base shell is still being worked on
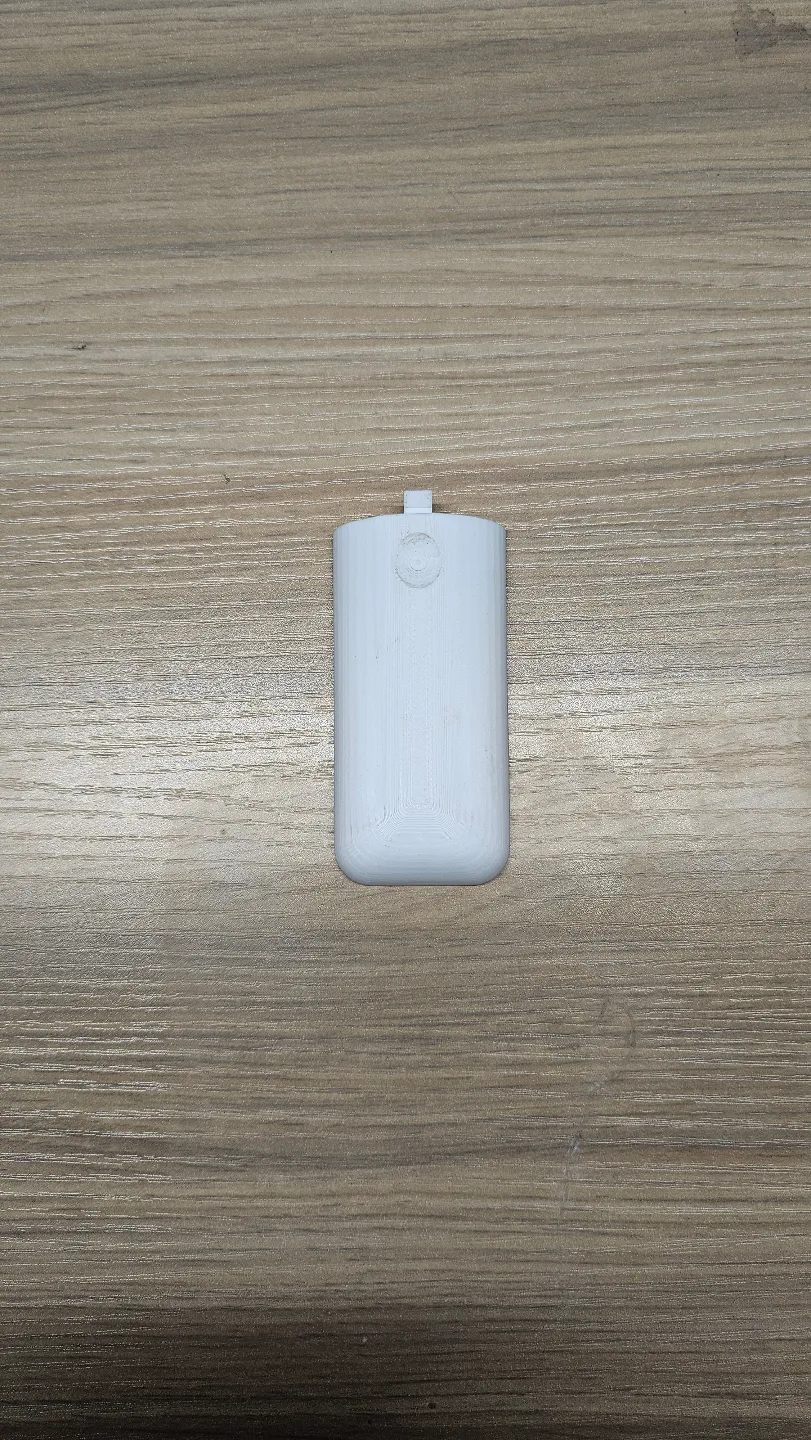
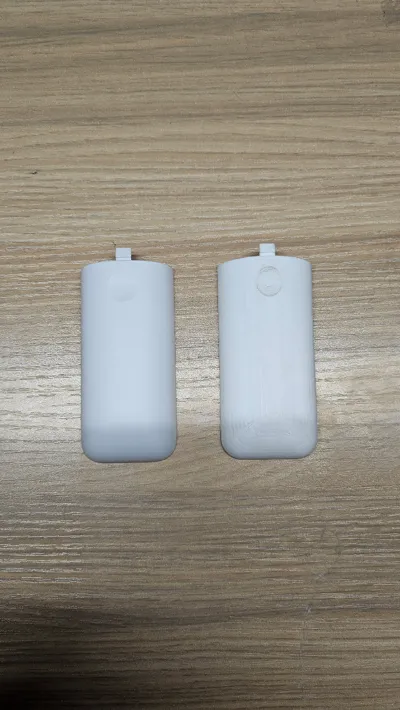
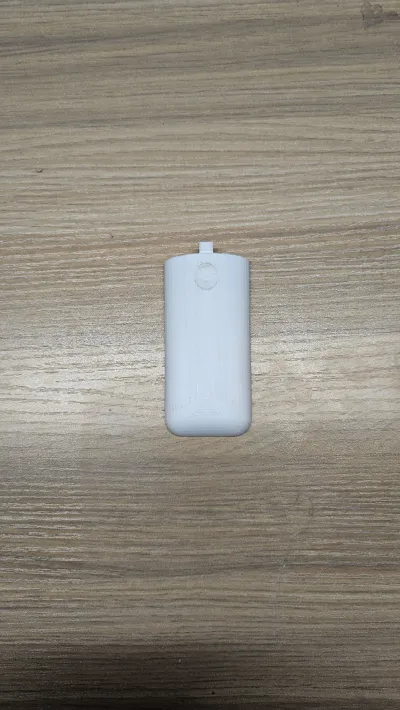
-The battery cover piece is not exact on the radius and shape, still trying to figure out the best way to measure it, however it does at least fit now
UPDATE 2
I have now added variants of the remote face for the version of the remote with the “Free TV” Button. Special Thanks to @tkwillz
for helping me test this variant!
UPDATE 1
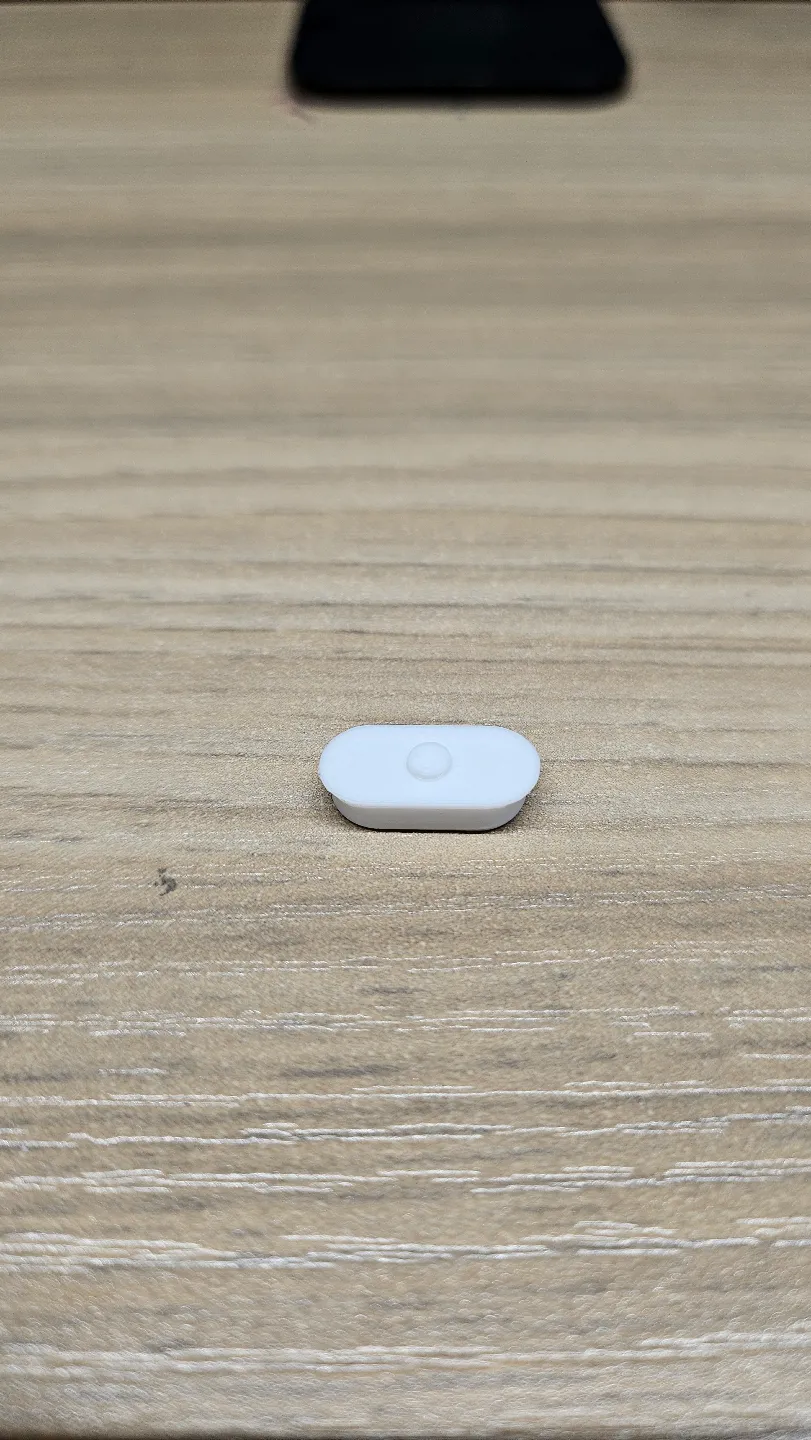
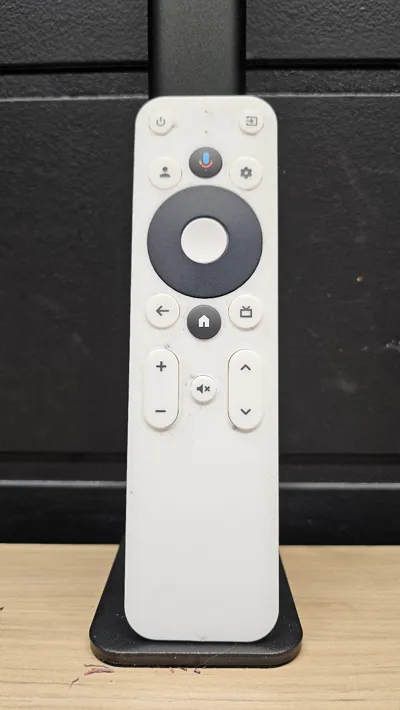
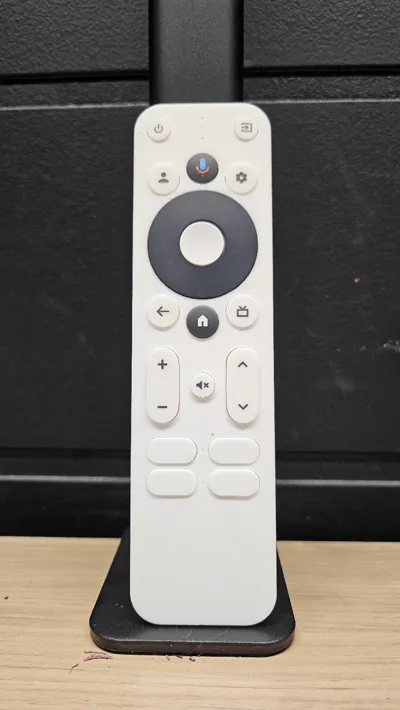
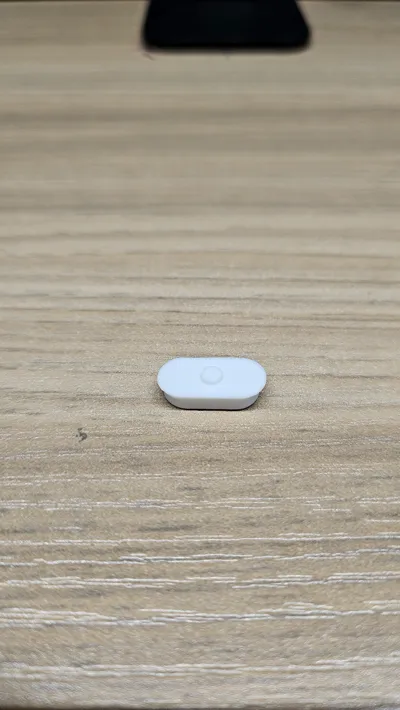
I have added both a version of the remote face without the streaming buttons at the bottom as well as a model for the streaming buttons so you can customize the remote for your own needs.
About the model
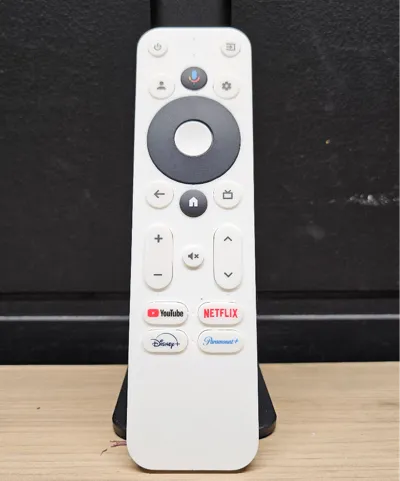
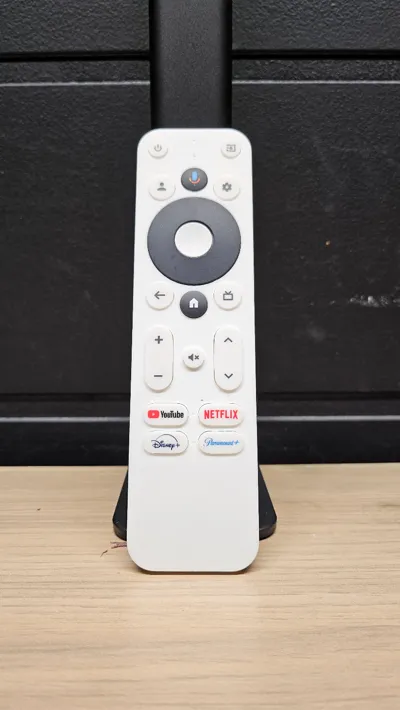
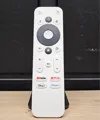
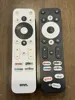
This model fits the Onn full HD, 4k, and 4k pro models of remotes. (Now supports the version of the remote with the "Free TV" Button! Special Thanks to @tkwillz for helping me test this variant!)
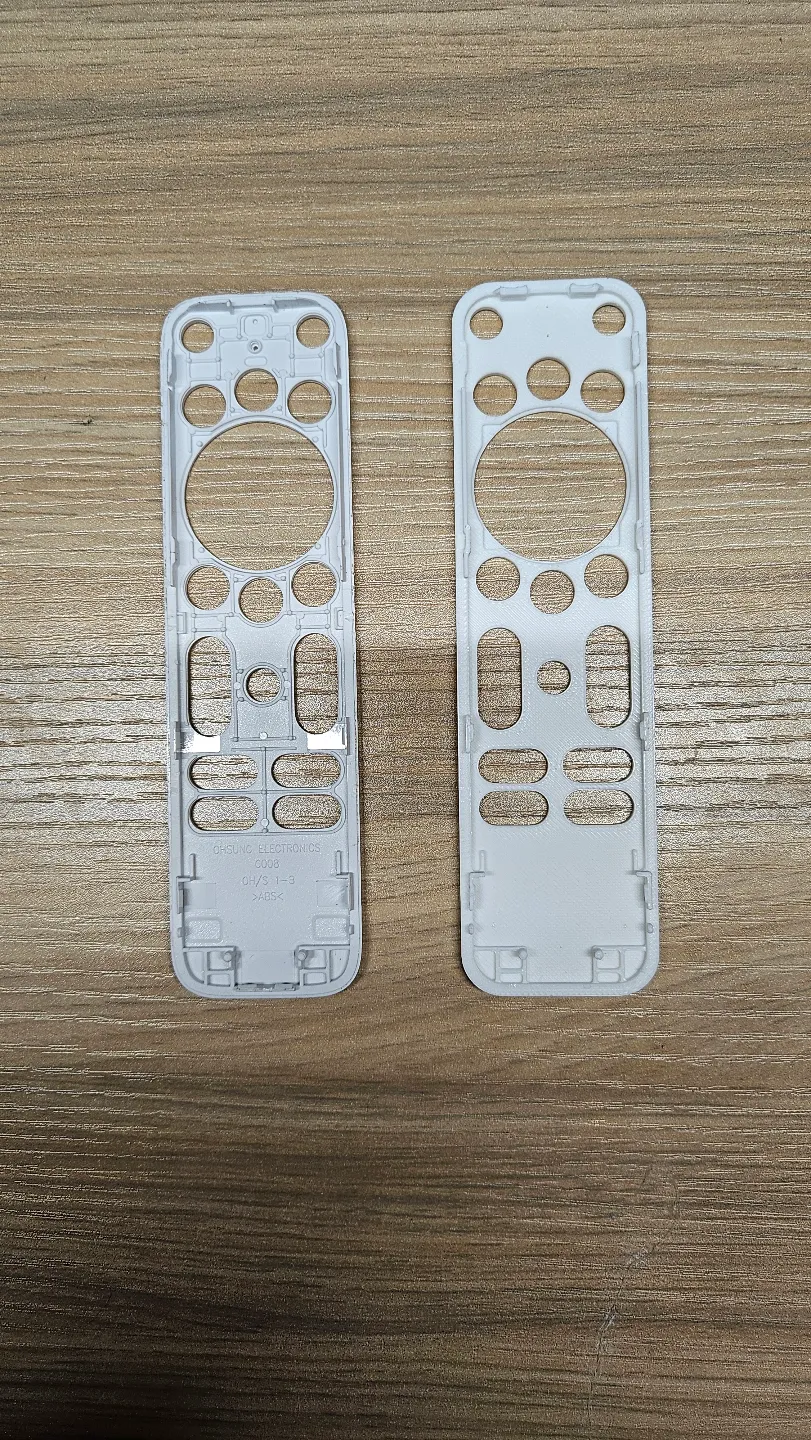
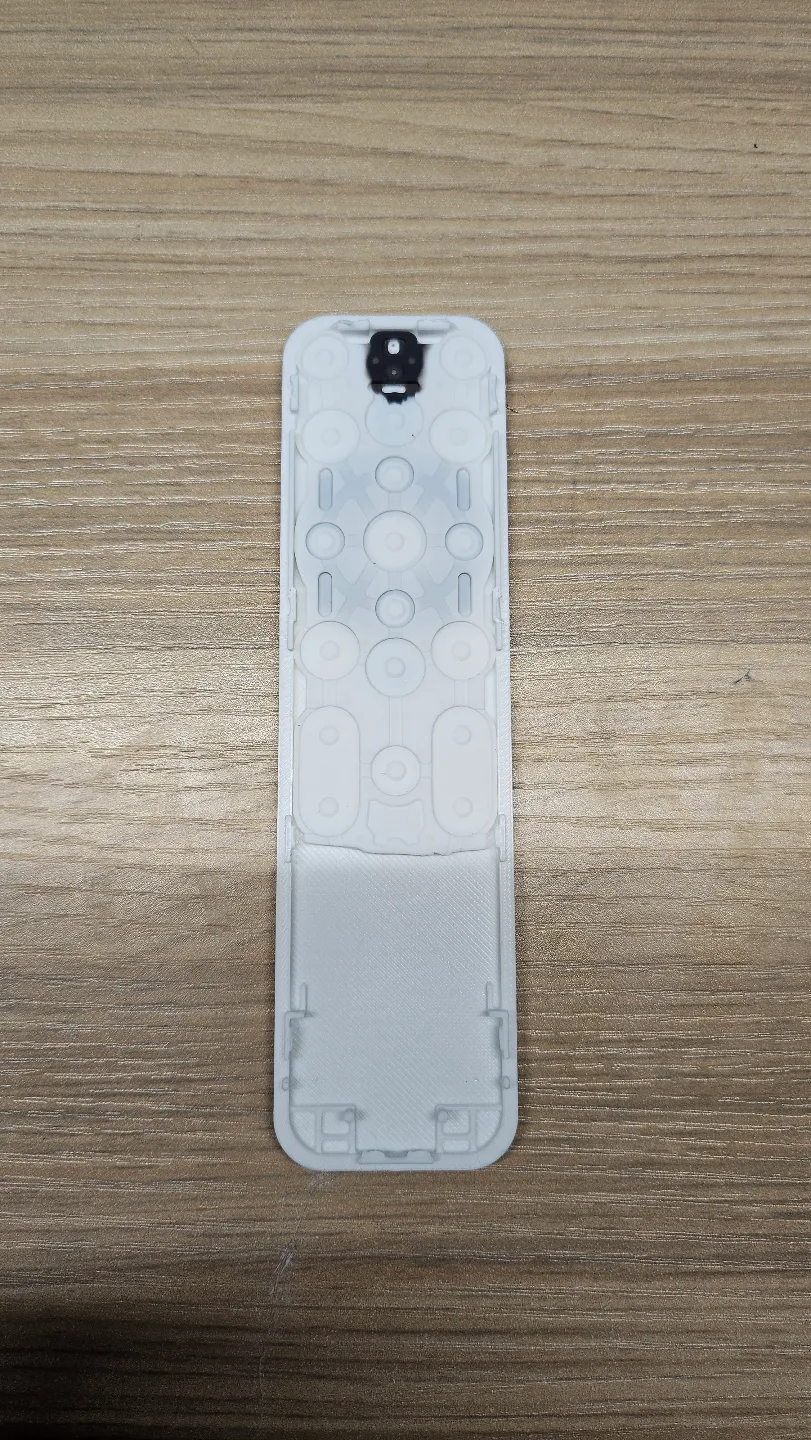
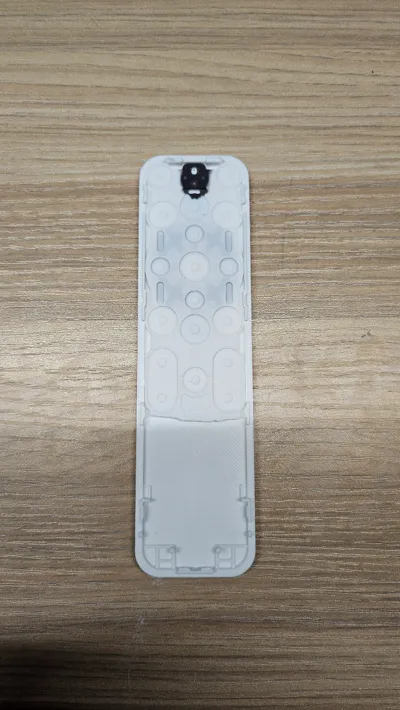
I decided to try to recreate the Onn tv remote in CAD since my dogs decided to chew up our current remote. Luckily the electronics still worked so I was able to salvage those, however the shell was very dented. This is one of my first attempts at completely recreating a design from scratch so I am still learning a lot. The pieces fit together just like the original shell does, and everything should just pop together and fit fairly tightly. While the remote face is blank, you could potentially customize it to have your own personal remote (as well as a means of labeling them if you have multiple). There are also blank buttons to replace the default streaming service buttons that come with the remote so you can customize those to your own needs. I hope y'all find this model useful, and as always, happy printing! :)
Print settings
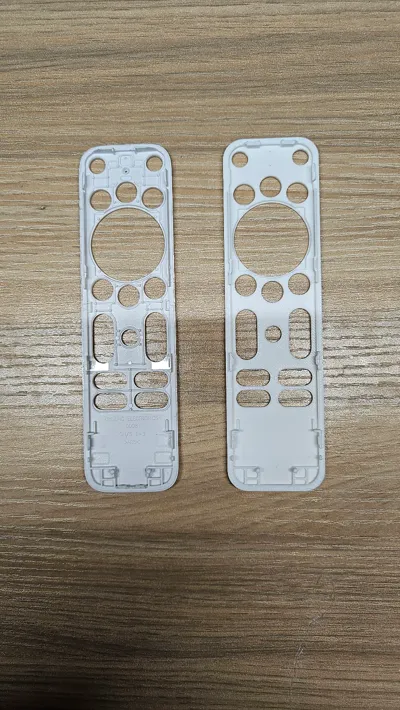
Remote Face (same for all variants) - I would recommend printing this with supports as well as a smaller layer height and increased infill percentage (25% - 35% should be fine) as this piece has a lot of areas with smaller details that need the strength to hold the remote together. (A smaller nozzle size could potentially help)
Remote Face variants without certain buttons - use the same settings as the regular remote face, however when it comes time to put the remote together you will need to cut off the excluded buttons on the rubber piece of the remote in order for this part to correctly fit.
Battery Cover - supports are necessary to print this part given its odd shape, I would also recommend printing this with a smaller layer height to help smooth out the curves, and using a increased infill percentage. (25% - 30% should be fine)
Custom buttons - do not use supports and print it with the circle facing upwards, that way the part of the button that you will be seeing on the remote is nice and smooth. the default infill (15%) should be fine and either a smooth plate or a cool plate supertack is recommended that way the face of the button is smooth and flat.
License

You shall not share, sub-license, sell, rent, host, transfer, or distribute in any way the digital or 3D printed versions of this object, nor any other derivative work of this object in its digital or physical format (including - but not limited to - remixes of this object, and hosting on other digital platforms). The objects may not be used without permission in any way whatsoever in which you charge money, or collect fees.


Comment & Rating (18)