
3:1 AMS Slider/Riser, LED Strip, Modular Rail, ULP

Print Profile(5)


Bill of Materials

Description
Boost Me (for free)
If you like my work, I'd really appreciate a boost 🚀
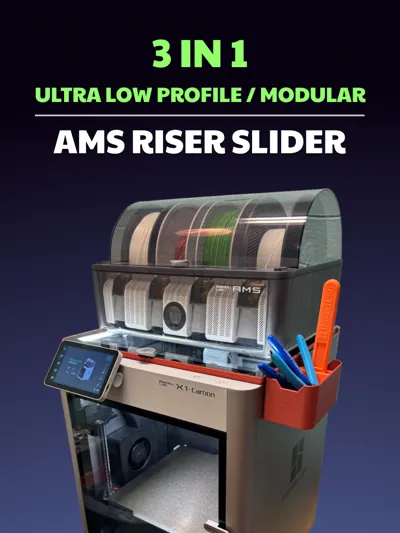
Ultra Low Profile Modular AMS Riser & Slider for Bambu Lab X1C, P1S
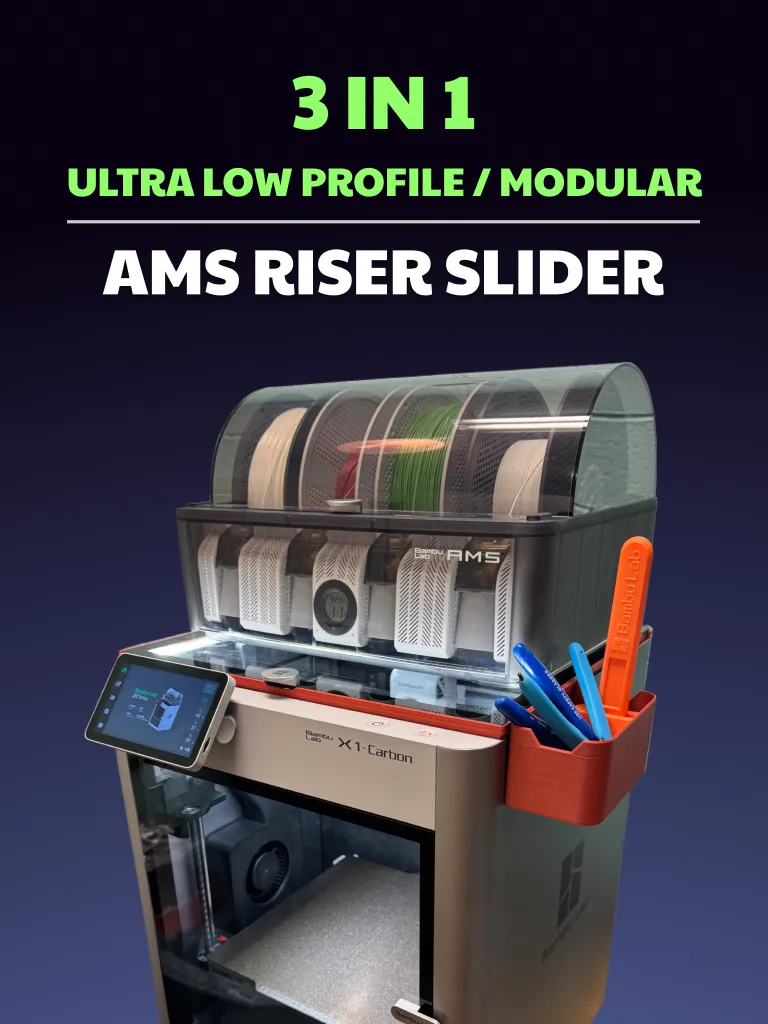
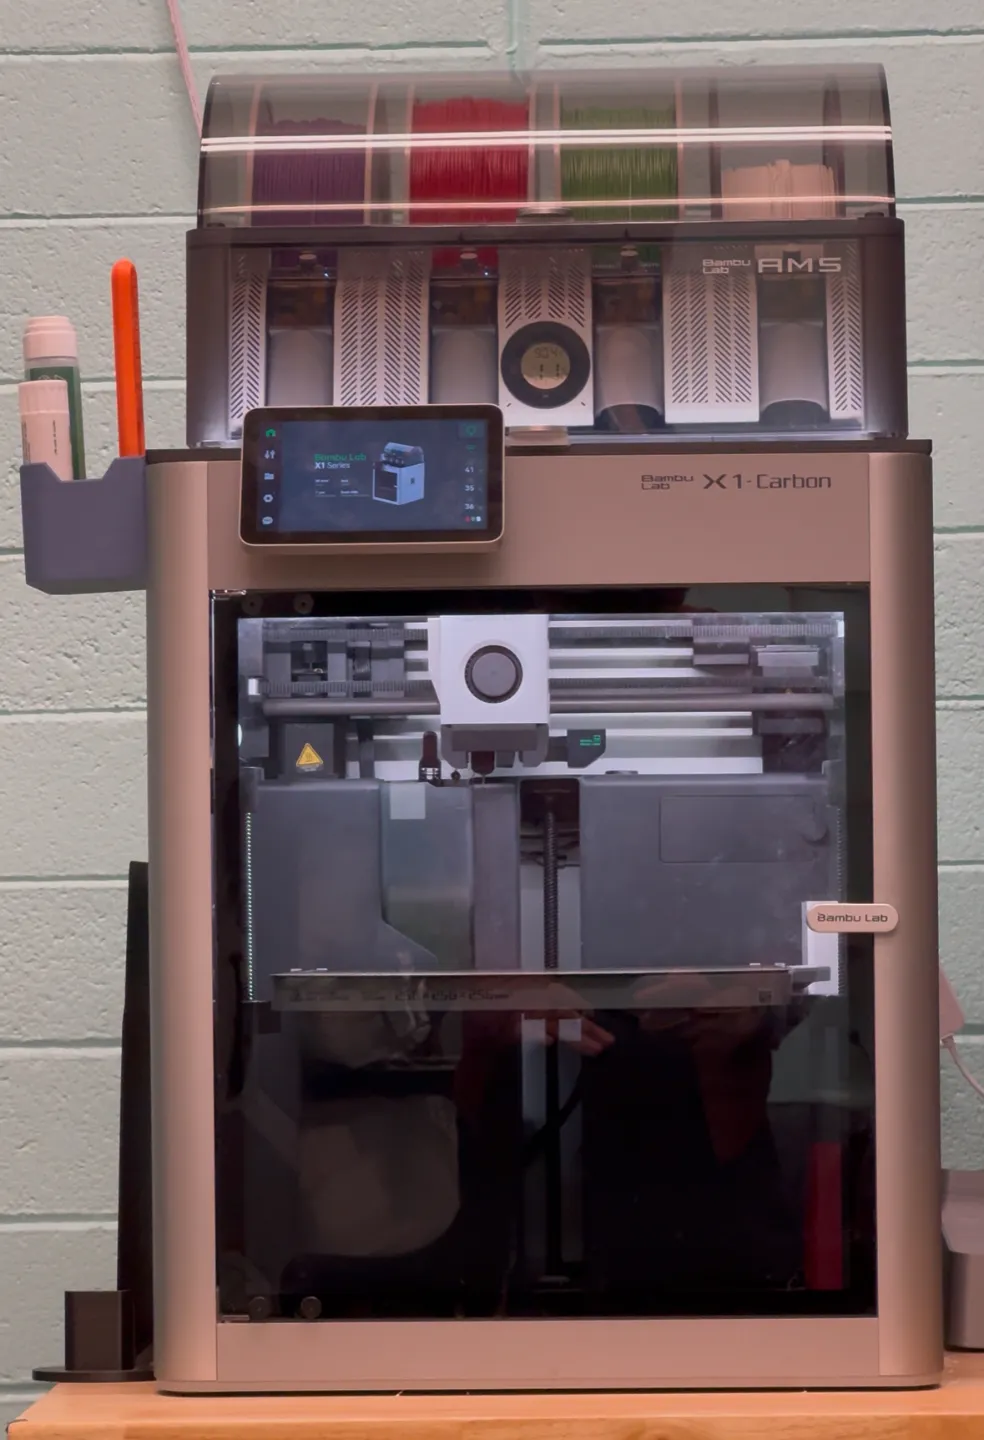
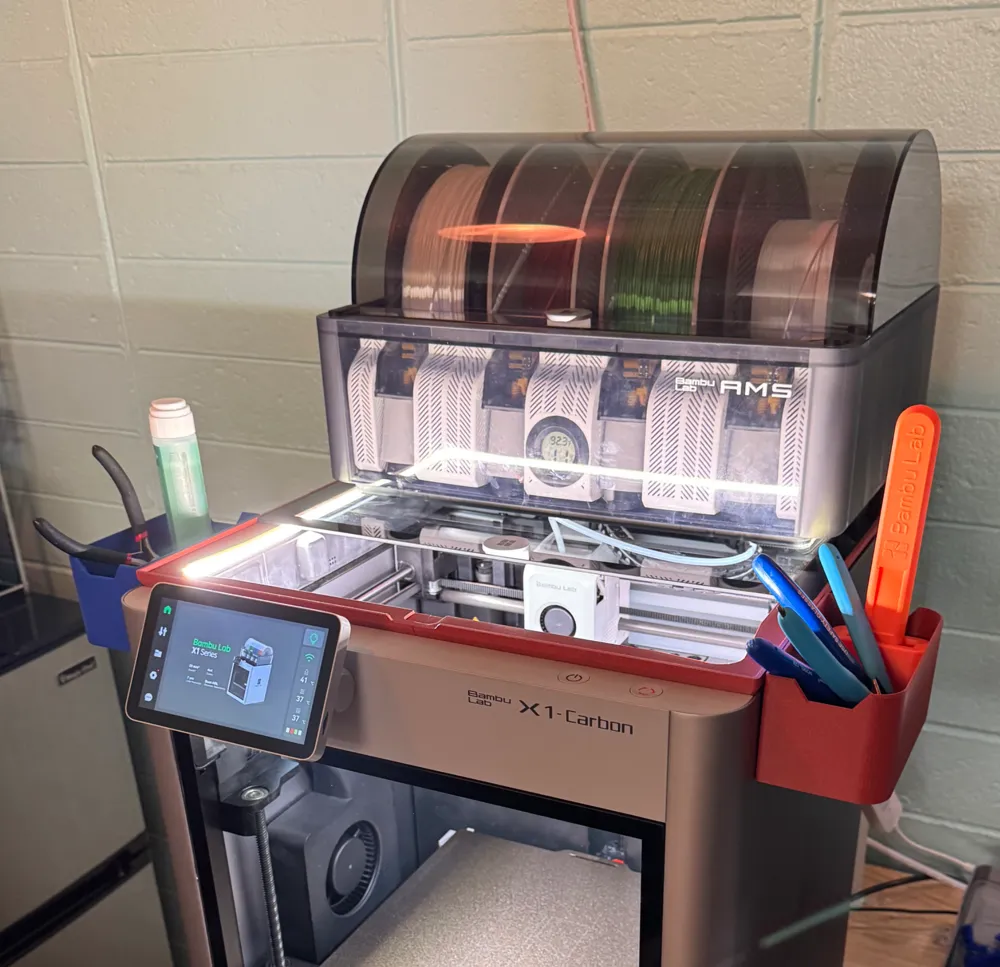
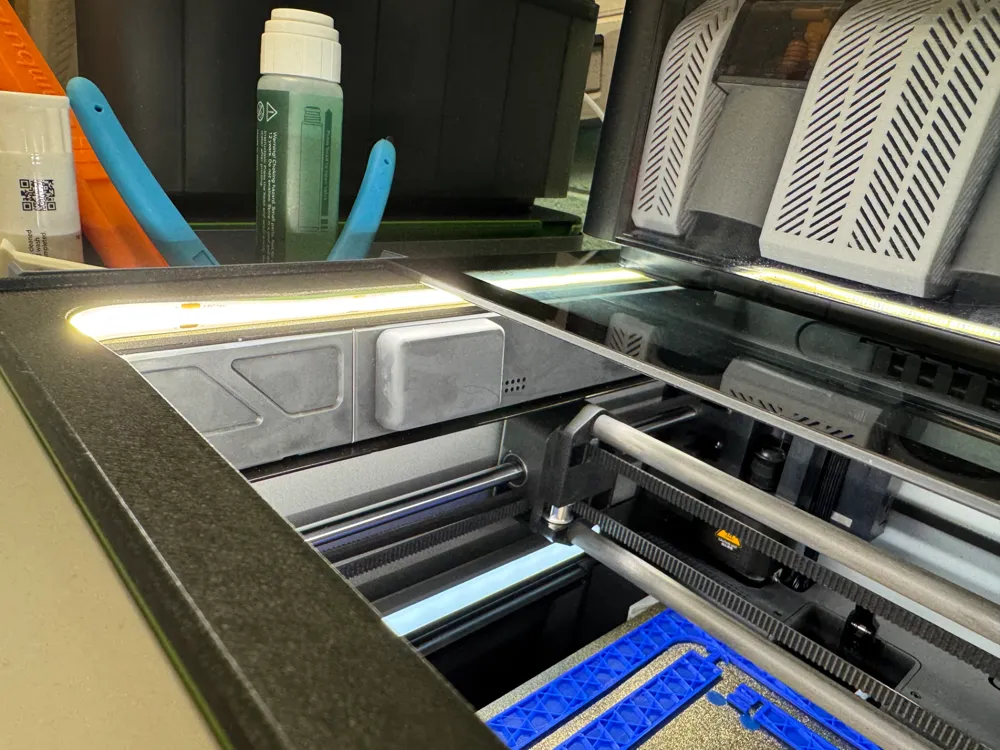

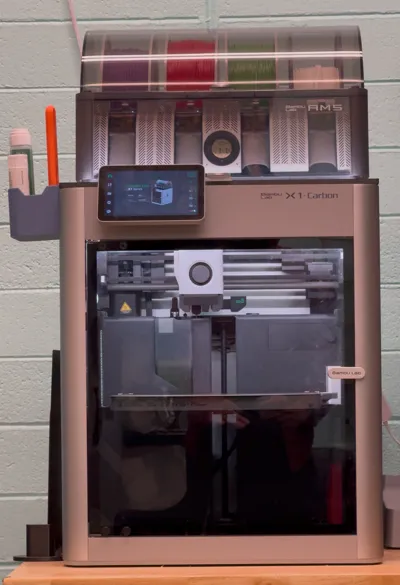
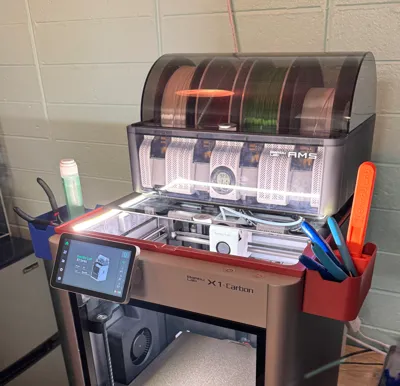
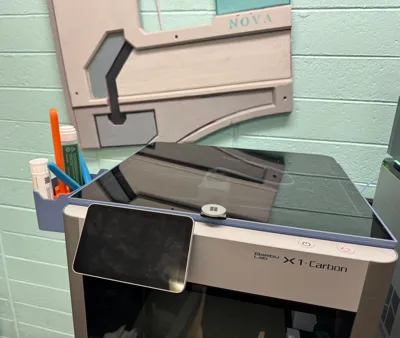

The AMS Riser & Slider is a multi-functional, low-profile accessory designed to enhance your Bambu Lab X1C by improving accessibility, lighting, cooling, and customization—all while keeping your printer looking sleek.
____________________________________________
Accessories Update:
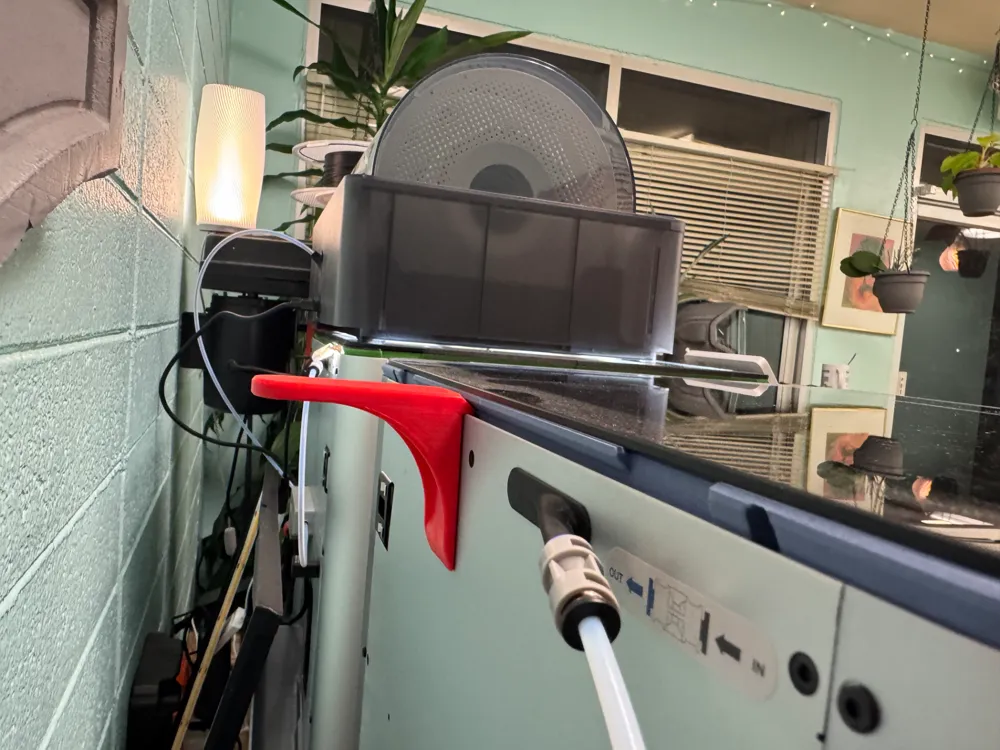
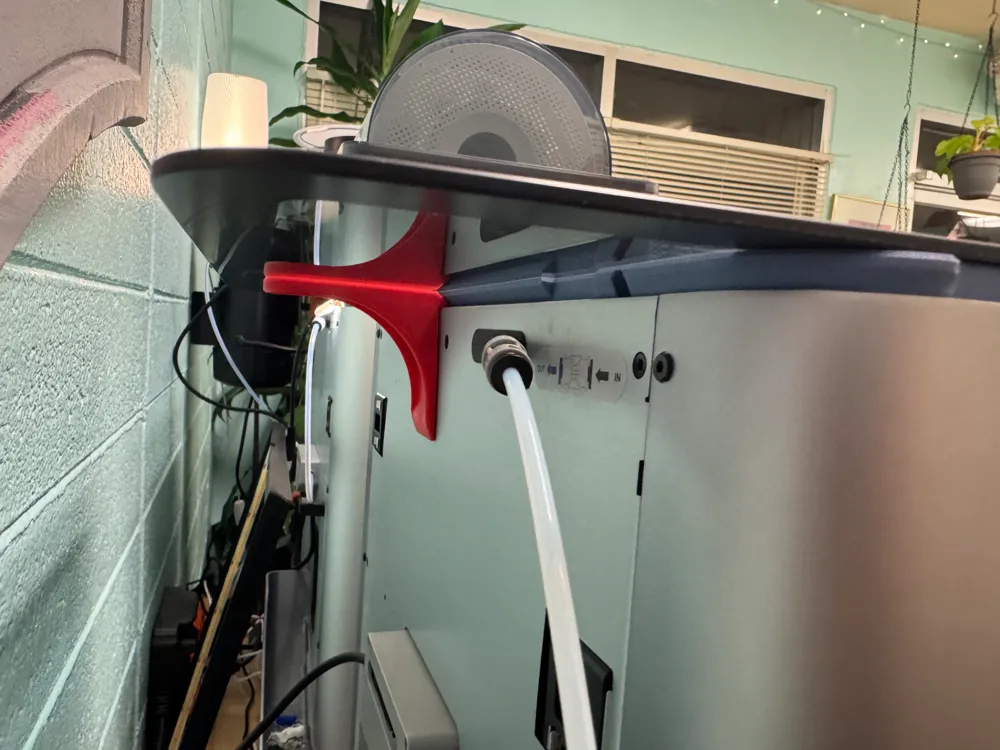
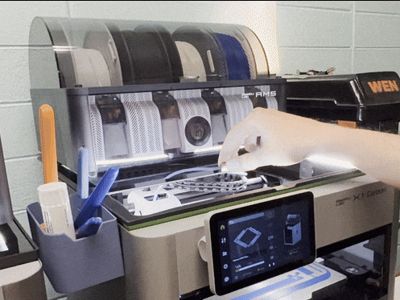
Glass Support Bracket: Provides extra support for the glass when slid back.
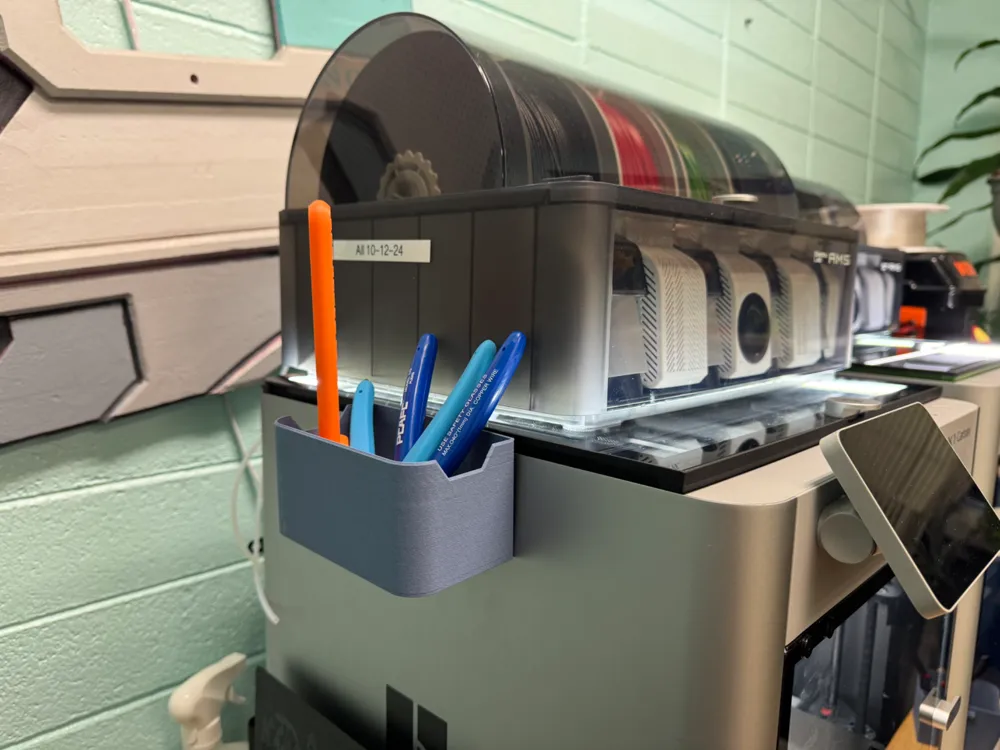
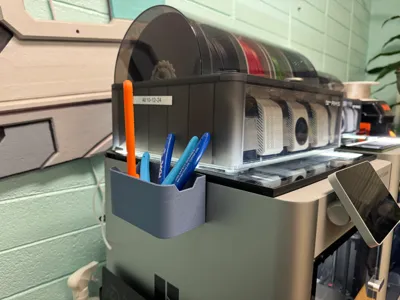
Bambu Scraper Holder: Provides dedicated, easy-access storage for your Bambu Lab scraper.
Storage Cup: The print profile is currently available in this post.
____________________________________________
🔧 Key Features & Benefits
Cooling & Accessibility

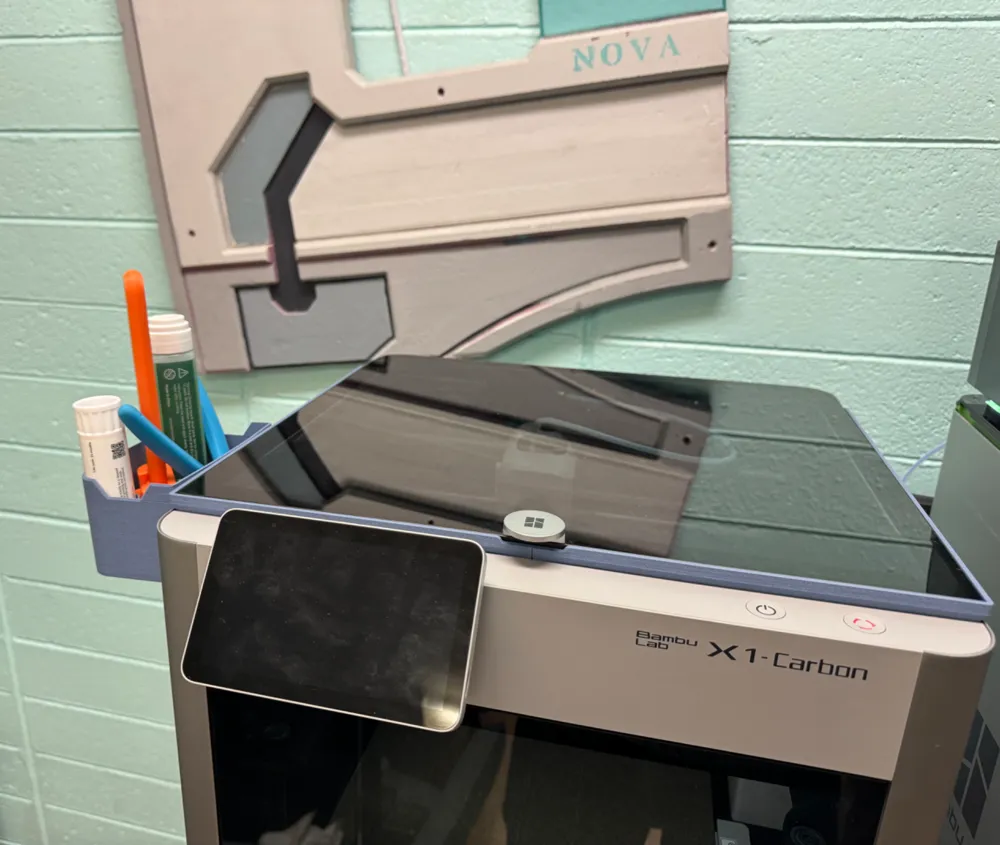
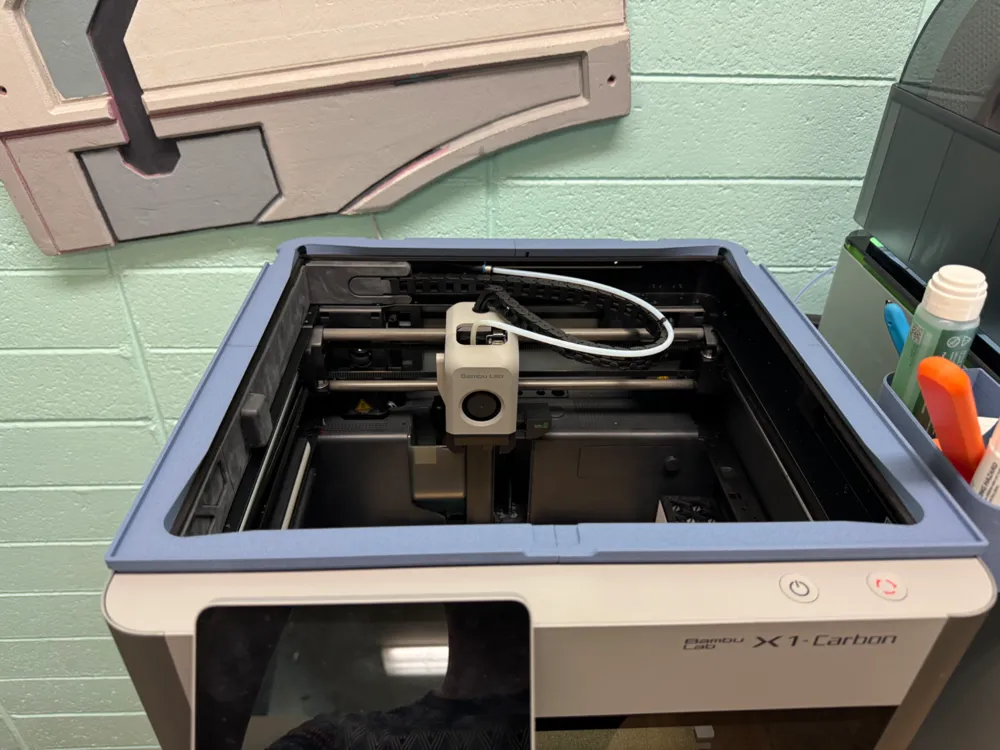
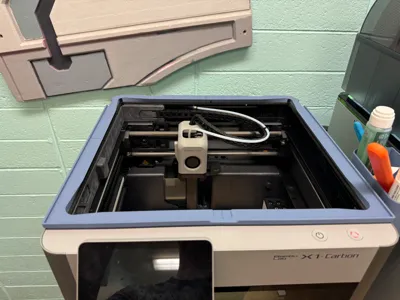
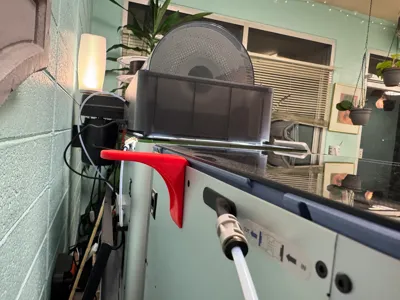
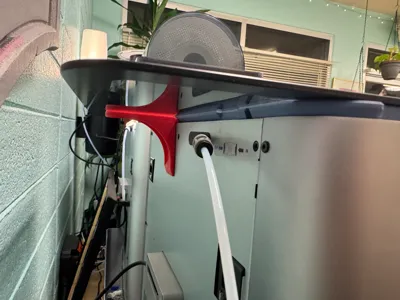
• Slide-back glass panel for quick, easy access to the build chamber for easy maintenance.
• Control heat escape to prevent clogs when printing PLA and other temperature-sensitive filaments—without needing to open the front door.
💡 Lighting Integration
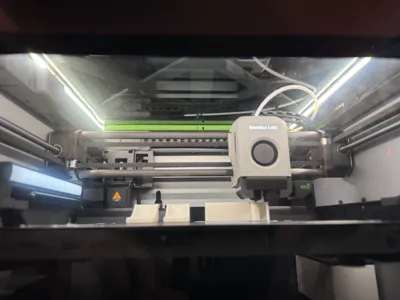
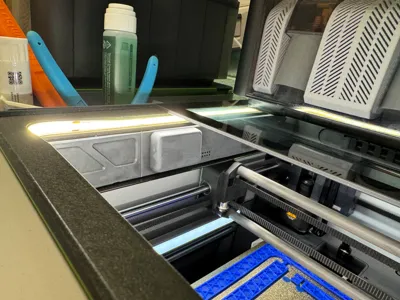
• Includes a path for an 8mm LED strip with built-in wiring channels for easy installation.
LED Strip ➡ Amazon Link
• The angled LED path directs light toward the build plate for better visibility inside the chamber.
🛠 Modular Customization
• Built-in rail system on the left, right, and back edges allows you to attach modular accessories.
• Includes a storage cup for small tools and a glass support piece to stabilize the panel when slid back.

⏱️ Quick & Efficient Print
• Print the entire riser in just 3 to 3.5 hours using only 100-120g of filament.
• The low-profile design keeps your printer looking clean and professional, without adding unnecessary bulk.
🖨️ Compatibility
This AMS Riser & Slider is compatible with the following Bambu Lab printers:
X1C, P1S
____________________________________________
Print & Assembly Instructions:
1️⃣ Print All Four Parts Together
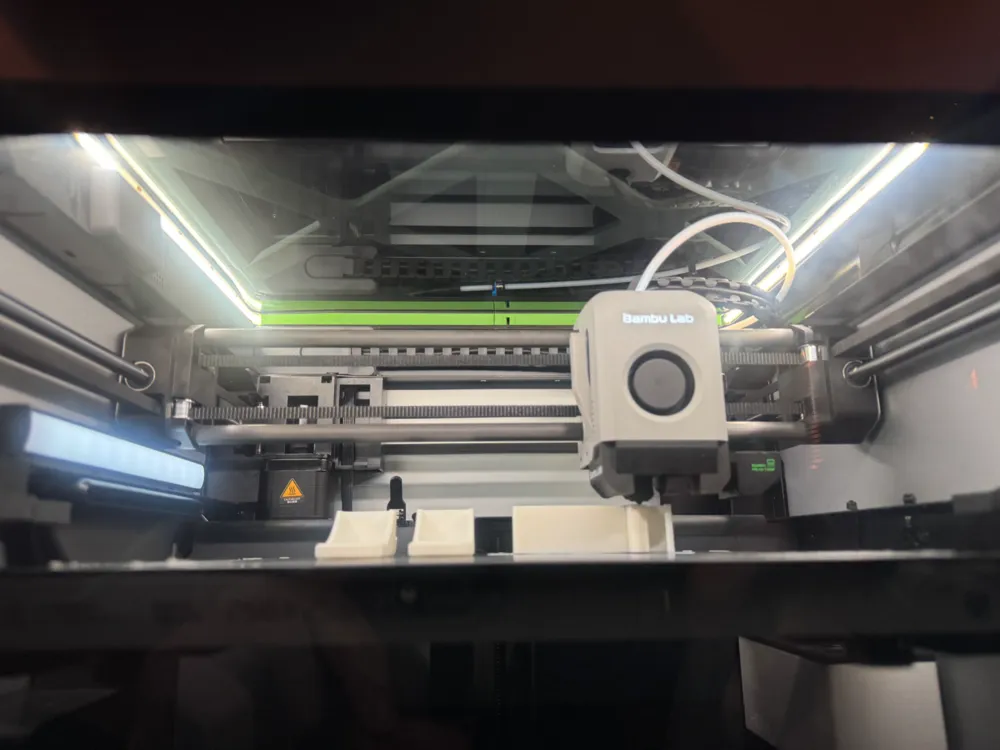
The AMS Riser & Slider is designed to print all four pieces on a single build plate for fast and easy printing.
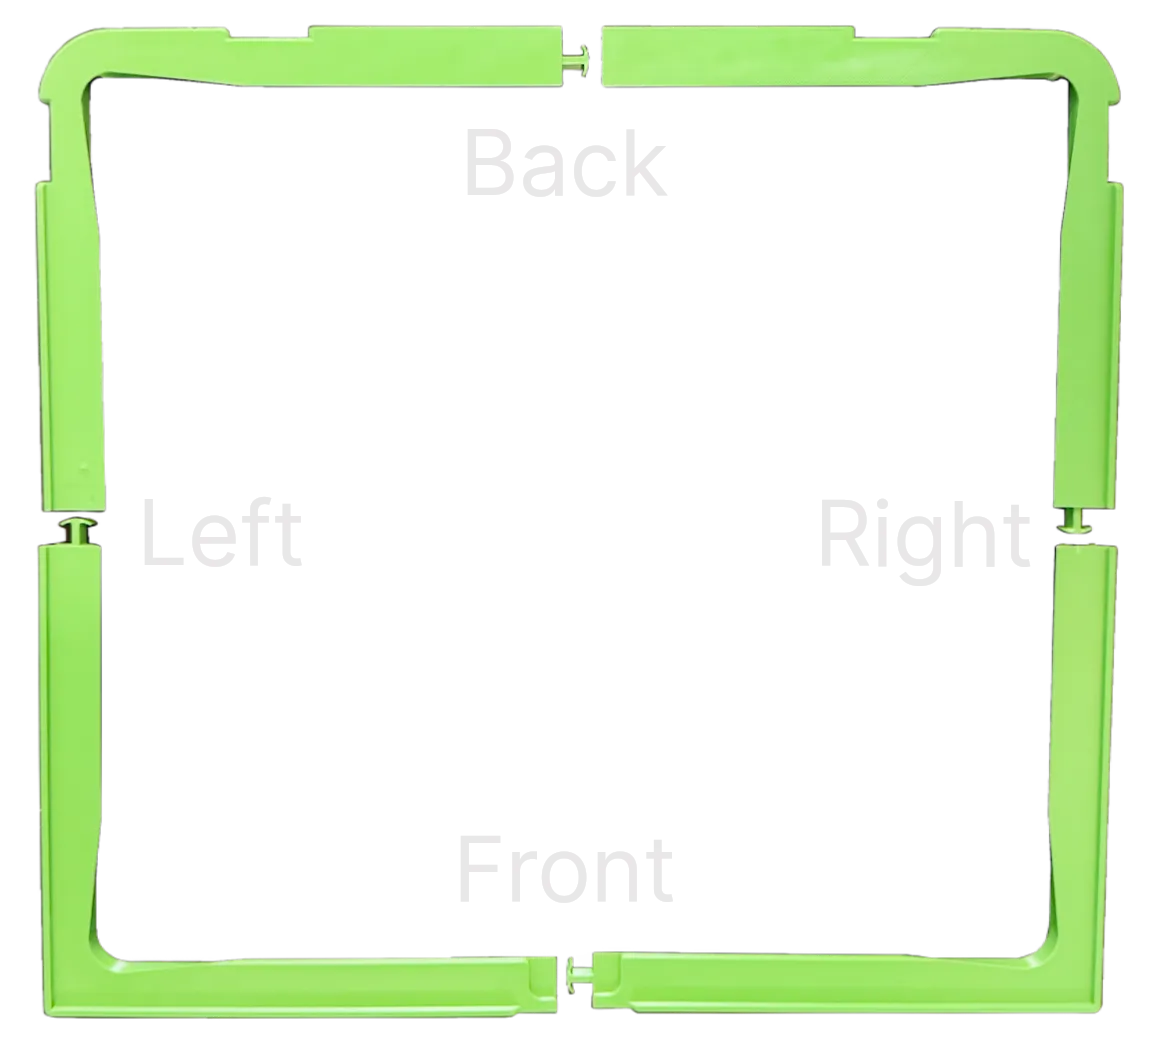
Recommended Materials:
• PLA / PLA-CF: Great for most users. PLA-CF provides a beautiful, matte finish.
• PETG / PETG-CF: Ideal if you frequently print higher-temperature materials.
• ABS / ASA: These materials work, but be aware that shrinkage may cause some play in the slider once installed.
____________________________________________
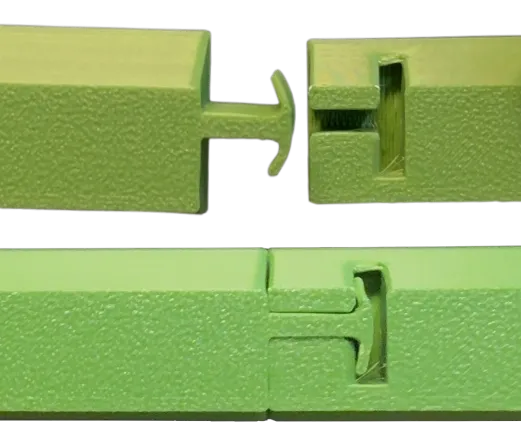
2️⃣ Connect the Pieces
The riser pieces connect using rounded T-shaped flex connectors. These connectors are designed to flex for easy insertion while providing a secure, stable fit once assembled.
____________________________________________
3️⃣ LED Installation (Optional)
For those looking to improve visibility inside the build chamber, the riser includes a path for an 8mm-wide LED strip.
Recommended LED Strip:
I personally use the 8mm 4000k PAUTIX LED Strip Light. It’s flexible, easy to install with great adhesion, and provides excellent visibility and great color temperature. What makes this strip stand out is its high-density LED layout, which creates a smooth, continuous glow without the dotted look of traditional LED strips. The result is even, professional lighting across the build chamber—perfect for monitoring your prints.
➡ Amazon Link
Optional Accessories:
If you’re planning to use the remaining LED strip for another project or want to install LEDs on multiple printers, here are some useful accessories to make your setup more efficient:
2-Pin LED Connectors:
These connectors are handy if you want to install LEDs on more than one printer. After installing the first strip, you’ll need to add a connector to the remaining strip before using it on another printer. They’re also great if you plan to cut and customize your LED strips for other projects.
➡ Amazon Link
PAUTIX DC Splitter Cable:
This 1 female to 2 male splitter cable lets you power and control LED strips on more than one printer using a single power supply and LED controller. It’s a clean and efficient solution for those with multiple printers, allowing you to synchronize lighting across your setup without needing separate power sources for each strip.
➡ Amazon Link
____________________________________________
How to install your LED strip:
1. Use one continuous LED strip—no splicing is required. The channel’s curved design allows the strip to flex around the inner edges.
2. Secure the LED strip using its adhesive backing.
Place the riser upside down on a table, with the top side facing down.
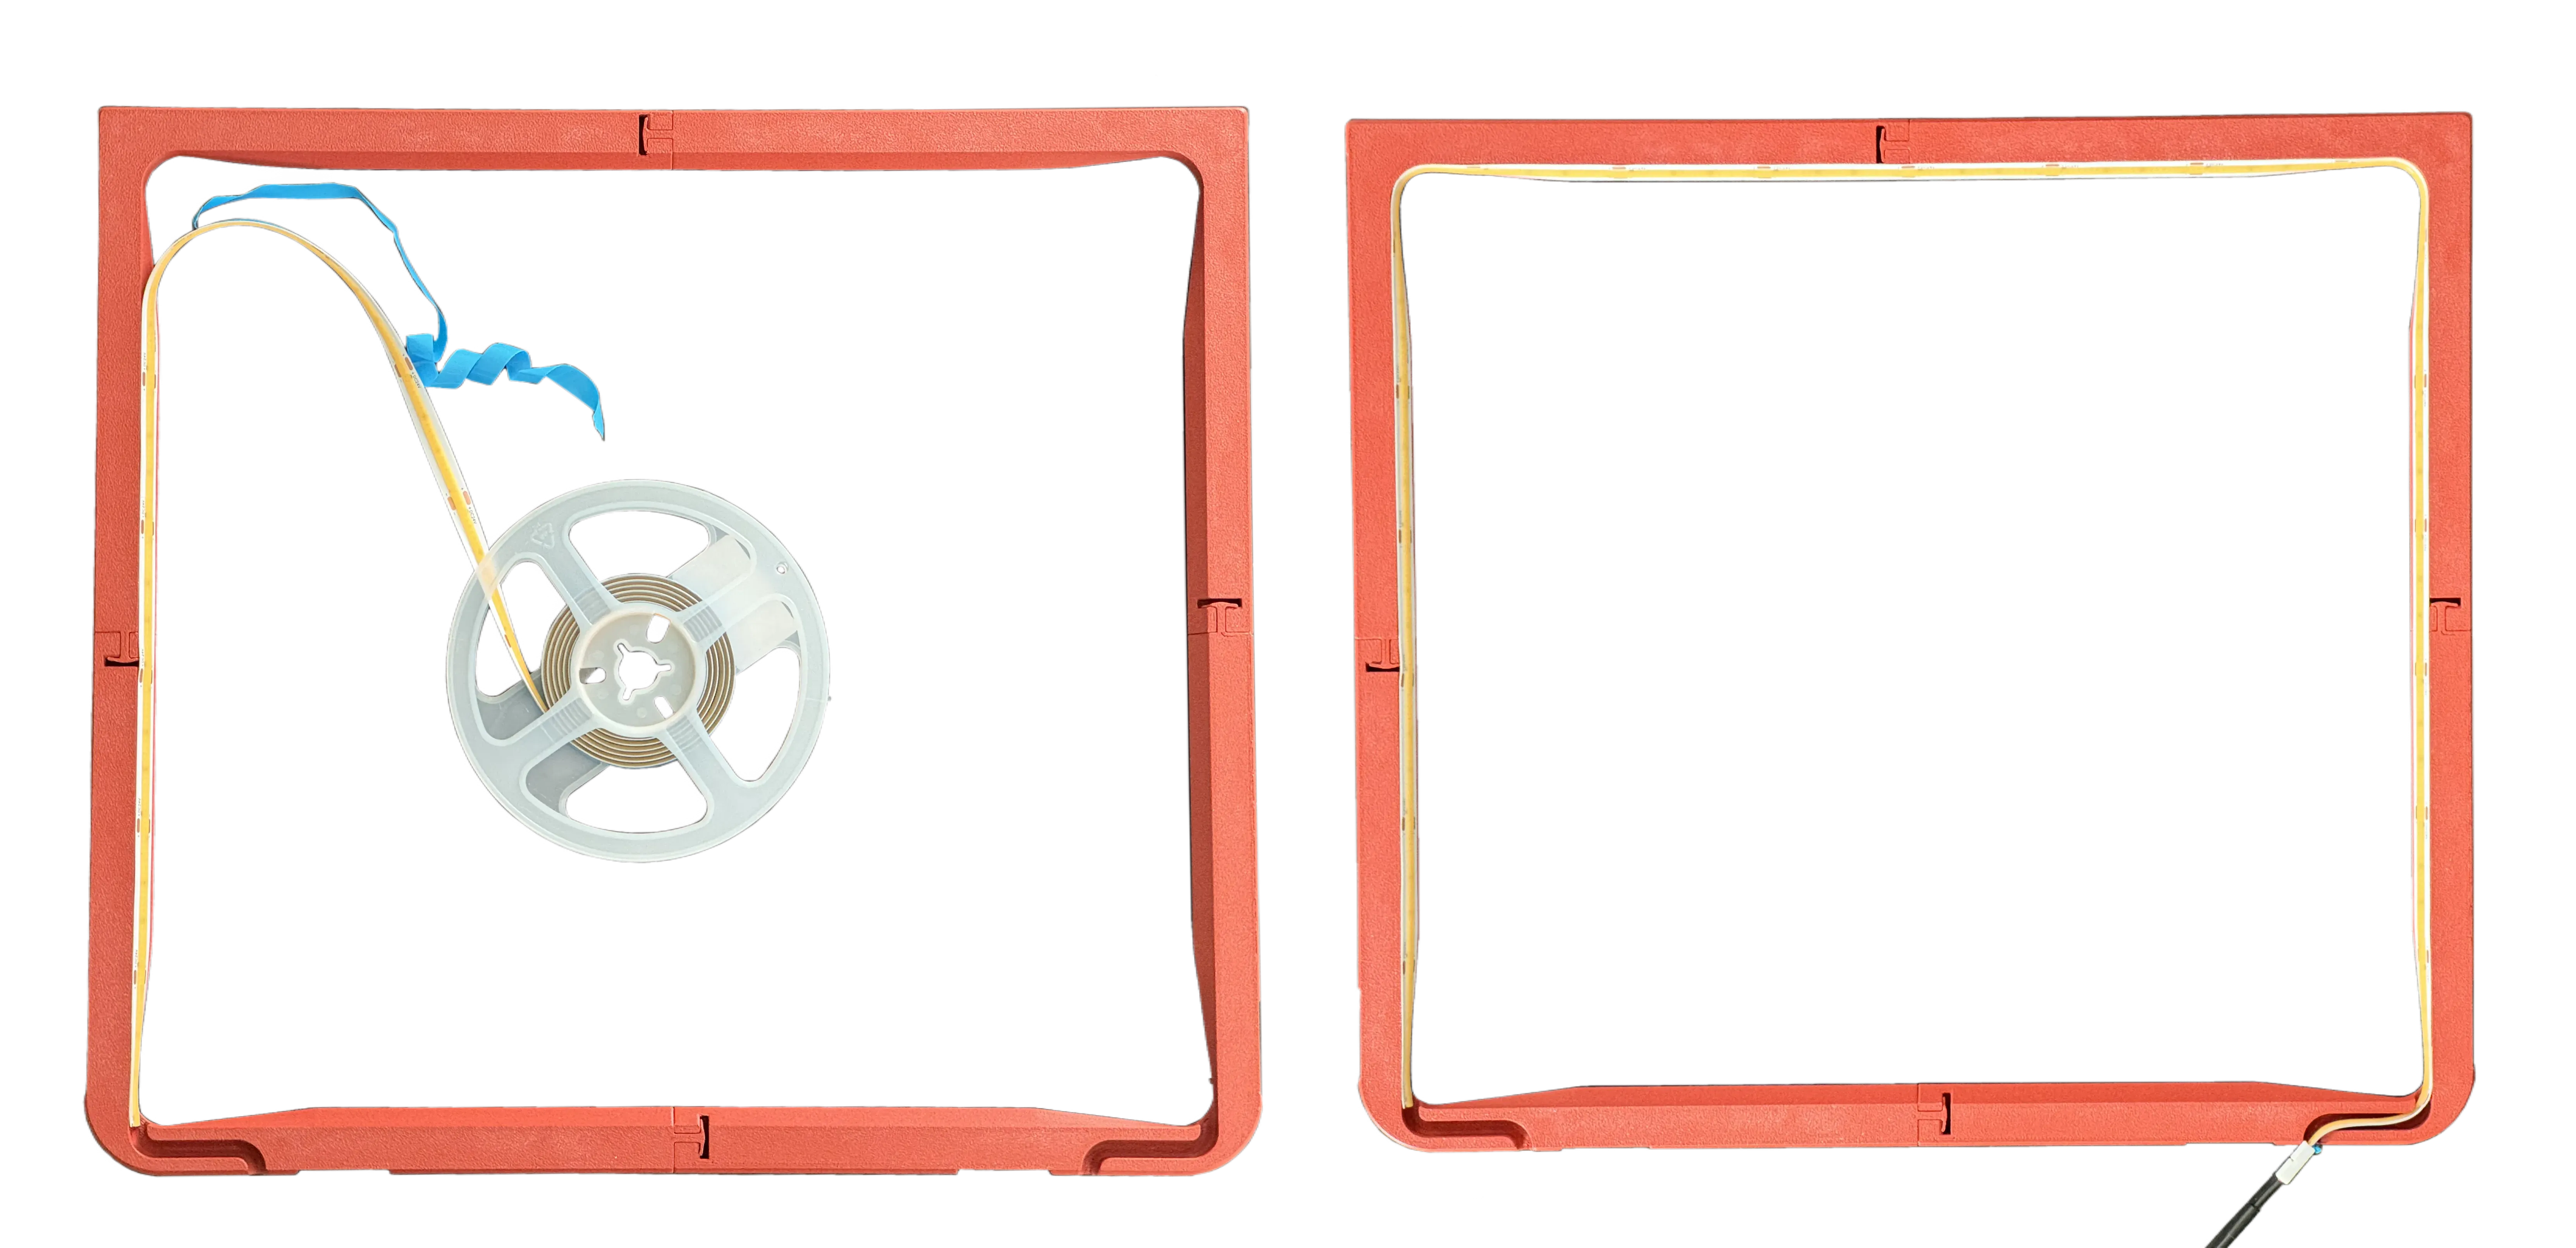
Start by aligning the LED strip to the bottom edge of the riser — the edge that will face down towards the build chamber once installed. This alignment is important because the clearance near the front notch (where the glass grab handle screws pass through) is very tight! Take your time to align the strip correctly from the start, as the adhesive backing makes it difficult to reposition once applied.
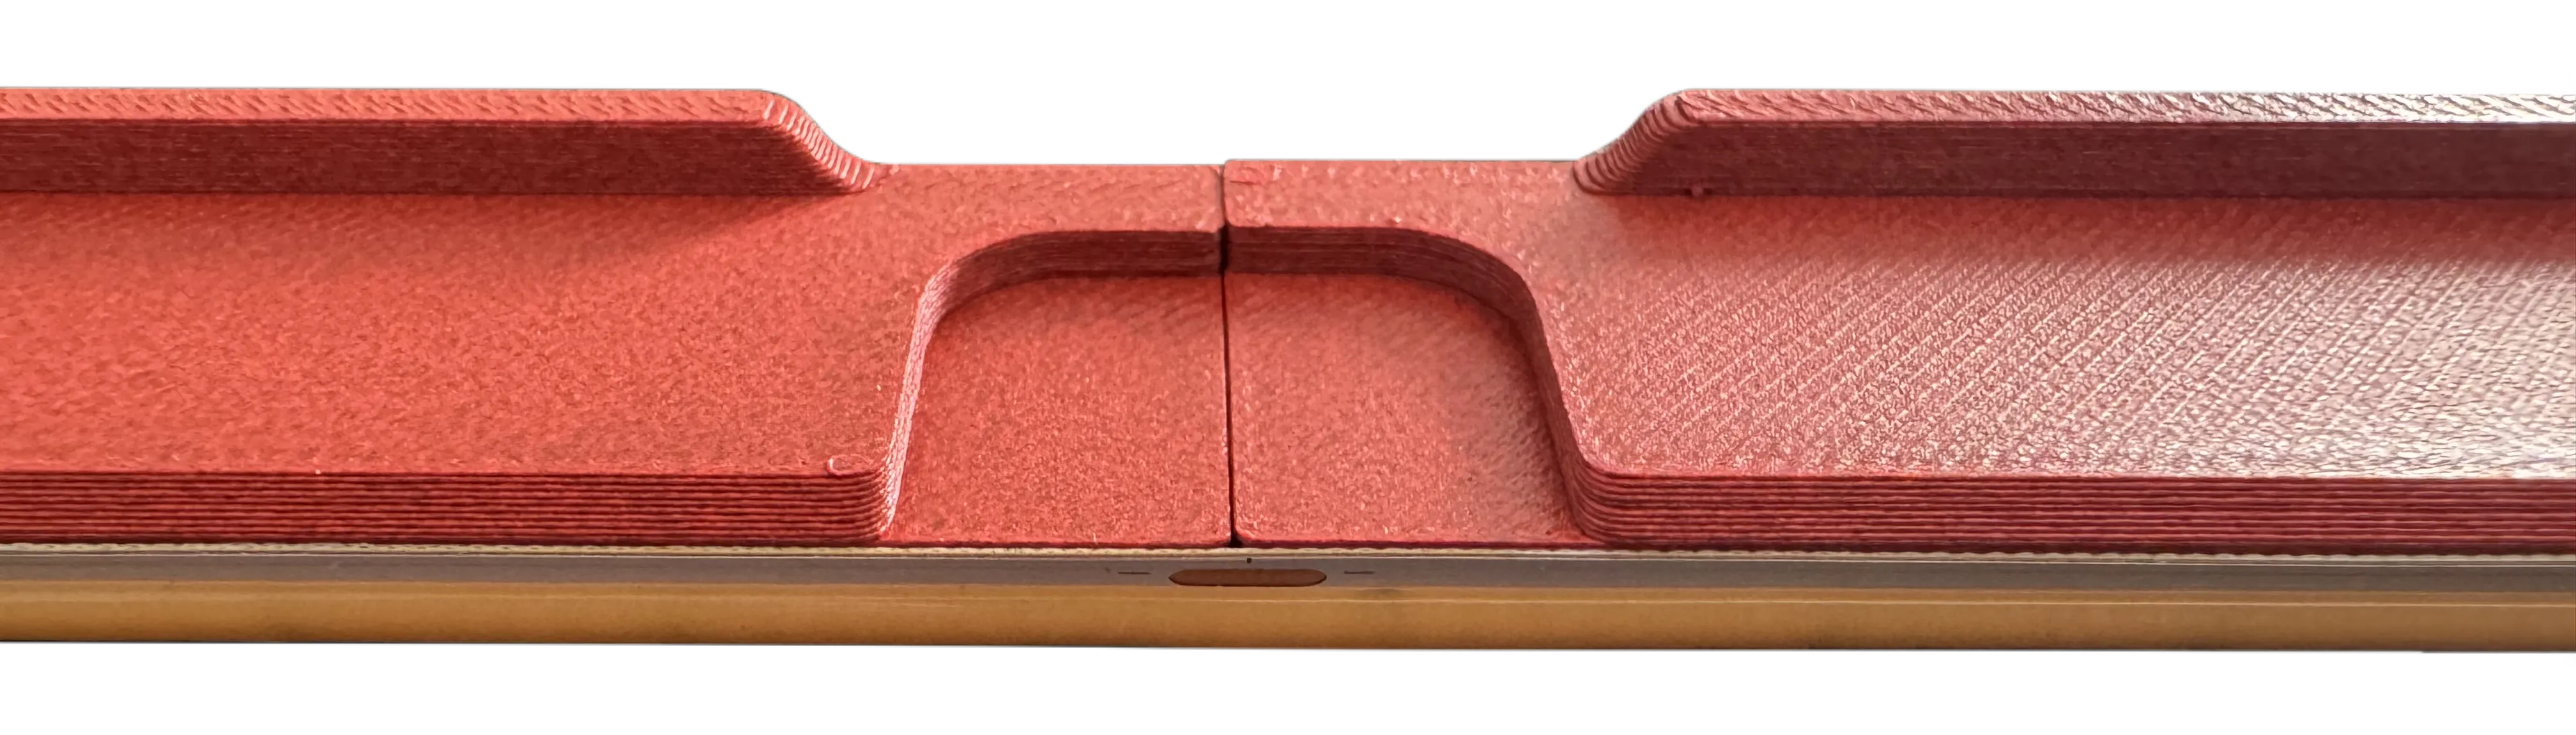
➡ Tip: Double-check the strip placement as you go to ensure it runs smoothly along the bottom edge and clears the notch for the glass panel to slide freely.
3. Feed the LED strip through on of the wiring channels located in the back corners of the riser.
4. Install the riser on your printer and connect your LED strip to power, and you're good to go!
Tip: I recommend installing the LED strip along the front and sides, leaving the back edge clear. This reduces shadows from the toolhead and keeps the lighting more even.
____________________________________________
4️⃣ Install the Riser on Your Printer
Once assembled, place the AMS Riser & Slider where the glass panel normally sits. The low-profile design ensures a snug, secure fit.
____________________________________________
5️⃣ Reinstall the Glass Panel
Place the glass panel on top of the riser. The front and side lips hold it securely in place, while the open back allows you to slide the panel backward for easy access and venting.
____________________________________________
🧰 My 3D Printing Essentials
Here are some of the tools I use regularly in my 3D printing workflow.
Note: Some of the links I share are affiliate links. As an Amazon Associate, I earn from qualifying purchases. Your support helps me keep creating new designs and improving my work. Thank you!
🛠️ The Only 3D Printer Tool Kit You’ll Ever Need | All‑In‑One Essentials Set
These comprehensive kits have everything you need—perfect for cleanup, trimming, assembly, and detailed post-print finishing. Each kit offers a unique selection and quantity of tools, so you can find your ideal match. I’ve linked 3 excellent options below! 😊
➡ | Amazon Link | Amazon Link | Amazon Link (paid link)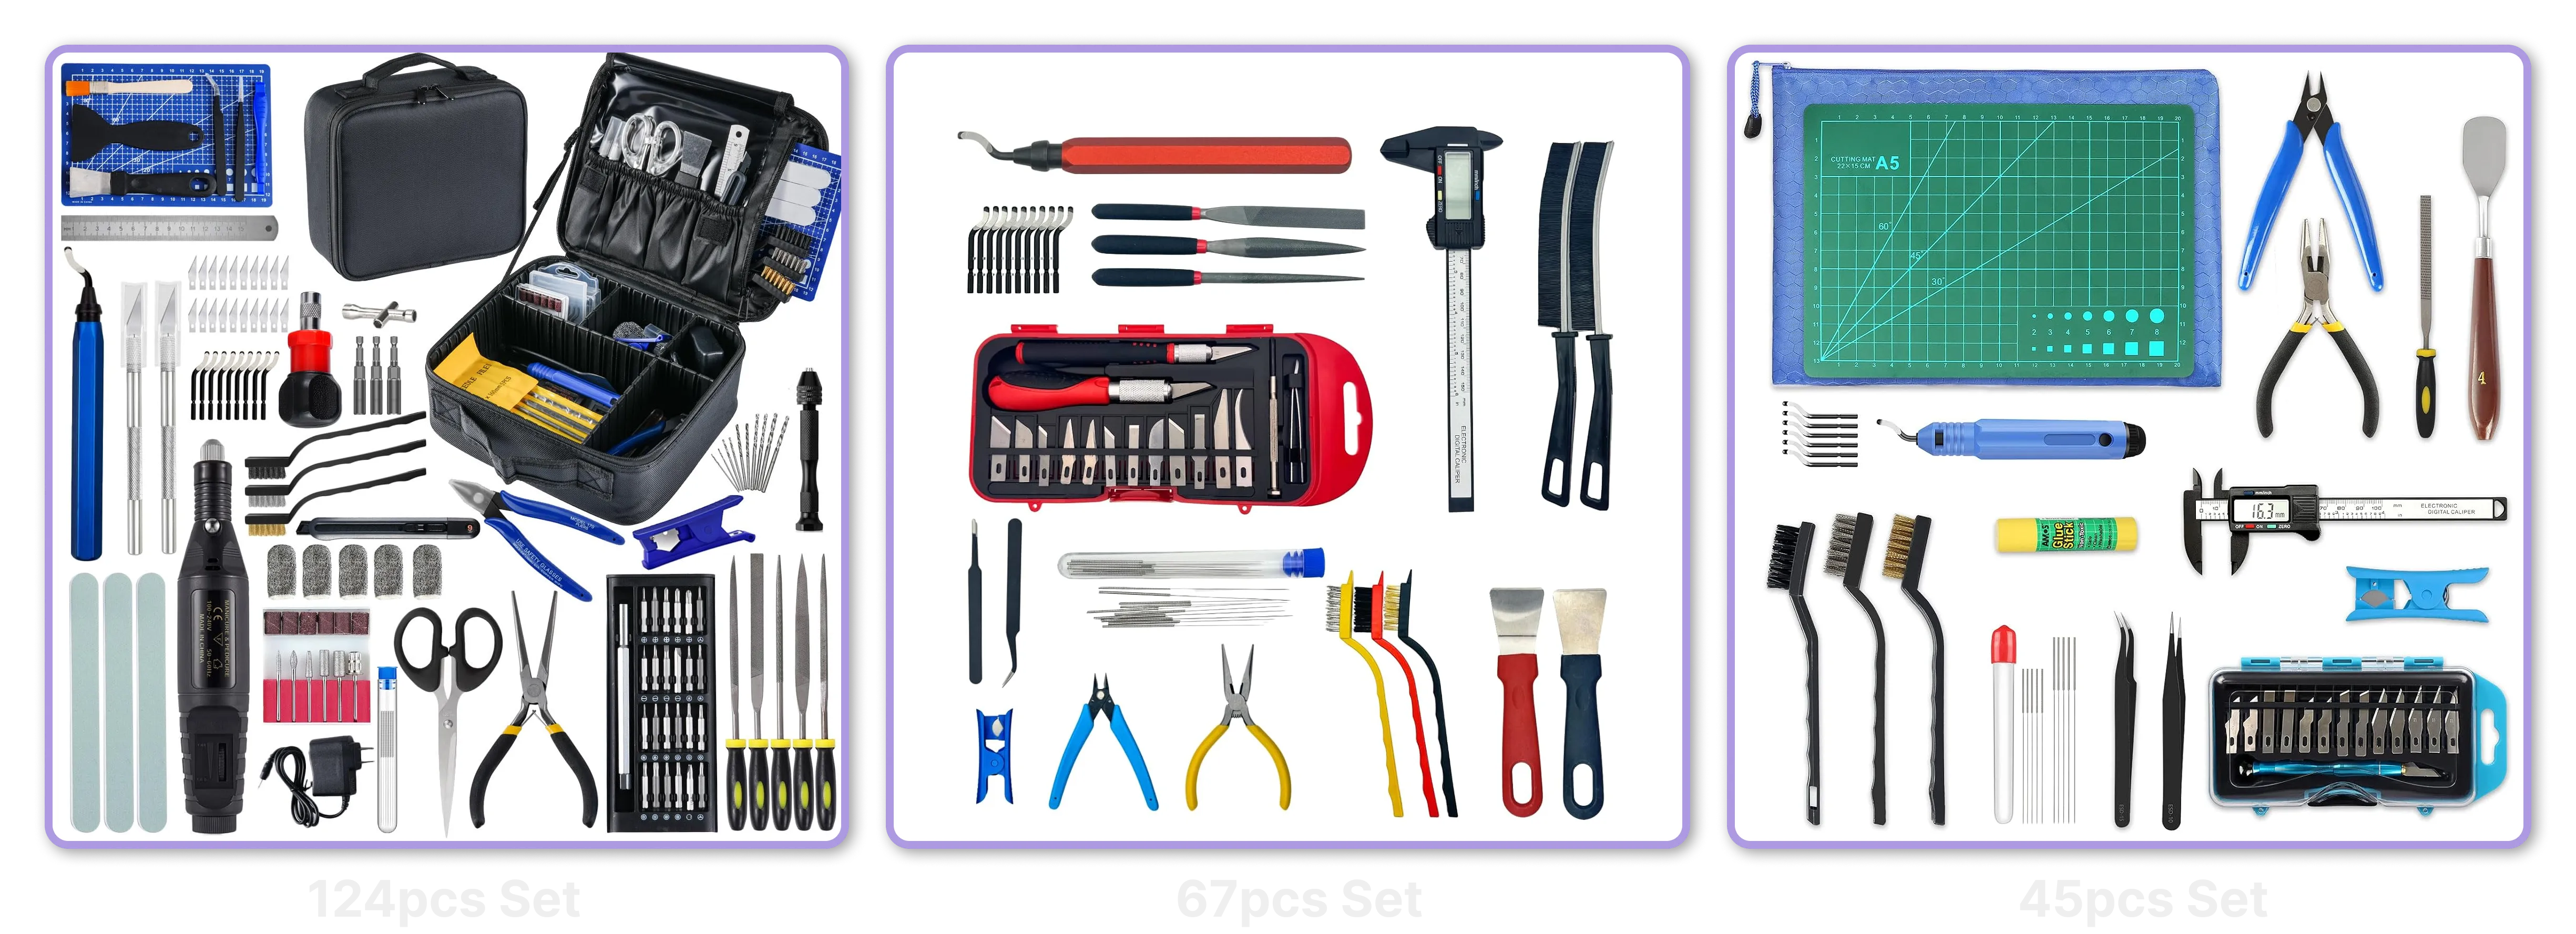
My Favorite Filament Dryer | NESCO FD-41B Food Dehydrator
A compact, affordable filament dryer that reaches 80°C—perfect for drying engineering-grade materials like nylon and PC. It fits two spools at once and is so small, it even fits inside the X1C 😂. Highly recommend!
➡ Amazon Link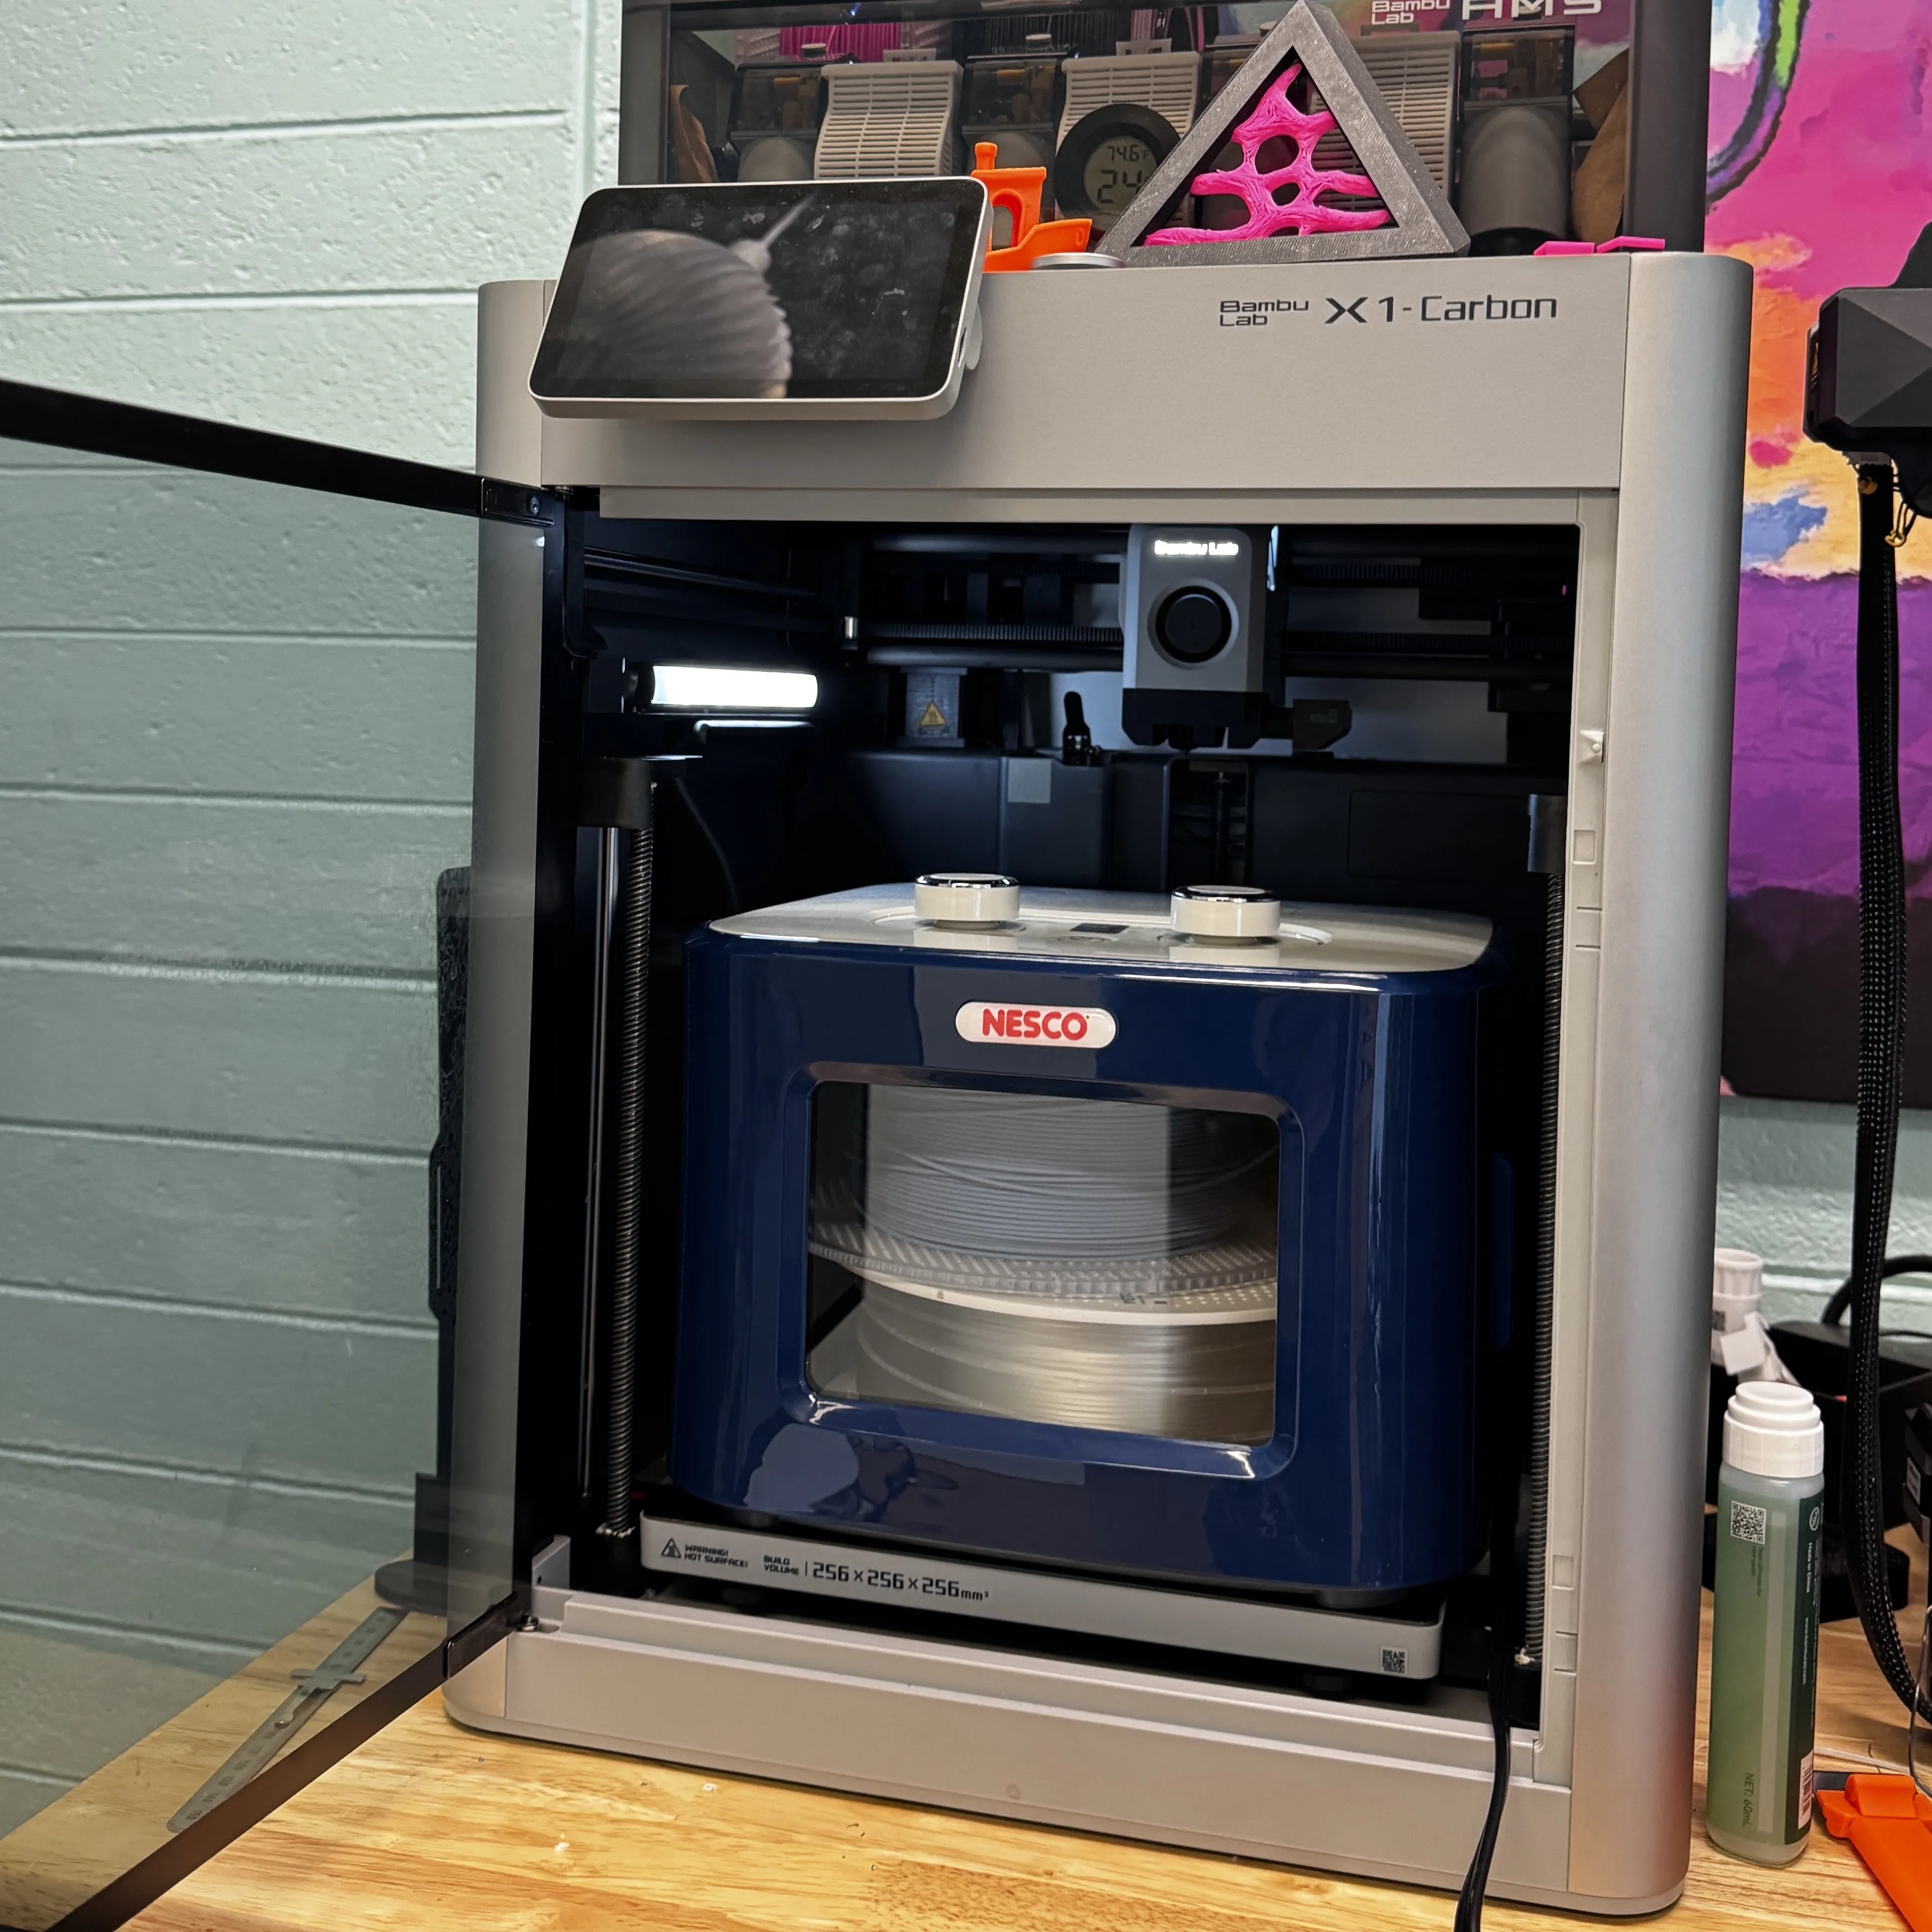
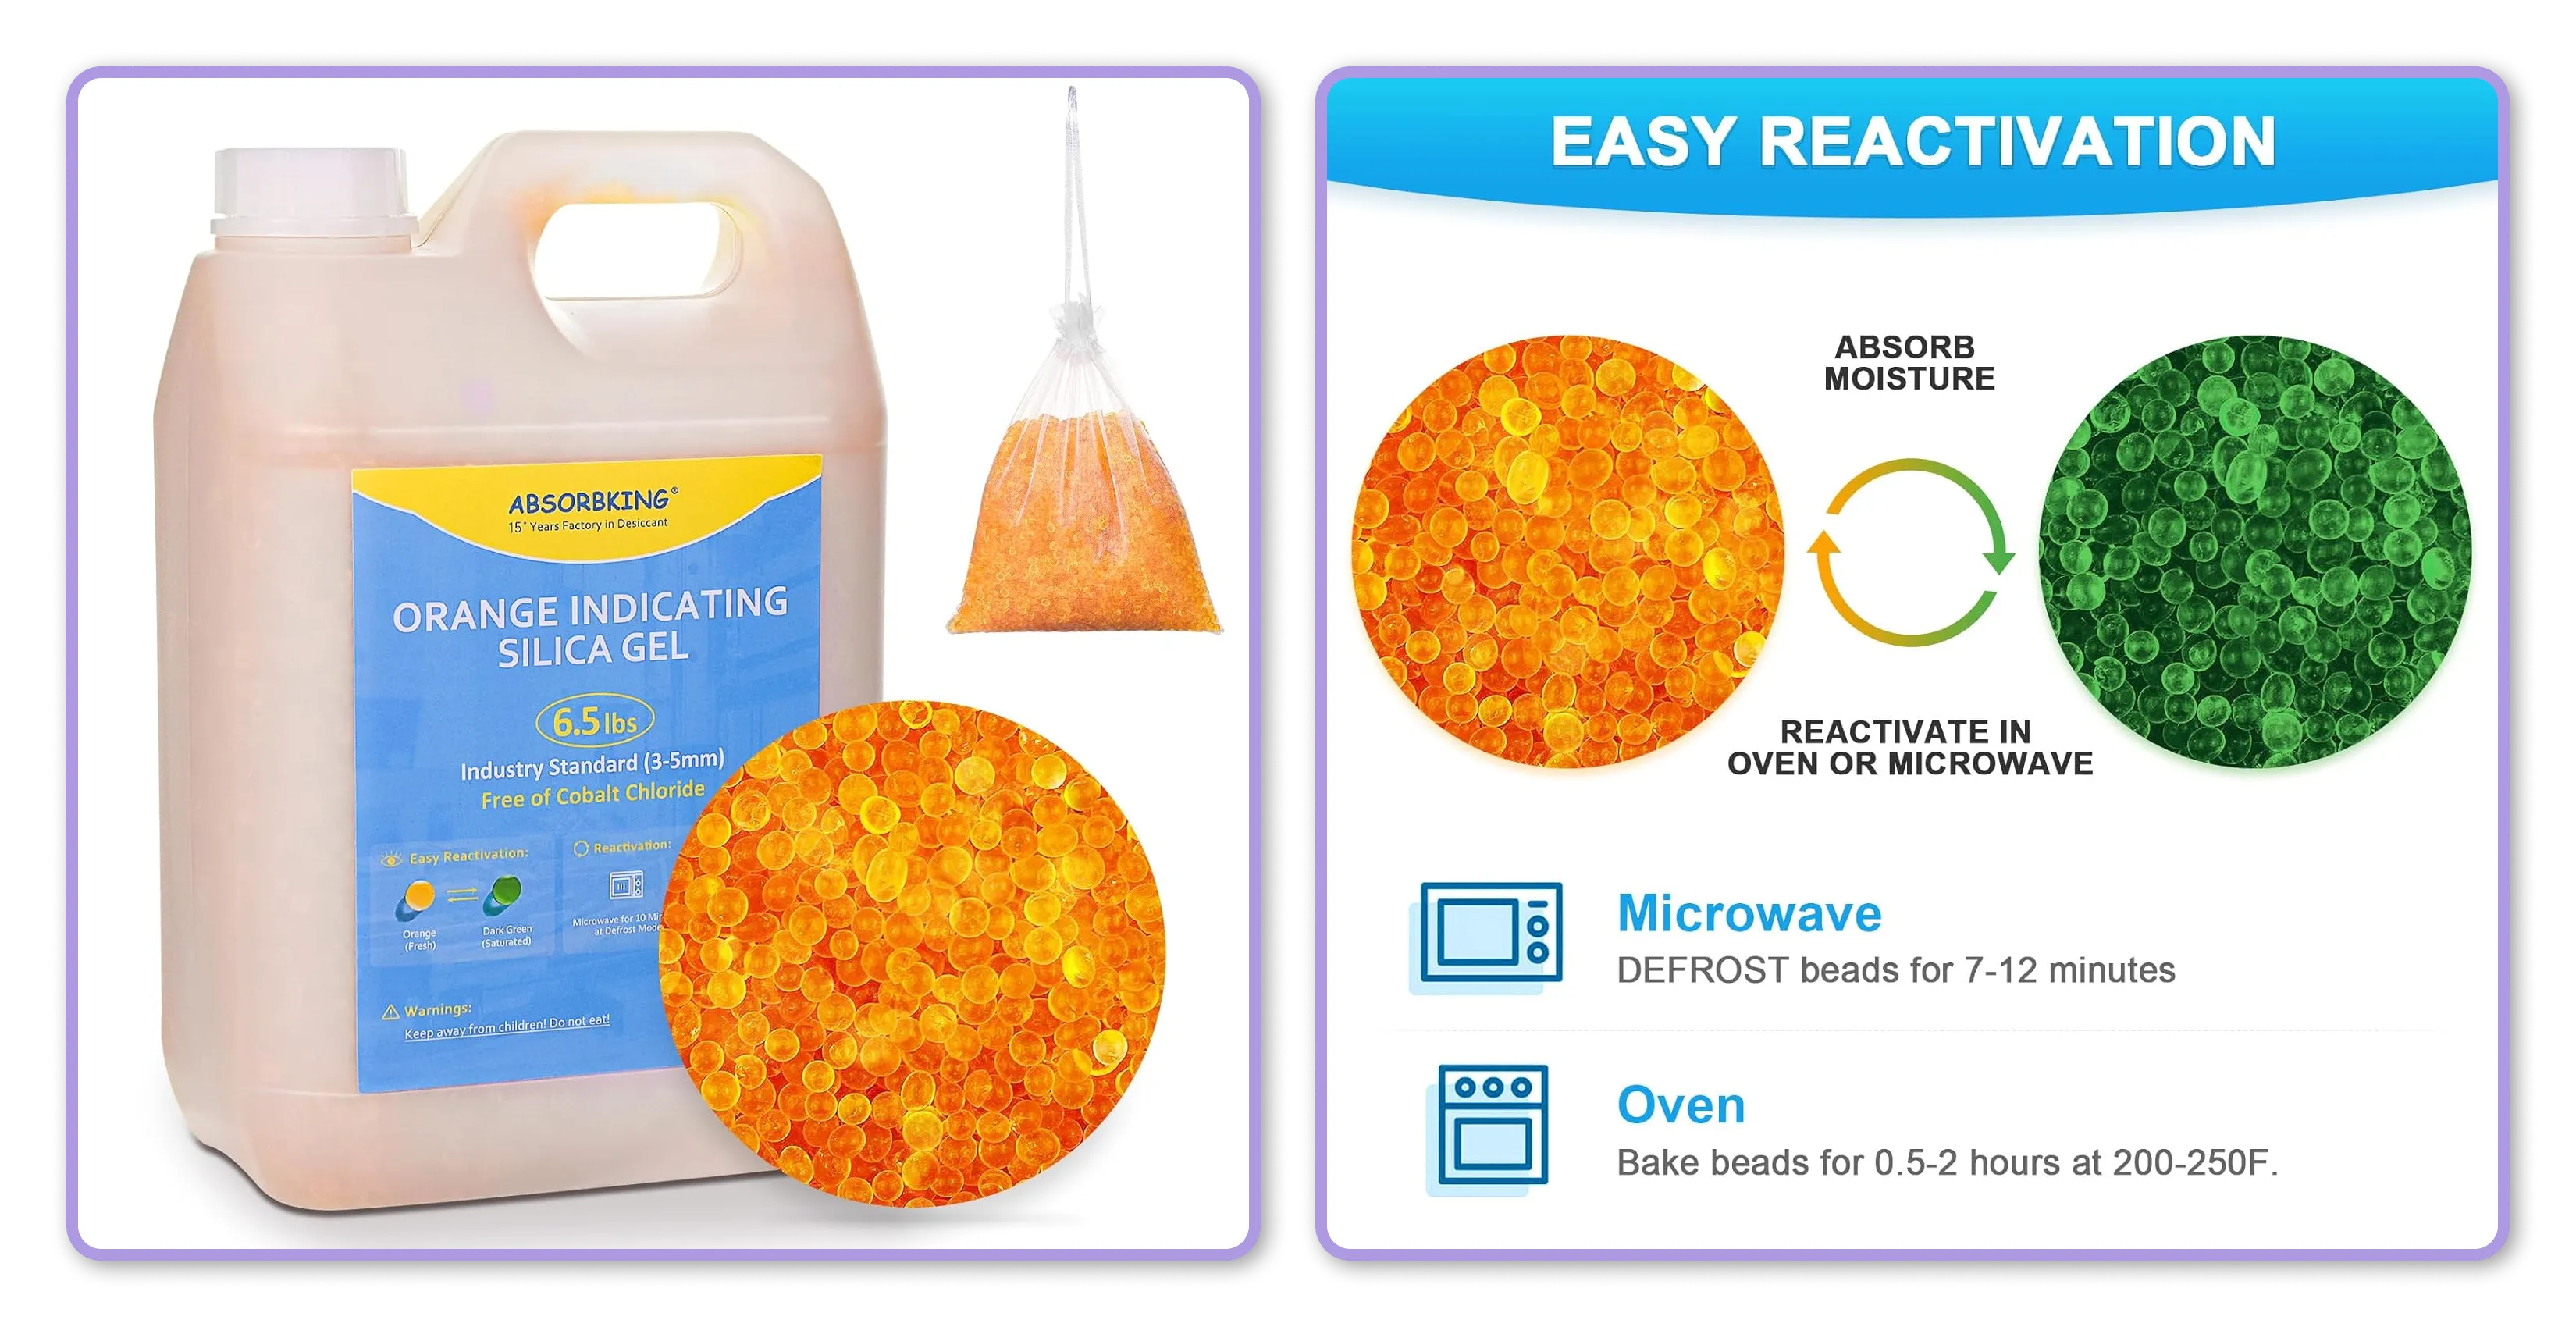
Rechargeable Silica Gel Beads
Great for keeping filament dry in storage or inside the Bambu Lab AMS unit. Just recharge in the microwave or dehydrator when needed.
➡ Amazon Link (paid link)
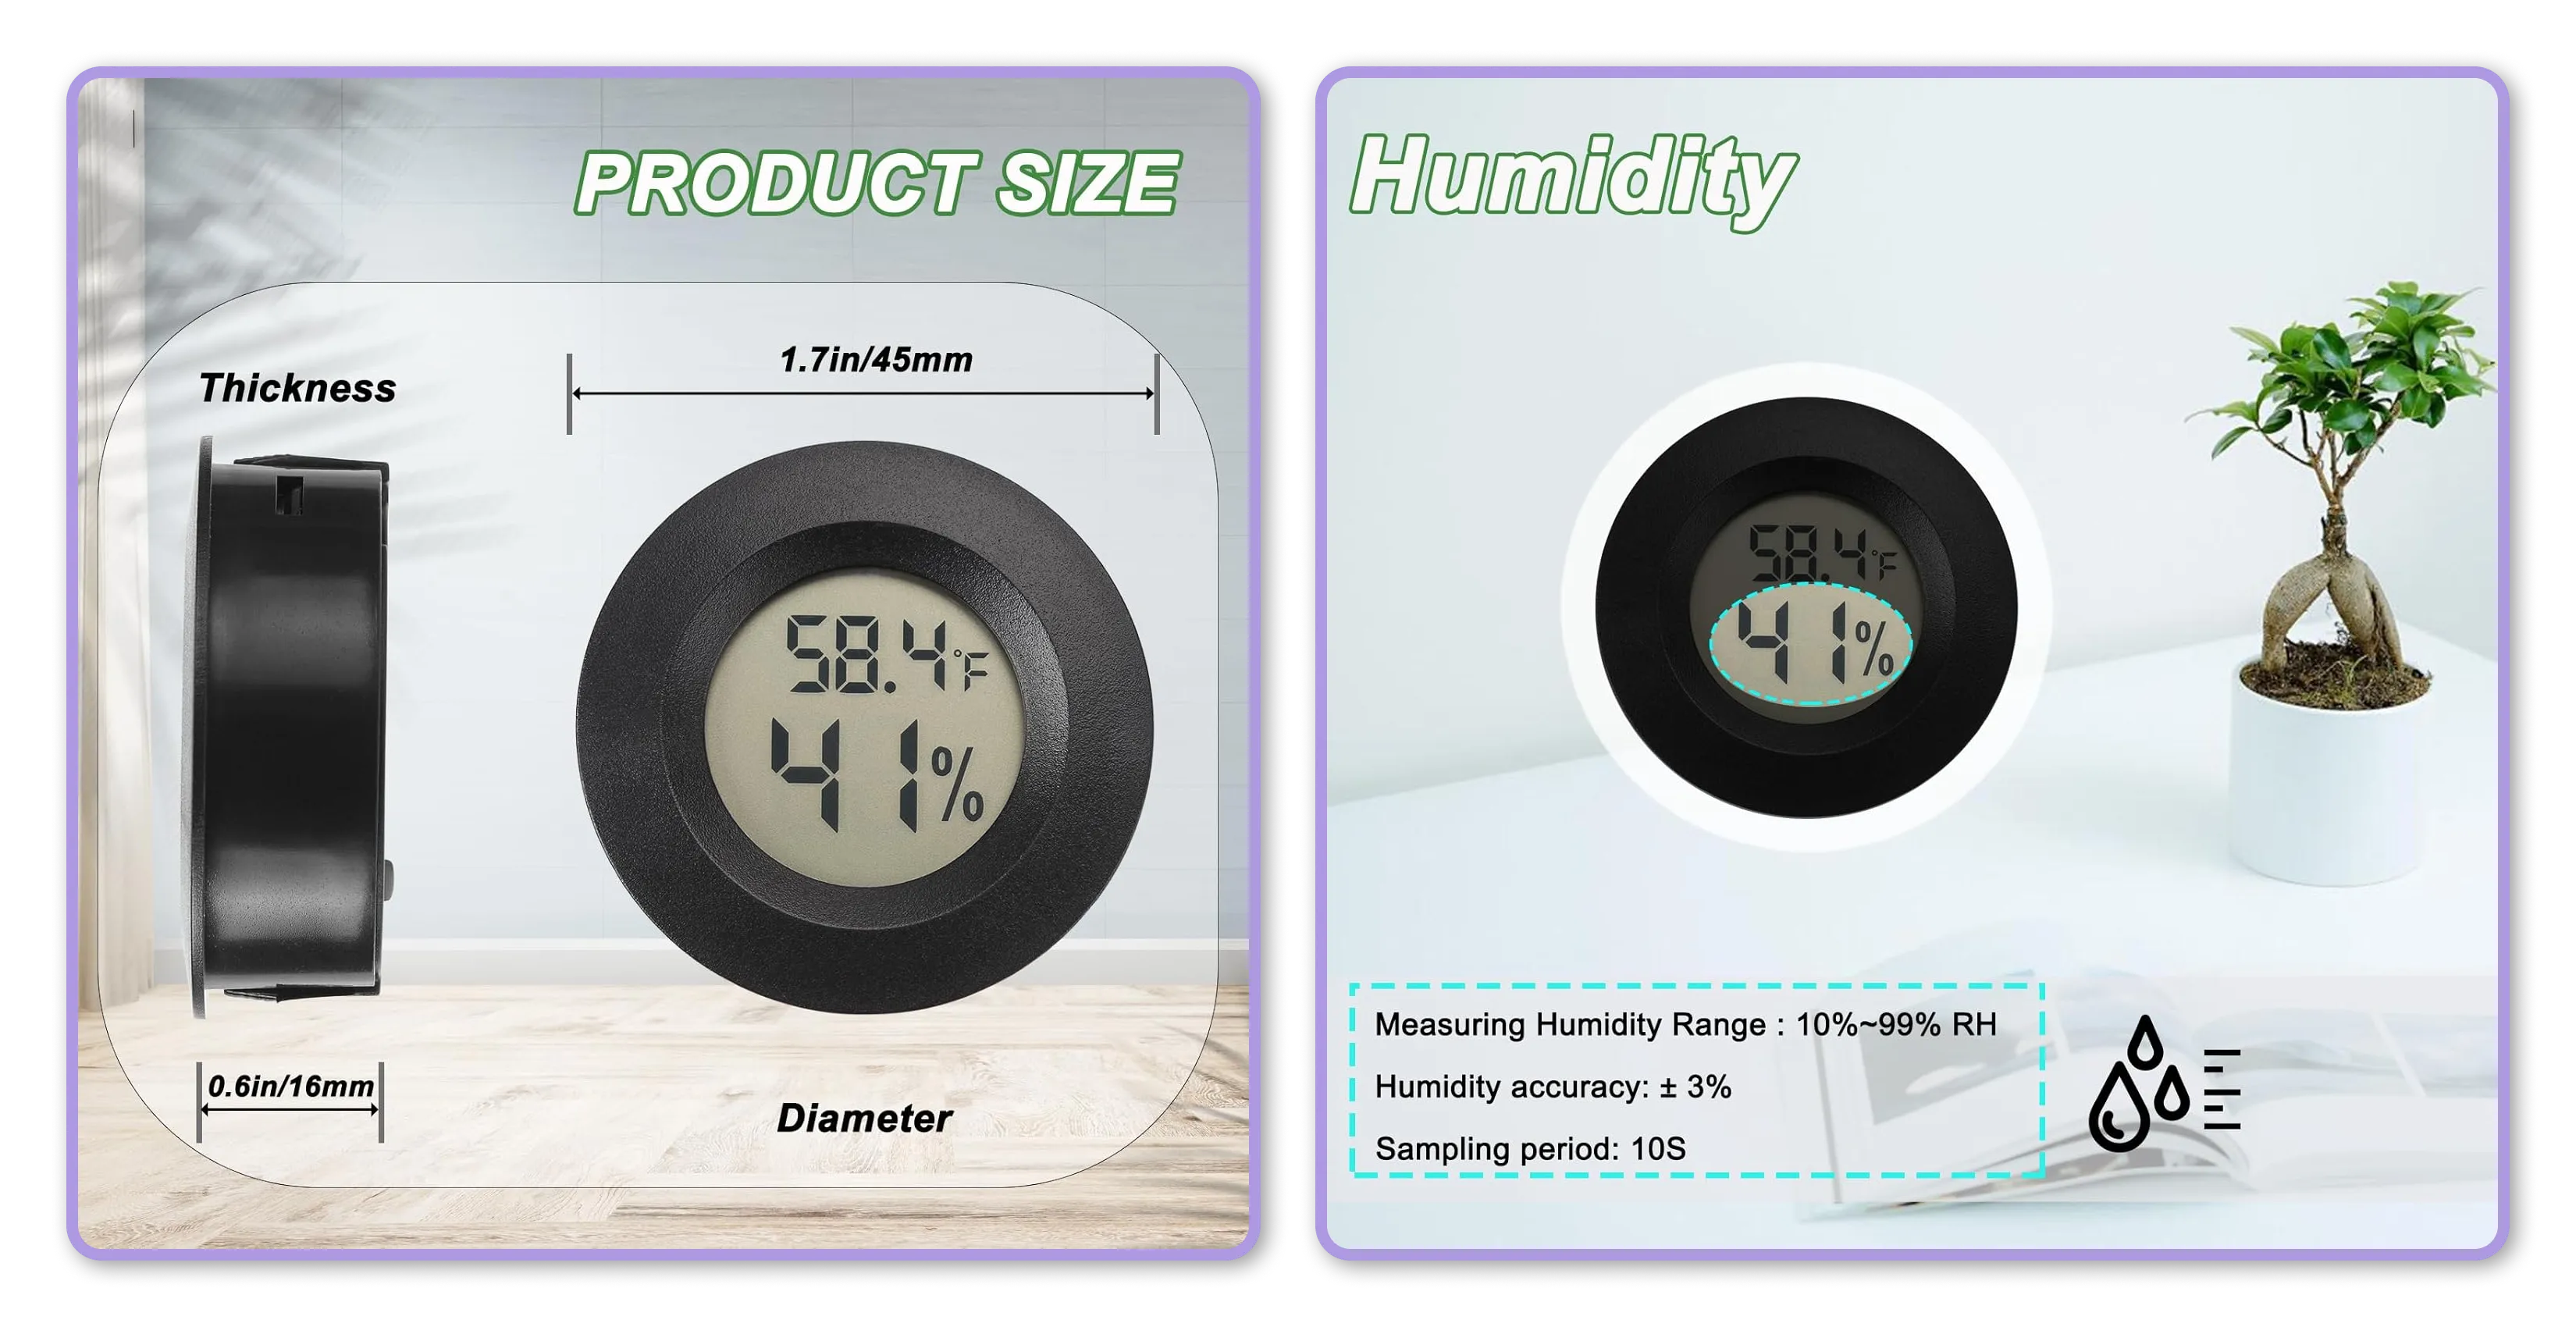
Mini Hygrometer Thermometer
A must-have for monitoring humidity levels in storage boxes or the AMS.
➡ Amazon Link
____________________________________________
💬 Feedback Welcome!
I’d love to hear your thoughts on this design! If you try it, please let me know how it works for you. I’m always looking to improve the design based on community feedback.
If you enjoy my work and want to support me, you can buy me a coffee here:
➡ PayPal.me/zowou
➡ Ko-fi.com/print3dz
License

You shall not share, sub-license, sell, rent, host, transfer, or distribute in any way the digital or 3D printed versions of this object, nor any other derivative work of this object in its digital or physical format (including - but not limited to - remixes of this object, and hosting on other digital platforms). The objects may not be used without permission in any way whatsoever in which you charge money, or collect fees.


Comment & Rating (467)