
Hyper Wiper
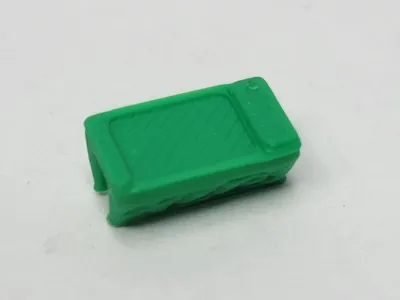
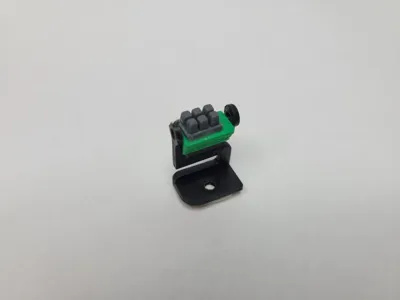
Print Profile(1)

Description
Wiper for the X1, P1 series printers.
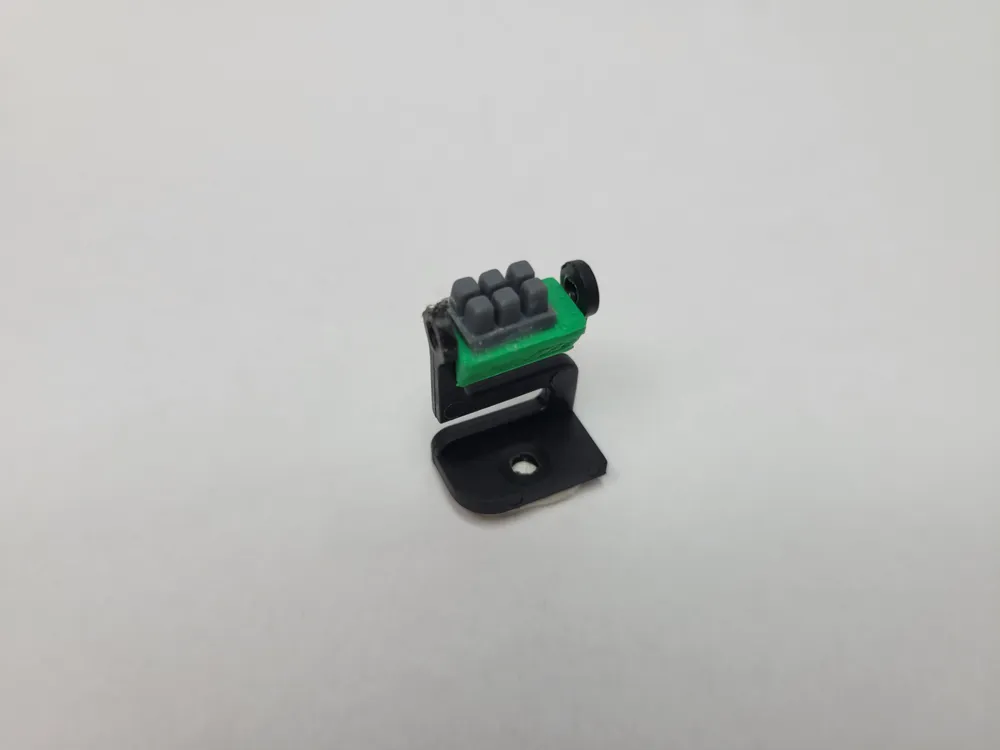
Using the A1 wiper pads and original wiper frame.
After trying several other wipers that use the A1 wiper pads (not the A1-mini pads), I found them inadequate for keeping the nozzle clean Additionally, they were often the wrong position, interfering with the nozzle flinging filament around the inside of the printer Therefore, I decided design my own.

One thing that took a while to figure out was that the wiper needs to be flexible. I kept experimenting with different filaments, designs, etc. Then I realized that the original wiper frame was perfect, being nice and flexible. It was just the PTFE tubing in the original wiper that was lacking. This results in a very small print (prints quickly). PLA is sufficient for use. All you need is a single order of Heatbed Nozzle Wiper - A1 and some CA glue (also known as Super Glue). When you place a single order of the A1 wiper pads, you will receive three strips.
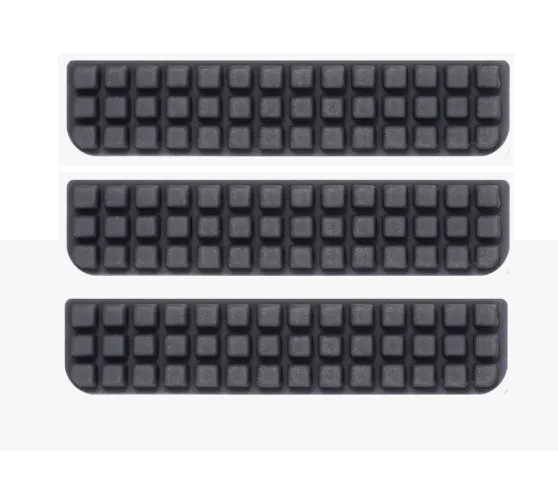
For this design, you need to cut the strips as illustrated (I suggest only cutting off one 2x3 pad at a time when you need a new pad, don't pre-cut the entire strip):
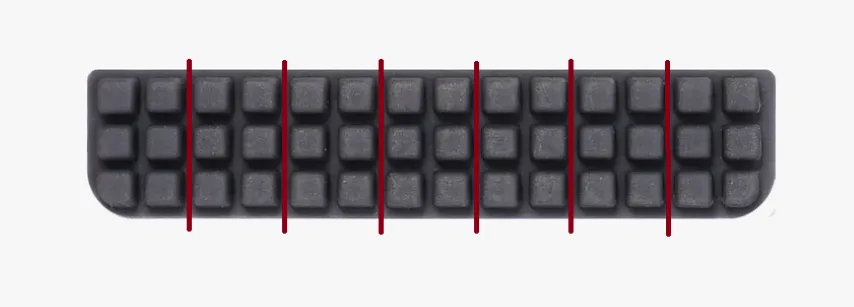
Each strip yields 7 pads, providing a total of 21 pads from one order, for when they wear out. NOTE The pads have an adhesive on the back that must be removed before attaching the 2x3 pad to the Hyper Wiper. Rubbing with a finger and then cleaning with soap and water is necessary.
Assembly is as follows:
Gather a factory wiper, a 2x3 cut pad, glue, Hyper Wiper, 2.0mm hex tool.
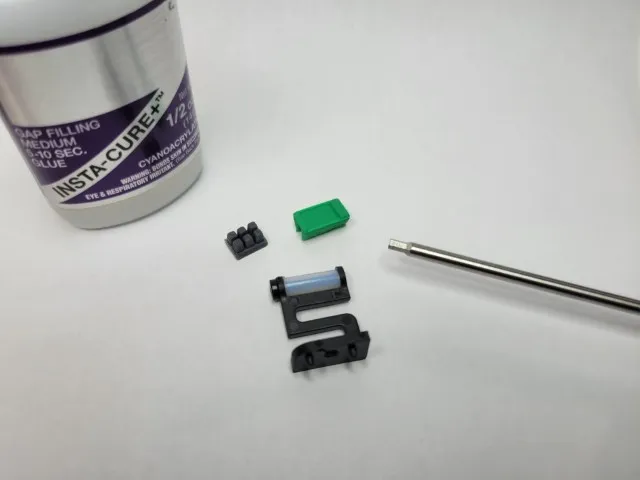
Unscrew the M2.5x14 screw with the 2.0mm hex tool.
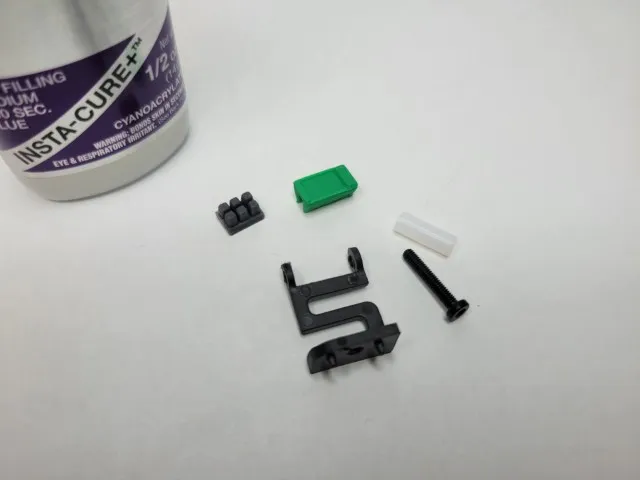
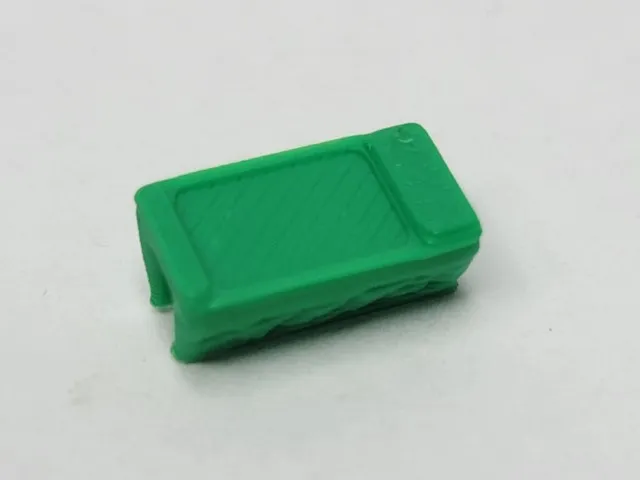
Apply a single drop of CA glue (aka Super Glue) in the recess of the Hyper Wiper.
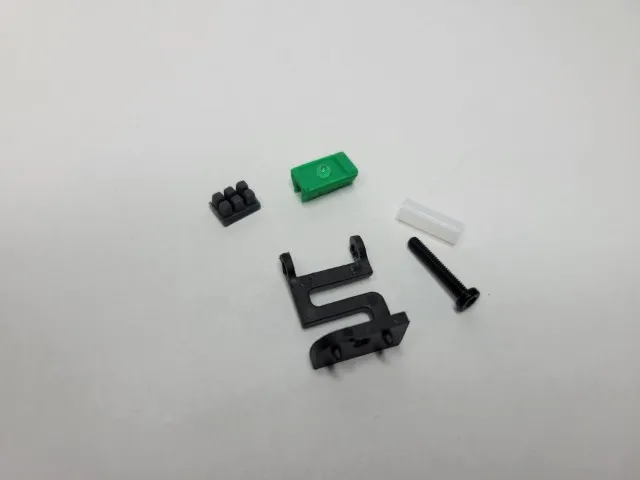
Place the 2x3 cut A1 Wiper pad into the recess of the Hyper Wiper and hold (be careful not to glue your fingers to the assembly).
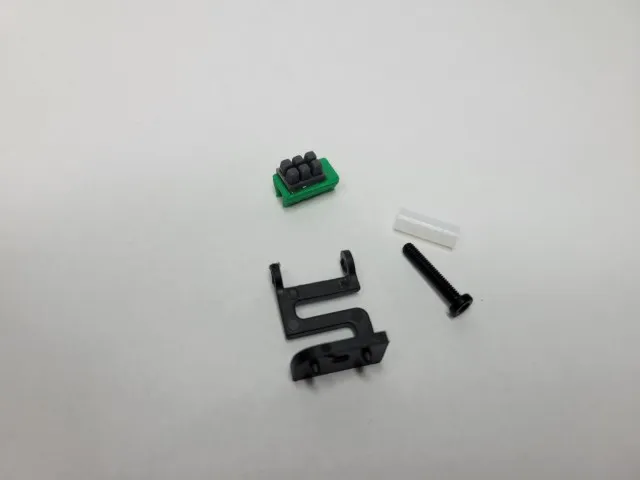
Wait for the glue to dry (just a minute or so).
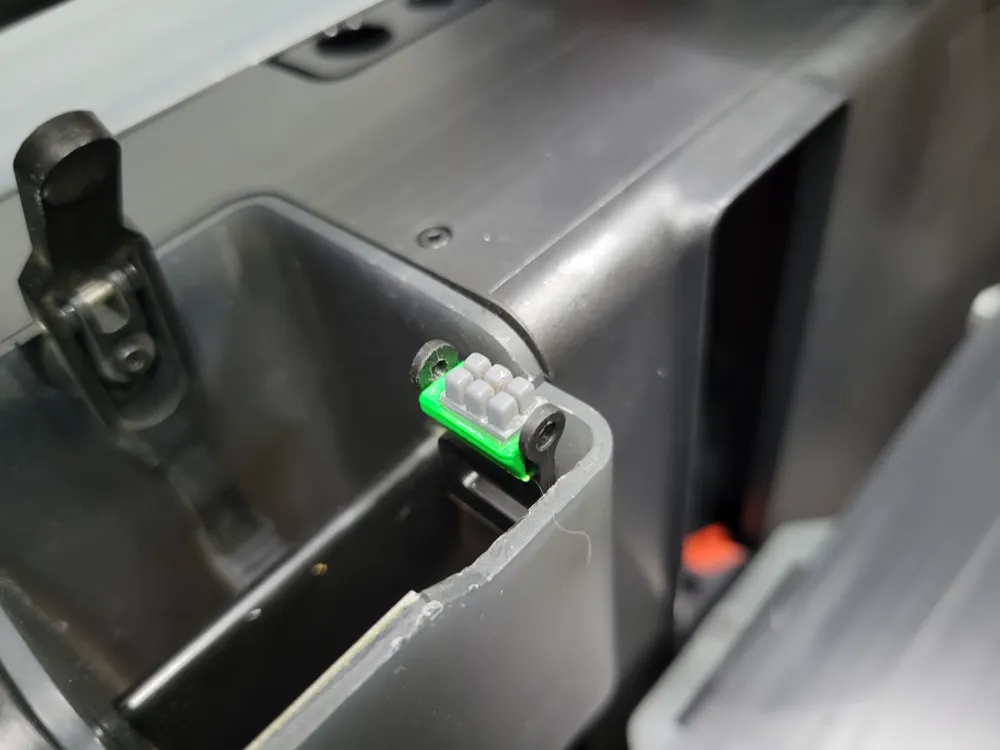
Squeeze the Hyper Wiper over the crossbar below where the PTFE tubing was. Depending on print quality, it may require some force and possibly spreading the PTFE tubing "ears" slightly. If you have large fingers, you can use needle-nose pliers to squeeze the Hyper Wiper down. They Hyper Wiper has a very small lip on the bottom that needs to go under the cross bar when fully seated. Ensure that the wide blank area the Hyper Wiper is at the rear of the original wiper (the square corner you screw down the wiper is the rear).
DO NOT GLUE THE HYPER WIPER TO THE FACTORY WIPER FRAME
Note: If you can NOT get the Hyper Wiper to fit, you may want to resize the Hyper Wiper, increase the width or decrease length only, in very small increments (0.01 increments is suggested), make sure if you have to do this, uncheck “uniform scale” in Bambu Studio. But it should be very snug fit in the end.
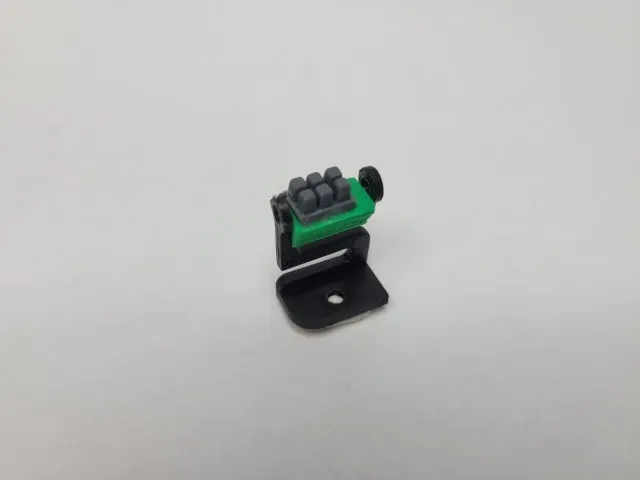
Proper orientation and complete assembly
The nozzle should travel through the pads as shown (if installed correctly, and I've done proper measurements):
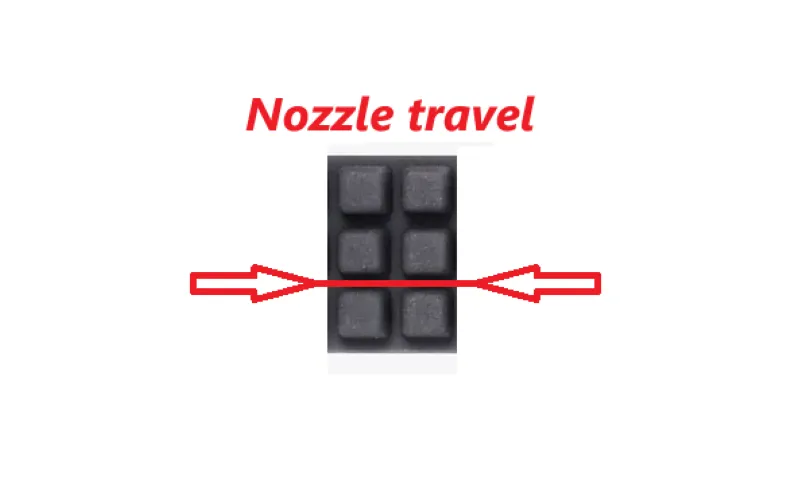
Install the wiper as per Bambu instructions and enjoy!
Note: This project has undergone numerous iterations of trial and error and testing, resulting in losing several 2x3 pads and broken prints. The design has been tested through thousands of wipe cycles (I wrote custom g-code to repeatedly wipe the nozzle).
License

You shall not share, sub-license, sell, rent, host, transfer, or distribute in any way the digital or 3D printed versions of this object, nor any other derivative work of this object in its digital or physical format (including - but not limited to - remixes of this object, and hosting on other digital platforms). The objects may not be used without permission in any way whatsoever in which you charge money, or collect fees.


Comment & Rating (6)