
Snowball Maker

Print Profile(1)
Description
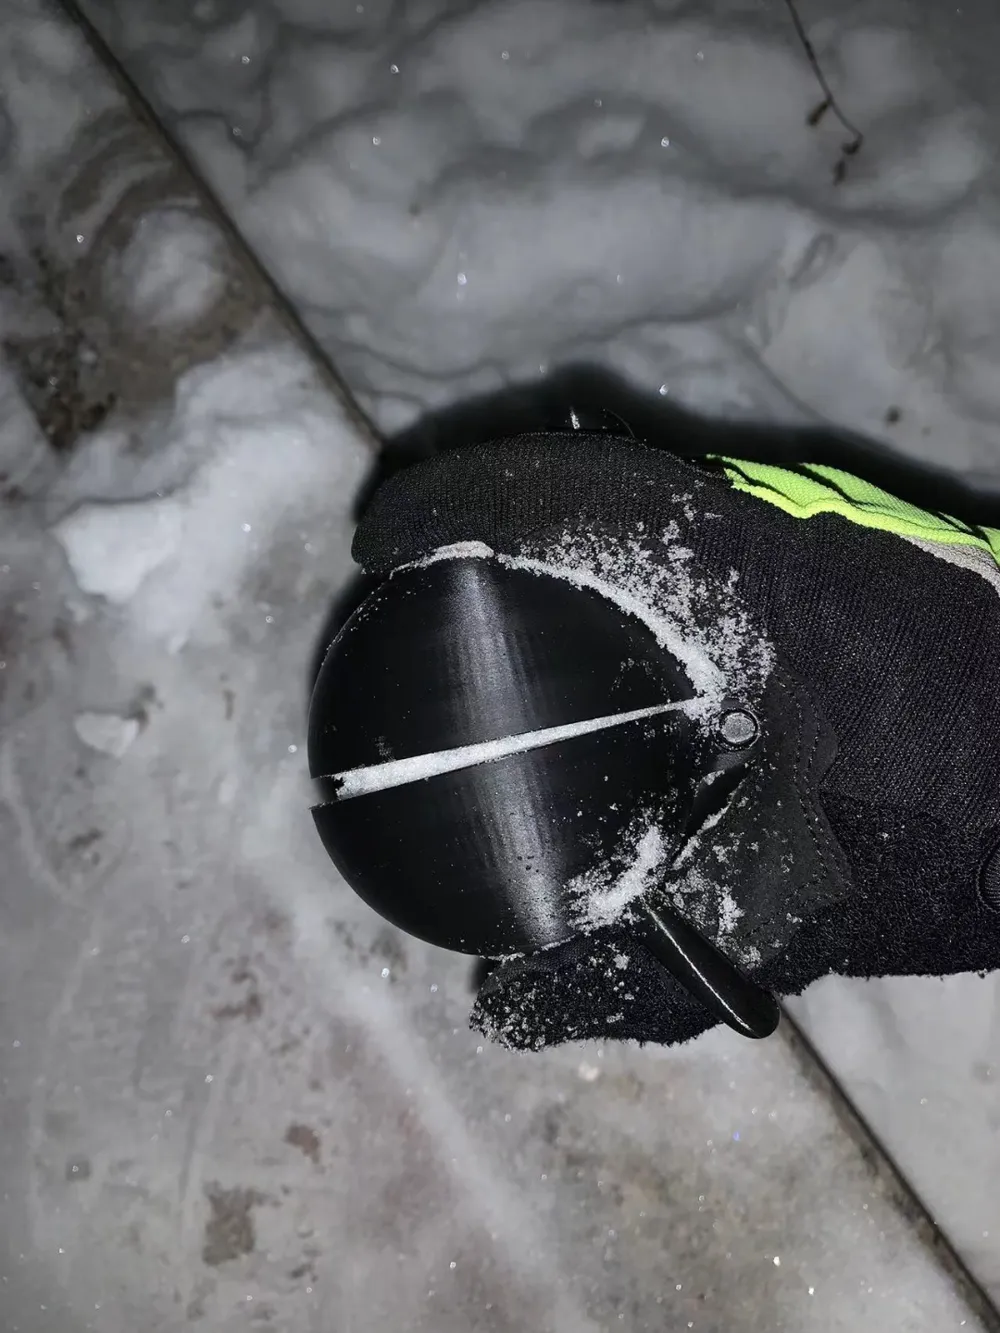
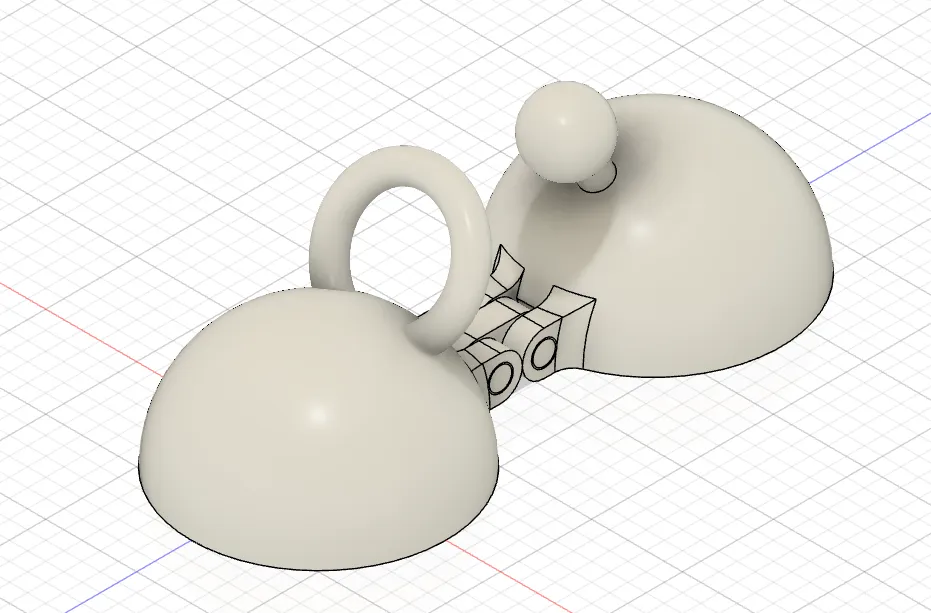
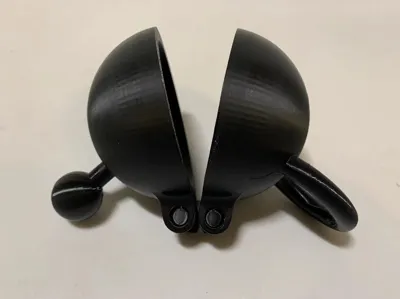
The commercially available snowball clips are quite large and require both hands to operate, significantly reducing efficiency. You have to clamp the snow with both hands, release the clip, and then hold the snowball with your hands, a slow and cumbersome process.
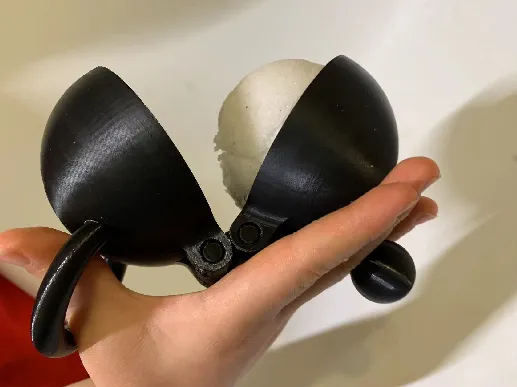
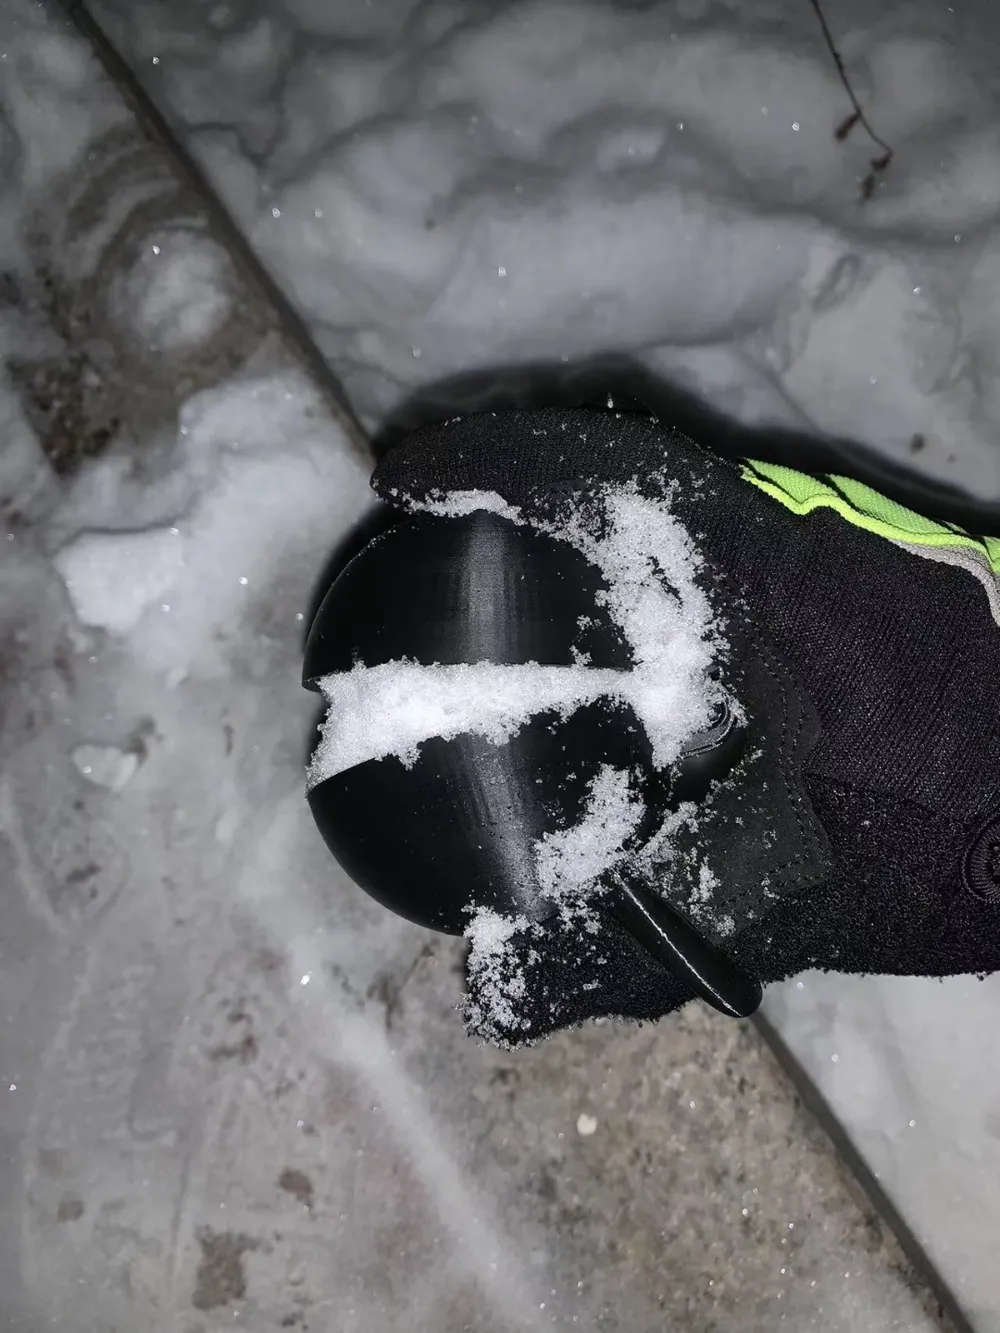
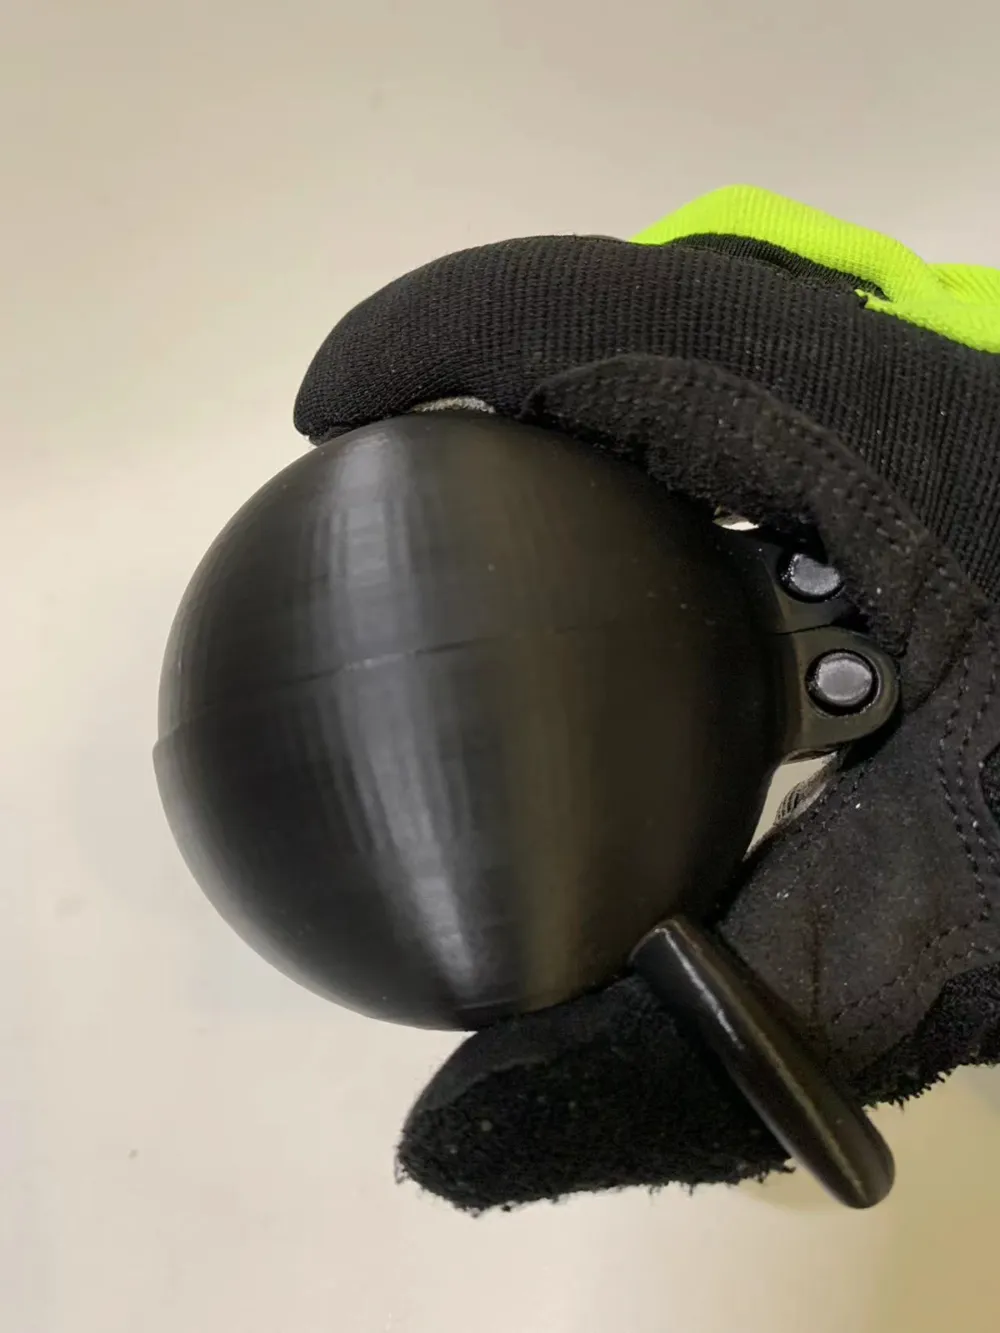
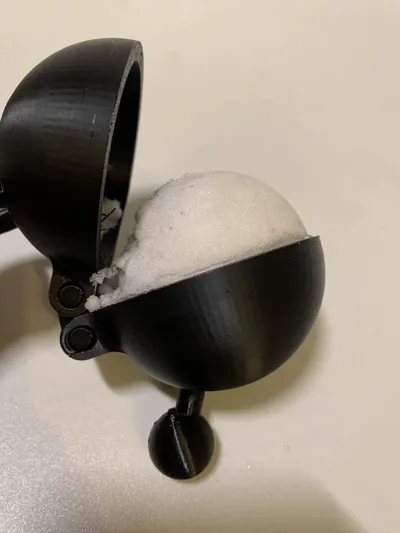
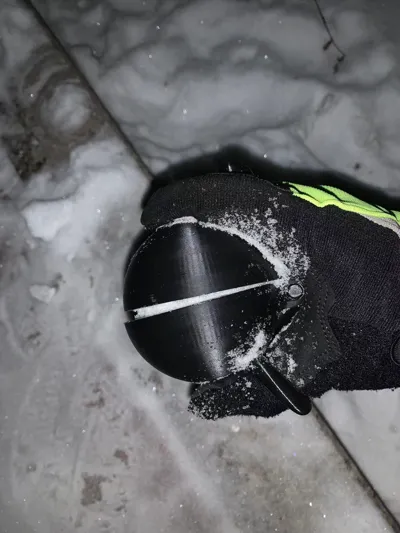
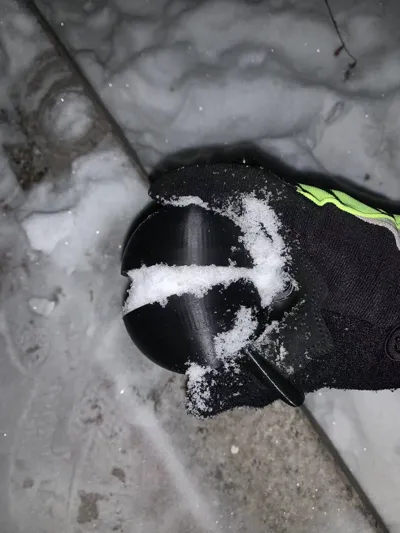
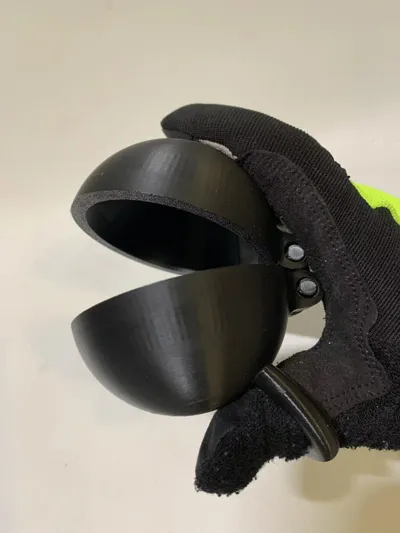
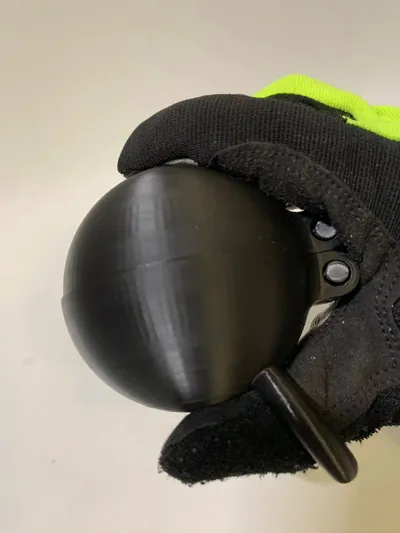
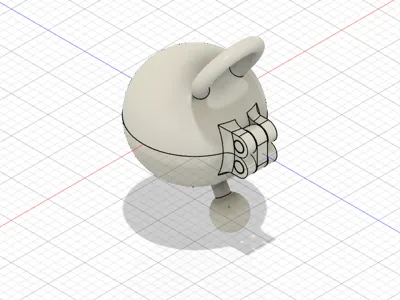
This one is different. Insert your thumb into the round hole, clamp the small ball between your index and middle fingers, grab a handful of snow, and you've got a snowball. Press it with your other hand to make it firmer, and then you can throw it (remember to be safe and don't throw the clip out as well!).
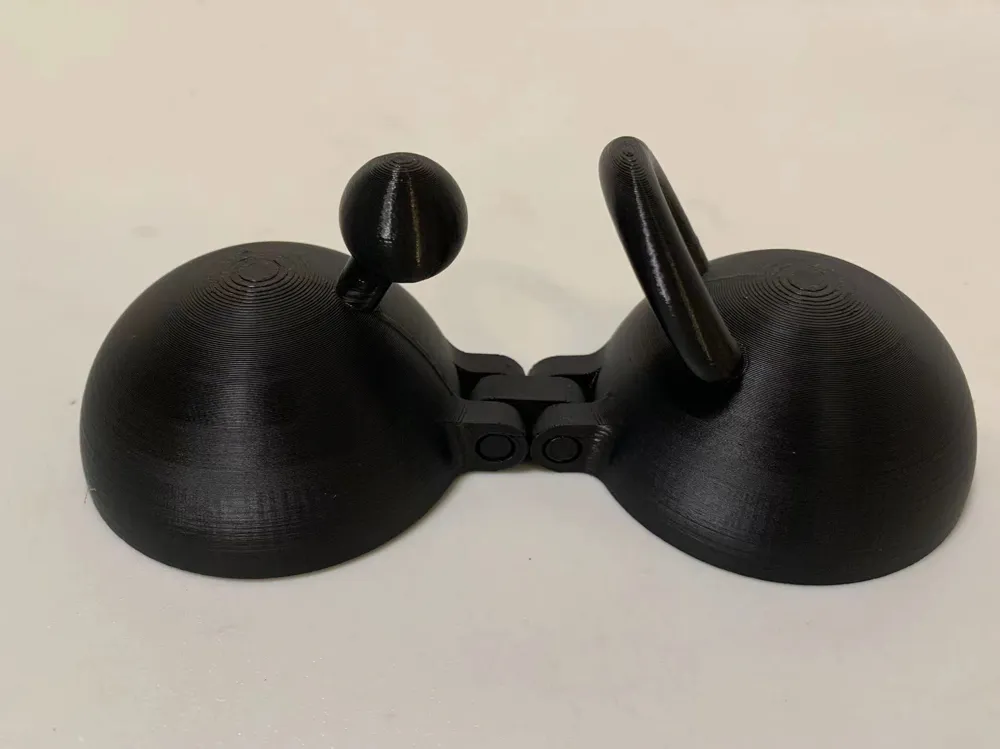
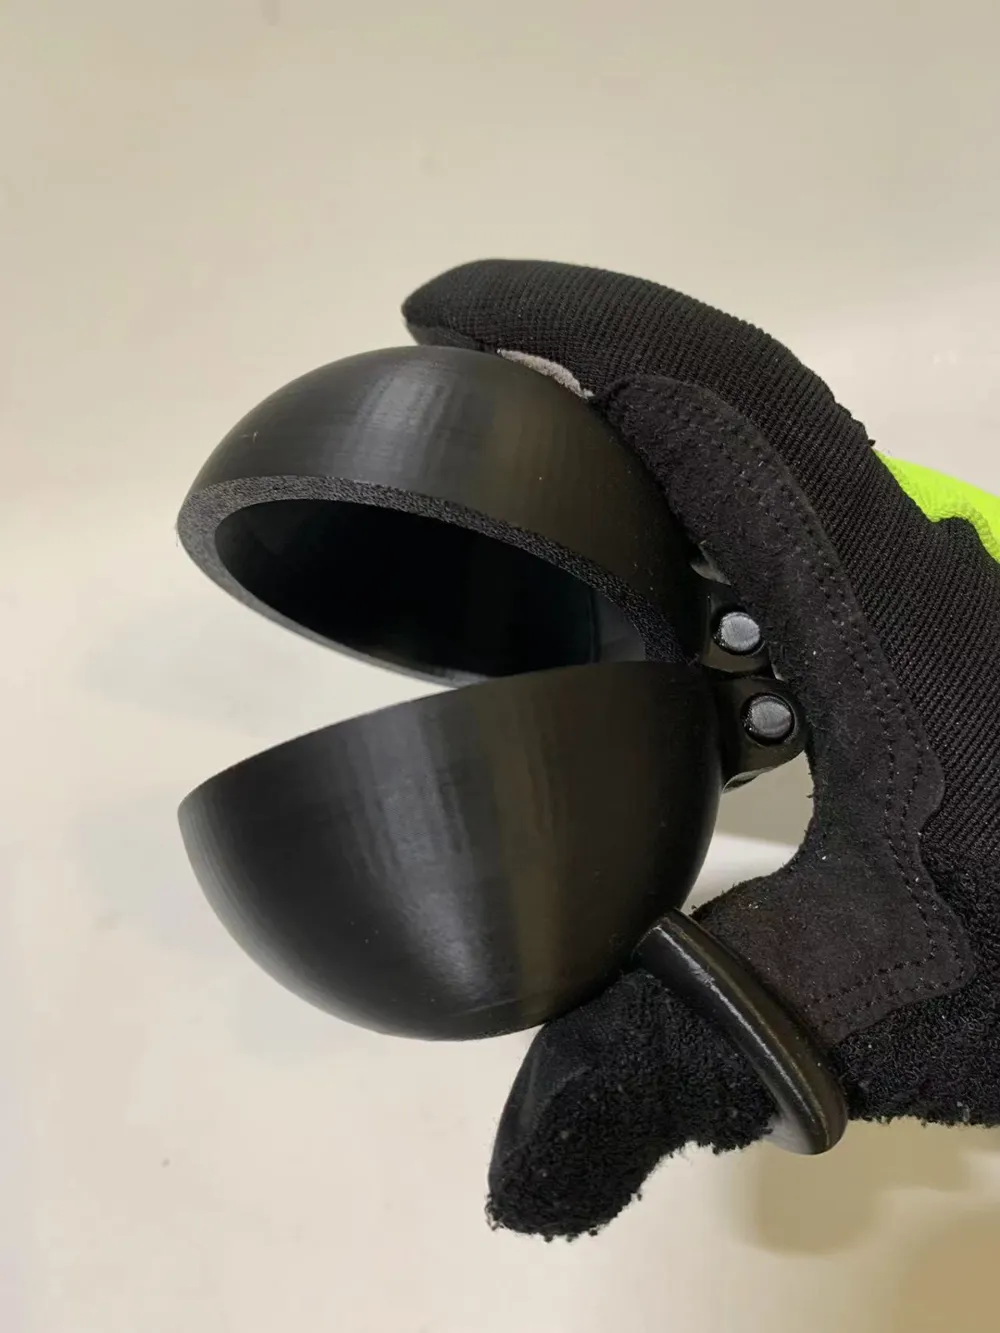
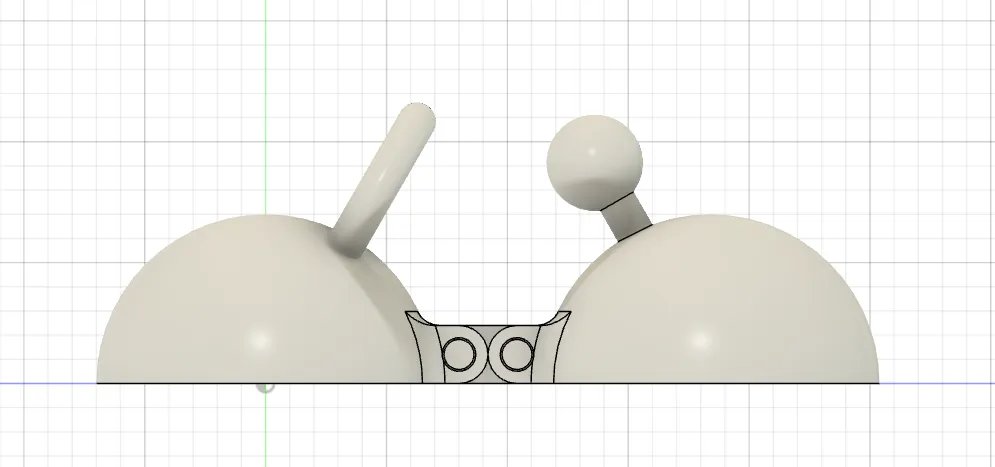
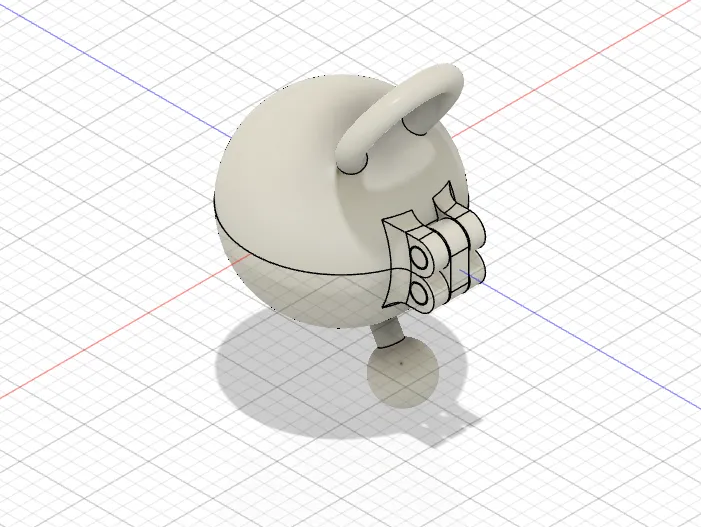
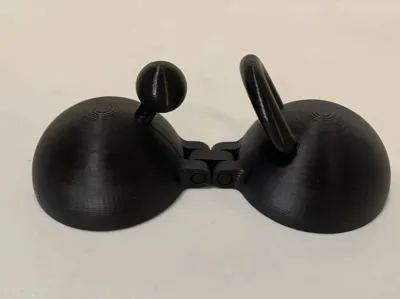
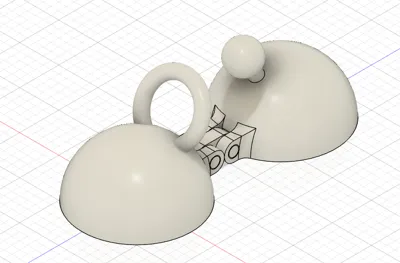
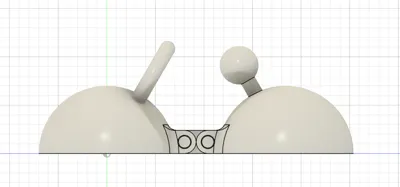
It's one-piece molding, a single model printed directly. After printing, the two halves can be used together. 0.4mm is reserved for the hinge axis. Under normal printing conditions, the two halves will open and close smoothly.
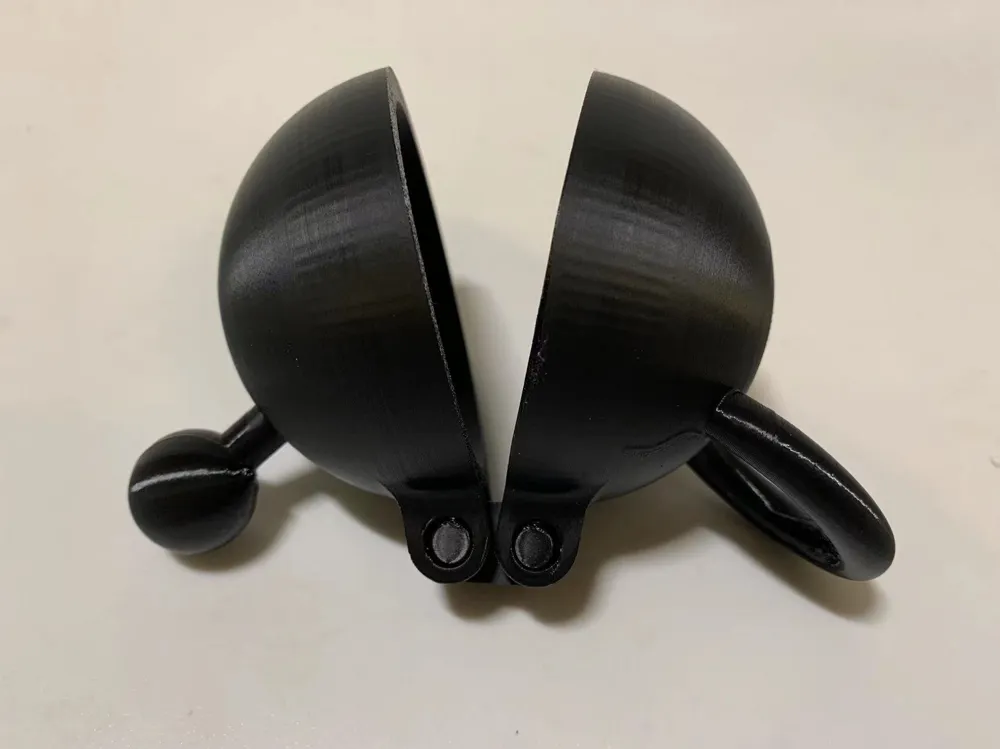
For adults, it might seem a bit small, with a maximum opening angle of about 35 degrees. For hand-crafted models, adjusting the model proportions is recommended. It's 100% usable, but you'll need to refill it several times when collecting snow.
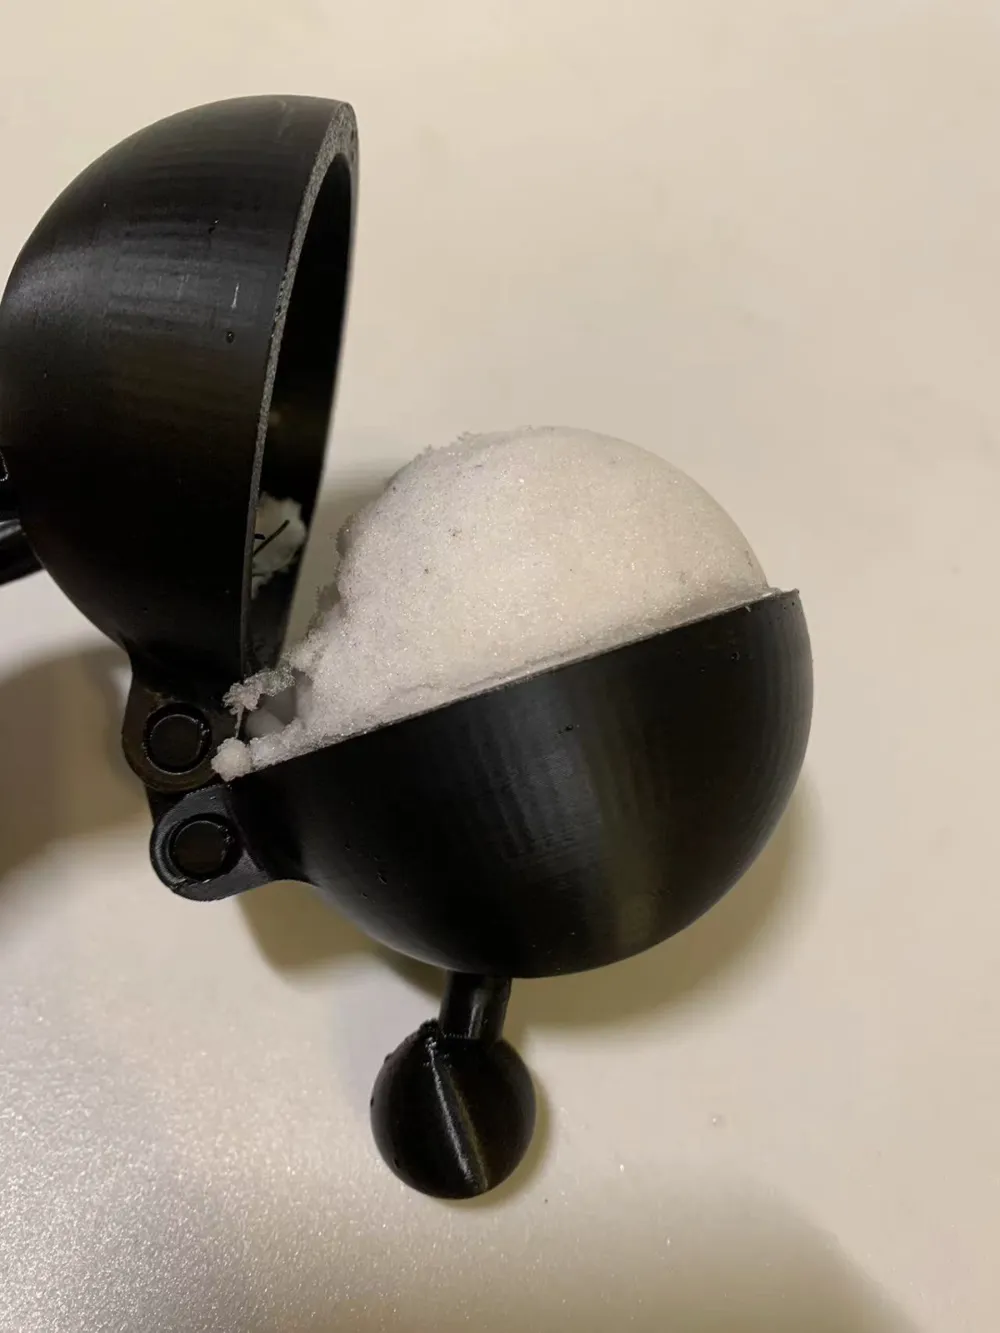
The shape of the snowball after pressing it is still granular, not easy to bind, and may need hammering to form. However, if it's soft, fluffy snow, you can simply open it to create a snowball. Children who've had snowball fights understand this.
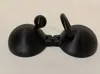
This is how children use it. The ball clip can be opened quite wide, making it easy to catch snow.
Printing doesn't require support, takes about 2 hours and 11 minutes to print, and uses 51g of filament.
The snowball clips sold are very large and require both hands to operate, which greatly reduces the efficiency: clamp the snow with both hands, release the clip, and hold the snowball with your hands, slowly, too slowly.
Use this, insert your thumb into the round hole, clamp the small ball between your index and middle fingers, grab a handful of snow, and a snowball will be formed. Press it with the other hand to make it stronger, and then you can throw it out (pay attention to safety and do not throw it out) Throw the clip out too)
One-piece molding, one model is printed directly. After printing, it can be used together. 0.4mm is reserved for the hinge axis. Under normal printing conditions, the two halves will open and close smoothly.
It looks a little small for adults, and the maximum opening angle is about 35 degrees. For hand-made models, it is recommended to adjust the model proportions. It is 100% usable, but it needs to be refilled several times when collecting snow.
The shape of the snowball after pressing it is still gravel-like and is not easy to bond. It may need to be hammered to shape. If it is soft cotton snow, you can directly open it to make a snowball. Children who have had snow battles understand this.
This is how children use it. The ball clip can be opened very wide, making it easy to catch snow.
Printing does not require support, takes about 2 hours and 11 minutes to print, and uses 51g of filament.
For more models, domestic friends are welcome to follow the public account: 3D Printing Sharing
License



Comment & Rating (108)