
Sith Holocron
Print Profile(1)

Bill of Materials

- Super Glue x 1:
- Translucent Red Filament x 1: https://us.polymaker.com/products/polylite-translucent-petg?variant=40303029747769
Description
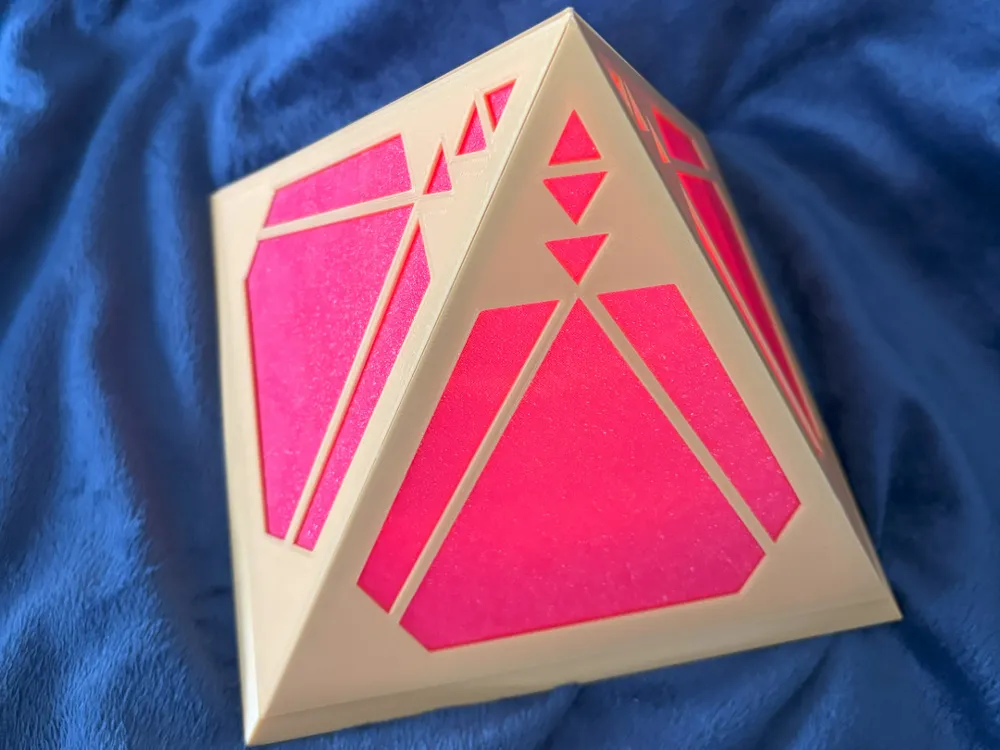
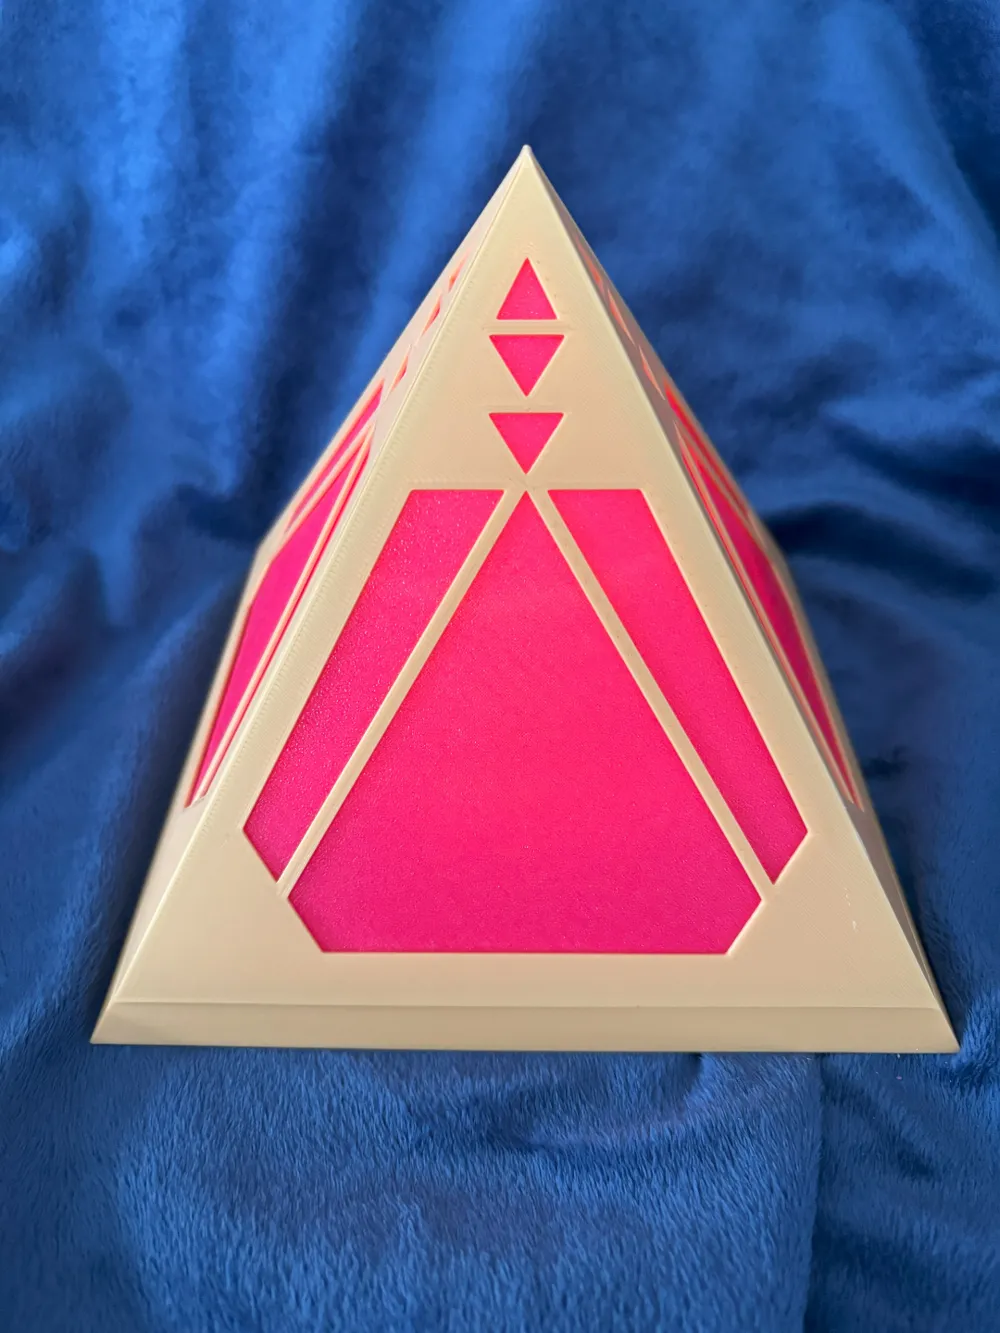
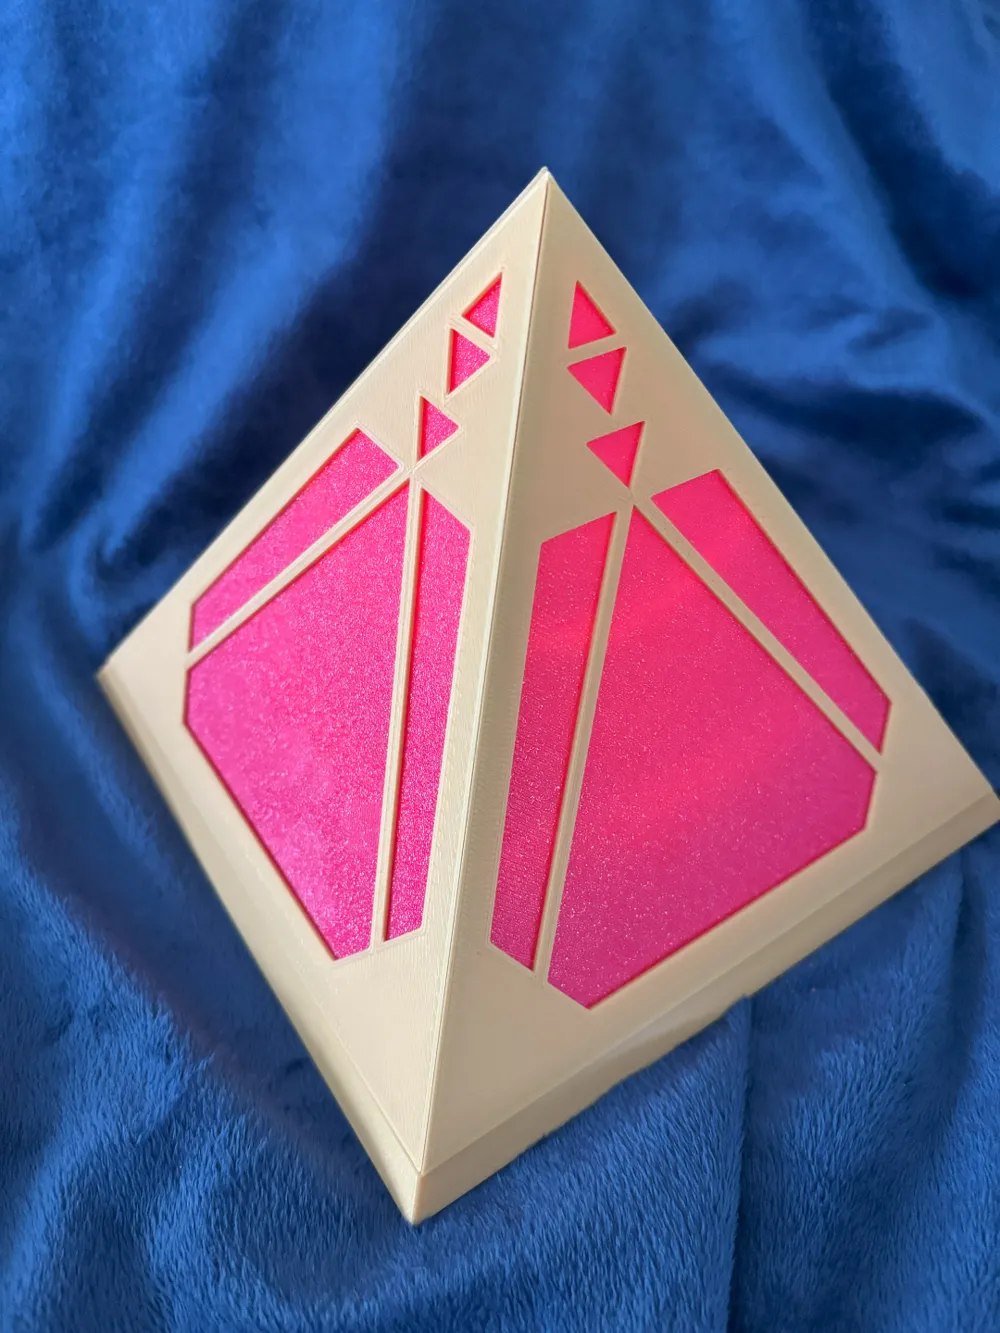
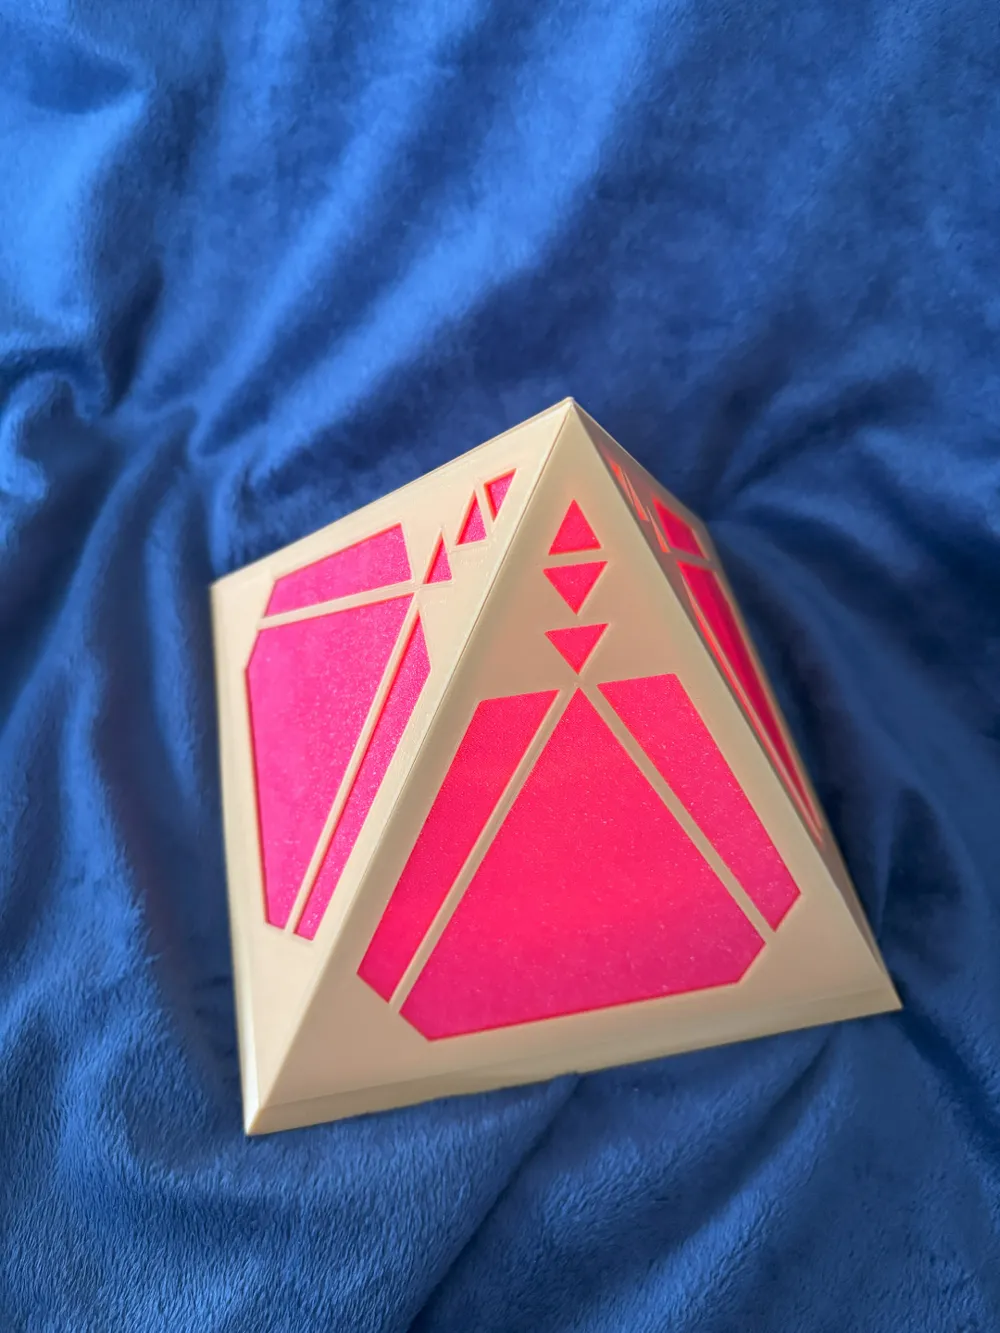
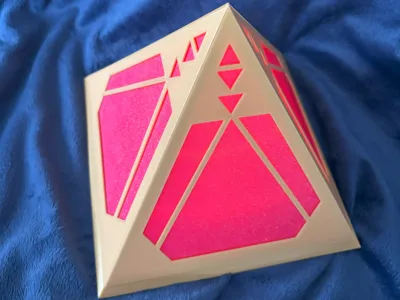
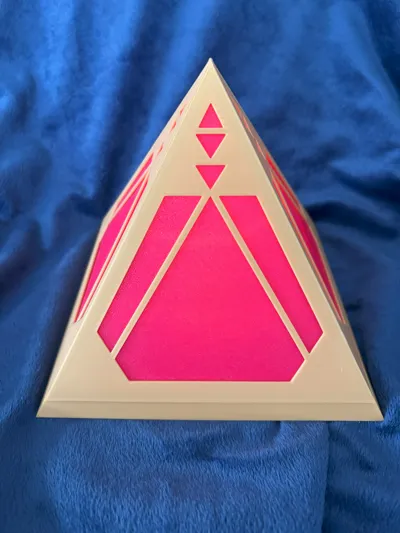
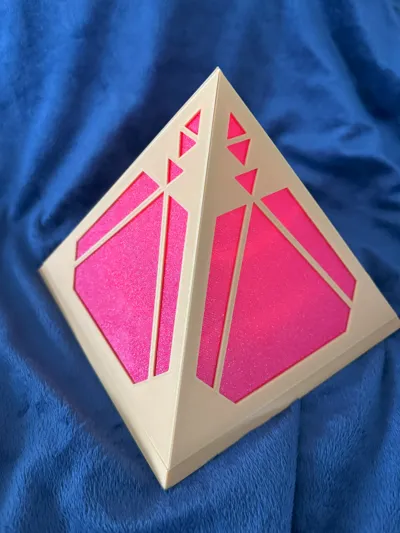
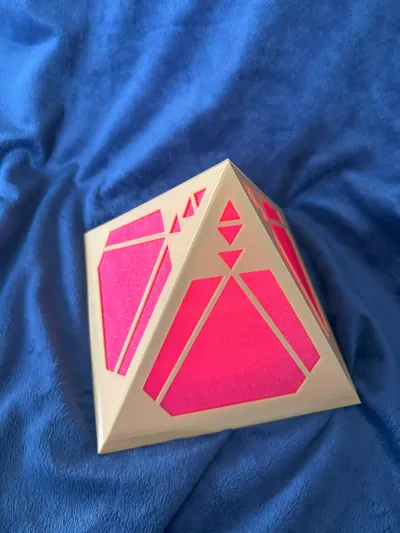
Step into the Star Wars universe with this Sith Holocron model. A mystical artifact of the dark side, this model features intricate geometric patterns and translucent sections that evoke the ancient and arcane nature of Sith knowledge.
The holocron is illuminated from within by a light source from the Maker's Beginner Kit, casting an ethereal glow through its translucent panels. Perfect for collectors, cosplayers, or as a striking decorative piece, this model captures the essence of Sith lore and mystique.
Key Features:
- Easy Assembly: Clear, step-by-step instructions for a smooth build with no additional tools needed.
- Soft Red Light: A soft, flickering red light that enhances the menacing feel of Sith power.
Additional Supplies Needed:
- Translucent Red Filament
Example: PolyLite™ Translucent PETG – Polymaker US - Super Glue
- LED Flame Tea Light Candle Set - Warm White from the Maker's Beginner Kit
Assembly Instructions:
1. Attach the "Inserts":
- Press the "Solid Insert" pieces into the "Side Pieces." These should snap into place. If loose, apply a small amount of super glue to secure them.
2. Attach Two "Side Pieces":
- Take two of the "Side Panels" and glue them together. Apply a small amount of super glue along the edges that will be joined. Press the panels together and hold them while the glue sets.
- Use the "Base" to help align the sides, but take care not to let any glue seep out onto the base, as this could result in the sides becoming glued to the base.
3. Attach the Third "Side Piece":
- Once the glue from the previous step has dried, take a third side piece and glue it to the assembly. Apply glue along one edge and press the pieces together, holding them while the glue sets. Again, use the "Base" for alignment, ensuring no glue touches the base.
4. Attach the Fourth "Side Piece":
- After the previous step's glue has dried, take the final side piece and glue it to the assembly. Run glue along both edges and press the piece into place, holding it until the glue sets.
5. Insert the Light:
- Place the LED tea light within the center cavity of the "Base."
6. Place the Assembled Sides:
- Position the assembled sides on top of the base, covering the light. They should fit snugly around the lip of the base.
- Note: Do not glue the assembled sides to the "Base." Keeping them detachable allows you to turn the light on and off.
Printing Instructions:
- Print the "Inserts" using translucent red filament with 100% infill to ensure that light passes through cleanly without showing infill lines.
Enjoy showcasing the power and knowledge of the dark side with your Sith Holocron. Whether impressing your apprentice or commanding respect from those under your influence, this artifact is sure to captivate all who see it.
License

You shall not share, sub-license, sell, rent, host, transfer, or distribute in any way the digital or 3D printed versions of this object, nor any other derivative work of this object in its digital or physical format (including - but not limited to - remixes of this object, and hosting on other digital platforms). The objects may not be used without permission in any way whatsoever in which you charge money, or collect fees.


Comment & Rating (3)