
Map to my heart - Personalized 3D City map

Print Profile(18)



Description
Membership
Your support directly allows me to invest more time in creating the useful and innovative solutions we all enjoy. Love using my unique designs in your business or products? By subscribing to my Commercial License Membership, you get the legal right to sell prints of my models. Subscribe today and let's build the future of 3D printing together!
Do you want a bigger map? The big wall frame edition you can find here: https://makerworld.com/en/models/1017973#profileId-998649
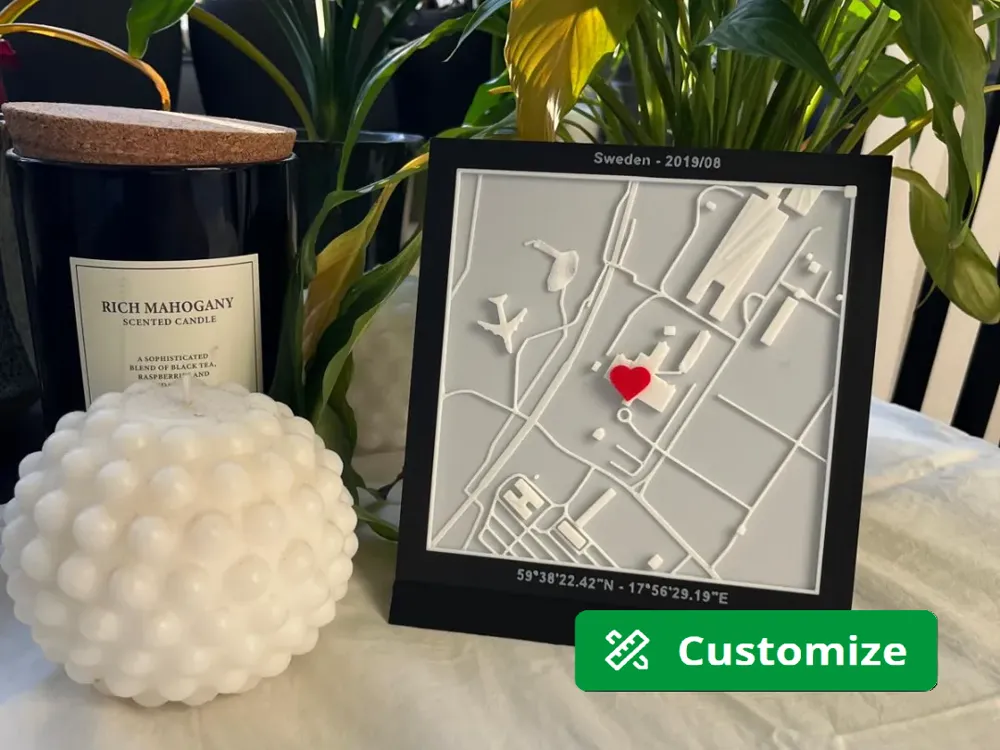
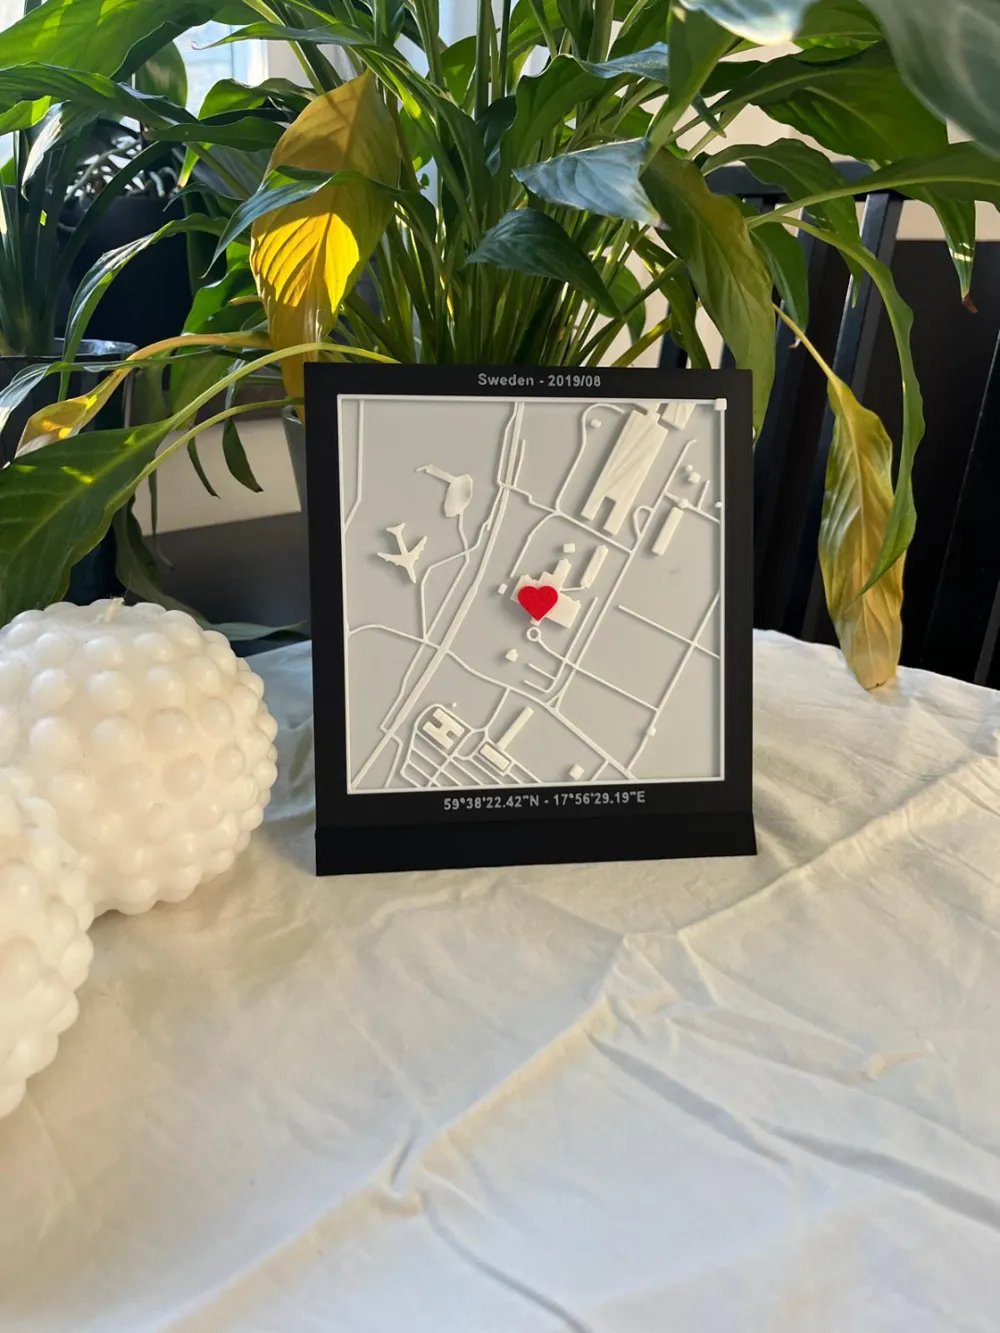
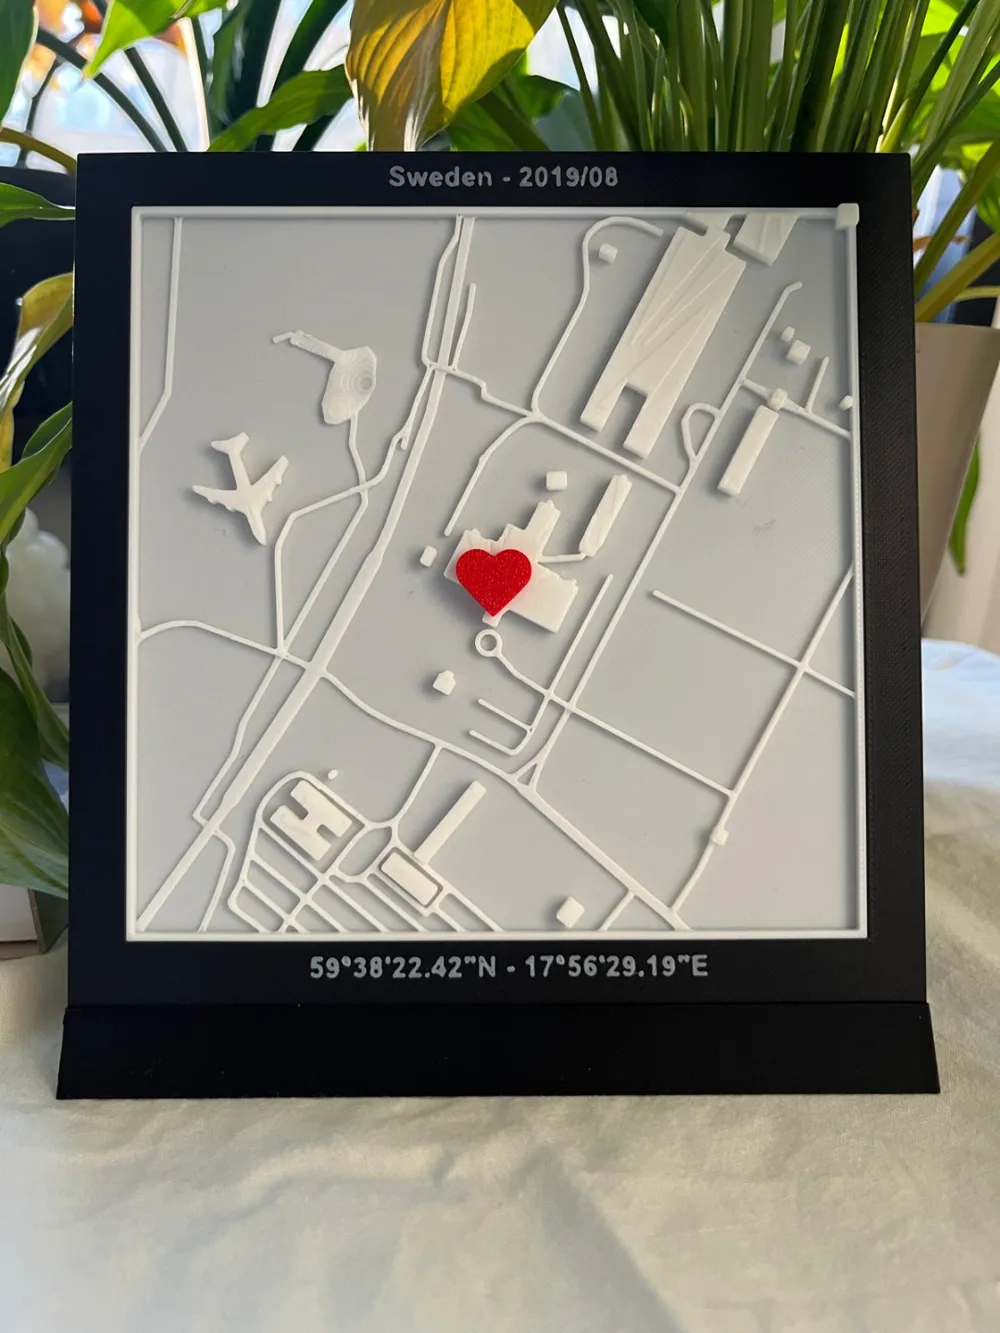
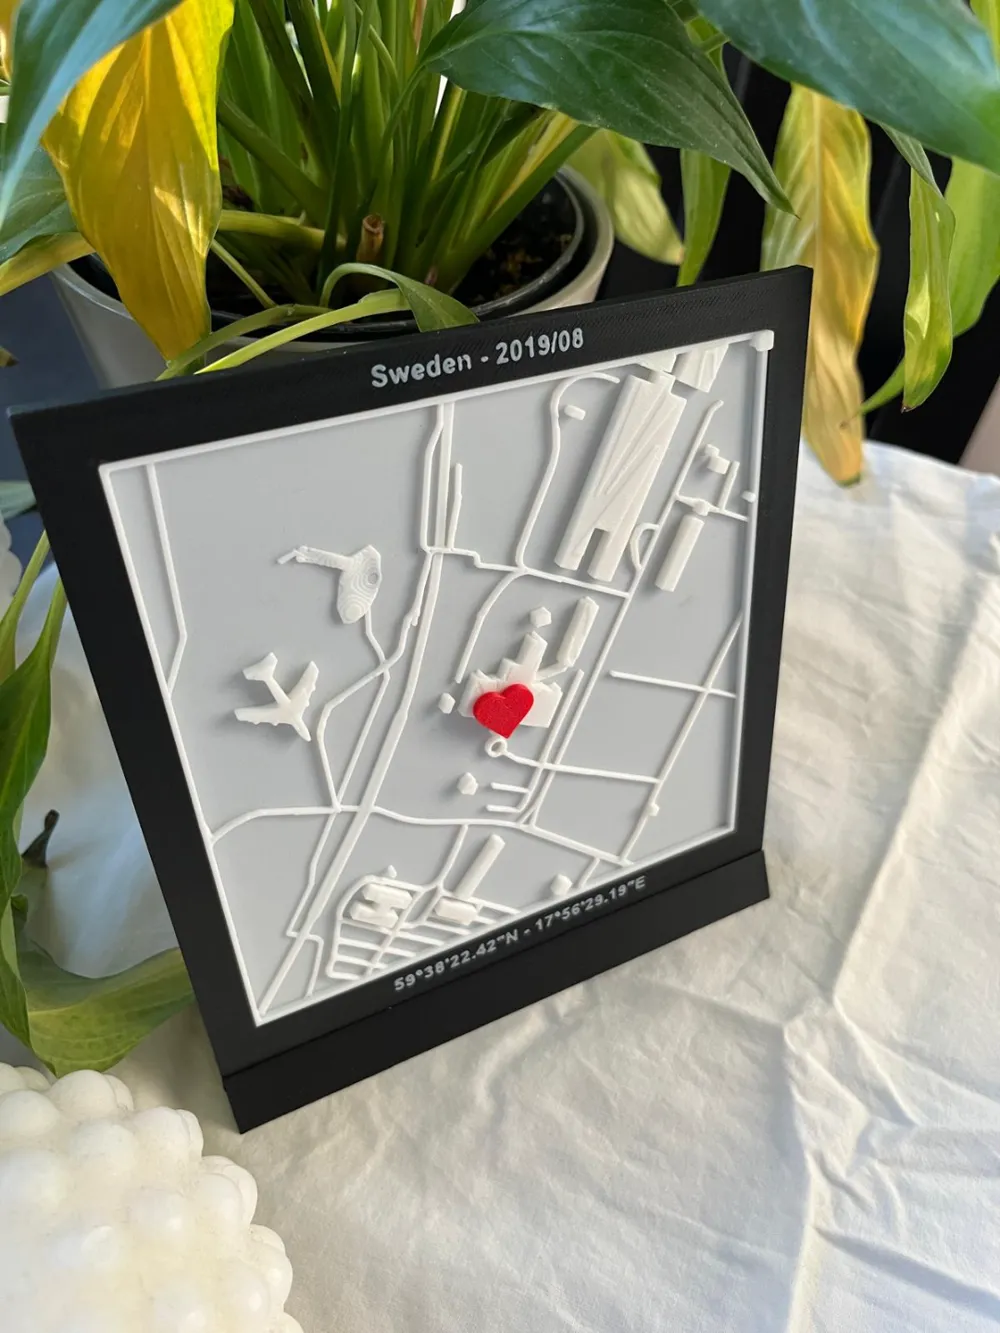
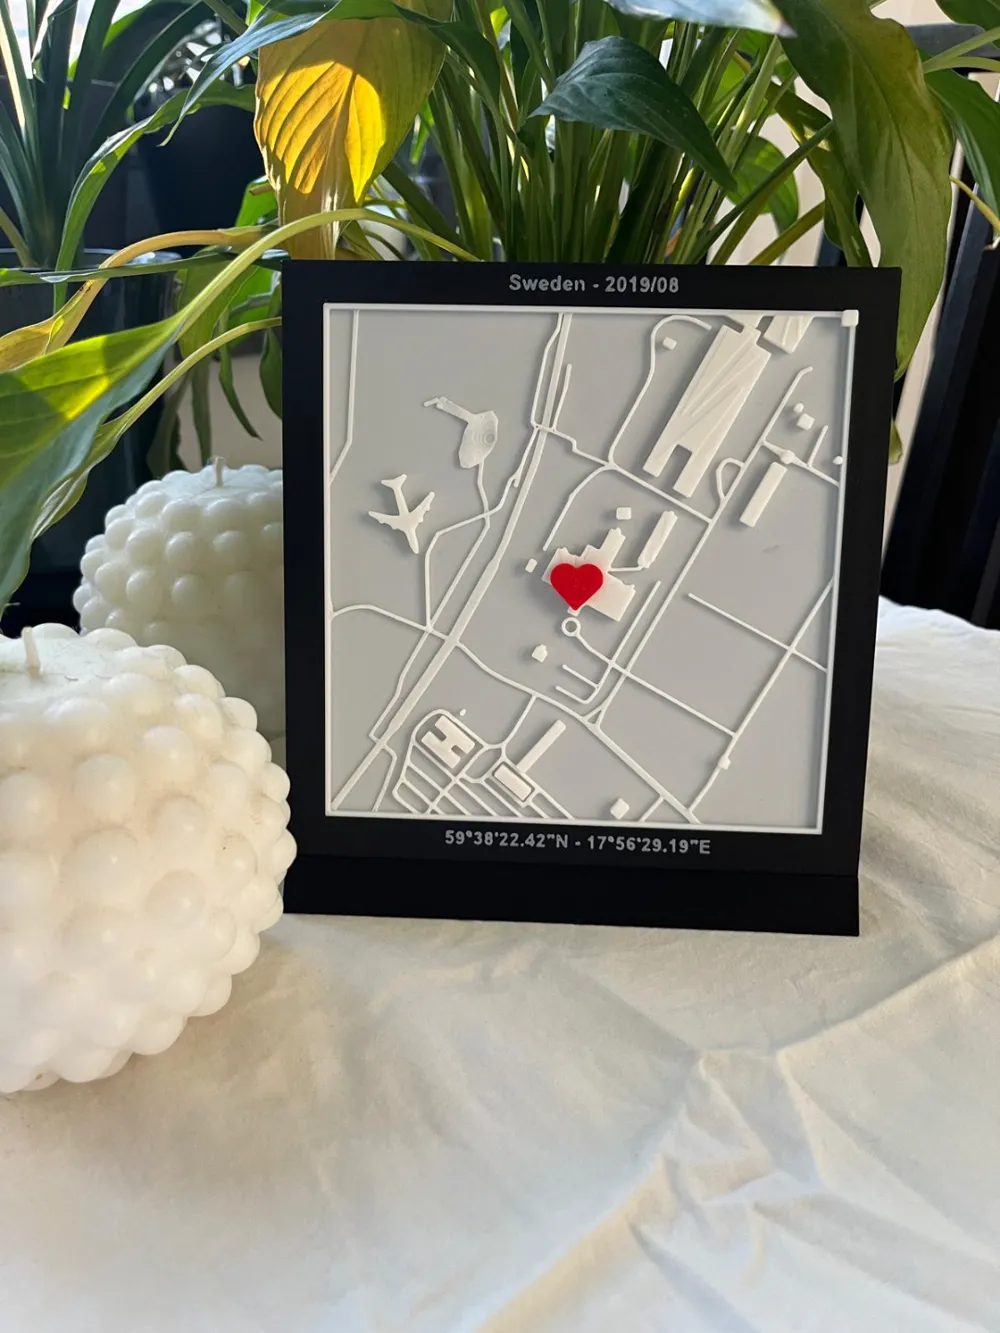
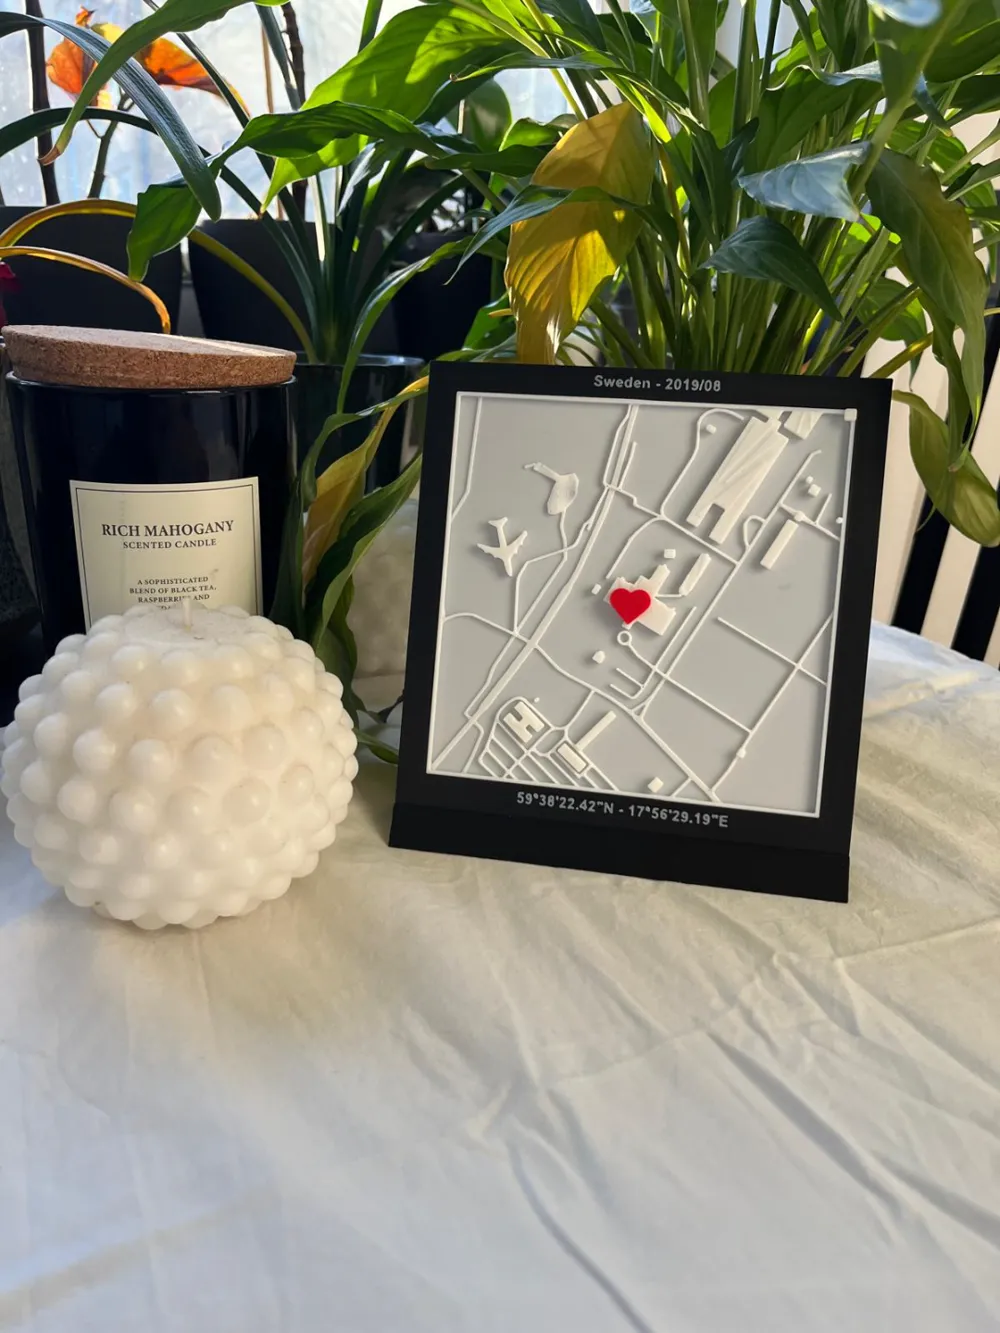
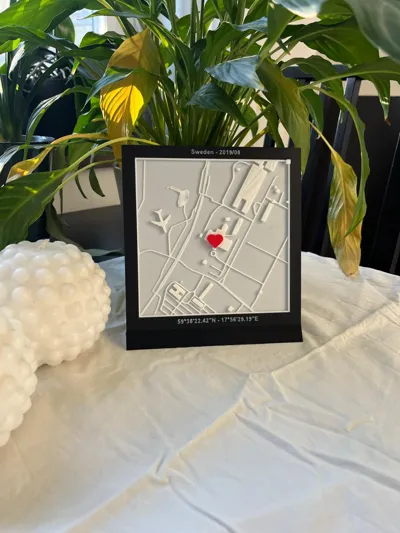
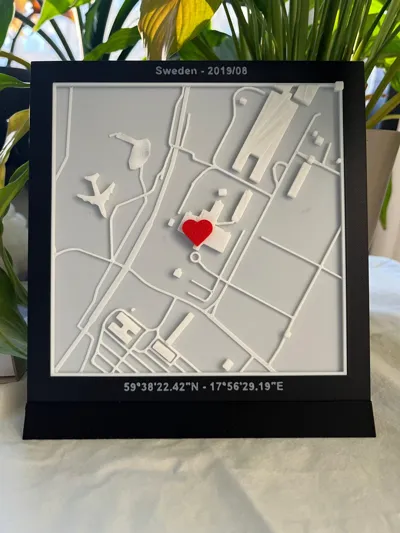
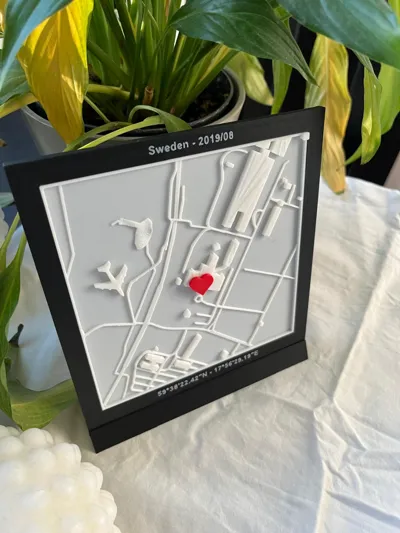
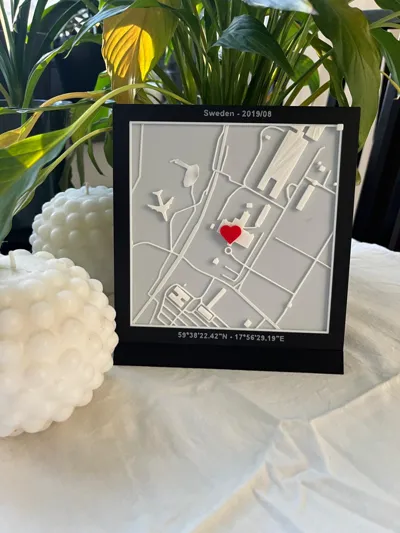
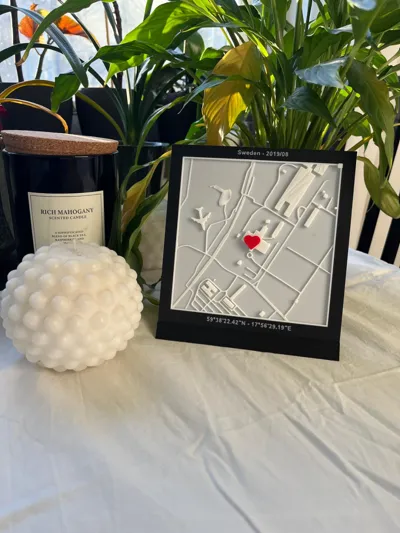
“Map to my Heart” Frame – A Beautiful Way to Celebrate Your Love
Thank you for choosing this heartfelt design! This customizable frame with a heart is the perfect way to highlight the location where you and your loved one first met. Whether it’s a meaningful gift or a special keepsake for yourself, this design is sure to be treasured for years to come. Follow these steps to create your personalized map:
Step 1: Create and Print Your Custom Map Topography
- Visit Touch Mapper
Go to the Touch Mapper website to generate a 3D printable map of your special location. - Scroll Down to Enter the Address
- On the main page, scroll down until you find the field where you can enter the desired street address of your meaningful location.
- Enter the address and confirm the location on the map preview.
- Enable Advanced Options
- Click “Show advanced options (also hides location marker****)” to unlock the customization settings.
- Set the Map Dimensions
Use the following settings for the best results:- Custom print size: Set this to 13 cm.
- Custom scale: Choose 1:3460, which will display an area of approximately 450 meters around your chosen location.
- Download and Print Your Map
- Once your map is ready, export it as an STL file.
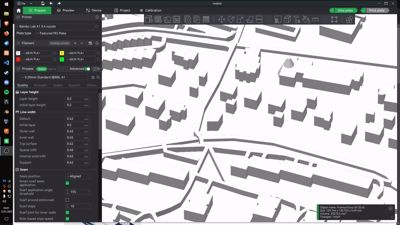
- Import the file into your slicer software (e.g., Bambu Studio), slice it, and print the map using your 3D printer.
- Measure the map in the slicer before you print it since touch mapper sometimes get it out bigger than 13x13.
Tips for Printing the Map
- Use a layer thickness of 0.25 mm or 0.3 mm for the best results.
- The base of the map is 0.6 mm thick, which means you can print it in just two layers.
- Print the top layer at a slower speed to achieve a smooth surface finish.

Does the cone not disappear?
@ radeczek Found a great workaround for those experiencing the bug on Touch Mapper where the cone can't be removed. Huge thanks to @radeczek for figuring it out!
Here are the steps. You can also watch the GIF that will show you!
In the objets menu, click on object > divide into parts and delete the first object. Then there will be no marker :) / @radecsek
Step 2: Print the Frame and Heart
- Customize Your Frame
- The frame text included in the file is fully customizable in Bambu Studio. Adjust the text to add your names, the location, country or city and even the latitude and longitude in DMS format. This makes the frame even more personal and unique.
- Use the embedded Excel tool in the Word (at the end of this doc) document to convert latitude and longitude from decimal degrees to DMS format. ( I was not able to add the doc so here is a link to a 3party helper).
https://www.latlong.net/lat-long-dms.html
- Print the Included File
- The file contains both the frame and two heart designs. Before printing, you can choose to print everything or delete one of the heart designs if you prefer.
- The frame is already sized to perfectly fit the map you created in Touch Mapper.
Step 3: Assemble the Map, Frame, and Heart
- Attach the Map to the Frame
- Use adhesive to carefully secure the printed map inside the frame.
- Position and Attach the Heart
- Place the heart on the map to mark the exact location of your special memory. Once positioned, glue it in place for a professional finish.
Optional: Print Everything as One Model
For those who prefer a seamless process, you can print all parts together as a single model:
- Combine the Files in Bambu Studio
- Import the frame, map, and heart into Bambu Studio.
- Position the map within the frame and align the heart to your chosen spot.
- Slice the model and print it all in one go.
Tips for Success
- Use contrasting filament colors for the frame, map, and heart to make your design stand out beautifully.
- Preview your print in Bambu Studio to ensure everything is perfectly aligned before slicing.
- Double-check the settings in Touch Mapper to ensure the map fits the frame dimensions.
- Measure the map as soon as you put it in bambu since touchmapper can sometimes get it a bit bigger than 13cm! If it is not 13x13 make it 12,9x12,9 and it should fit perfect!
This design is a perfect blend of love, creativity, and technology. With these easy steps, you can turn a meaningful memory into a unique piece of art. Start creating your “Map to my Heart” Map Frame today and let your love story shine!
Share your beautiful creation with loved ones and inspire others to make their own!
Boost Me (for free)
I’m deeply passionate about 3D printing and dedicated to improving my skills to help create useful, innovative solutions for everyone. With your support, I can continue to grow and bring new ideas to life. A Boost from you will make all the difference in this journey. Thank you so much for your encouragement and support!
Boost Me (for free)
A Boost truly helps more than you might think. It’s a clear signal that you enjoy what I’m building and that this design is worth pushing even further. Every Boost supports my journey to improve every day, learn faster, and keep creating original, useful models for the community. If you also leave a like or a comment, it means a lot and helps more than you know. Thank you so much for the support!
License

You shall not share, sub-license, sell, rent, host, transfer, or distribute in any way the digital or 3D printed versions of this object, nor any other derivative work of this object in its digital or physical format (including - but not limited to - remixes of this object, and hosting on other digital platforms). The objects may not be used without permission in any way whatsoever in which you charge money, or collect fees.


Comment & Rating (1662)