
Bambu X1 A1 P1 Build Plates holder with button NG

Print Profile(9)


Description
Update: 19.3.2025 - New AMS SLIM generation available here: https://makerworld.com/en/models/1227809-build-plates-holder-x1-a1-p1-with-button-ams-slim#profileId-1246011
Boost Me (for free)
Please support my work if you like the model. Boosts invests in purchasing material for prototype models. Thank you. :-)
NG Version
Hi, after the success of the build plate holder I decided to incorporate all the comments and a new version was created, which I call NG (new generation). I printed many prototypes in which I tested different configurations and I present the result to you.



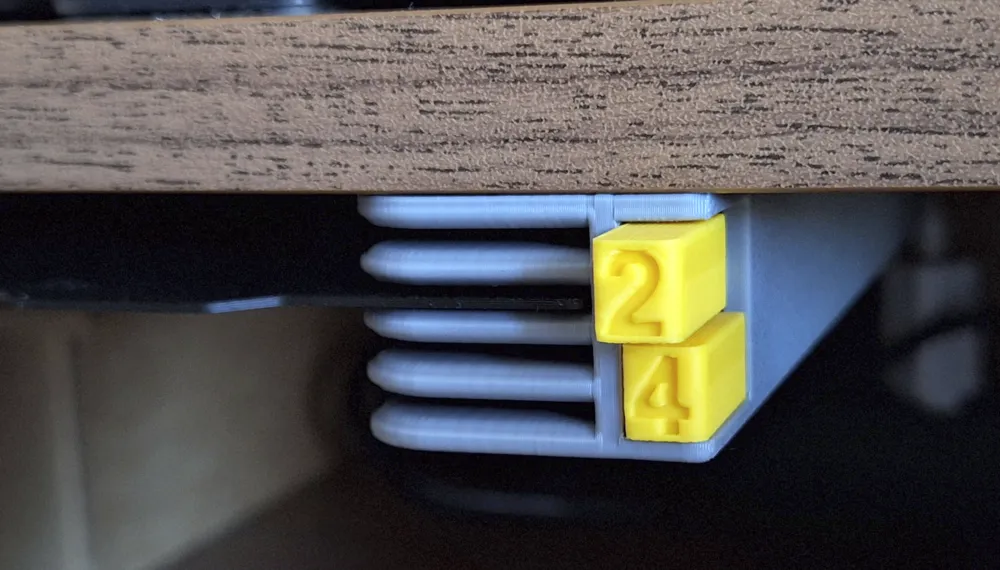
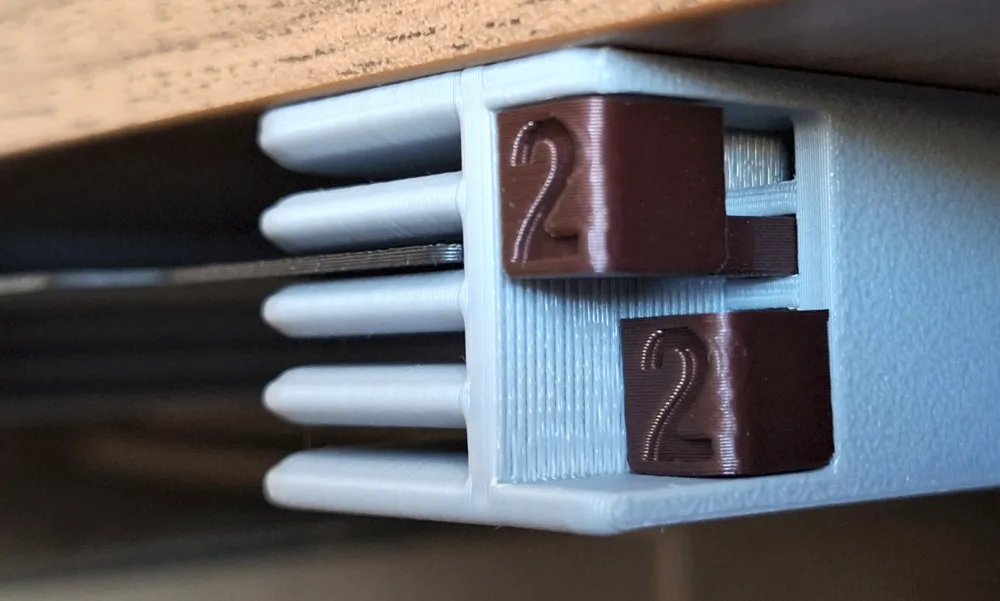
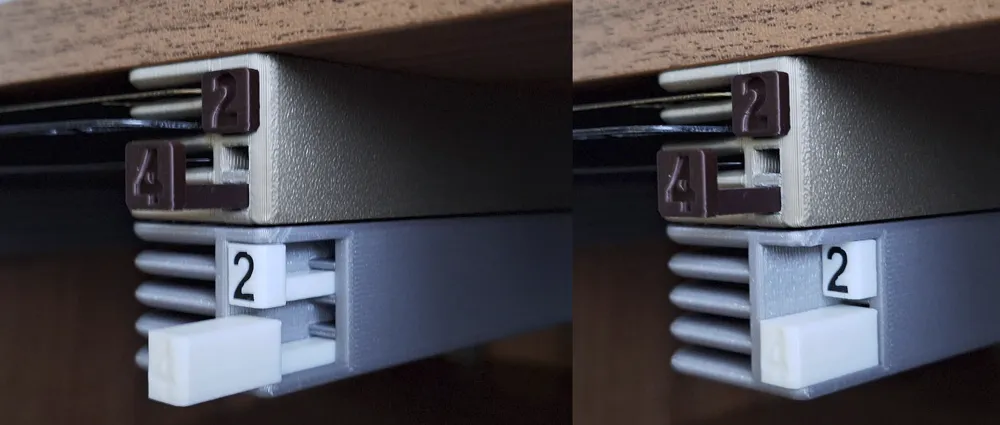
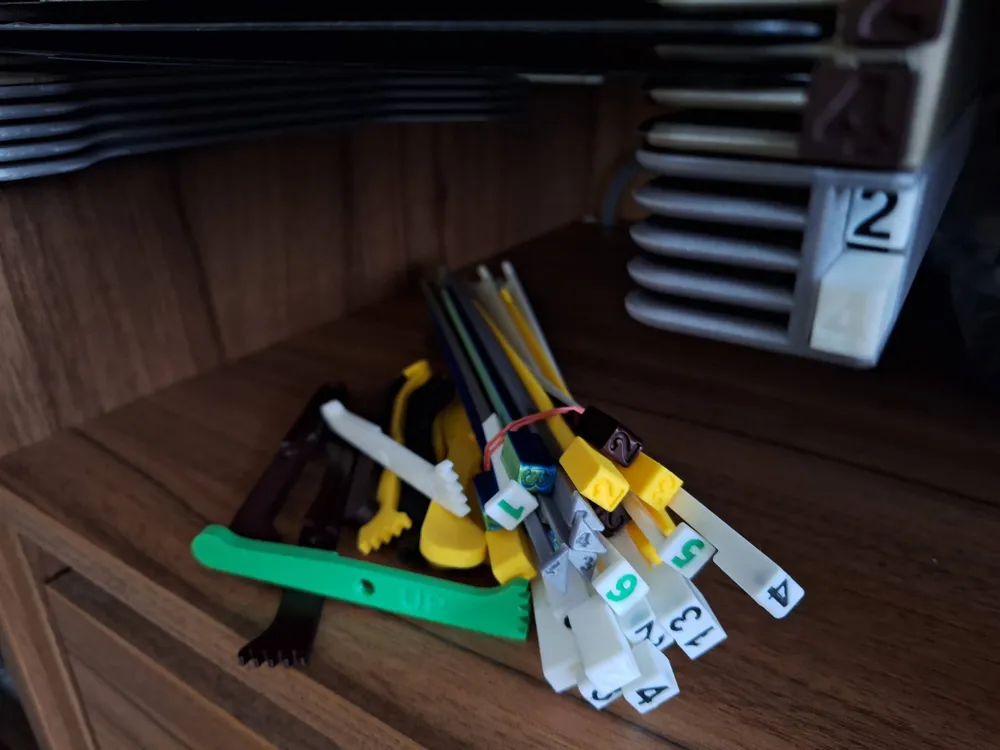
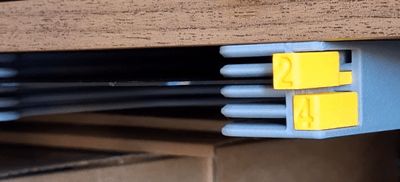
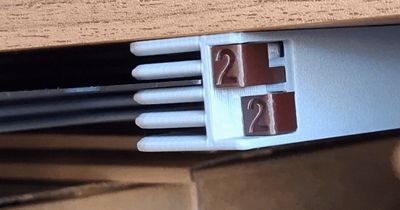
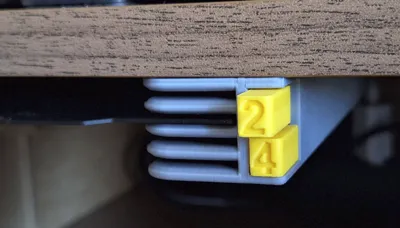
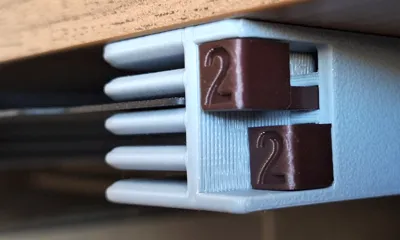
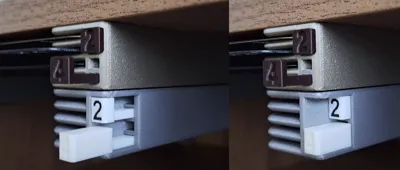
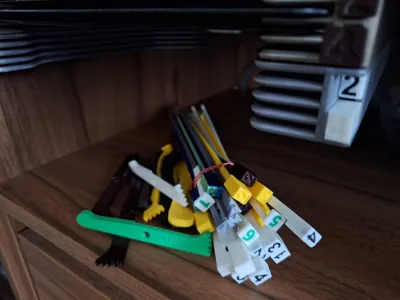

- The biggest change is the change in the shape and location of the buttons. Now you can choose whether the button should protrude and fit into the holder when pressed. The second option is a shorter button, it does not protrude, but is pressed into the inside of the holder. In general the new buttons are a little shorter and stick out from the body. You can find the shortened buttons in a separate profile.
- I worked on better tolerances to make printing and assembly easier and without the use of sandpaper.
- Added Brim by default

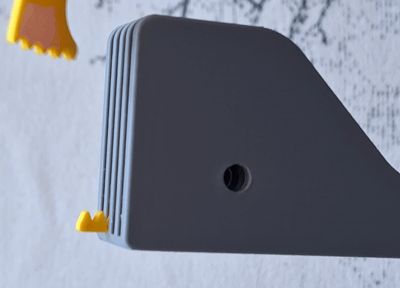
- Body and arm parts are marked (UP / This side UP) for better orientation and easy assembly
- All other benefits and functionality have been retained.
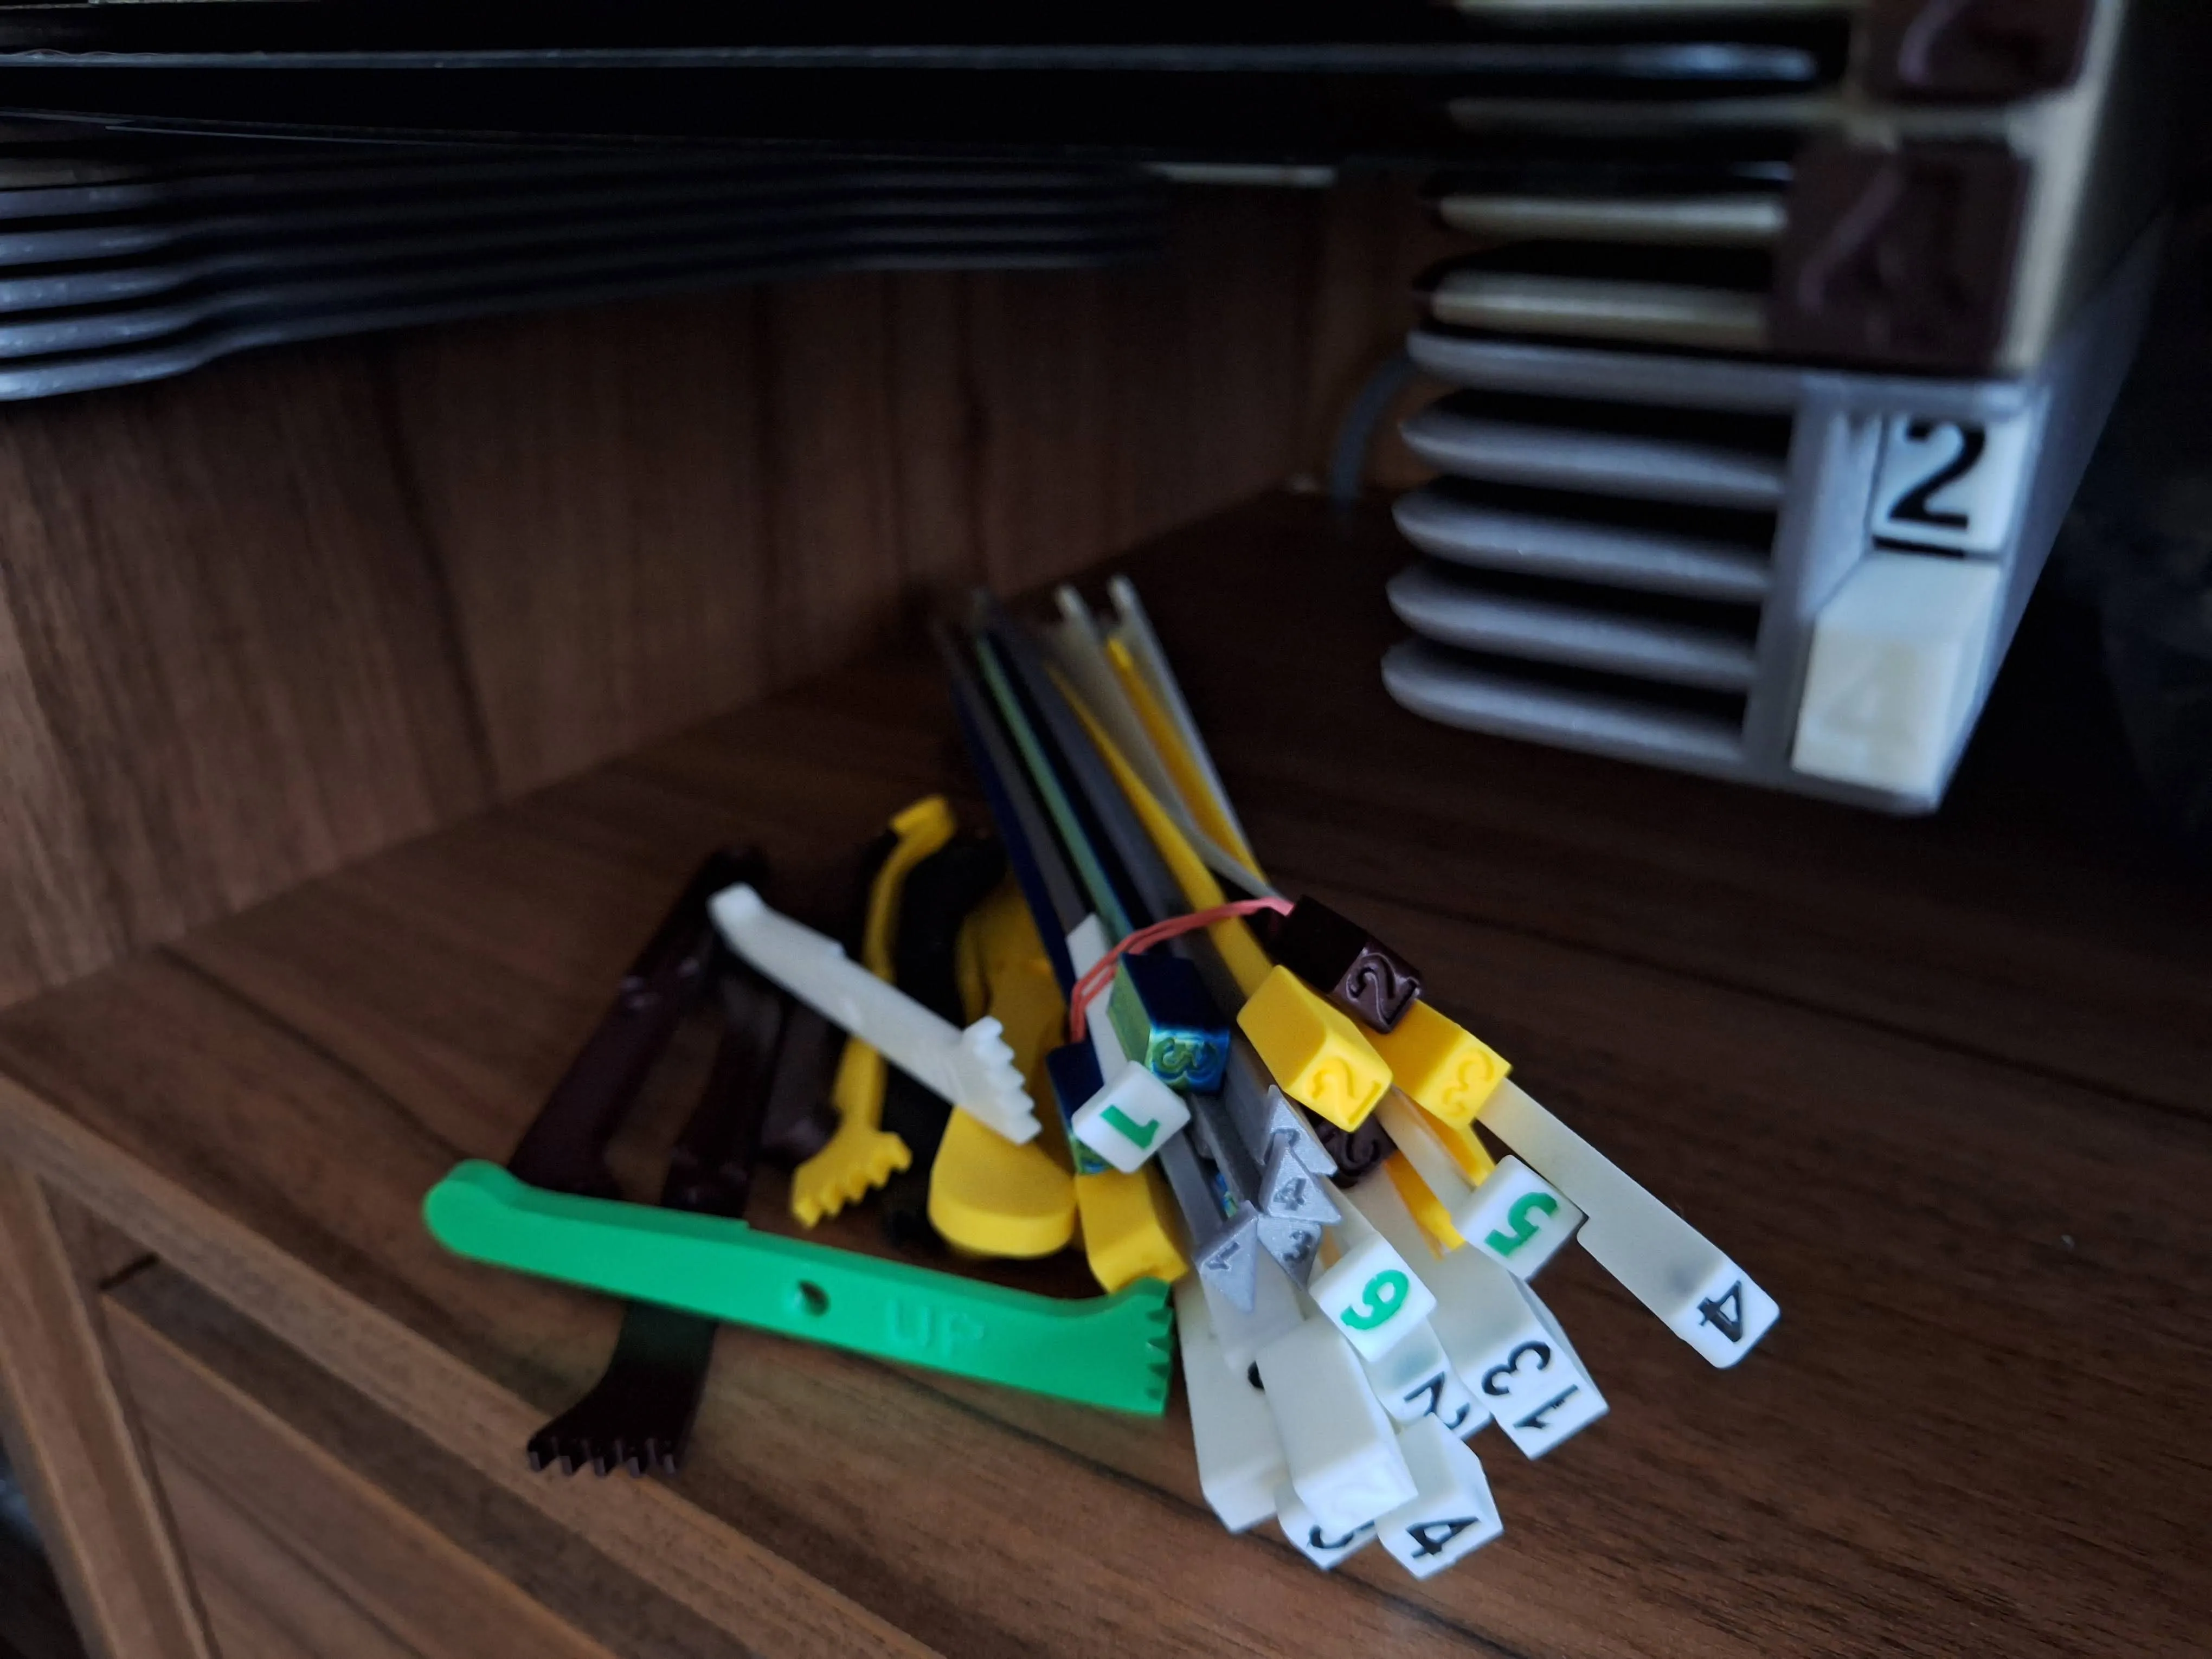
- Color number in the buttons by default (but can be printed faster in one color)
- Drill-Mounting guide1:1 A3.pdf added
- The buttons allow you to place two holders close together without collision.


Introduction
I have many build plates for both Prusa and Bambu printers and very limited space for storage. So I decided to create plates holder with eject button for easy insertion and removal.

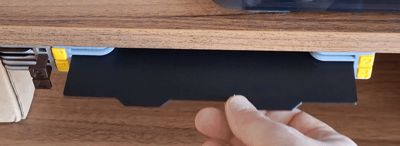
Inserting and removing build plates goes very smoothly. There is no danger of the printing surface getting dirty from greasy fingers :-)


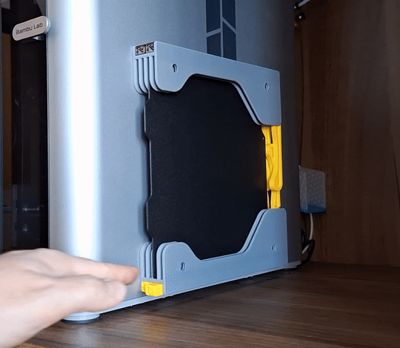

By pressing the button, the build plate ejects approximately 3 cm. By inserting the build plate, the button will pop out easily.
Use 4 pcs of 3-4mm in diameter countersink head screws to fix the holder.
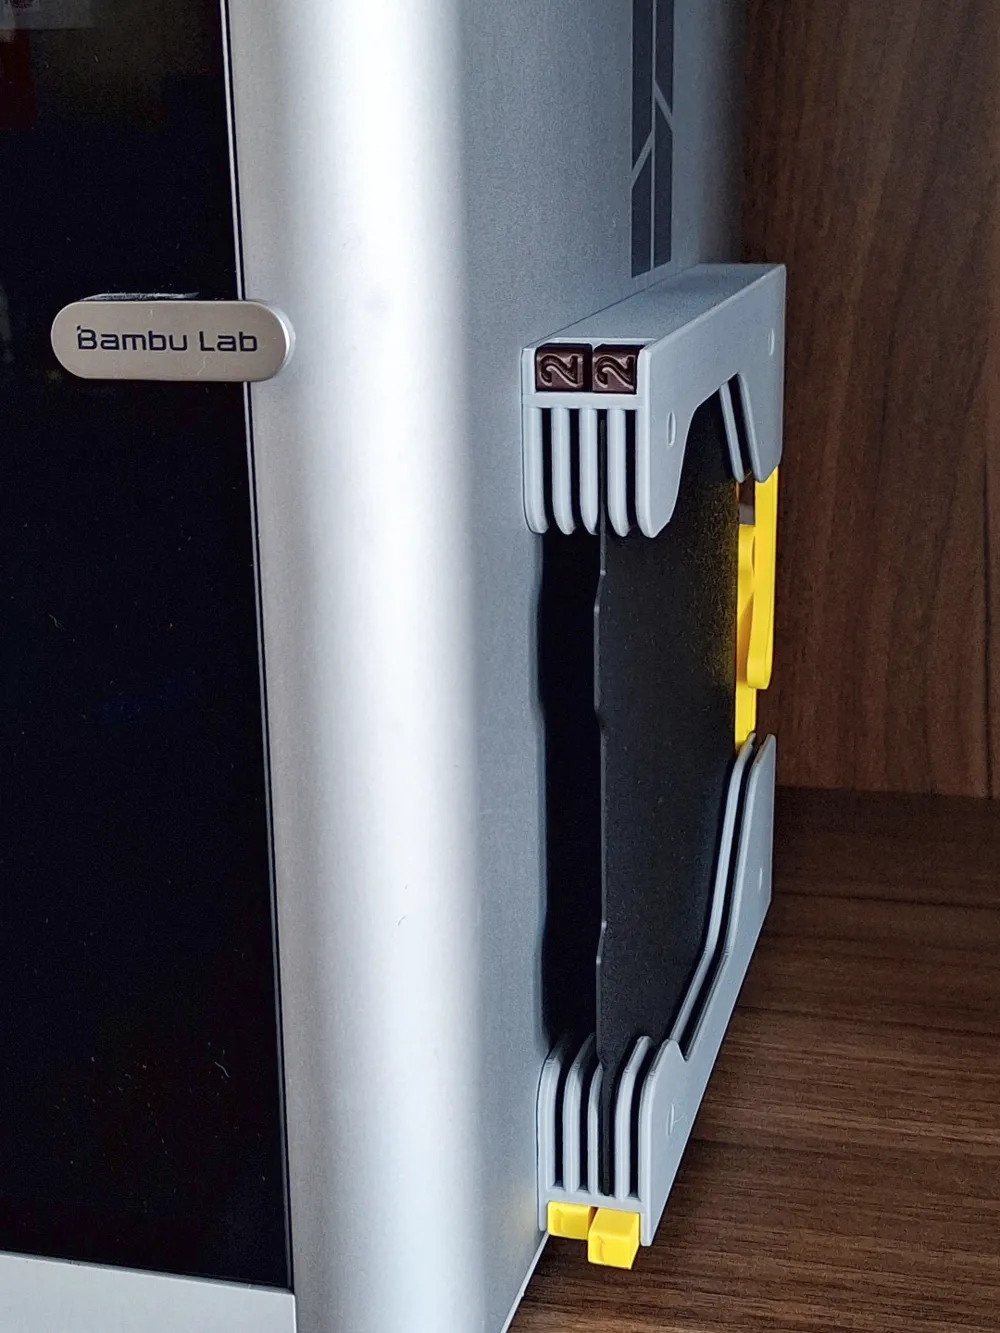
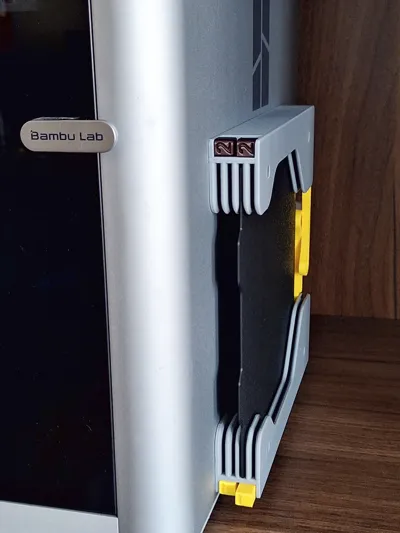
Vertical placement/sticking to the side of the printer also works great.

You can choose from several options from my profile:
- for Bambu X1/P1/A1 build plates
- for Bambu A1 Mini
- for Prusa Mk3/Mk4 family (Coming Soon)
- for Ender 3 family (Coming Soon)
Size:
- for 1 build plate
- for 2 build plates
- for 4 build plates
- for 6 build plates
Buttons:
- With normal and shorter eject buttons (You can find the shorter buttons in a separate profile.)
- Without eject buttons body (Coming Soon)
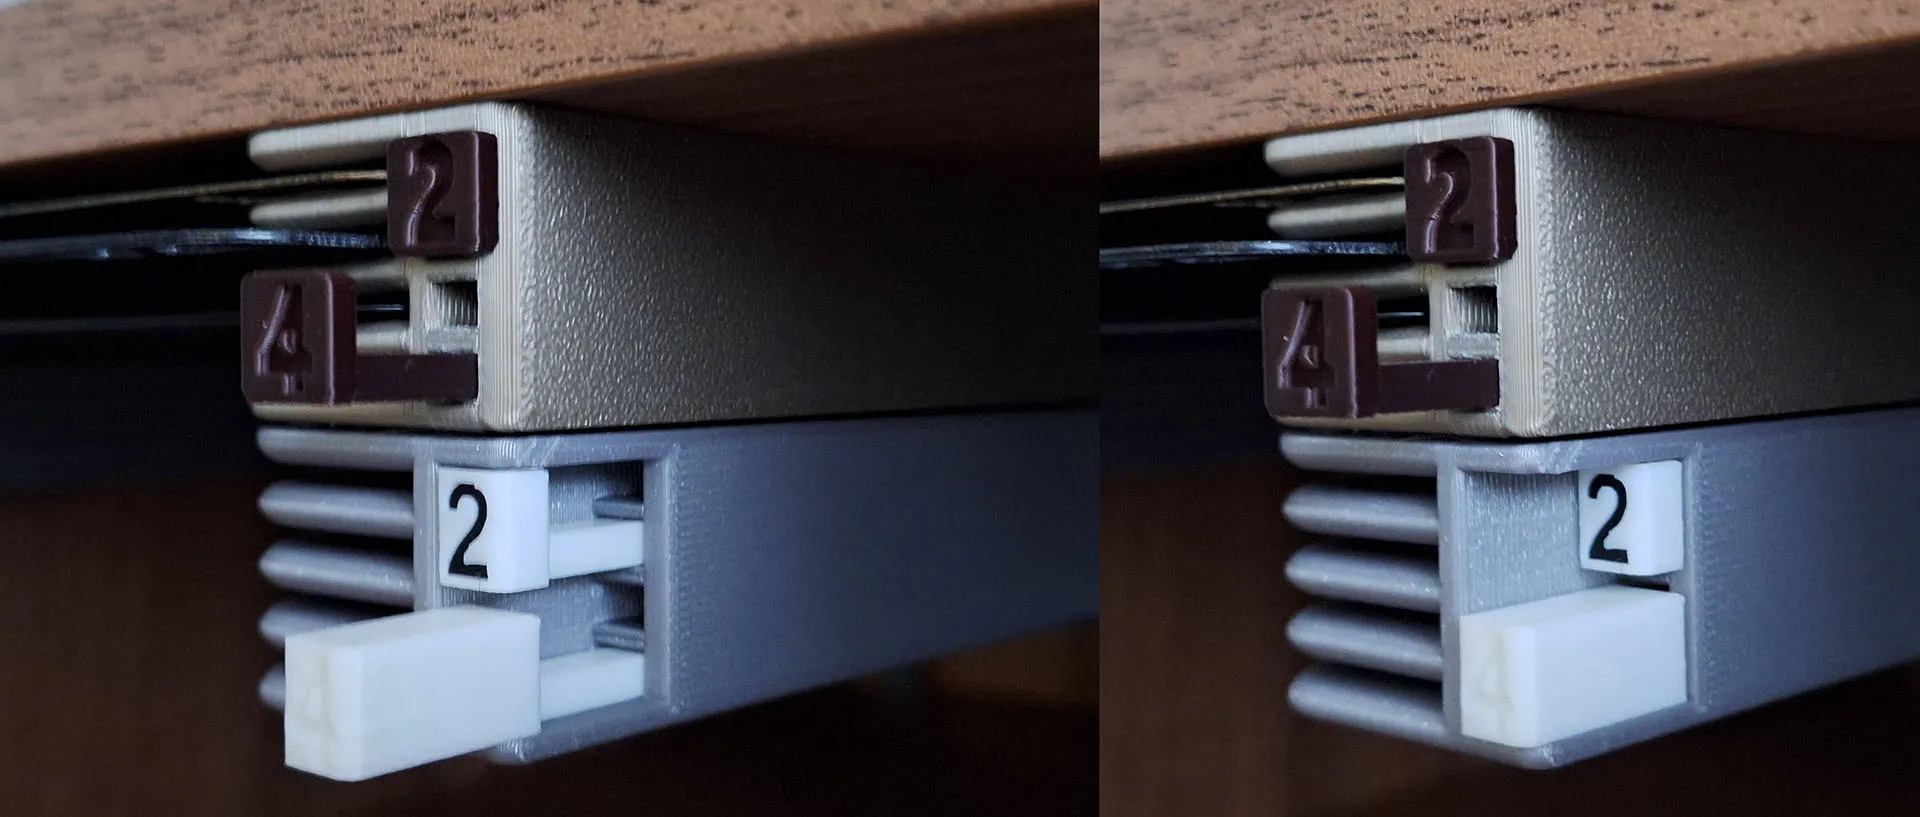
Assembly:
- Print Holder body (Left+Right), buttons and arms of selected version
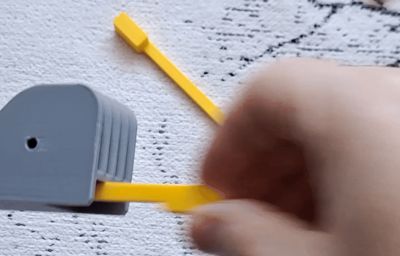
- Insert button to the holder. Slide in / out several times to clean slot and button bar from printing imperfections
- Rotate Holder body and arm to see UP / This side UP
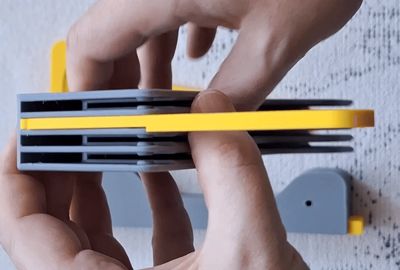
- Push the arm into the holder firmly. Align the teeth according to the picture. UP text on arm helps you with orientation
- Mount holder using 3mm/4mm screws. Strong double-sided mounting tape based on foam/gel is also OK



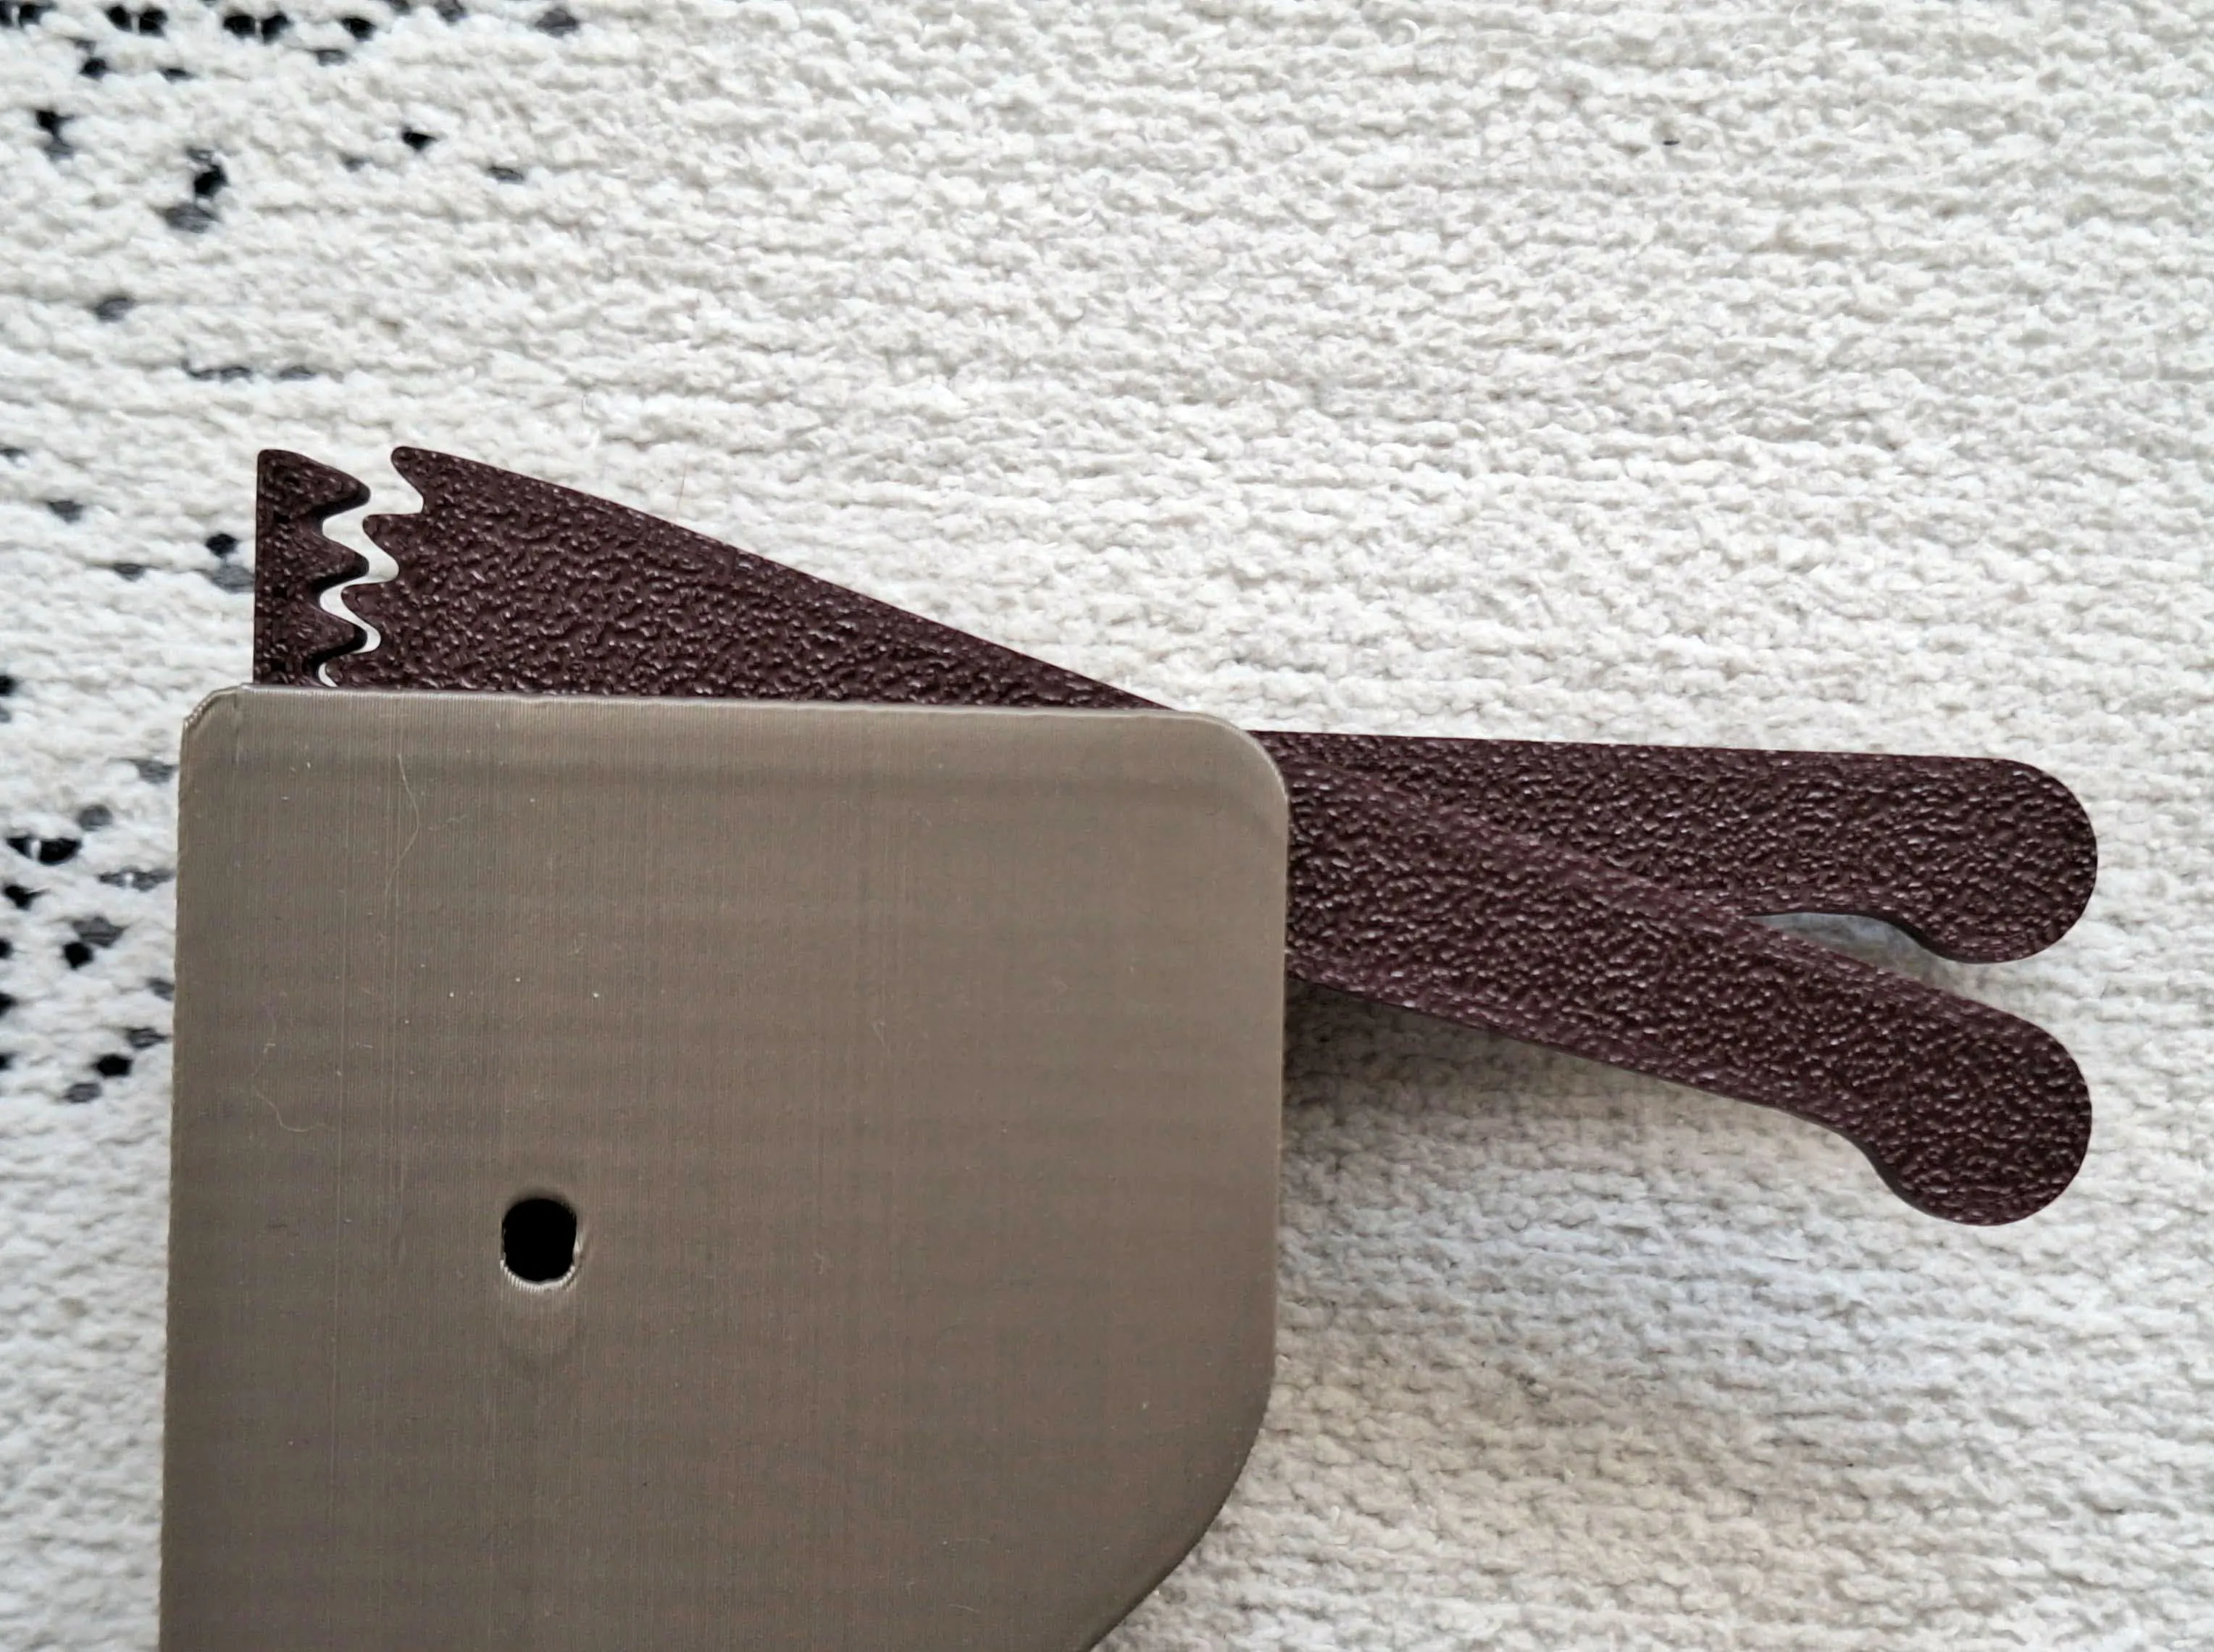
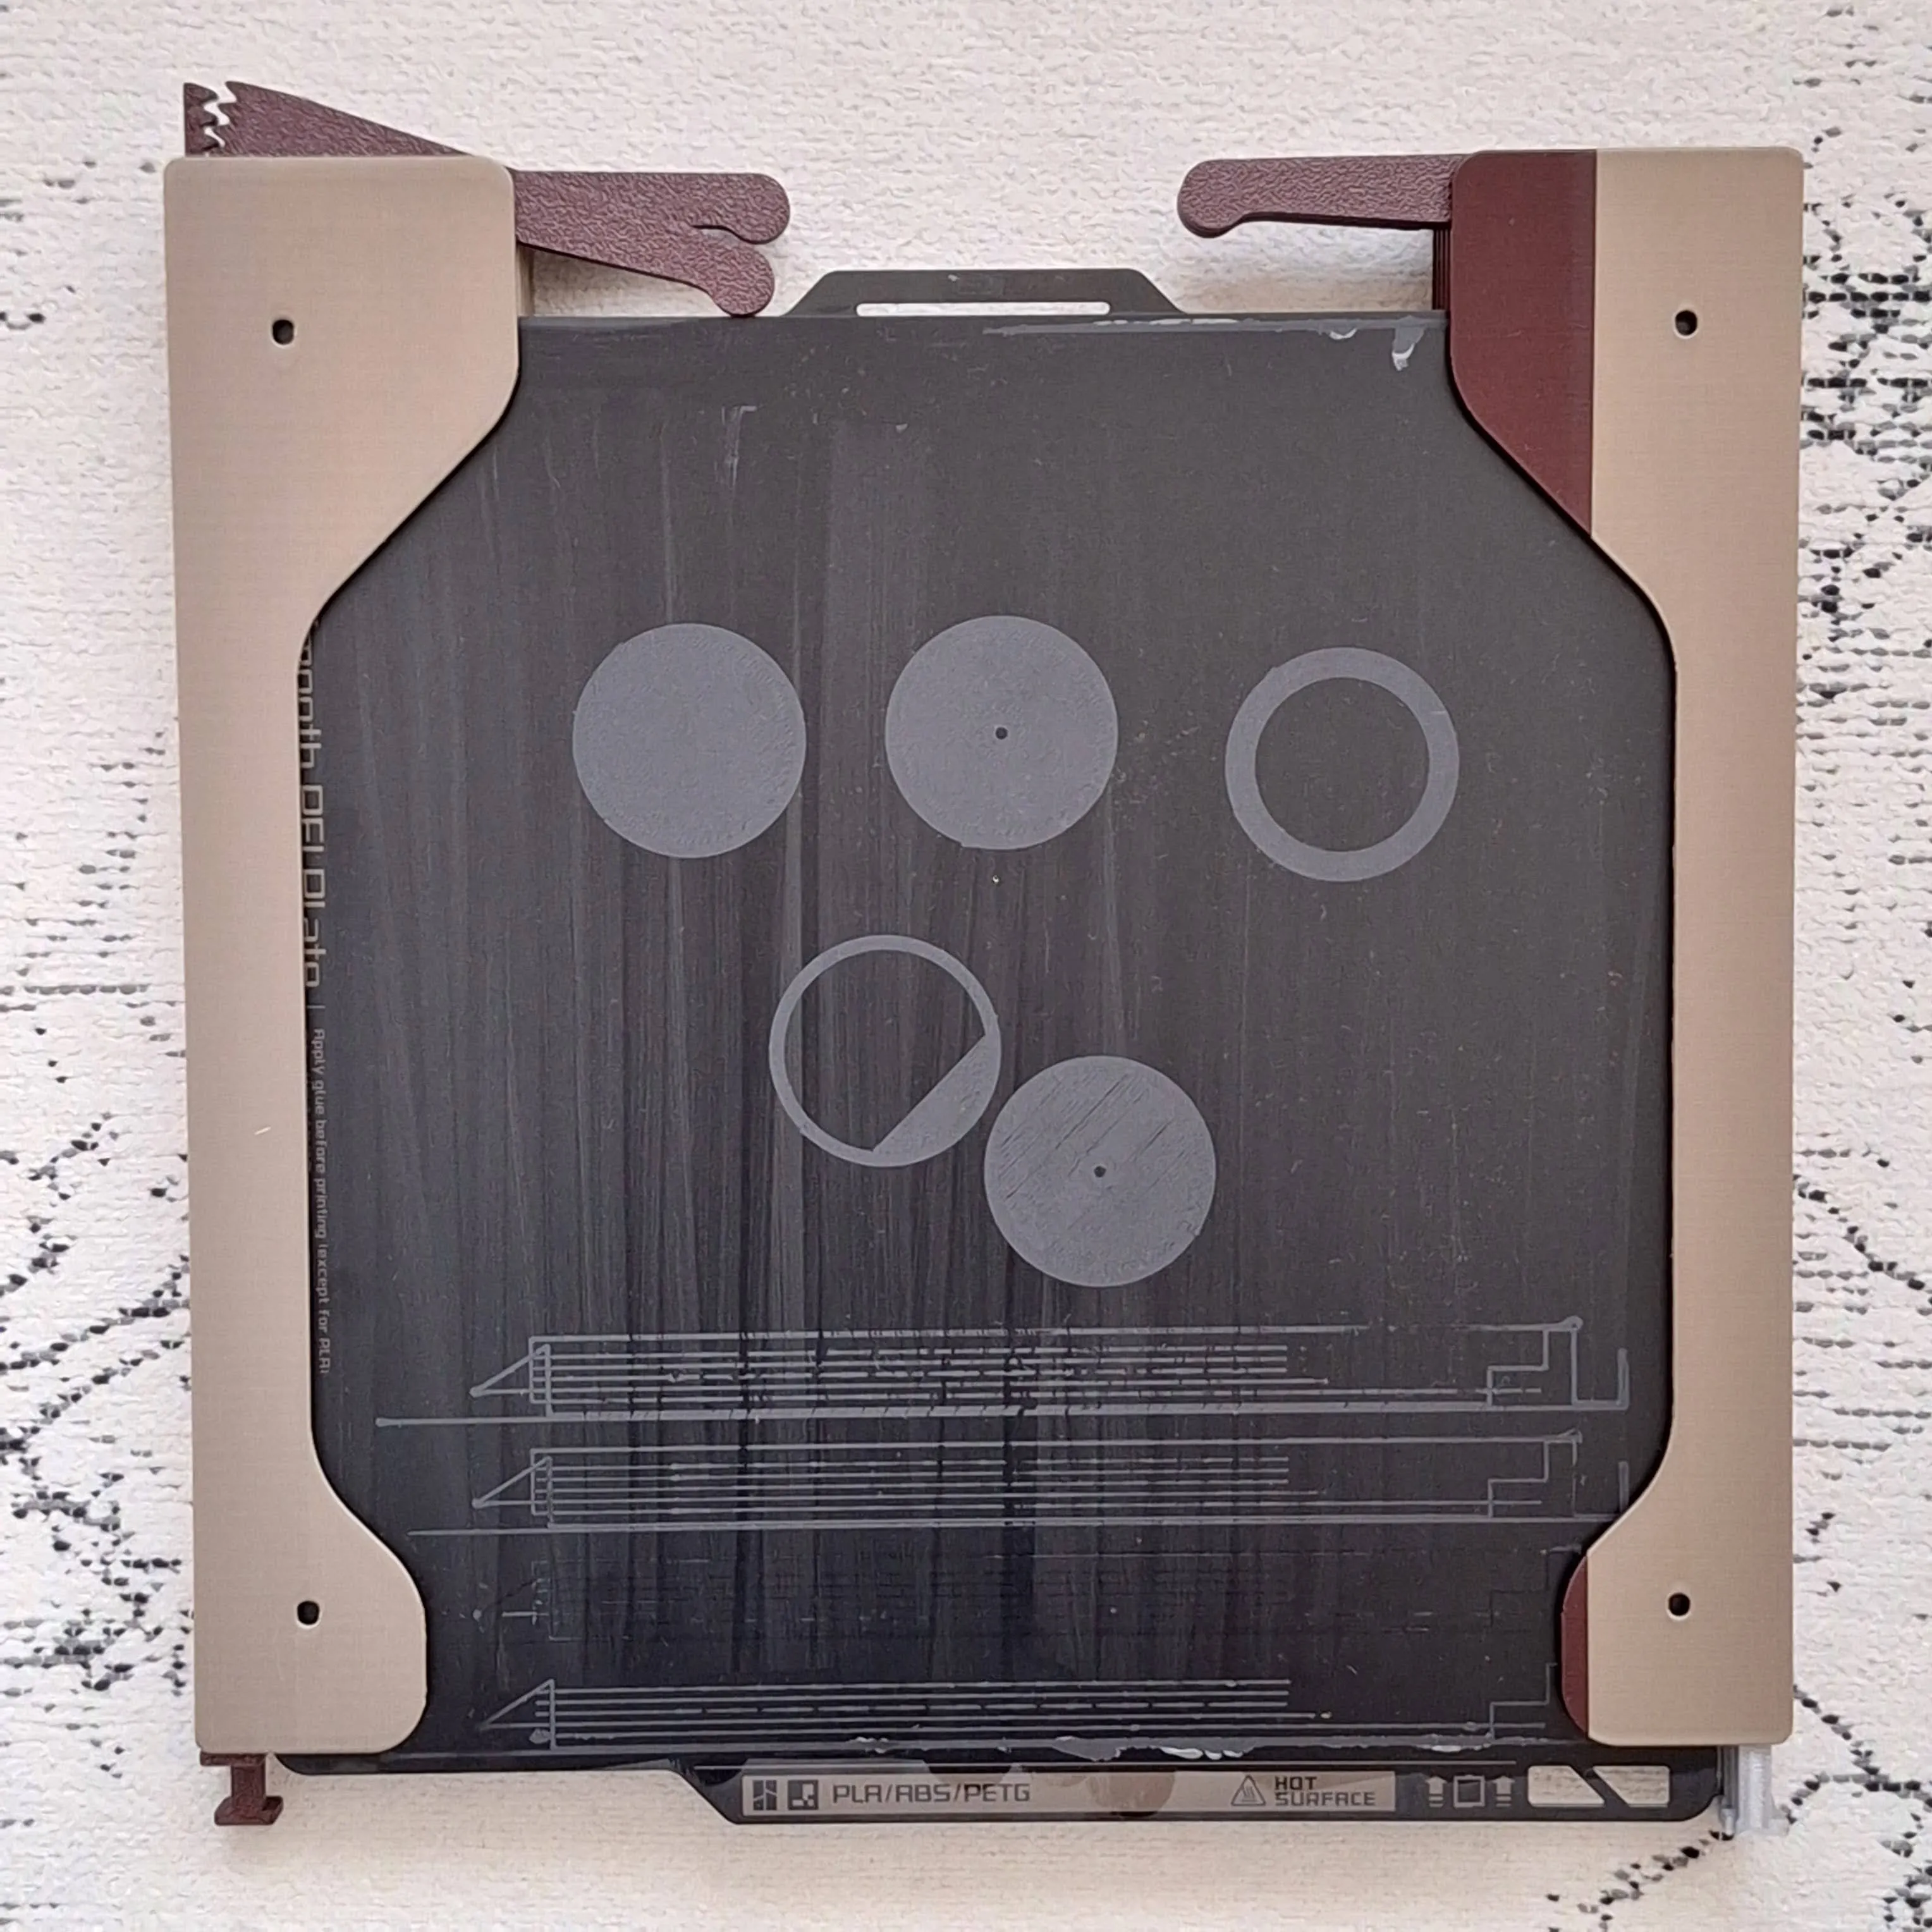
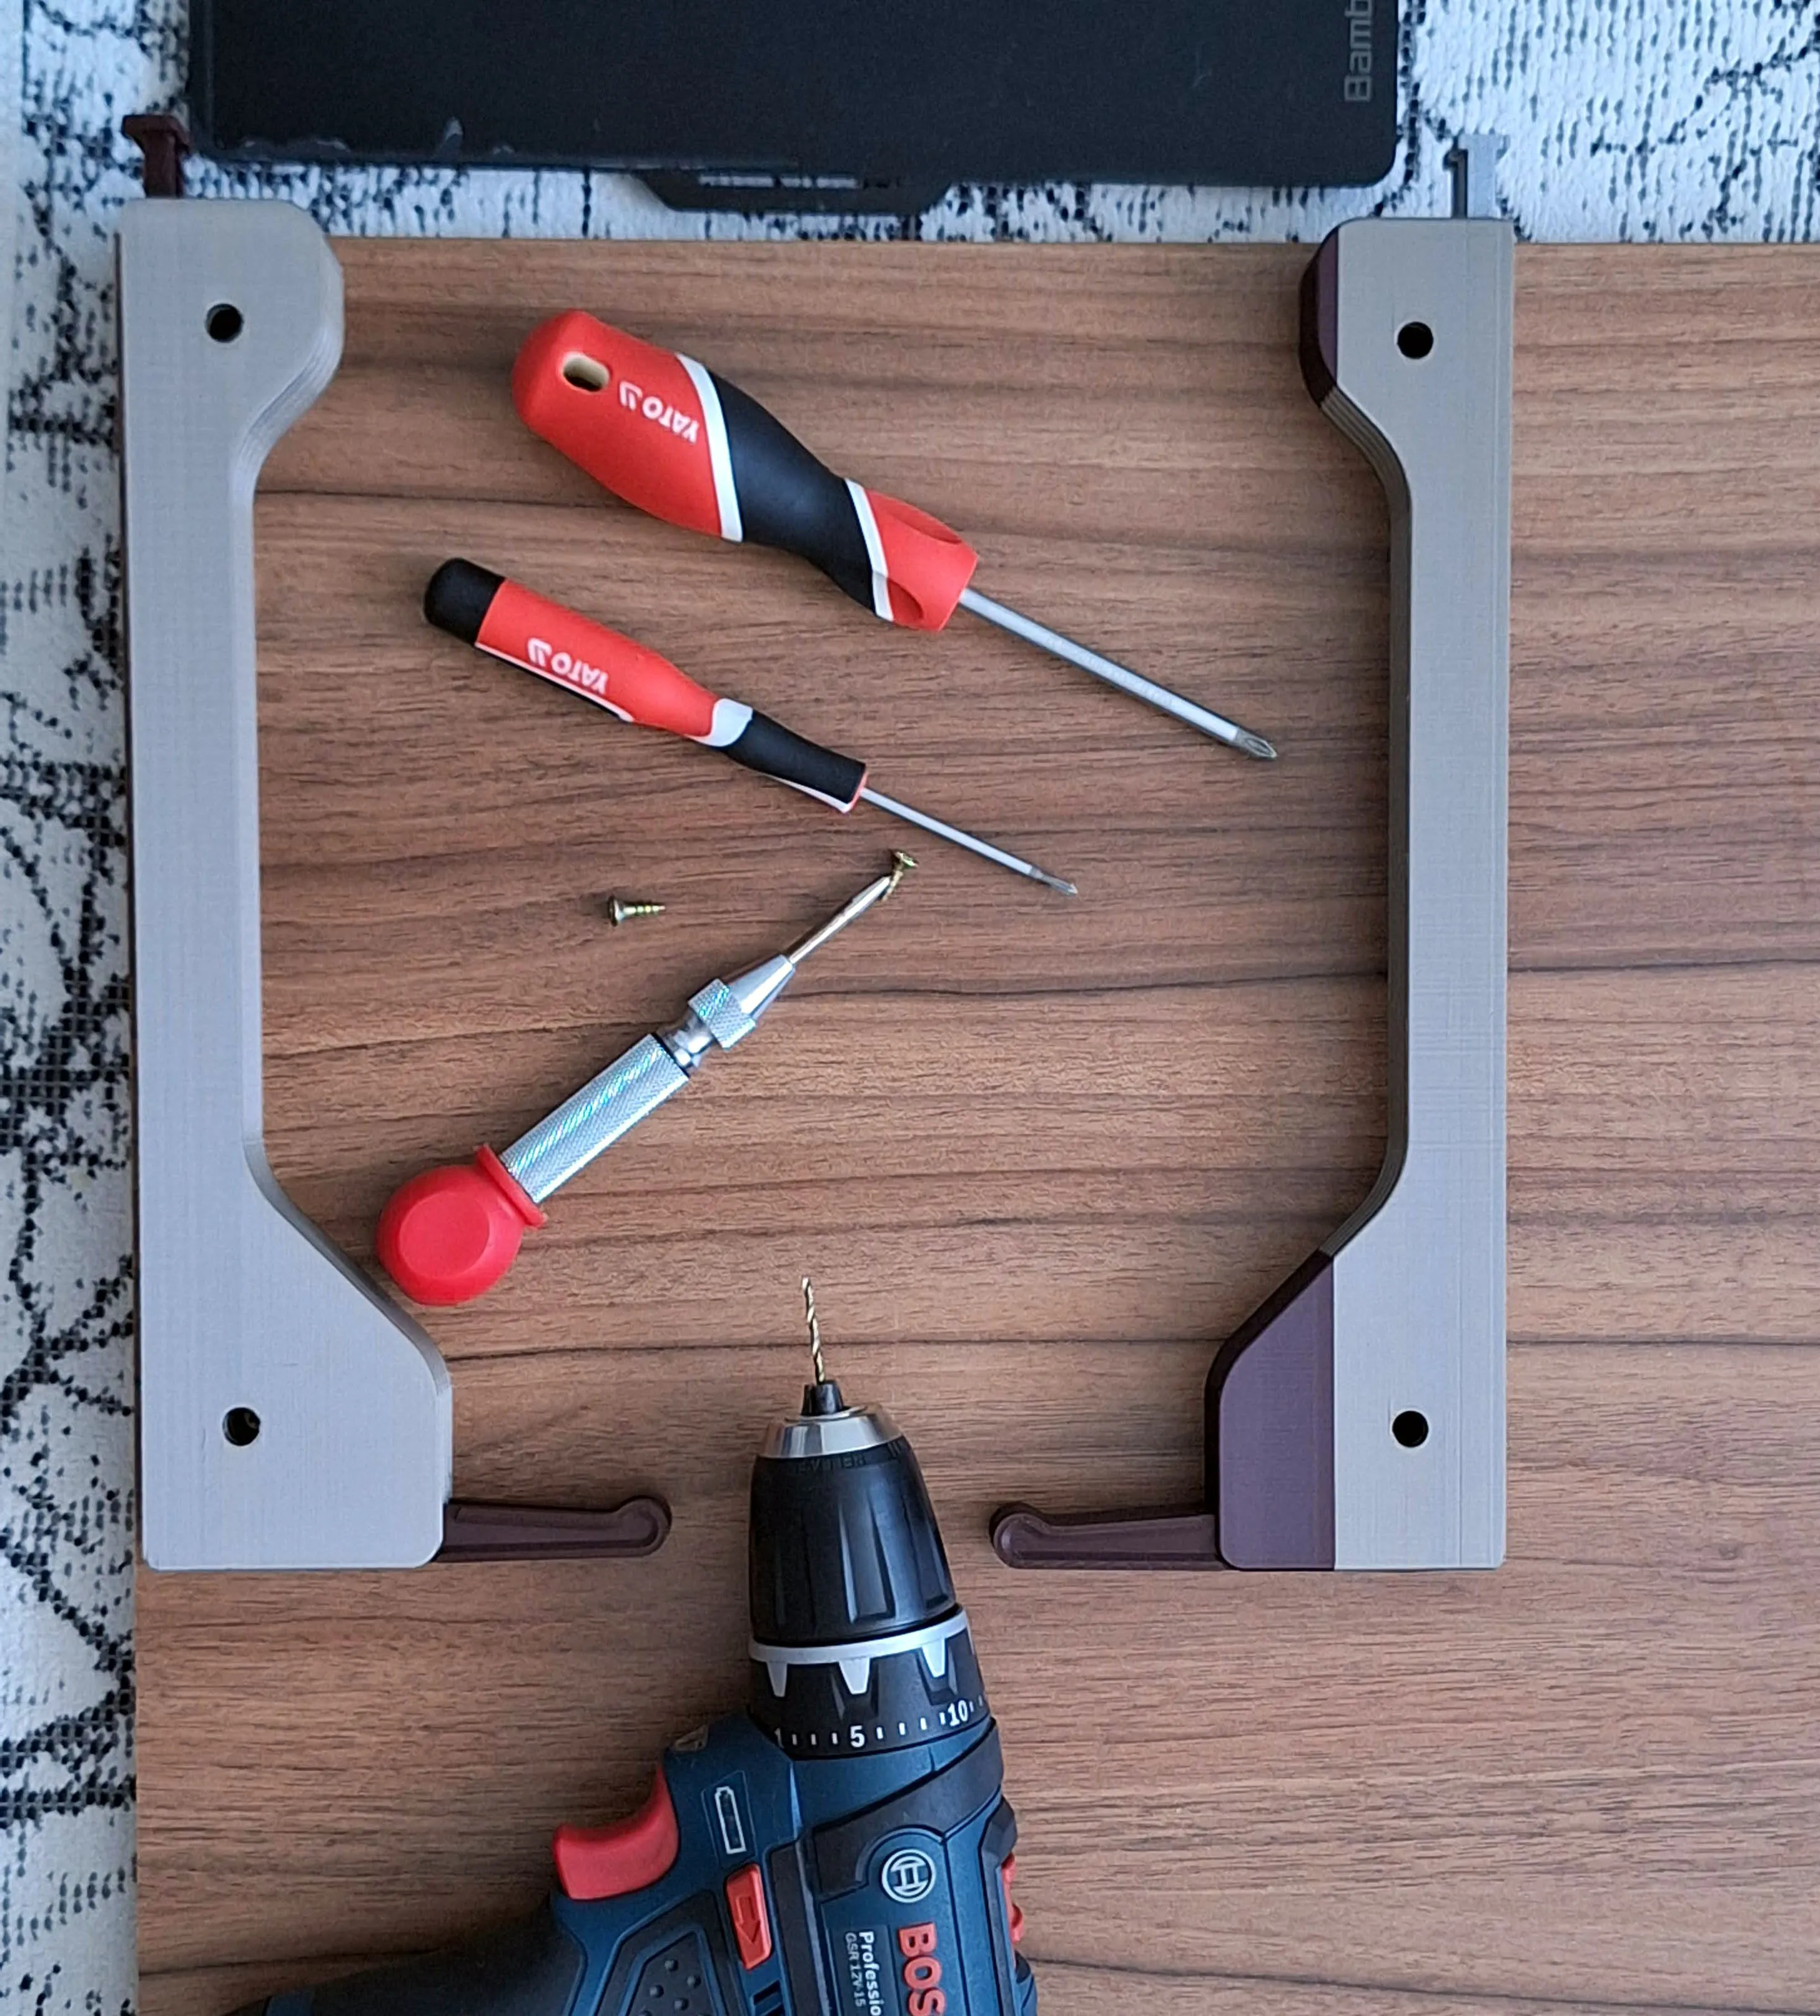
Note: The images and videos may show different versions of the X1 / A1Mini / Prusa mount. This is to illustrate the functionality.
How to print
Clean with build plate with soap / IPA / use 3Dlac to prevent the model from lifting from the base during printing.
The risk of the model lifting is when printing on a small printer, such as A1 Mini, because the model is long and is from corner to corner of the base. In addition, A1 and A1 Mini is a type of printer where the base moves, which creates drafts and increases the risk of the model lifting. The risk of lifting is further increased if the room where you are printing is drafty - just have an open window and you're already in trouble.
I am working on a solution to print without problems on the A1/A1 Mini. Until then, I do not recommend printing this model on an A1 Mini printer.
Layer: 0.2
Walls: 2
Infill: 15%
Use BRIM
Optional part - Spacer
Two makers told me that sometimes the back arm falls out when inserting the plate.
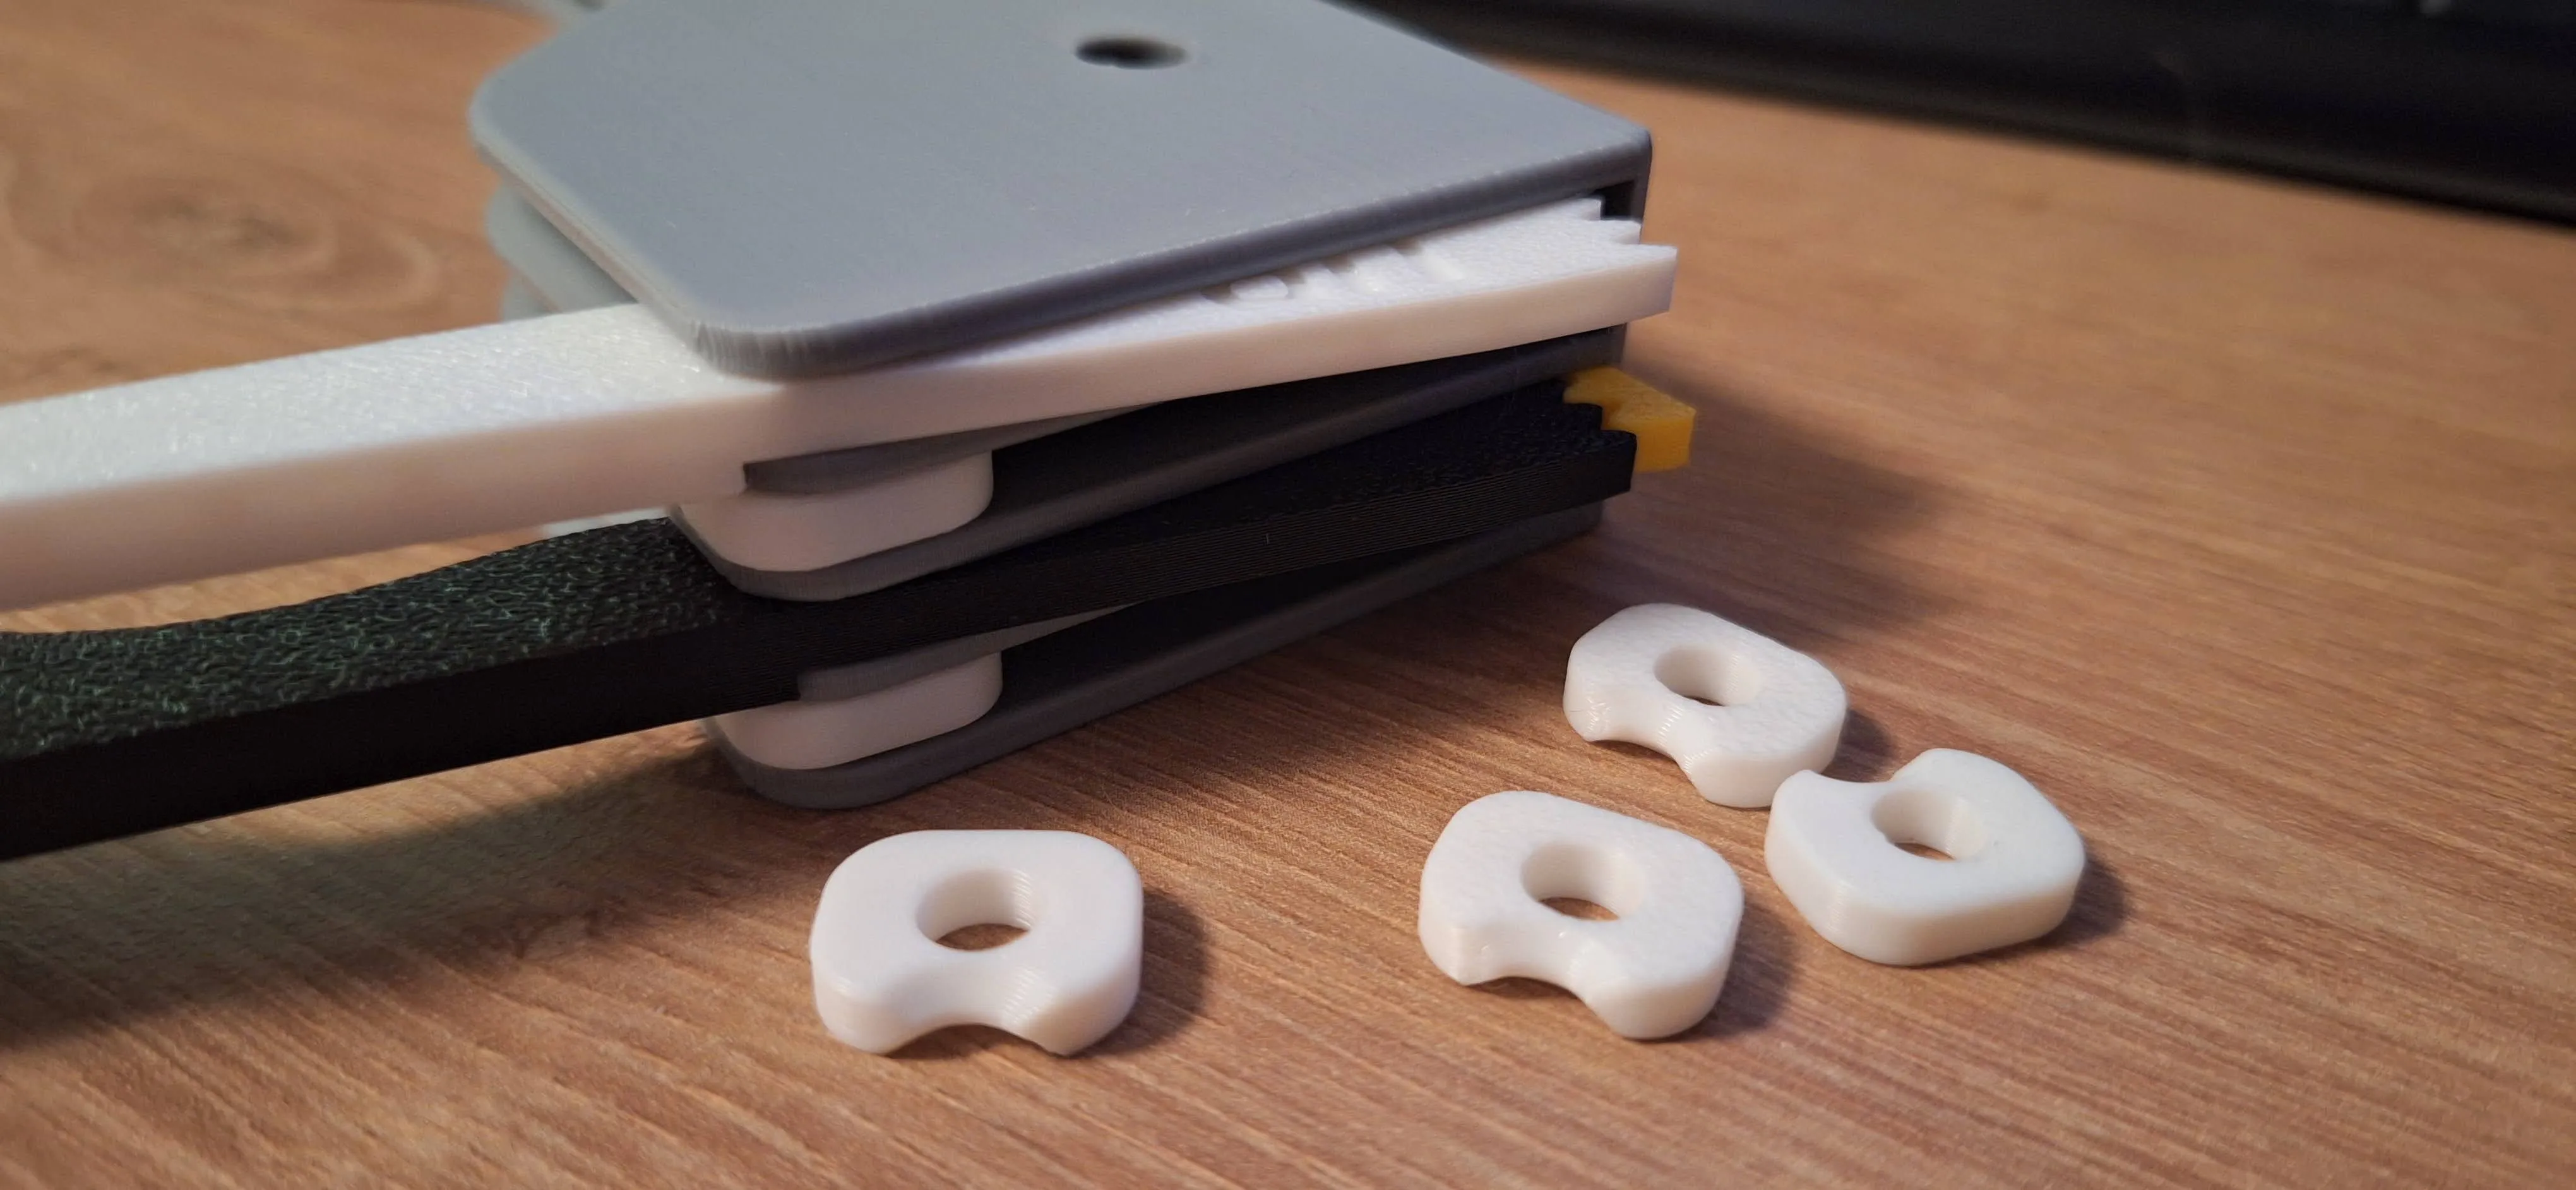
The most common reason why this happens is that some printing materials like PETG are more flexible than PLA and the individual floors of the holder will stretch slightly. If this happens to you, use a simple adjustment - 6xSpacer.
I created this simple fix. Just print it on a 3D printer and snap it into the gap between the arms at the cutout for easier insertion. The model weighs 3 grams and contains 6 pieces (for up to 6 plates holder).
Documentation (1)
License



Comment & Rating (329)