Zipper Fidget
Zipper Fidget


Print Profile(1)

Description
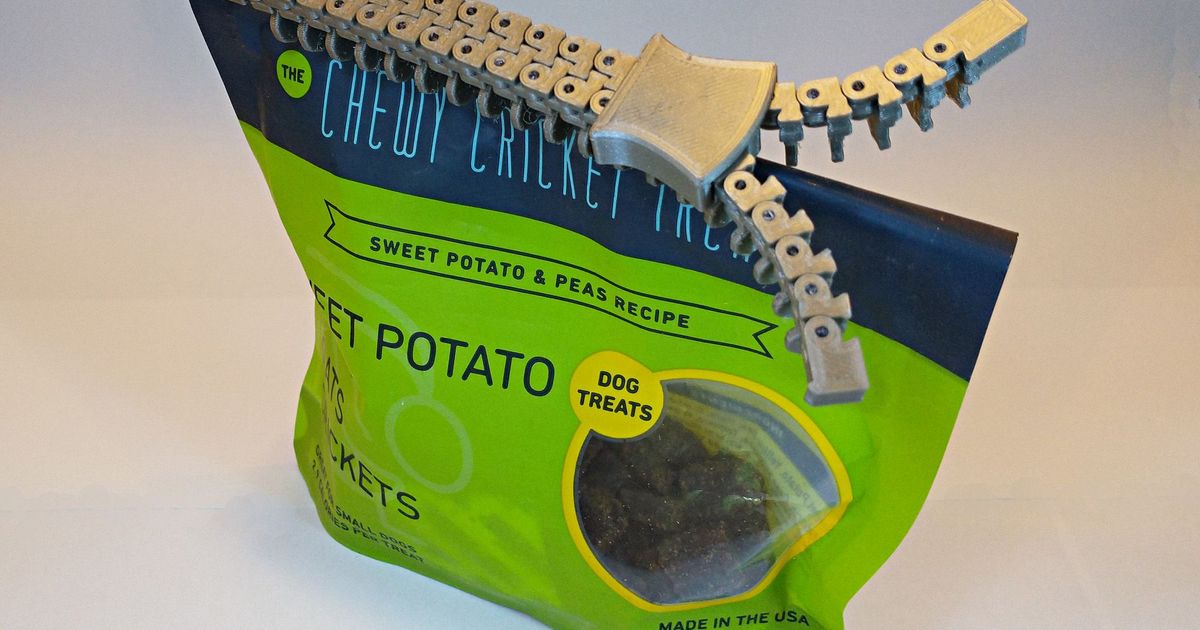
If you liked my Zippy Bag Clip, but don't want to clip bags, here is a remix that's just the zipper. I also made it a little shorter so it prints faster.
Printing
The Zipper piece consists of a base and two rows of pivoting teeth, which all print in place. It is designed for a 0.2mm vertical gap between mating surfaces, so use a 0.2mm layer thickness. Also, use 0.4mm perimeter lines for efficient printing. The Slider piece should be printed with the same settings. (Note: if you want to make the zipper longer, you can break the parts up in your slicer and then print extra lengths of links.)
Assembly
After printing the Zipper part, leave all of the parts interconnected except for the very last link on the end of each side. Break these two links free and set aside, but leave all of the other links interconnected as printed. Now, cut off 22 lengths of 1.75mm dia filament, each 6mm long. (The two links you've set aside are 6mm thick and can be used as a cutting guide.)
Using needle nose pliers, start to insert each link into the top hole of each joint. The pins slide freely into the top half of the yoke, but press into the center portion of the joint. I used a 3mm diameter rod and a tap hammer to set each pin in place. Place the zipper on a hard, flat surface and tap each pin in until it is flush with the bottom. (It's OK if the pin sticks out the top by a little bit.)
With all the pins in place, you can now break each joint free. There's a not a lot to grab onto, so you'll need to carefully grab each tooth with needle nose pliers and give it a little twist. With all the joints broken free, you can now manually mesh the two halves of the zipper together all the way to the end. Now slide the Slider piece over the end and force the two sides of the zipper back apart.
Finally, re-assemble the last two end-links that you set aside using two more hinge pins. These end pieces have a tiny stop built-in to keep the slider from running off the end of the zipper.
Here's a video of the assembly process: