Locking Gift Box
Locking Gift Box


Print Profile(2)


Description
Hang these gift boxes up on your tree for decoration, and then pass out the keys when it's time to open presents! The cylinder lock is re-keyable with up to 256 unique combinations, so you can give a different key to each family member. Great for cash, jewelry or other small presents.
I've included 4 different versions of the box: with and without the hanger loop, and with and without the dragon skin texture. The versions without the dragon skin can be easily customized with text or other embossed graphics using PrusaSlicer 2.7.
The cylinder lock itself is a nice demonstration of how pin tumbler locks work, but it does take a little patience and a steady hand to assemble. The lock uses 4 sets of tumbler pins, which come in 4 different lengths, to give you 256 different lock/key combinations. There is also a set of key pins that will determine which combination of tumbler pins you need to use. Note that you will need one thin rubber band to complete the lock assembly.
Printing
I printed all parts in PLA with 0.2mm layers. No supports are needed. Print one set of lock parts and just one of the 4 different boxes.
Lock Assembly

First note that there are pins that go in the key and pins that go in the lock. You can put any length key-pin in any slot in the key to set your particular lock combination, but one you pick a key-pin for a slot, you must use the 1st and 2nd lock pins from the same row shown in the photo.

Press each key-pin into one of the slots numbered 1 through 4. Make sure that the pins are pushed all the way down to the bottom of each slot. They should be a pretty snug fit.

Place the lock face on the table in front of you in the orientation shown with the inside notch away from you.

Now insert the latch rotor in the orientation shown.

Insert the 1st set of lock pins in the 4 slots. The 1st lock pins for each slot should match the key-pins for the same numbered key slot above.

Insert the 2nd set of lock pins on top of the 1st set of pins. Note that the four stacks should all have the exact same height.

Take your thin rubber bans and lay it into the grooves in the lock back piece. Any extra loop of rubber bans should align with the slot by the little nub on the other side.

Push the extra bit of rubber band down into the 5th slot.

If you've got a really short rubber band (like mine), pull the slack end up through the slot and loop over the nub. If you've got extra length of rubber band, just pull it through, but don't worry yet about looping it over the nub.

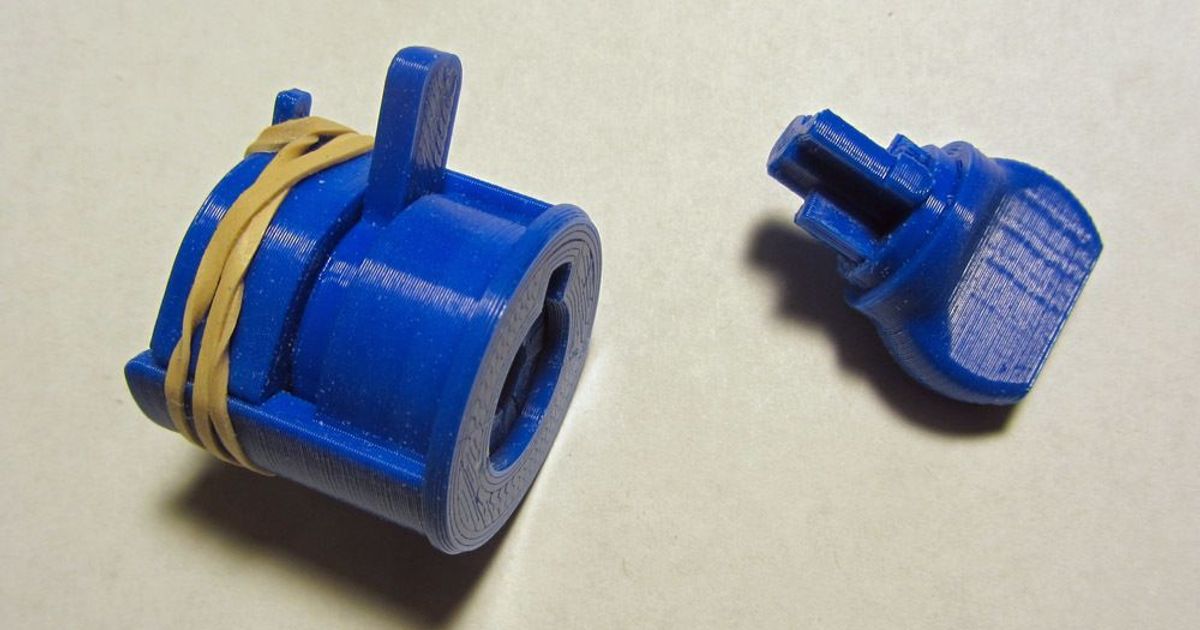
Carefully place the back piece with the rubber band over the ends of the lock pins and click into place. The rubber band sections across the gaps on the inside will stretch and push downward on the ends of the stacks of pins.

Finally, press the clip piece over the ends of the flexy fingers. This keeps the back piece from working loose during operation. The clip should be a snug friction fit, but if it is loose, either scale it down by a percent to to and reprint, or just use a couple drops of superglue to hold it in place. At this point, if you've got a longer rubber band, just wrap the extra length a few times around the body of the lock.

Test your lock by inserting the key as shown and turning it. A drop of oil in the gap between the back piece and the lock face (where the latch roto is) will help smooth out the operation.