
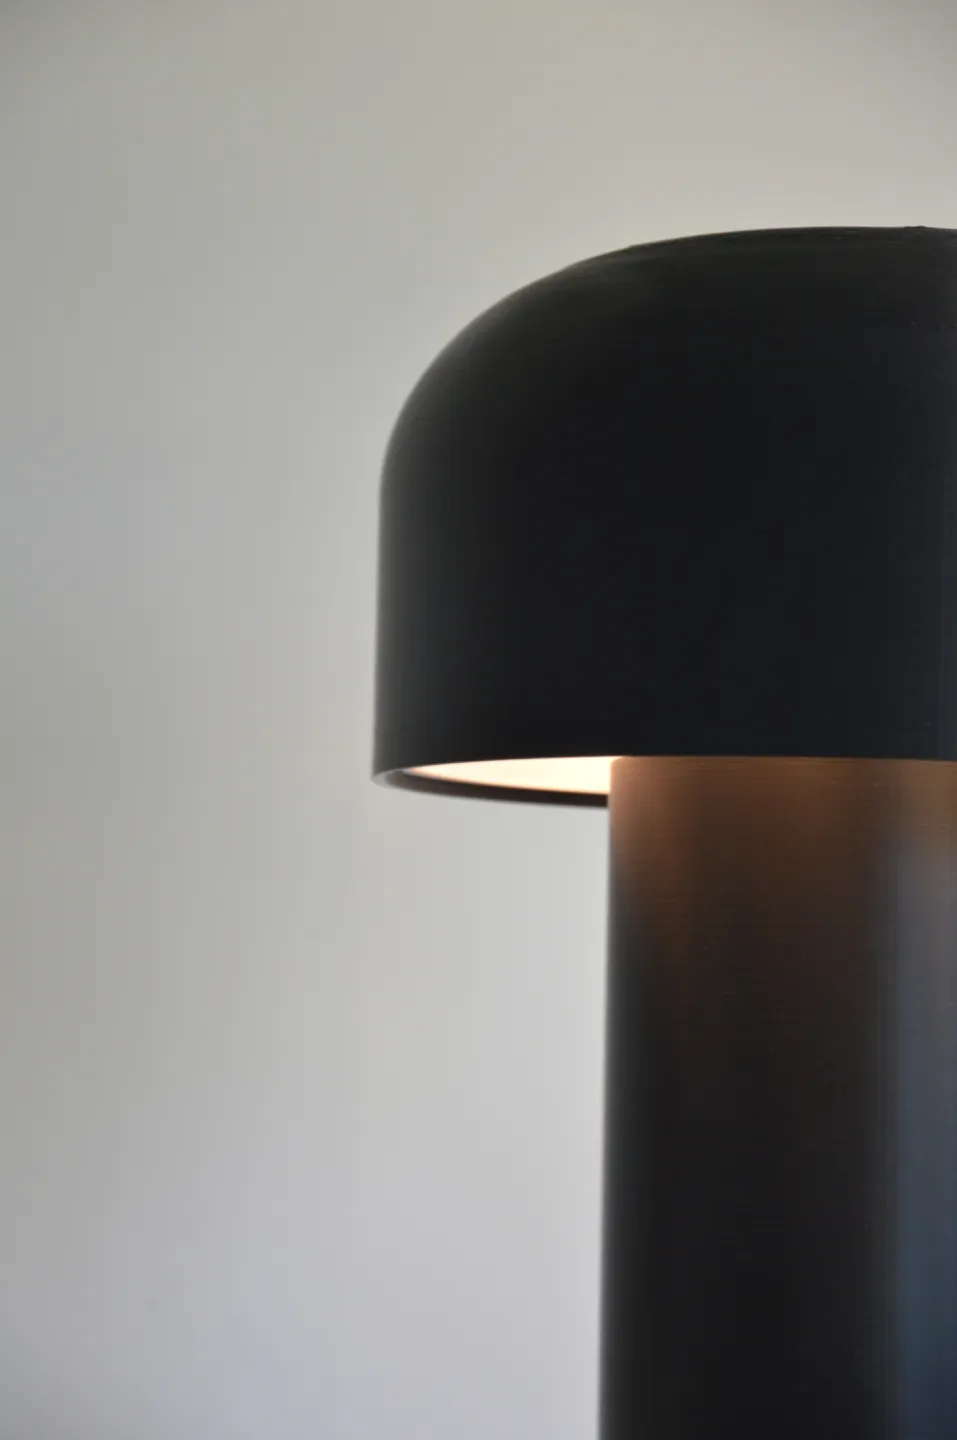
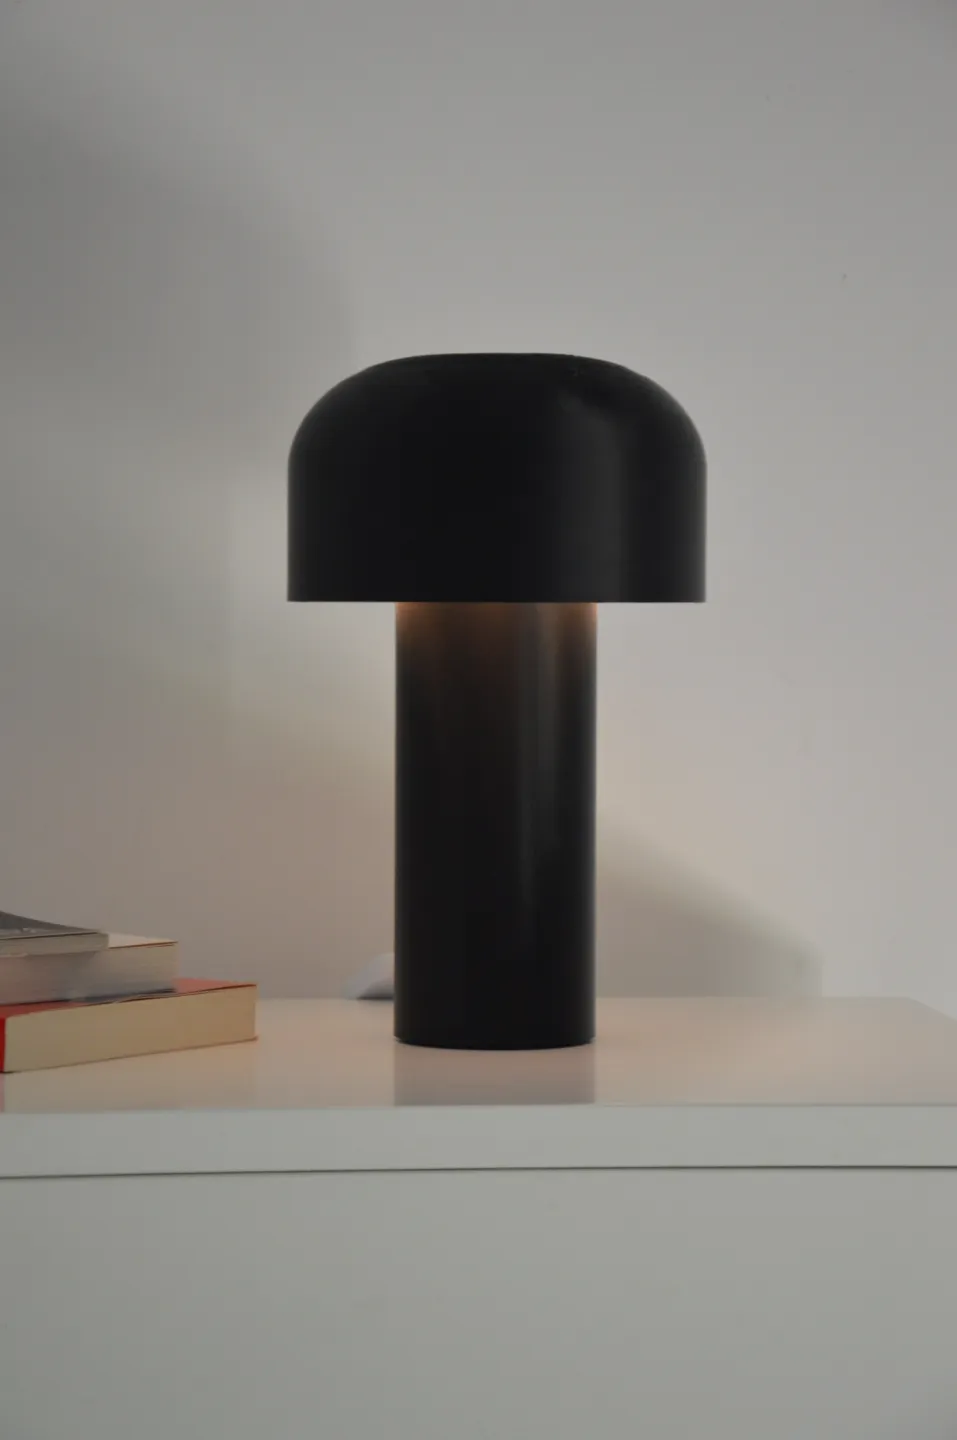
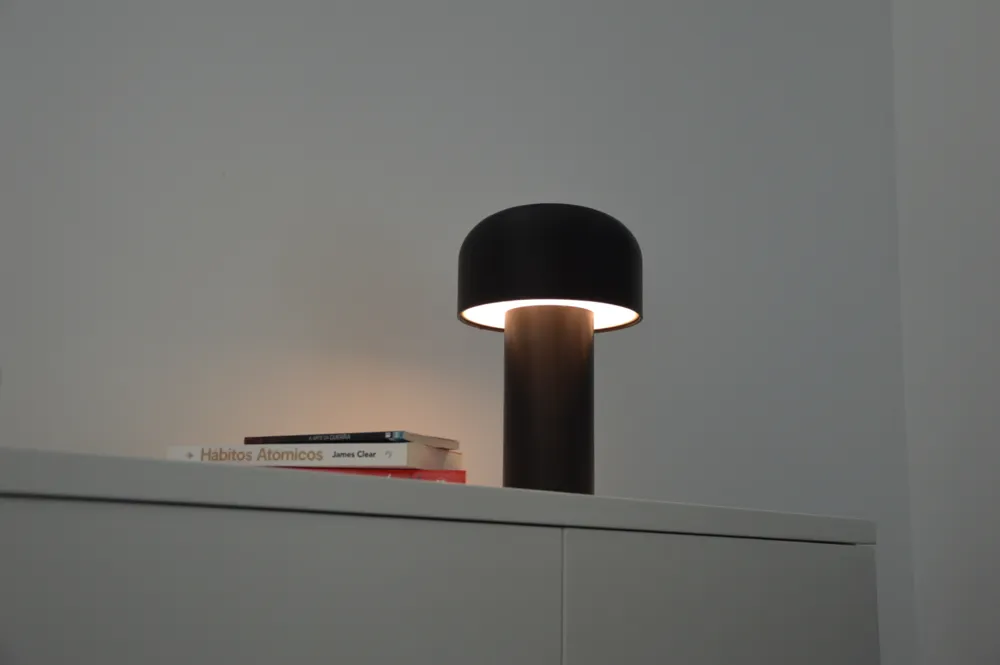
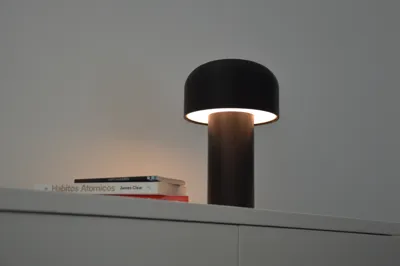
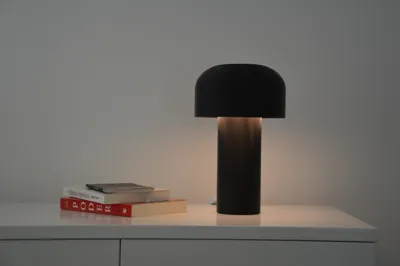
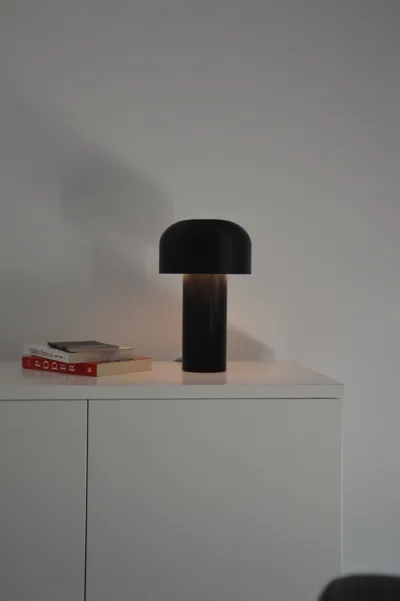
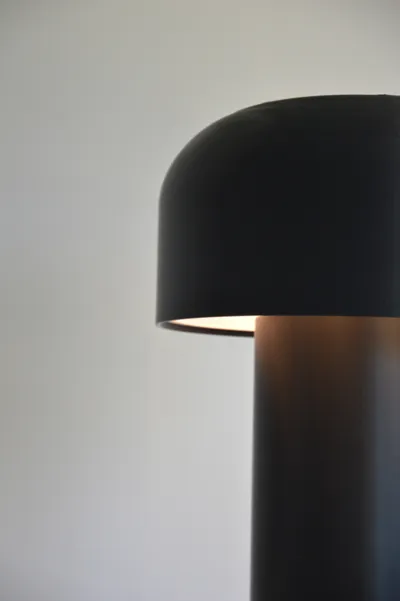
Sunshade - Table Light
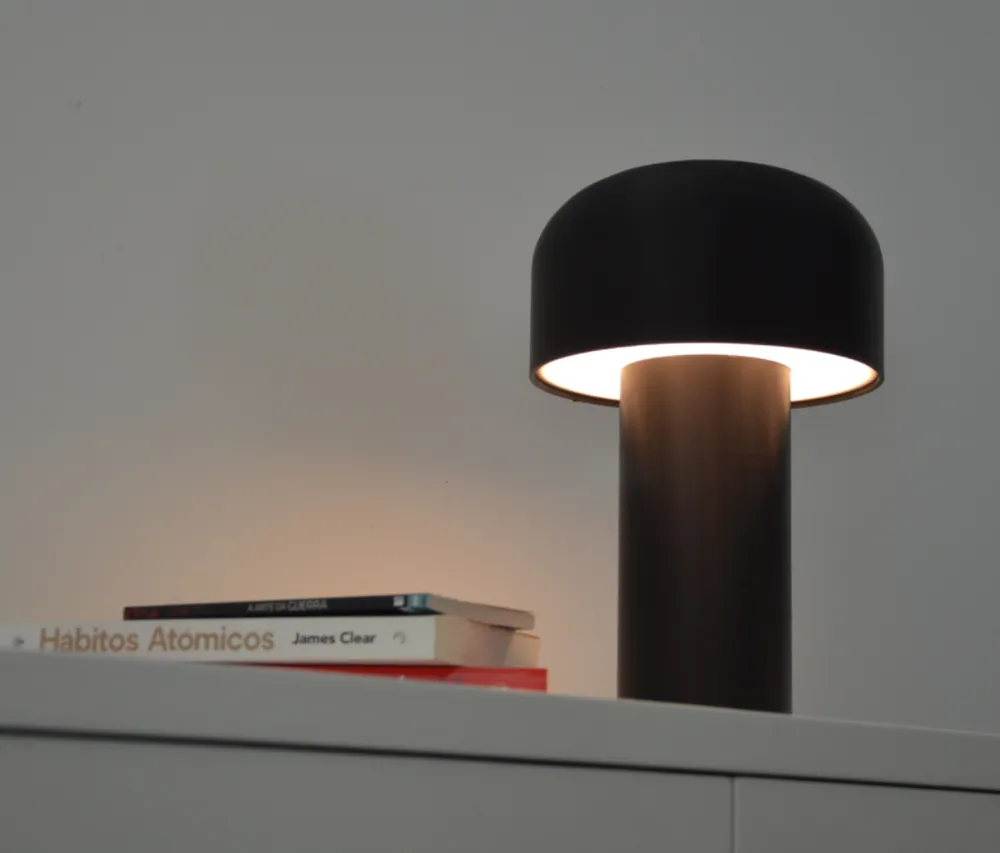
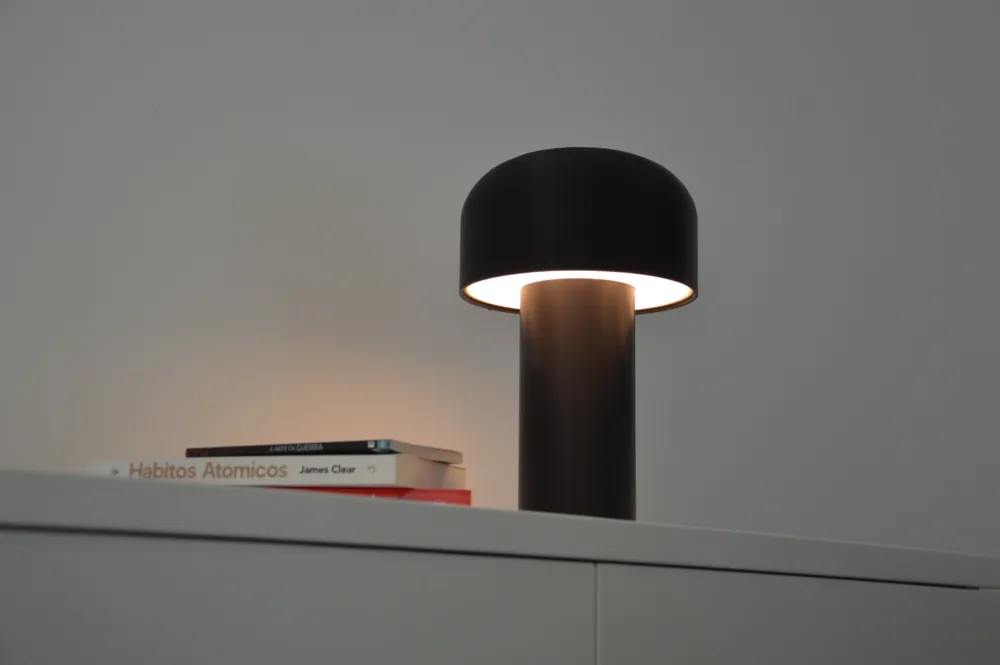
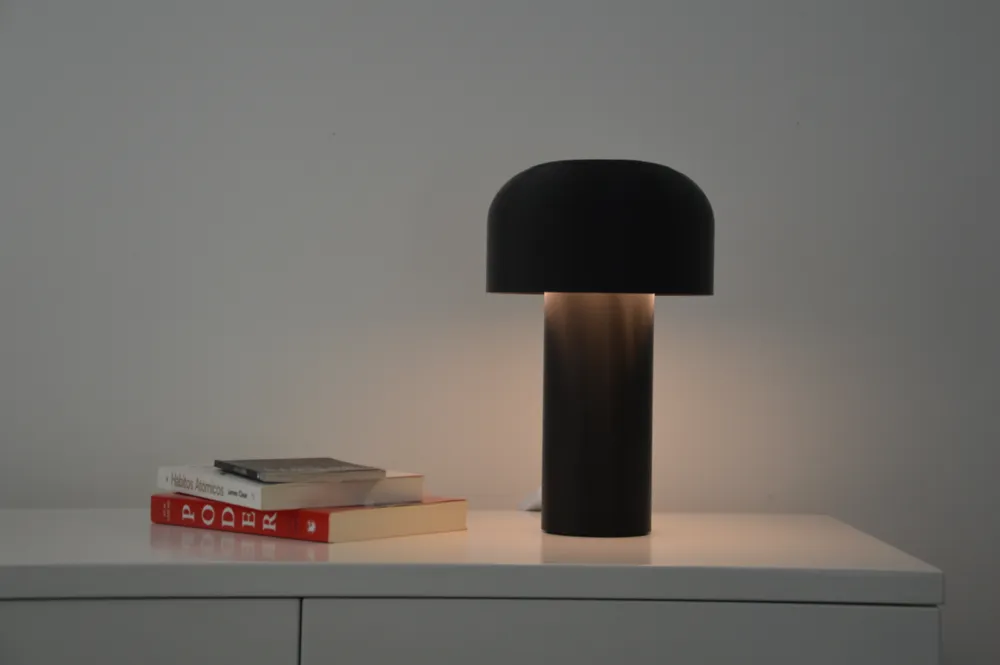
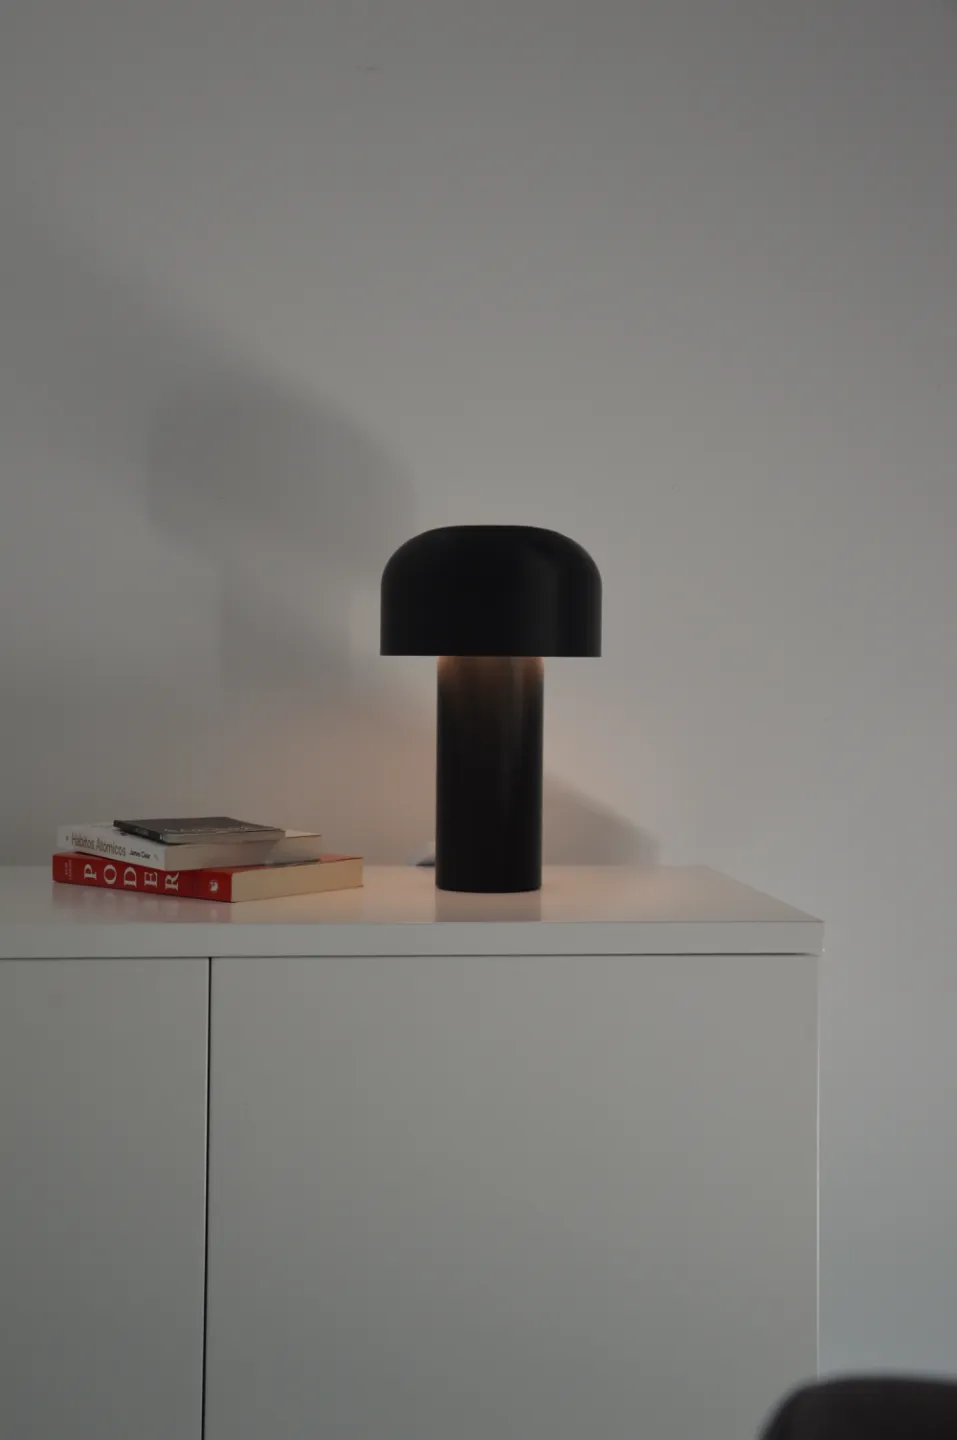
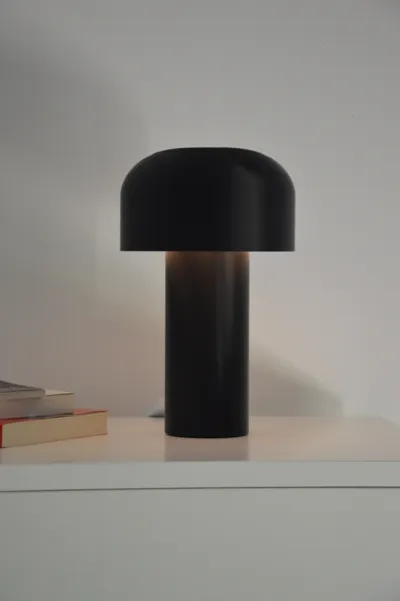
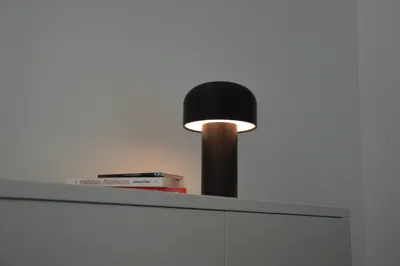
Print Profile(1)

Description
Boost Me (for free)
Simplified Manual: Table Lamp Assembly
Introduction
Thank you for choosing my table lamp! Follow the steps below to quickly assemble the product. If you have any questions, feel free to contact me.
Components
- Printed Parts
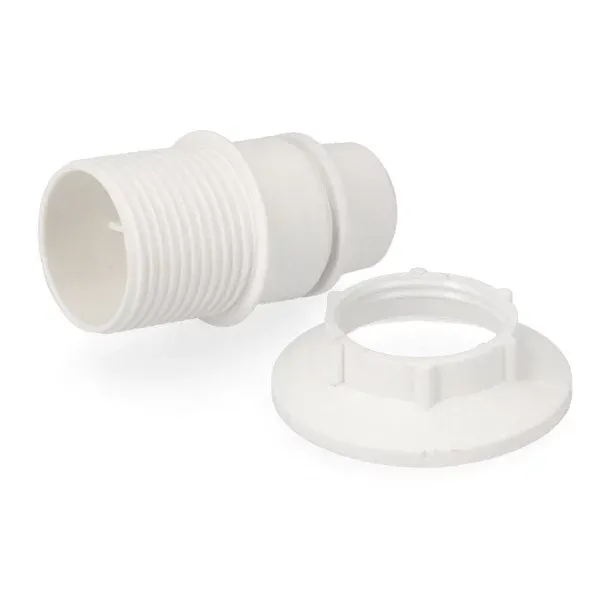
- E14 Socket
E14 Bulb
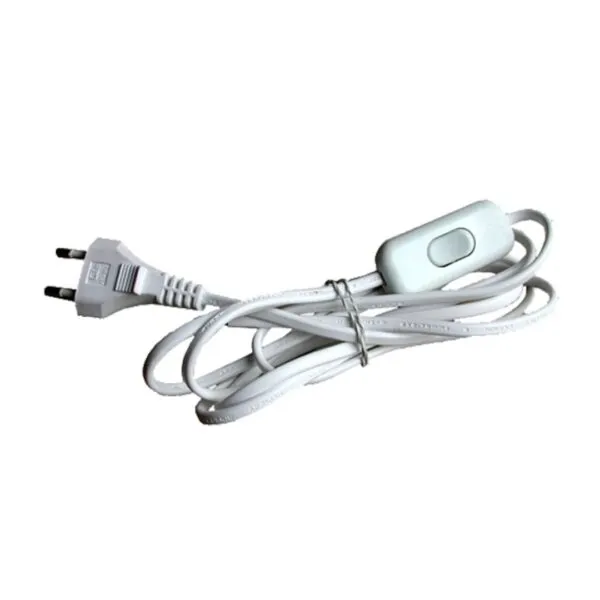
Power Cable with Plug
Assembly
- Prepare the Body: Make sure all the parts are available and remove the brim. Locate the holes for the cable and socket on the lamp body.
- Insert the Cable: Pass the cable through the bottom hole up to the top.
- Attach the Socket and Diffuser: Connect the socket to the cable. Pass it through the top hole and use the socket fastener to secure both the socket and the diffuser.
- Attach the Base: Screw the base onto the bottom of the lamp body and tighten it well.
- Install the Bulb: Insert the bulb into the socket and screw it in until it is firmly in place.
- Add the Lampshade: Screw the lampshade onto the socket.
Finalization
Plug the lamp into a power outlet and test its functionality.
Share Your Project
Send a photo and share your printed lamp with me so I can see the chosen colors and appreciate your work!
License

You shall not share, sub-license, sell, rent, host, transfer, or distribute in any way the digital or 3D printed versions of this object, nor any other derivative work of this object in its digital or physical format (including - but not limited to - remixes of this object, and hosting on other digital platforms). The objects may not be used without permission in any way whatsoever in which you charge money, or collect fees.


Comment & Rating (4)