
Microsoft Windows Folder Wallet
Print Profile(1)

Description
Brief description
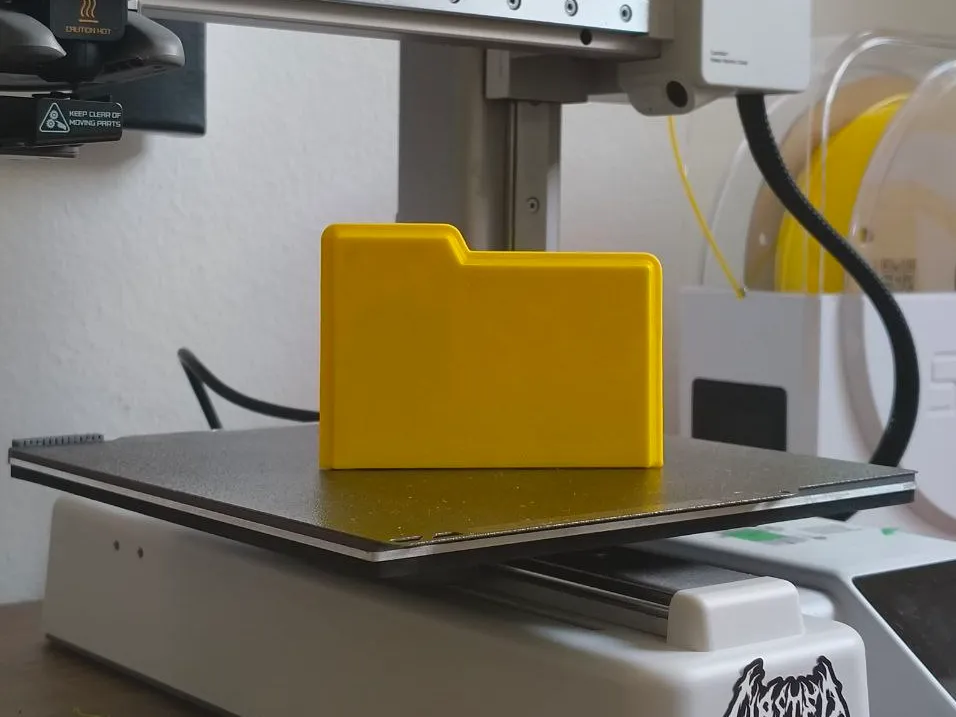
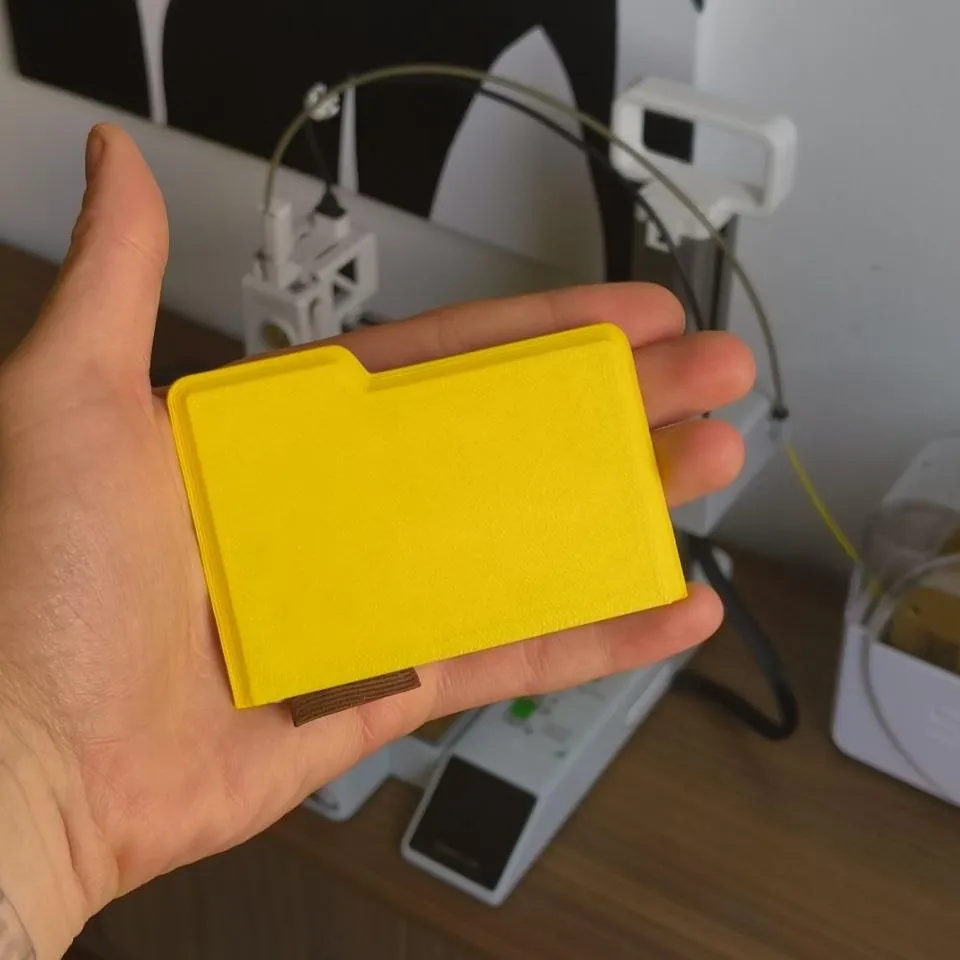
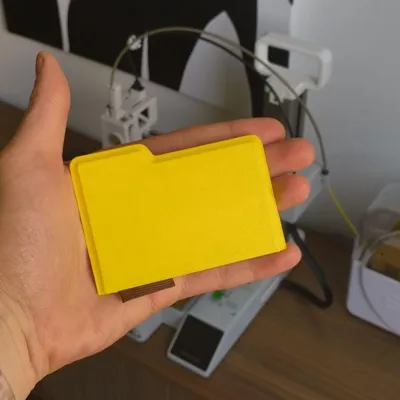
This is a simple design for a wallet/cardholder based on the iconic Microsoft Windows folder design.
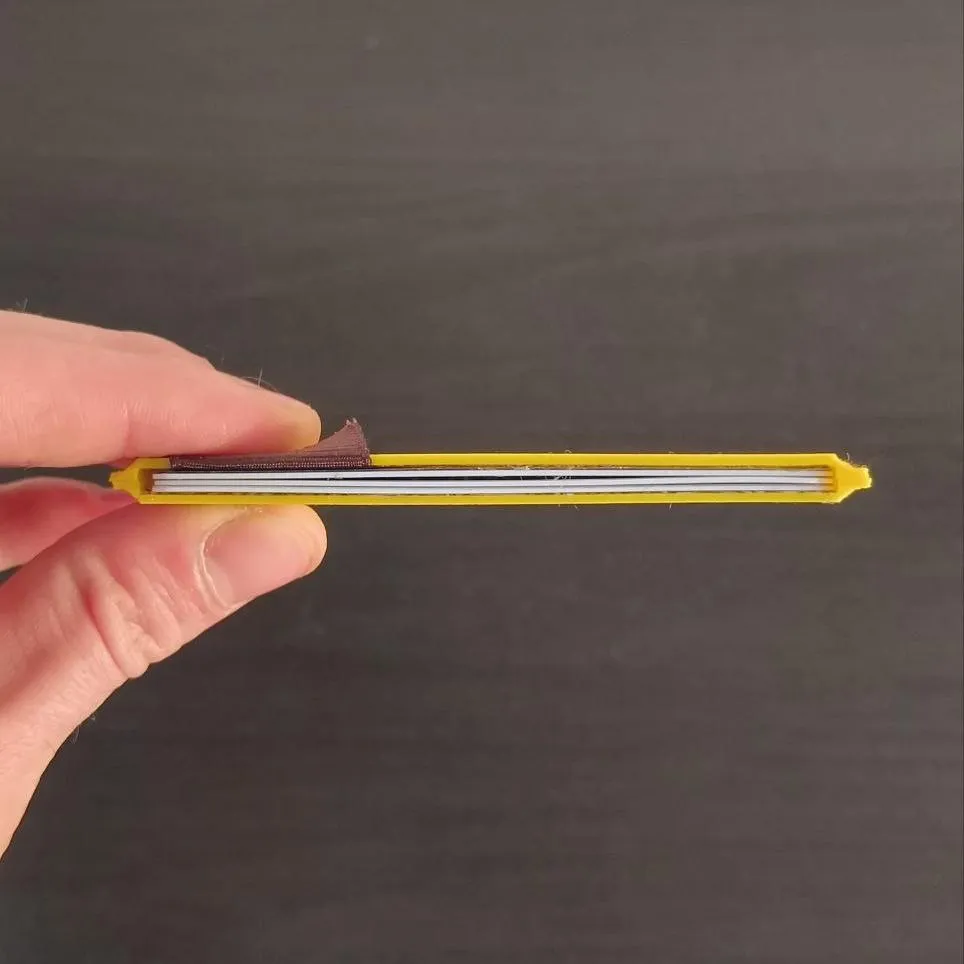
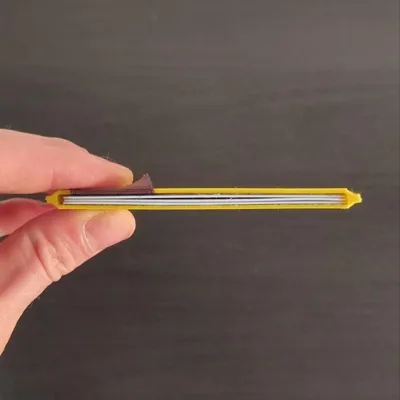
It's made out of two 3D printed shells that are glued together with the addition of a fabric tab to pull out the cards.
This wallet can hold 3-4 cards, see the assembly instructions for further informations.
3D Printing settings
Pretty straight forward, the two components should be positioned directly on the print bed, with the inside side facing upwards.
I personally used brim, supports and the standard 0.2mm layer height for the 0.4mm nozzle.
Printed in Matte yellow PLA
Assembly Instructions
- Remove the supports and the excess plastic (optional: a quick round of sandpaper all along the borders)
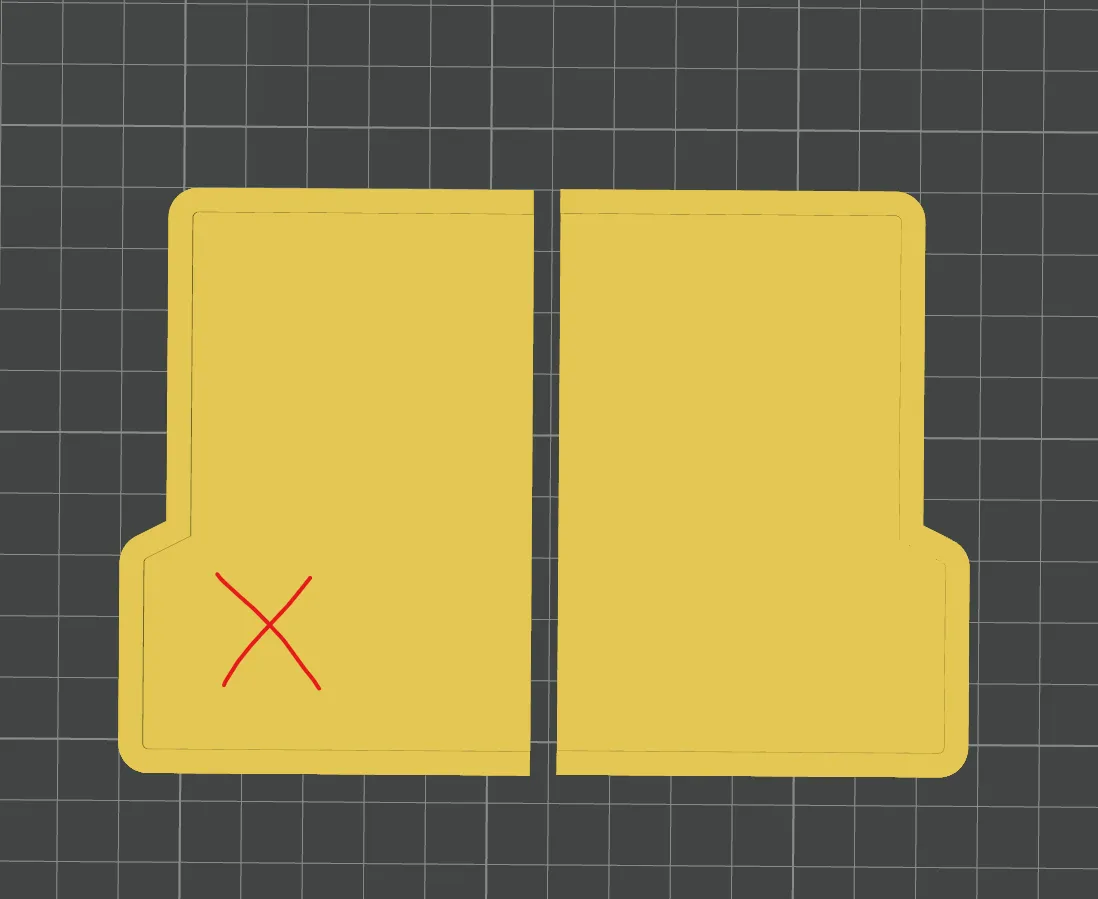
Use the red cross in the image below as a general idea on where to superglue the fabric tab. On the second image you can see the correct positioning. Be generous with the lenght of the tab, as you will measure it and cut it later.
NB. For the fabric choice I suggest to go on a very thin yet strong piece of fabric, as the volume inside the wallet will be very tight to prevent the cards from falling out. The amount of cards that this wallet can hold will depend on the choice of fabric.
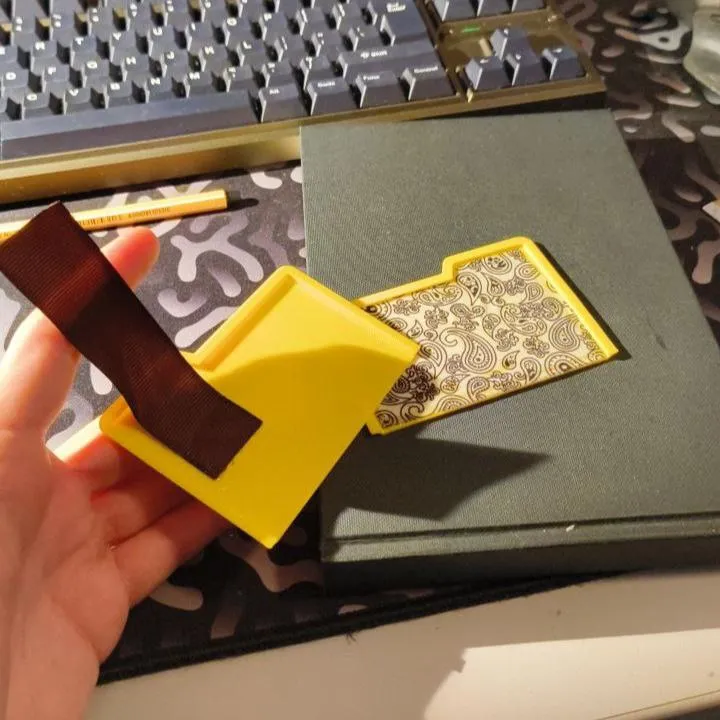
- Fold the tab to the bottom part of the wallet as shown below. You can temporary fix it by applying some tape.
- (optional): Assemble the two parts of the wallet using tape to ensure the correct application of the fabric tab, as well as the number of cards that the wallet can hold (should 3-4 depending on your fabric choice).
- Apply superglue all along the shell border and glue together the two pieces.
- Enjoy!
License



Comment & Rating (1)