
Infinite Marble Loop
Print Profile(1)

Bill of Materials



Description
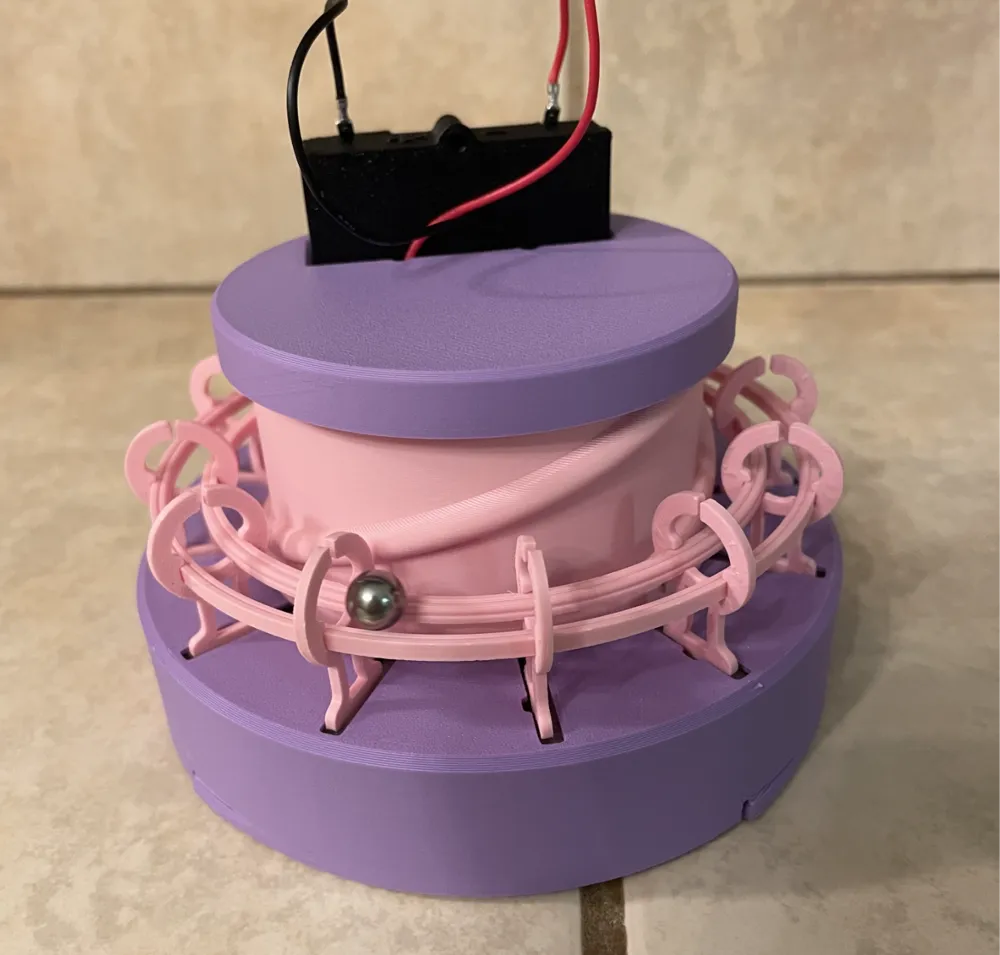
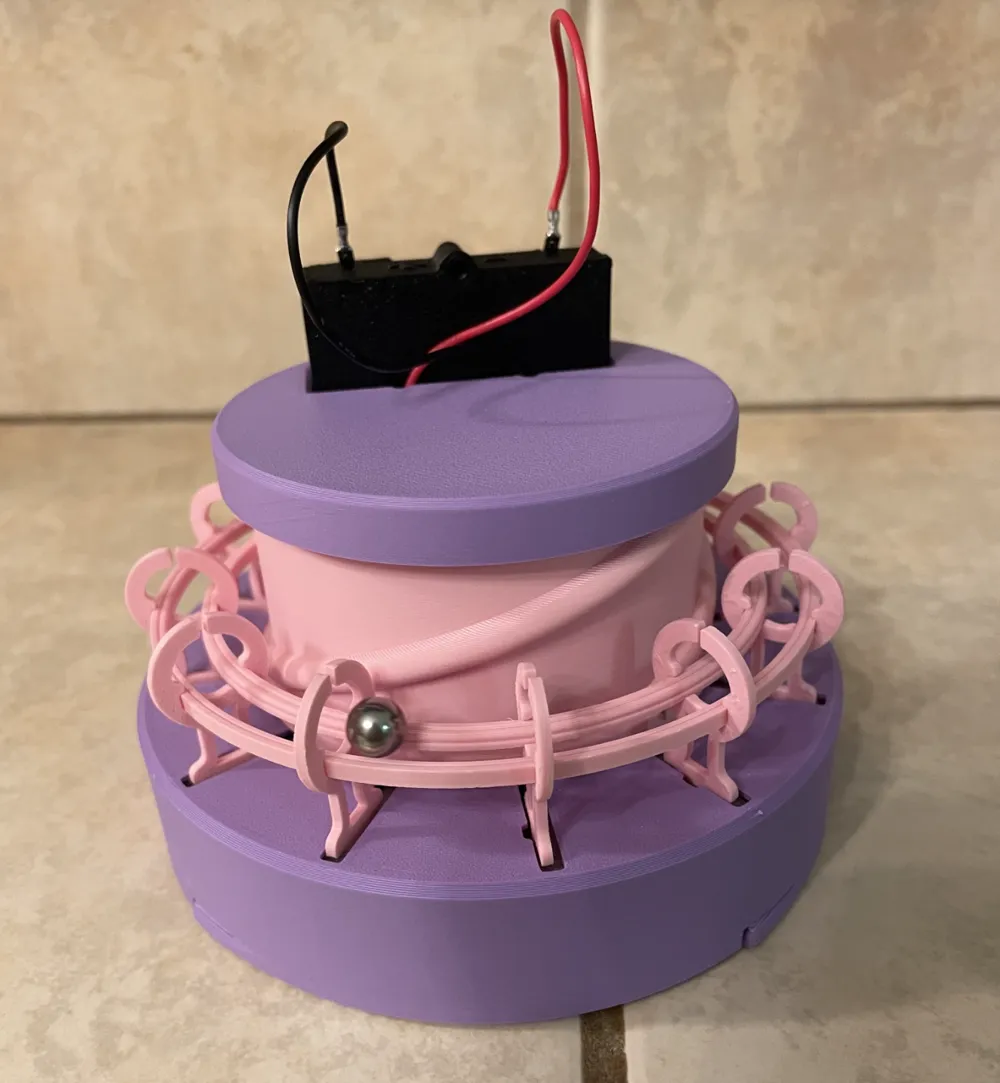
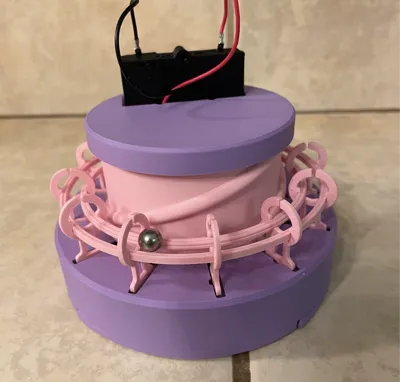
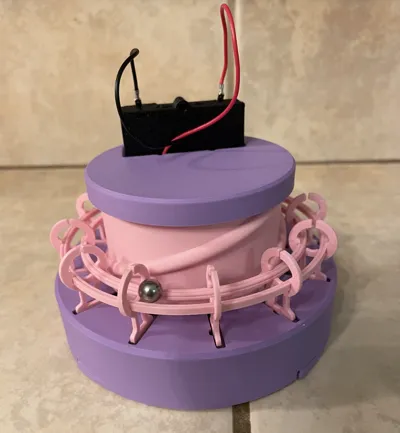

The Marble rolls round and round, never stopping! Watch as this mechanical marvel makes the ball roll forever!
This is a somewhat advanced print that requires a fair amount of precision. Printed gears, motors,
Boost Me (for free)
Have a boost? Boosting my model makes my day and helps me keep making designs like these
Spring Disk should be printed in PETG to improve springs performance
Putting silicon grease (like what is used for z rod lubrication) in the gear box helps reduce noise and improves performance
Assembly Instruction:
This kit requires the 8mm ball bearing and the printed assemblies for the motor gear box and AAA Battery Terminal Kit that use parts from the Maker's Beginner Kit. Download and print the files at this link.
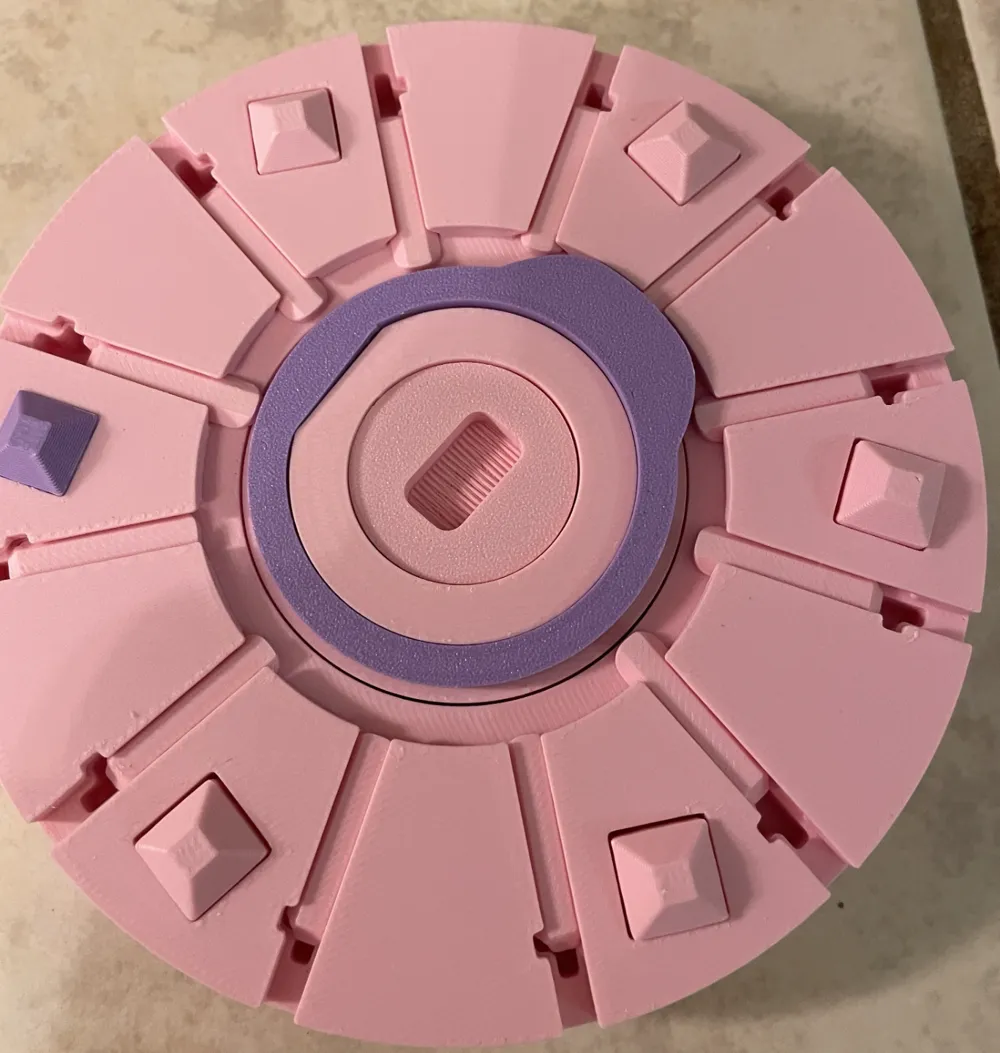
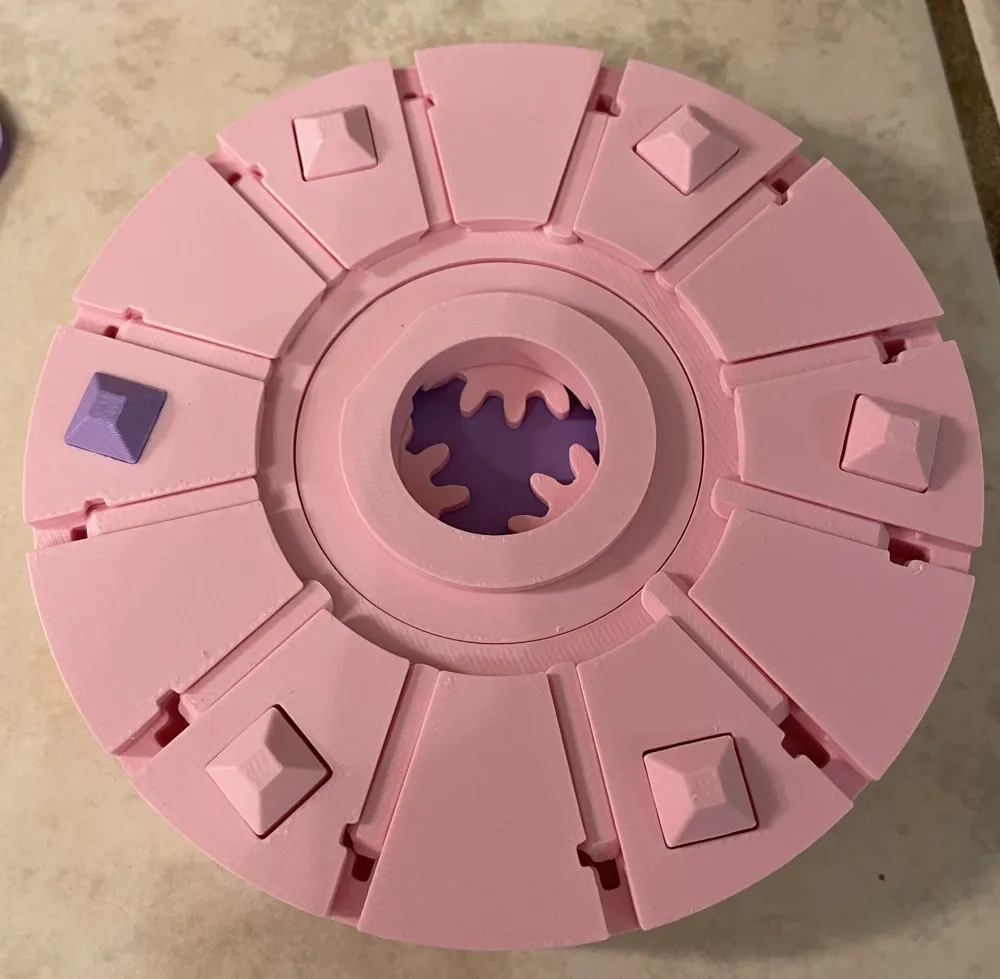
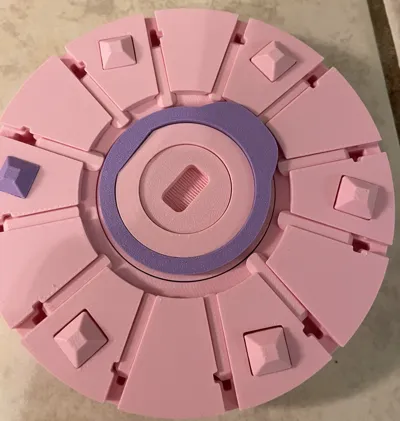
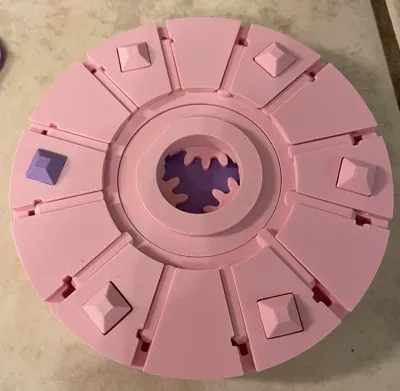
Put the track mounts into the spring disk. Use the track mount to press the spring up and hold it with your finger before sliding the mount into the spring disk.
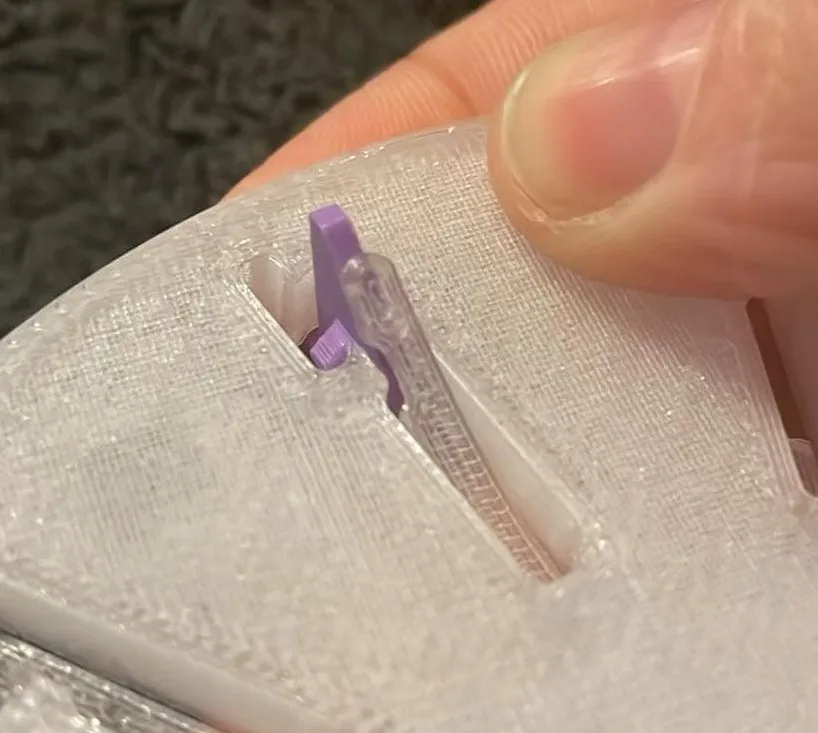
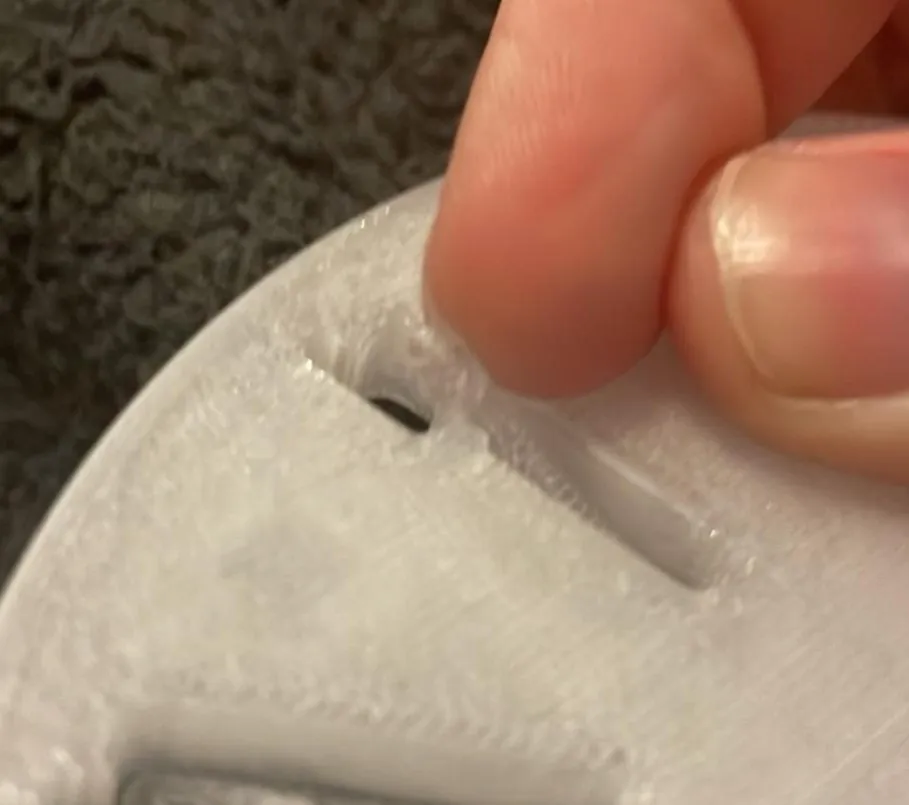
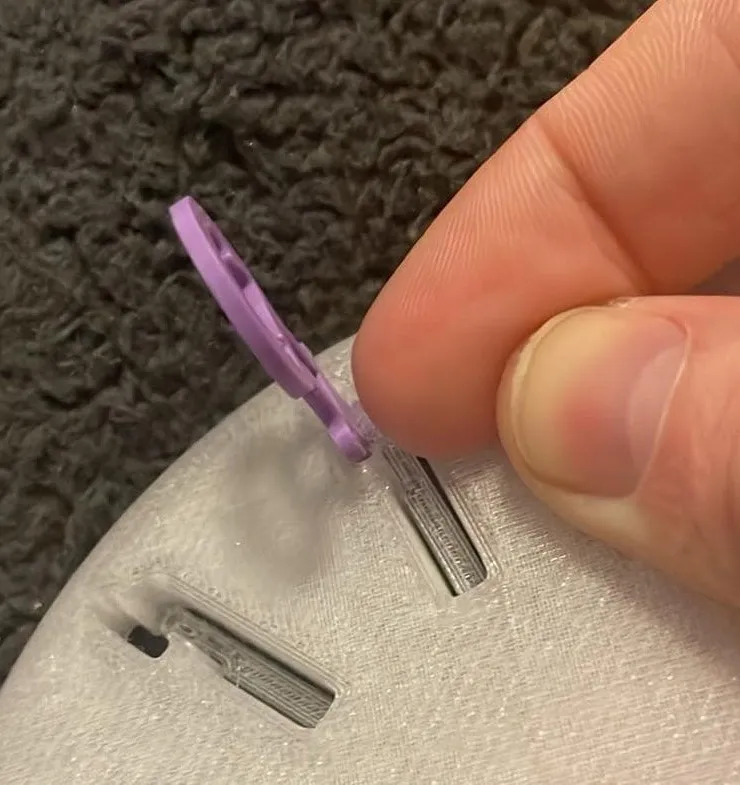
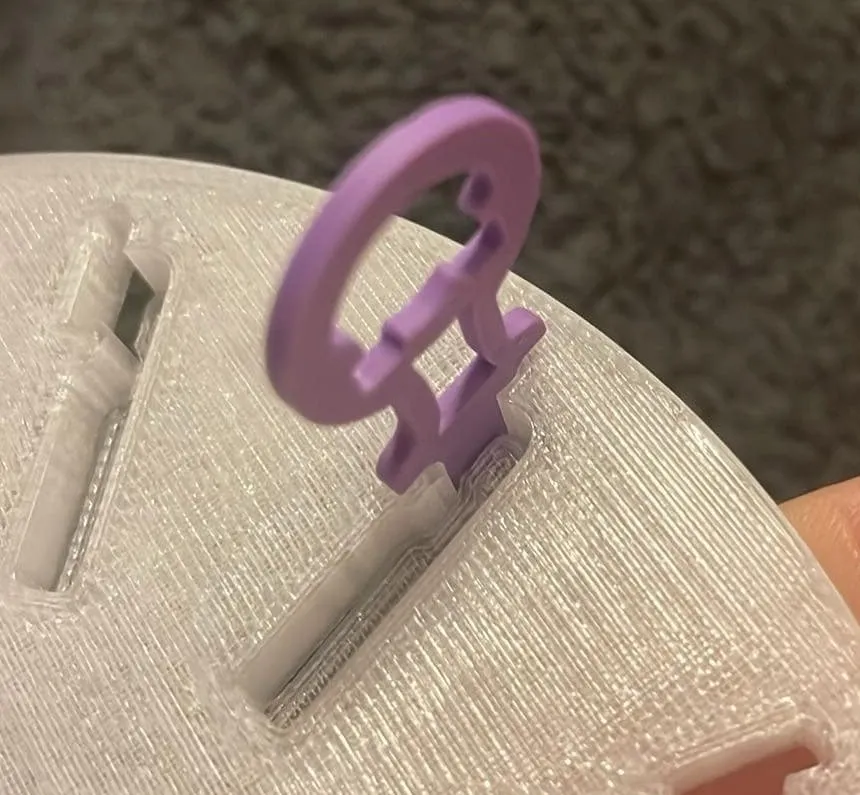
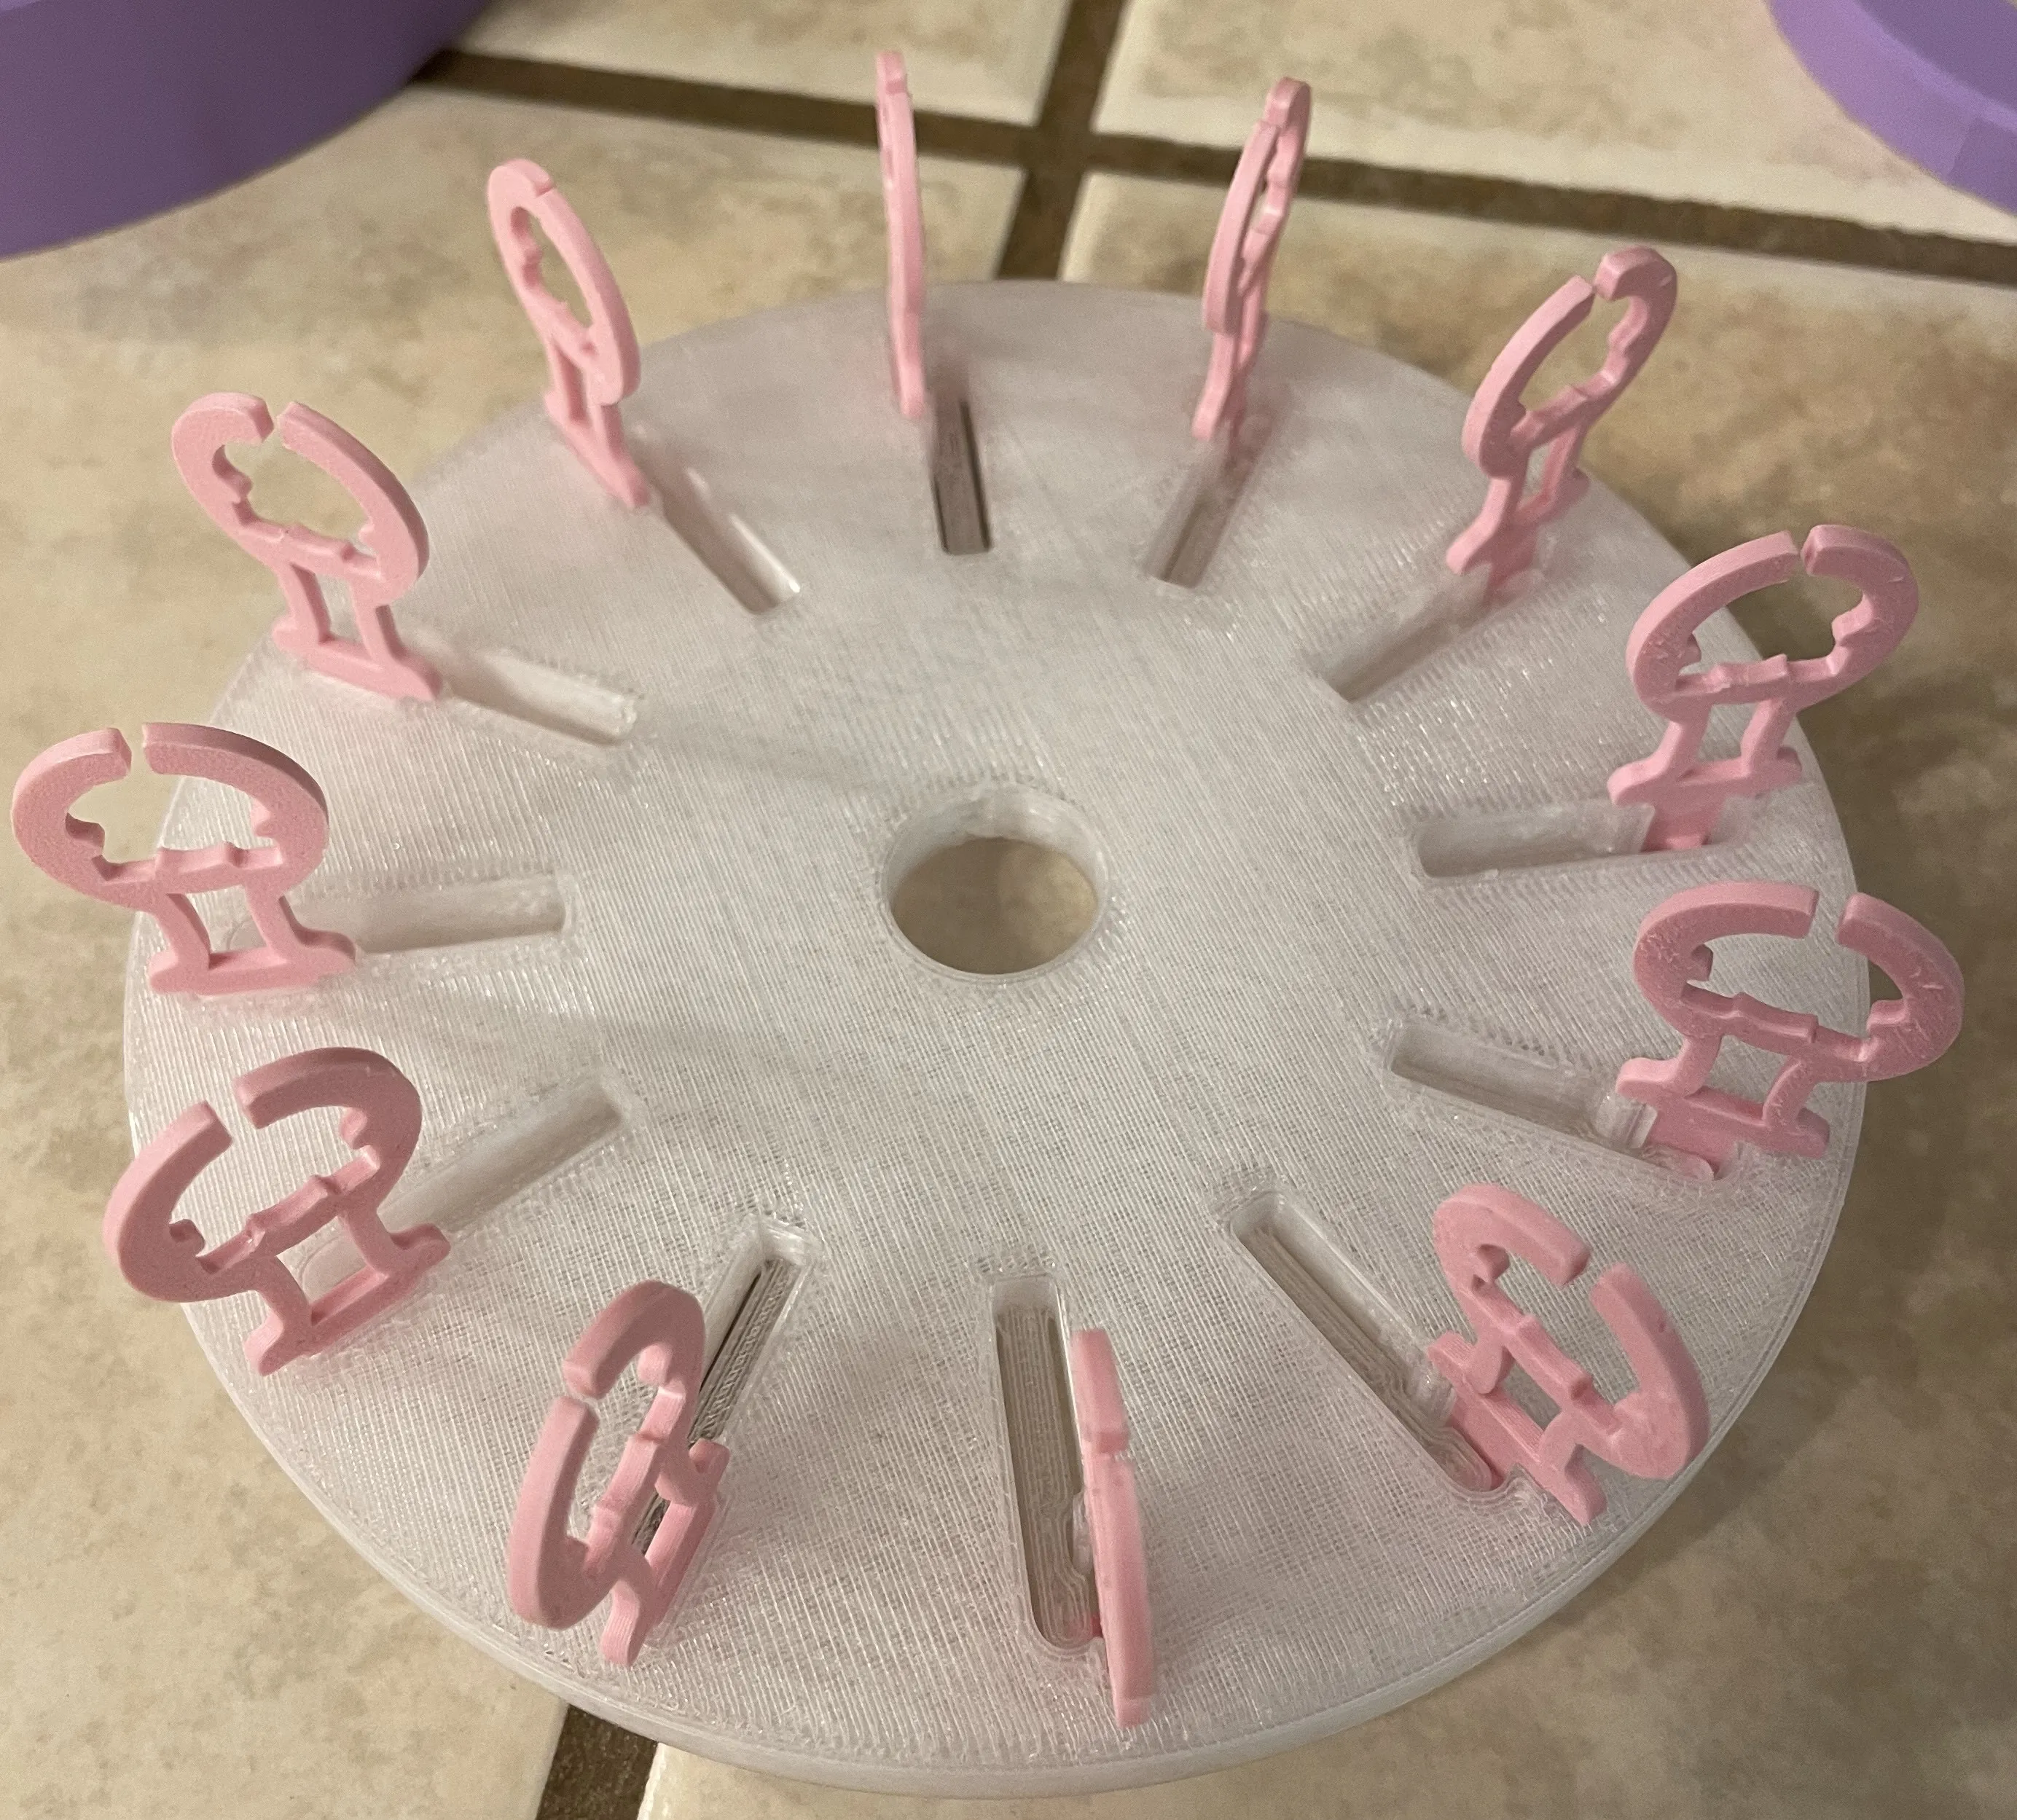
Put the outer cover over the track mounts
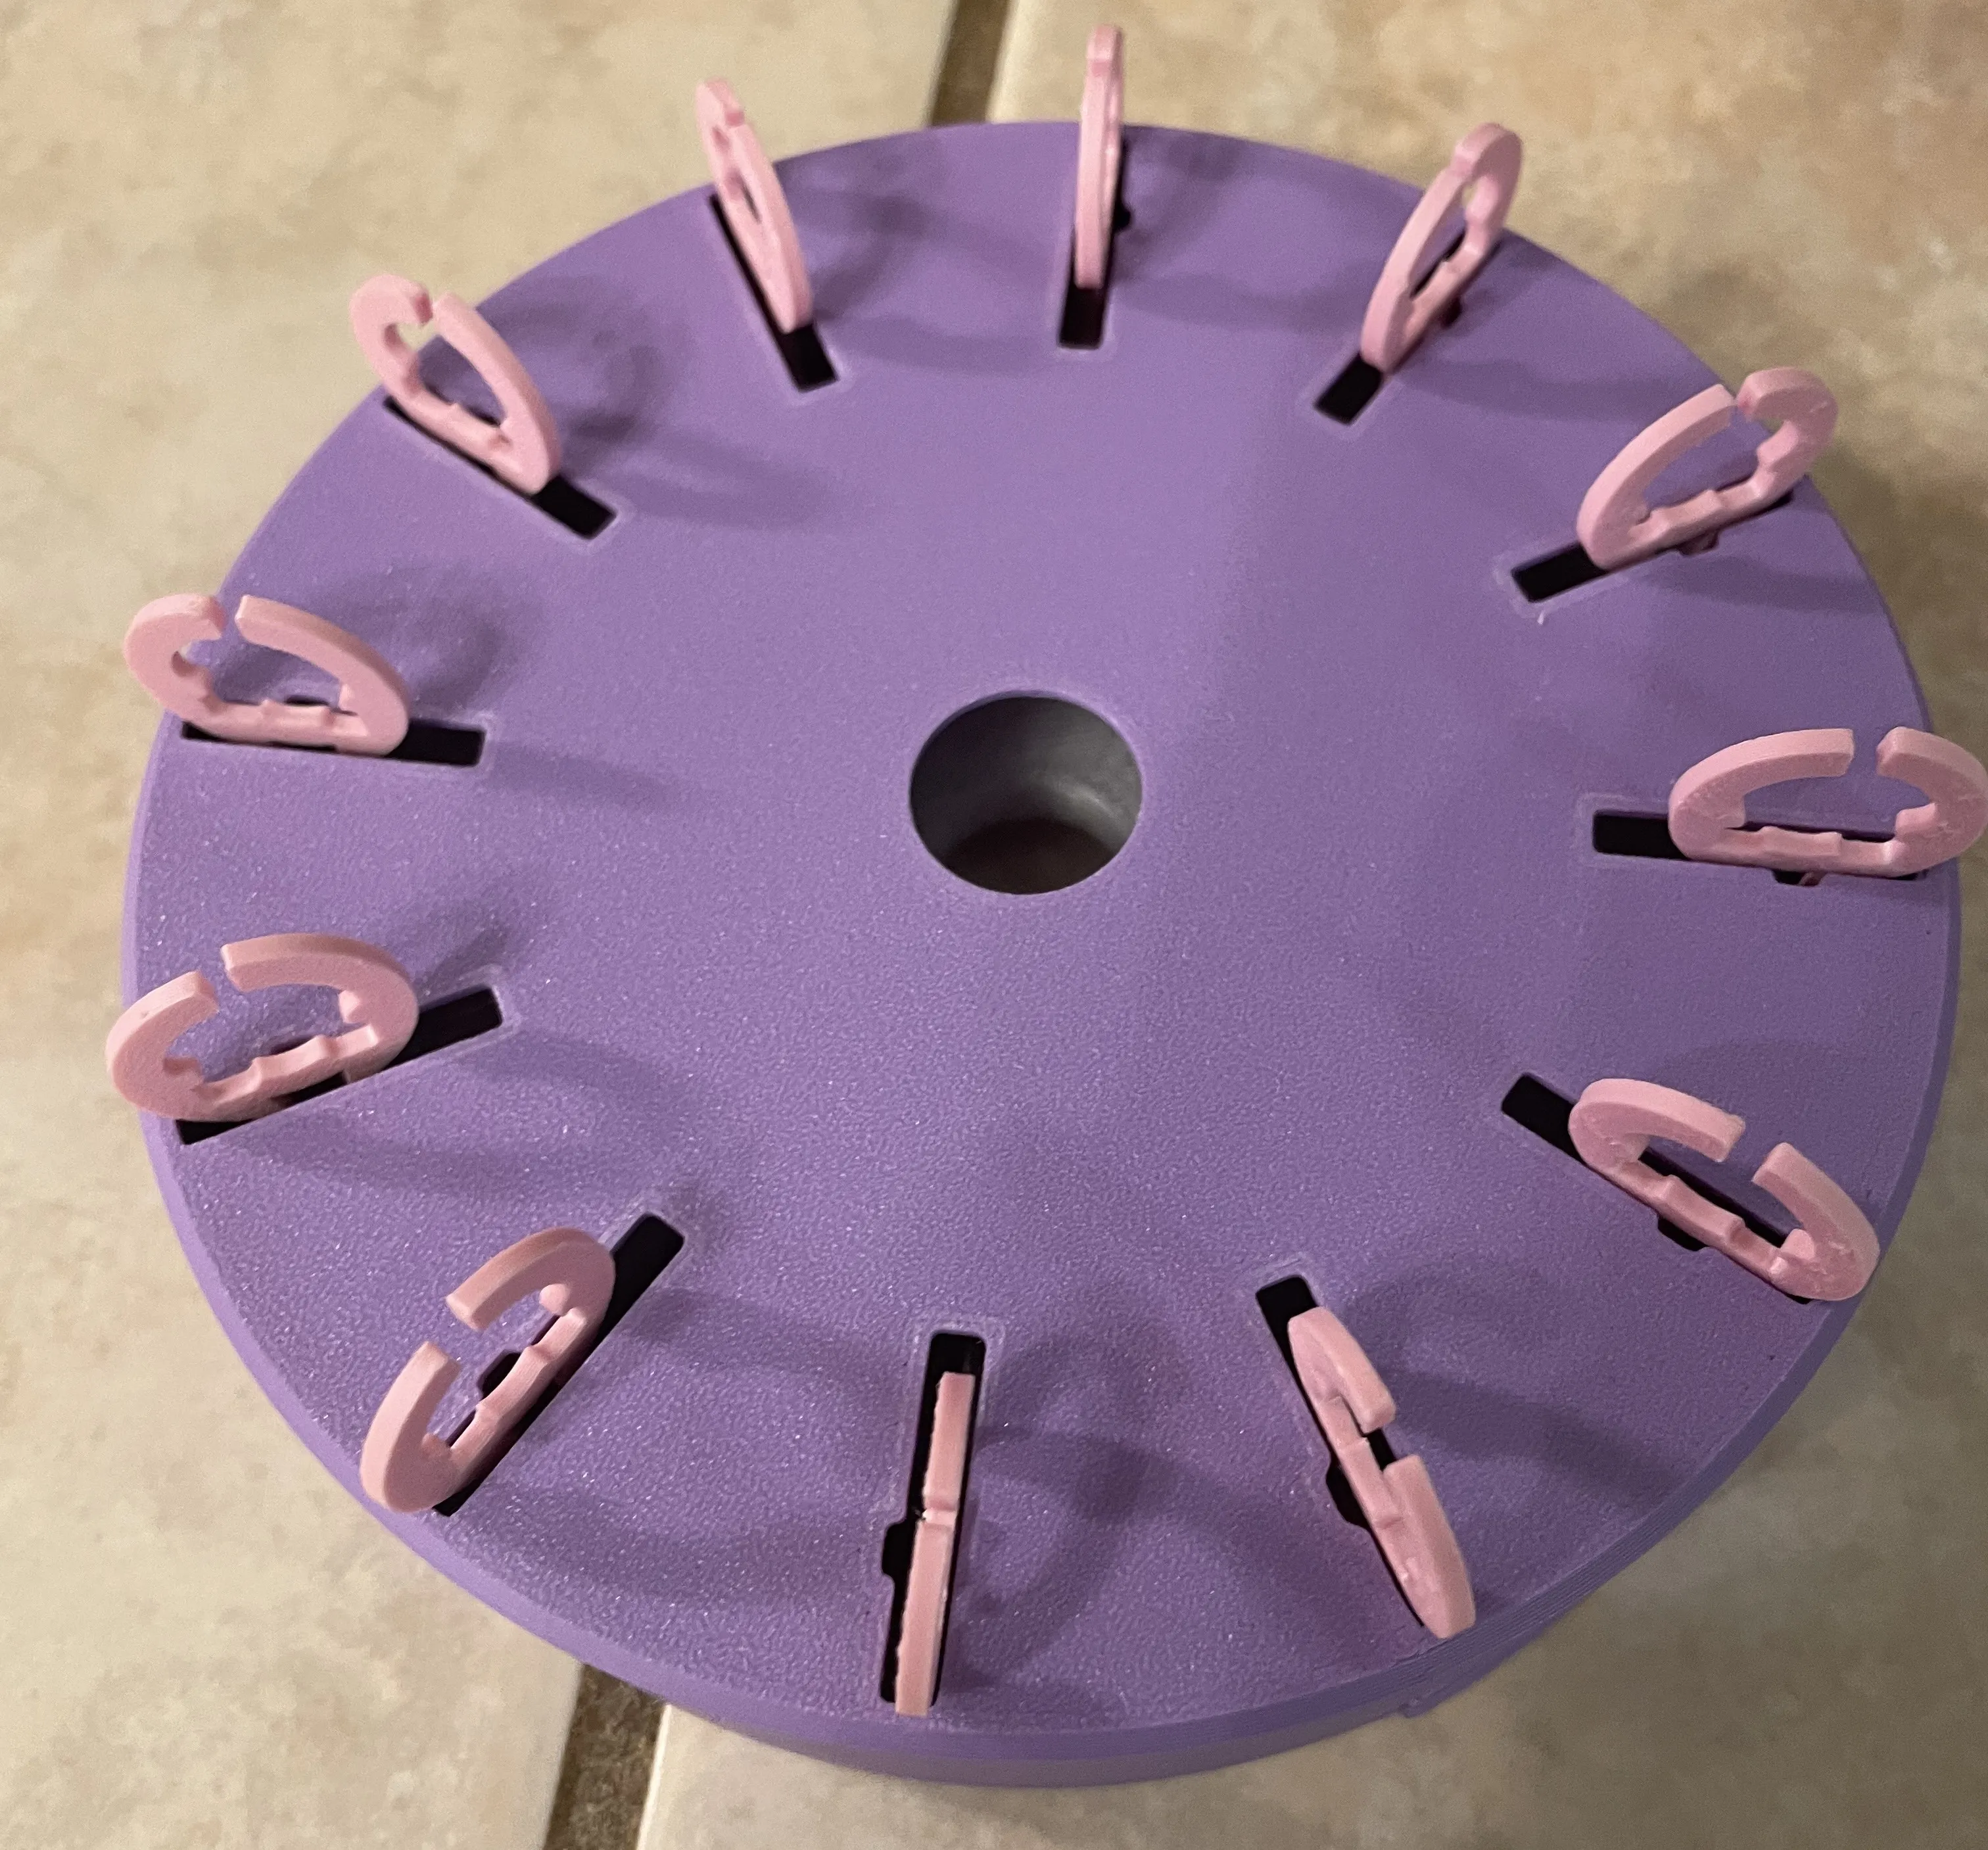
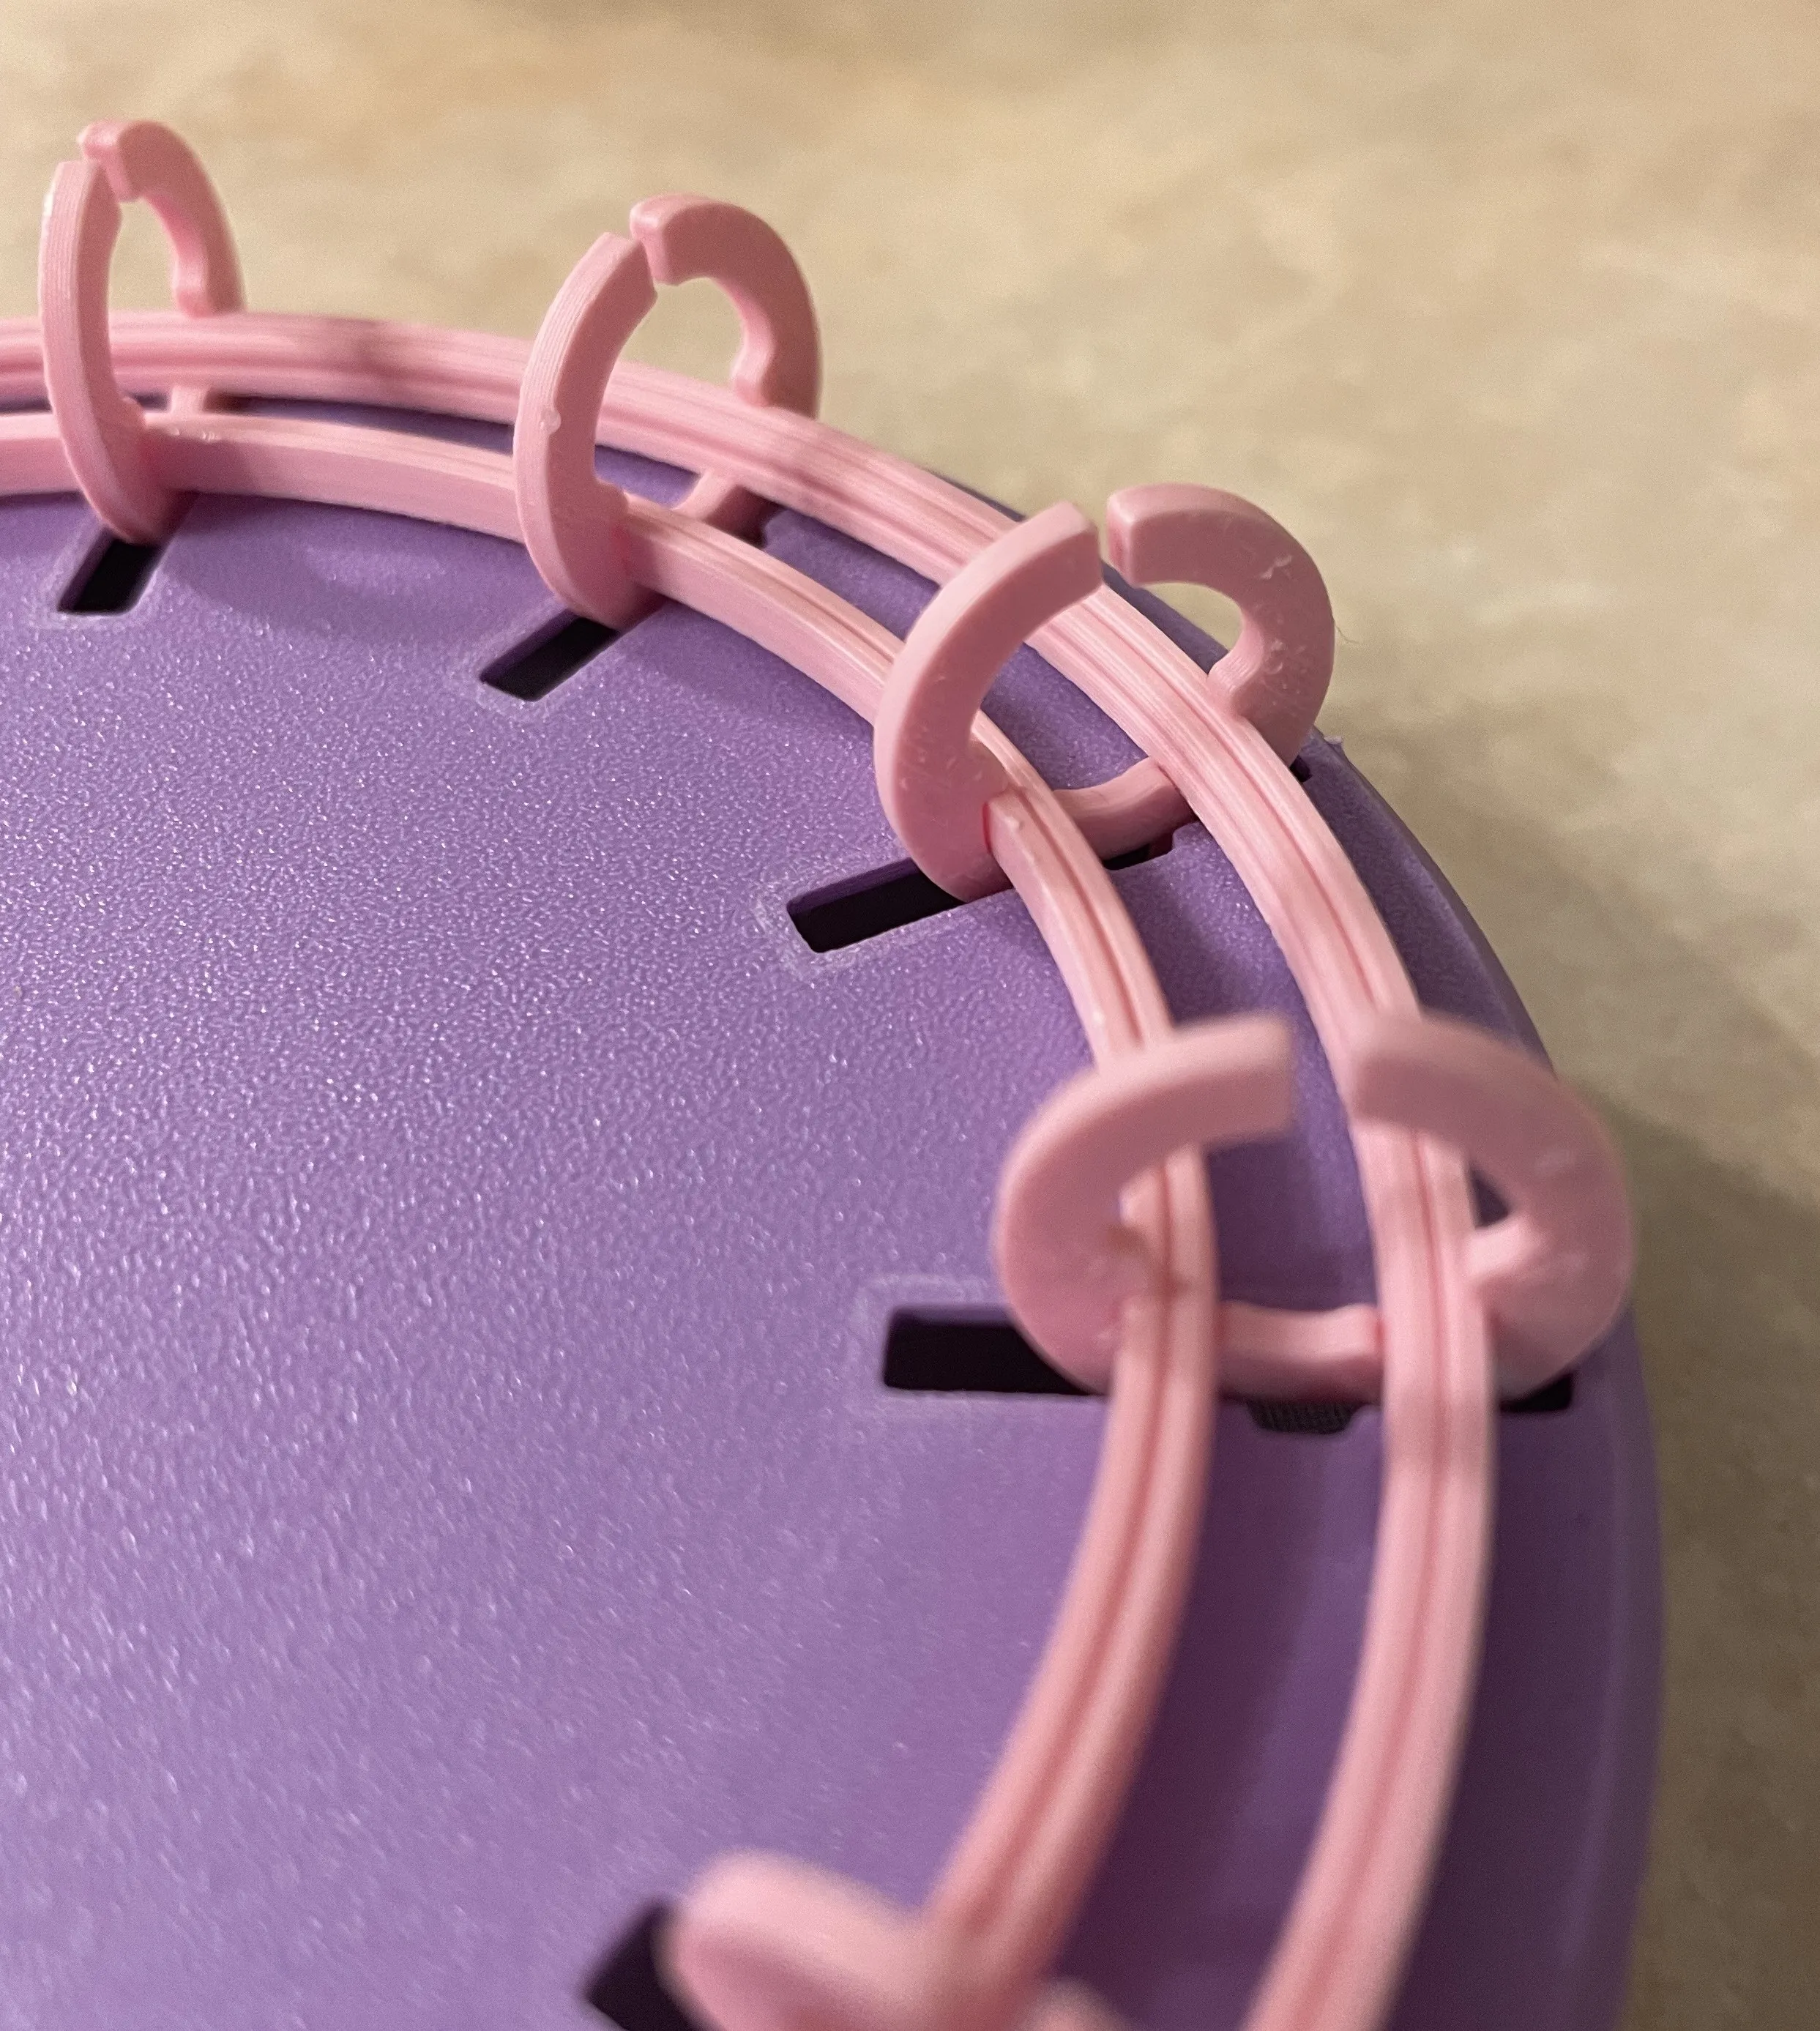
Snap the tracks into the track mounts
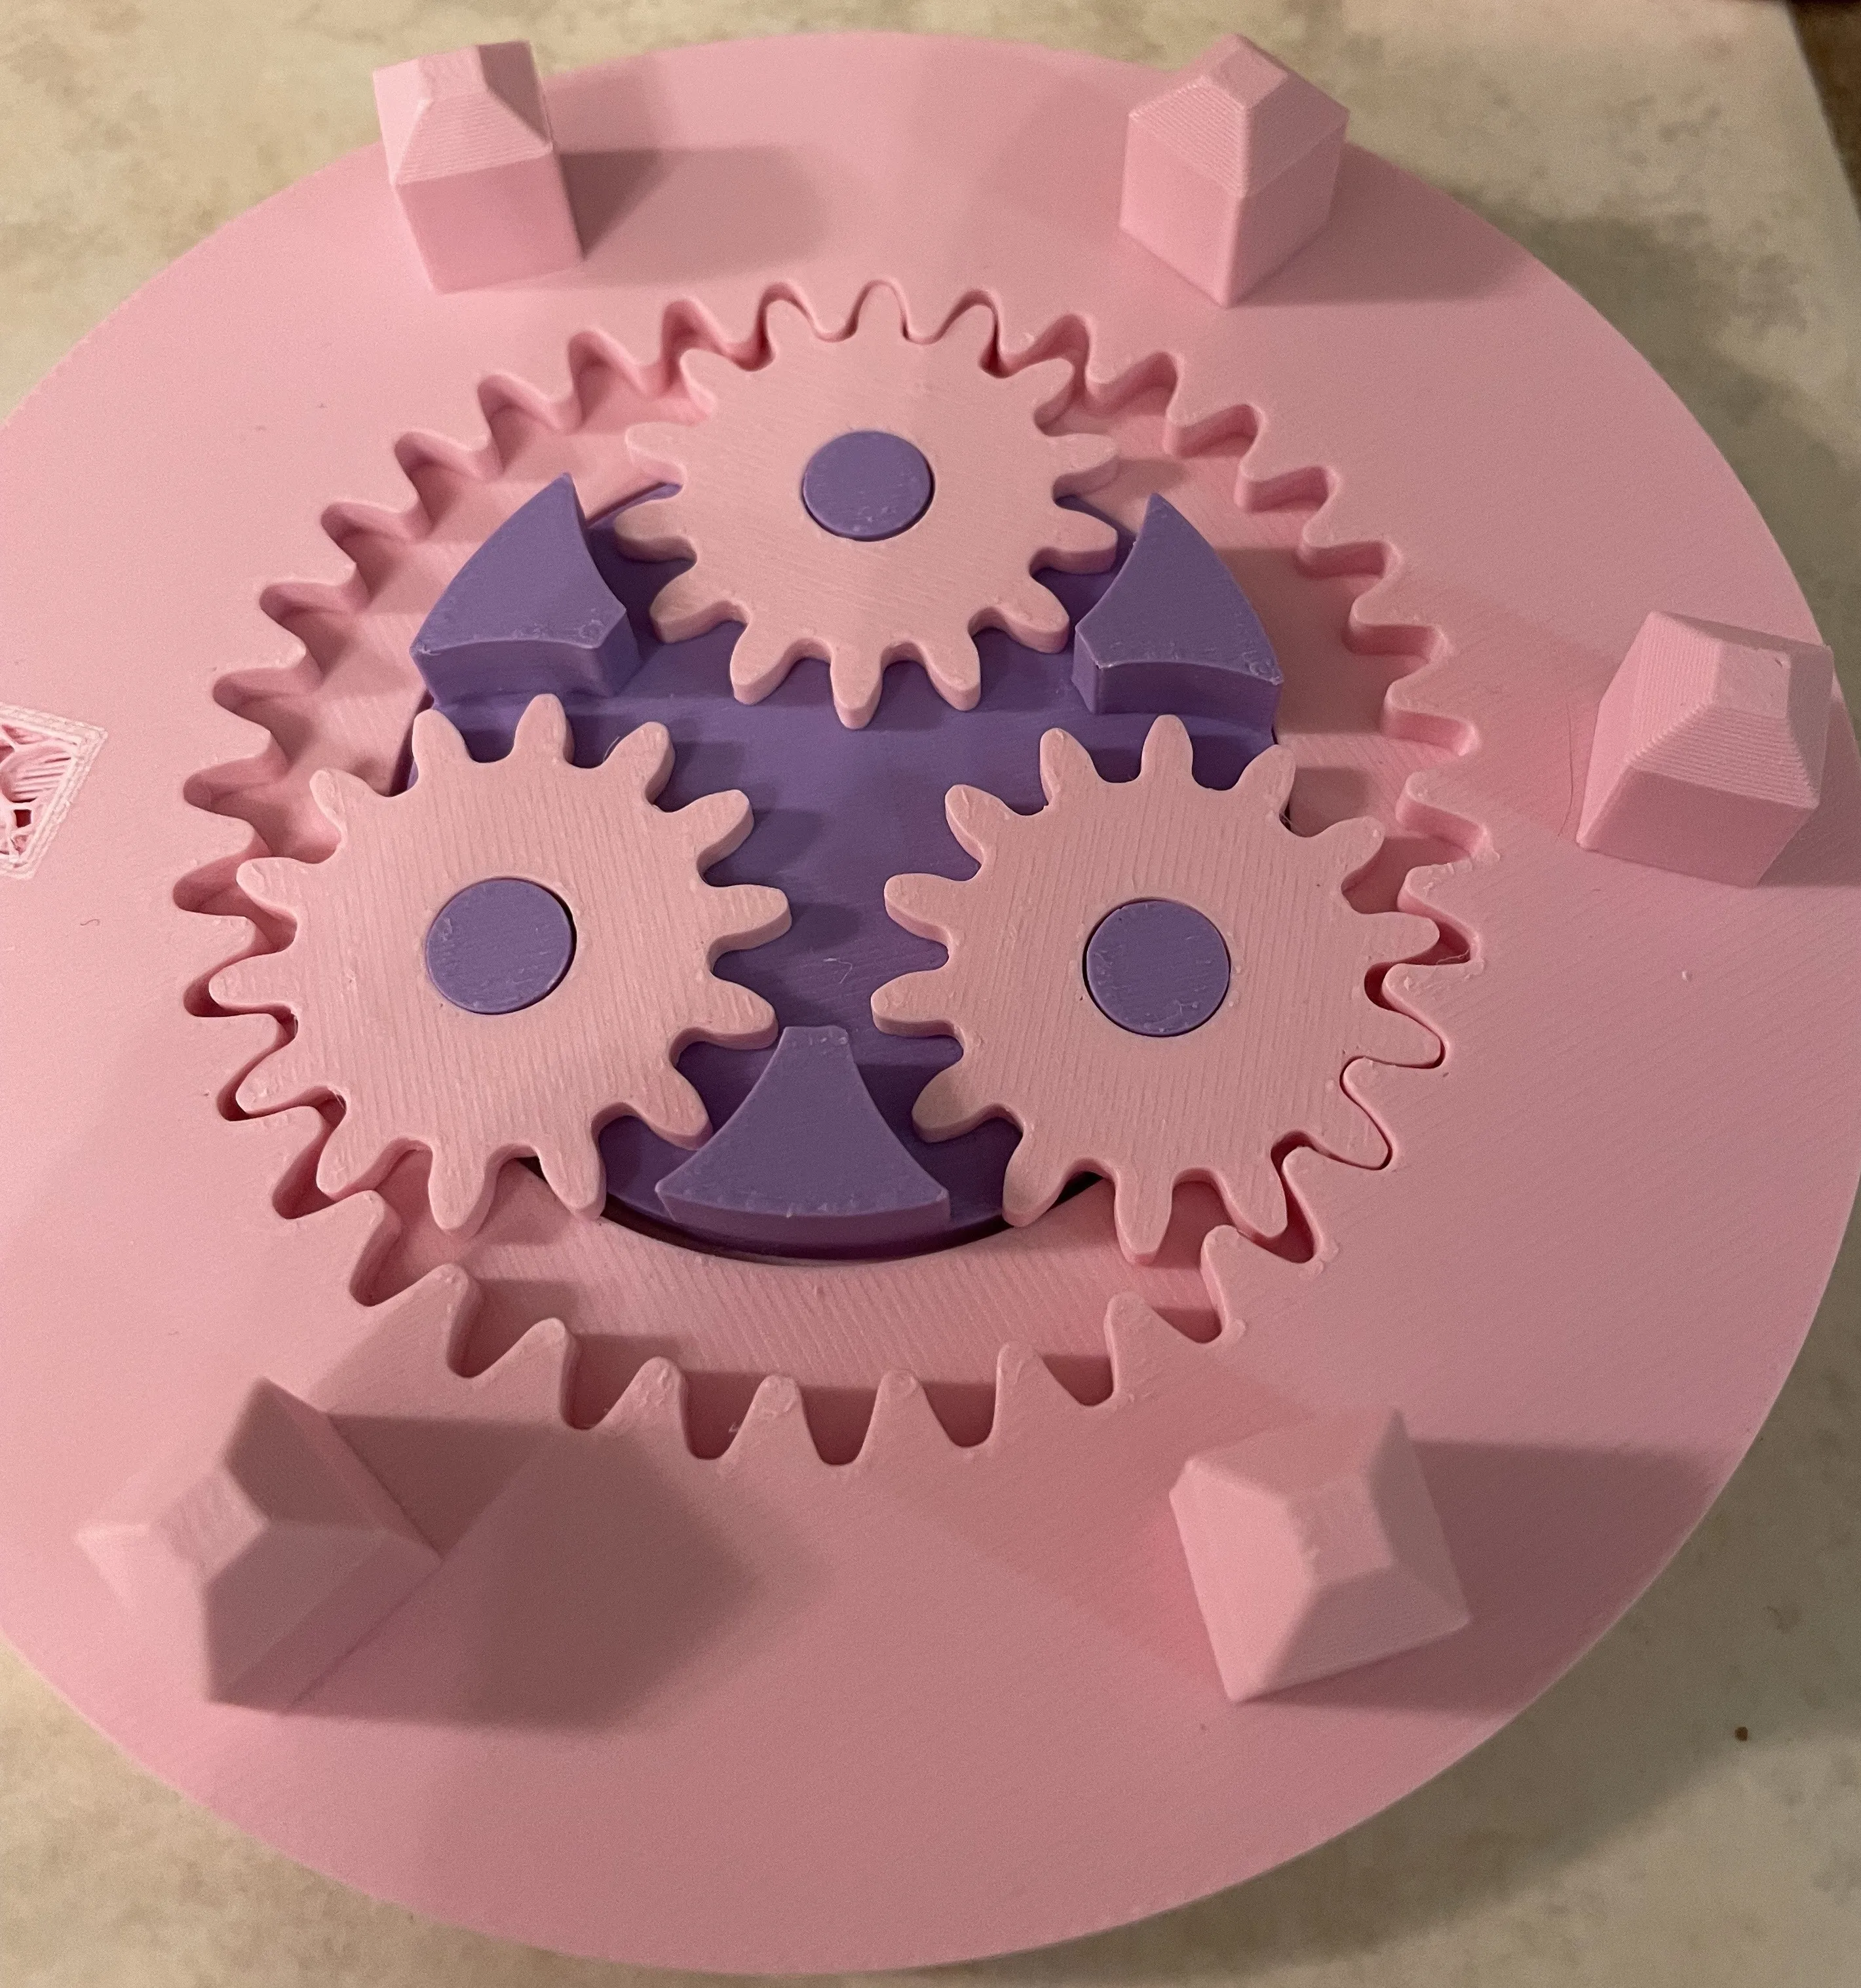
Put the 3 planet gears into the gear hub and put the whole thing into the outer gear disk
Put the pin disk with the pins in the tracks. Make sure the angled wedge part is facing outward.
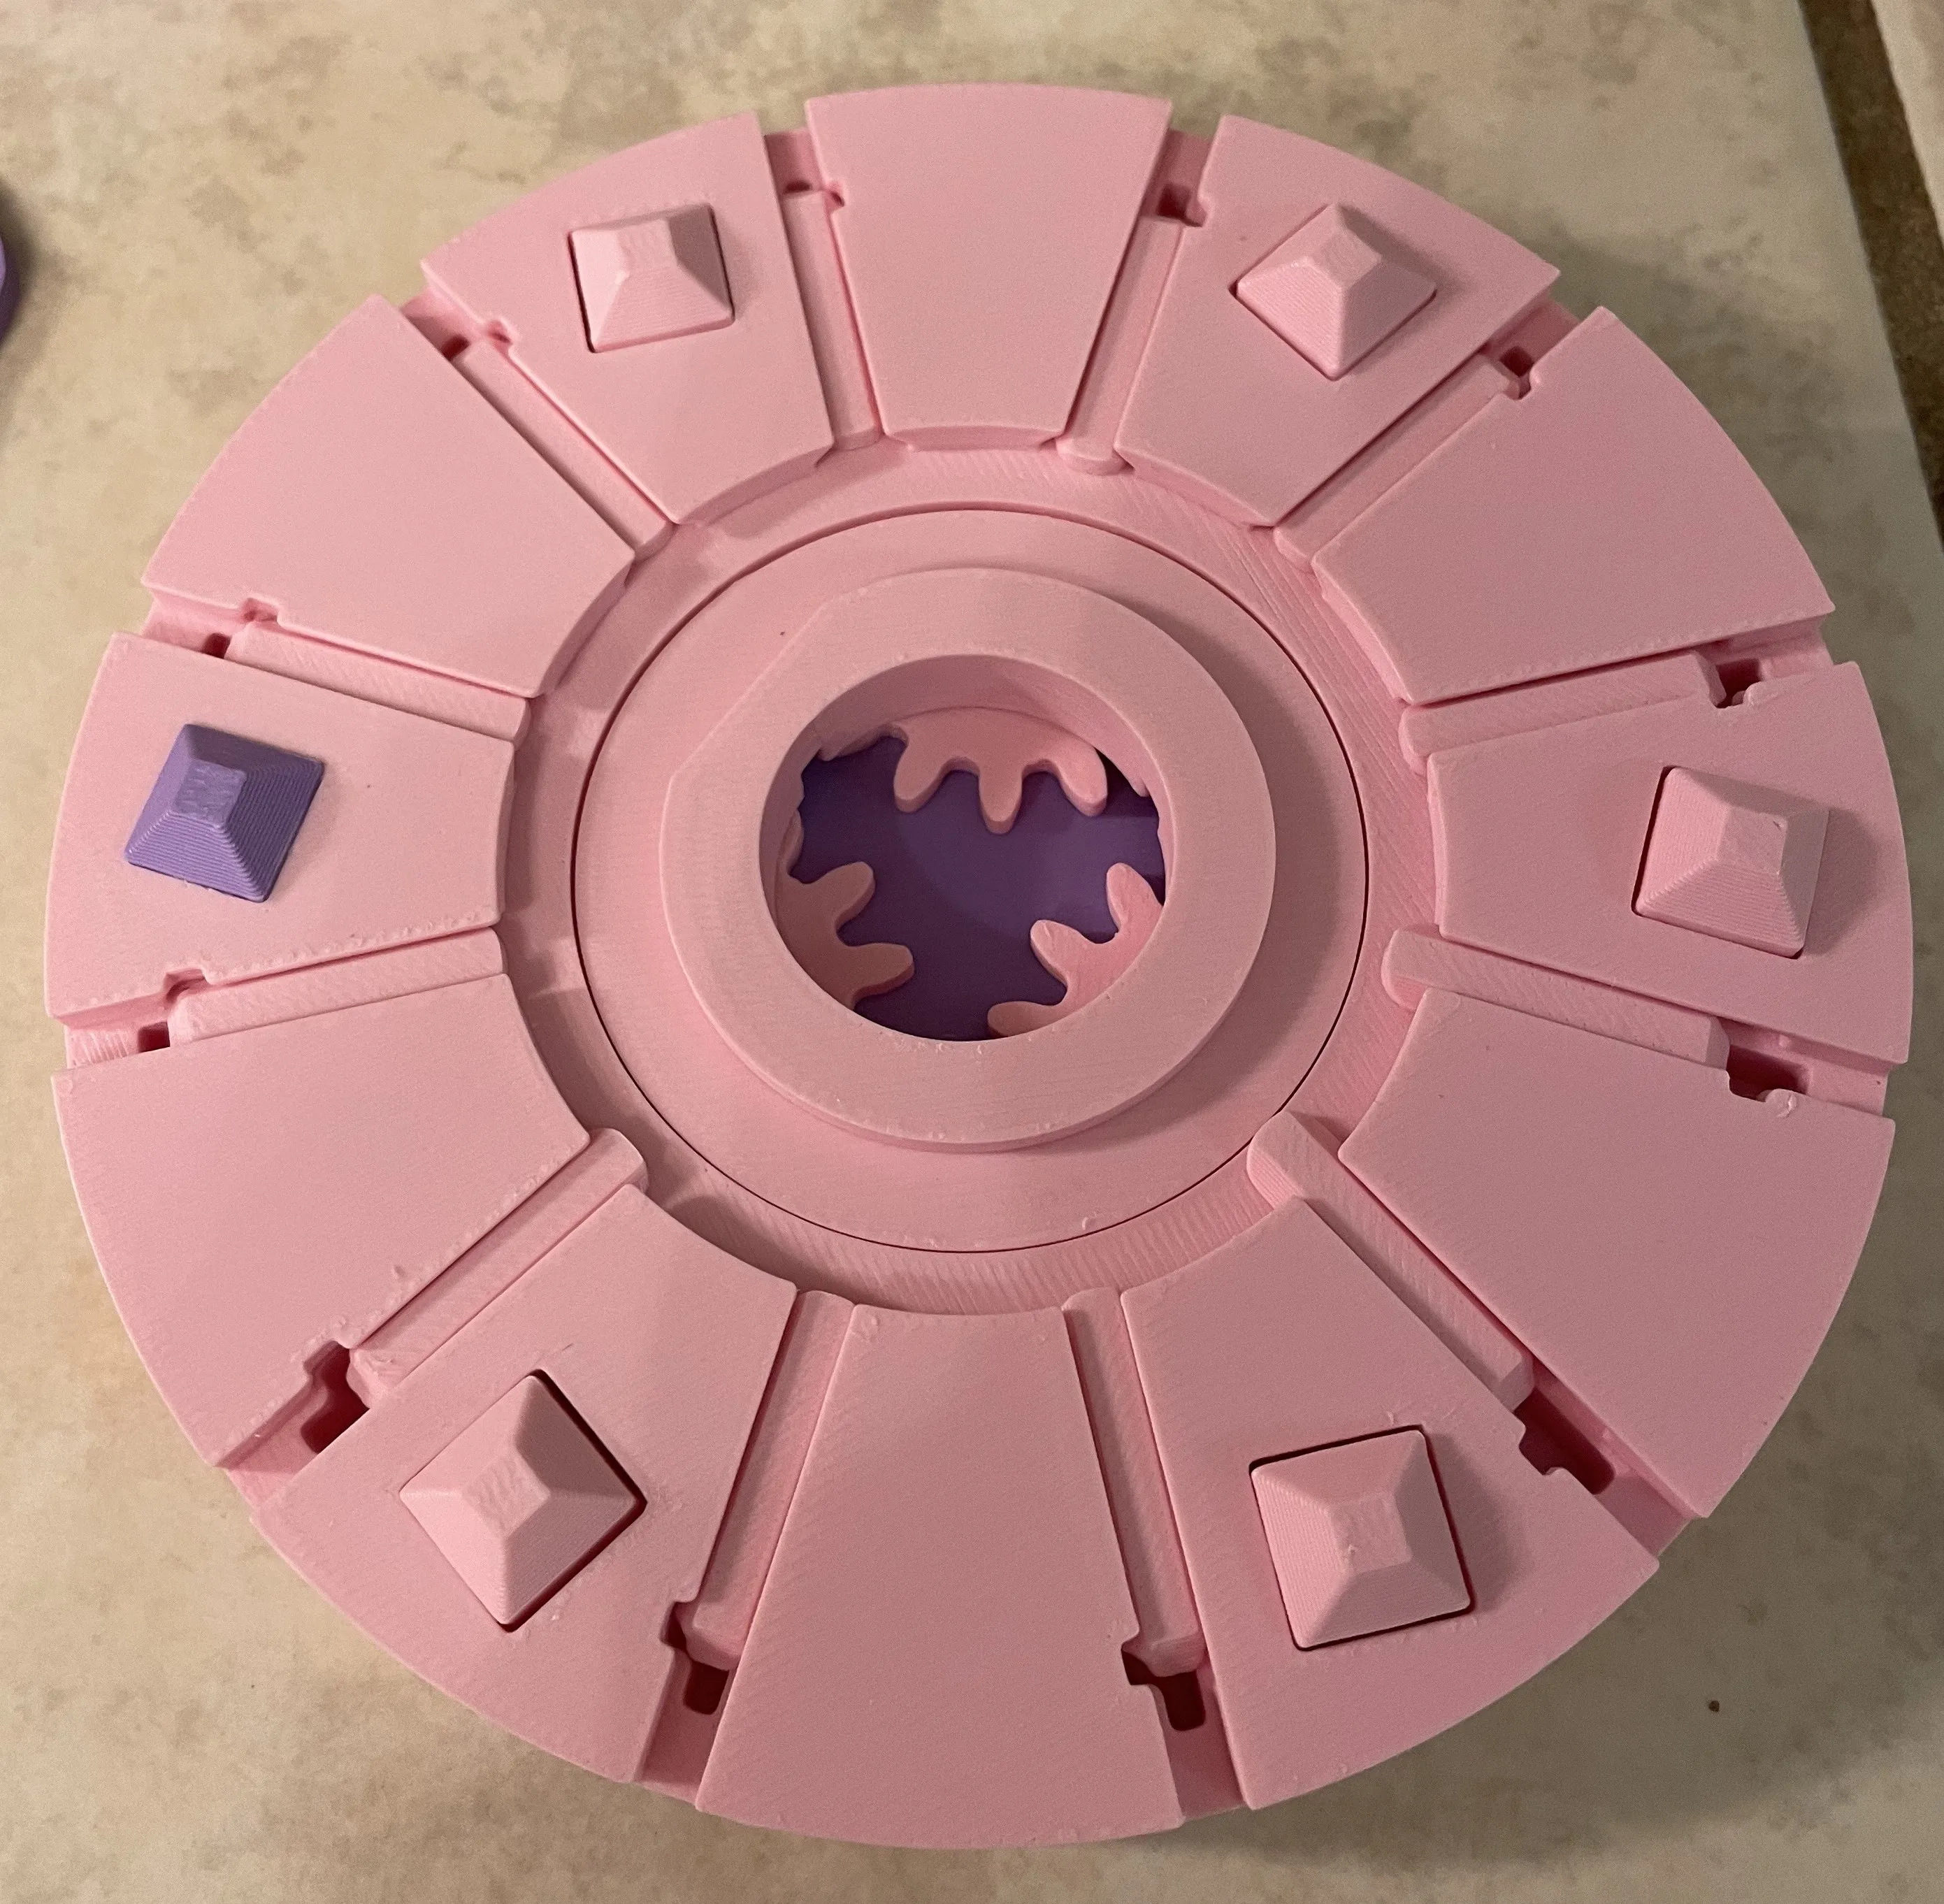
Put the cam on the cam mount making sure it is flat.
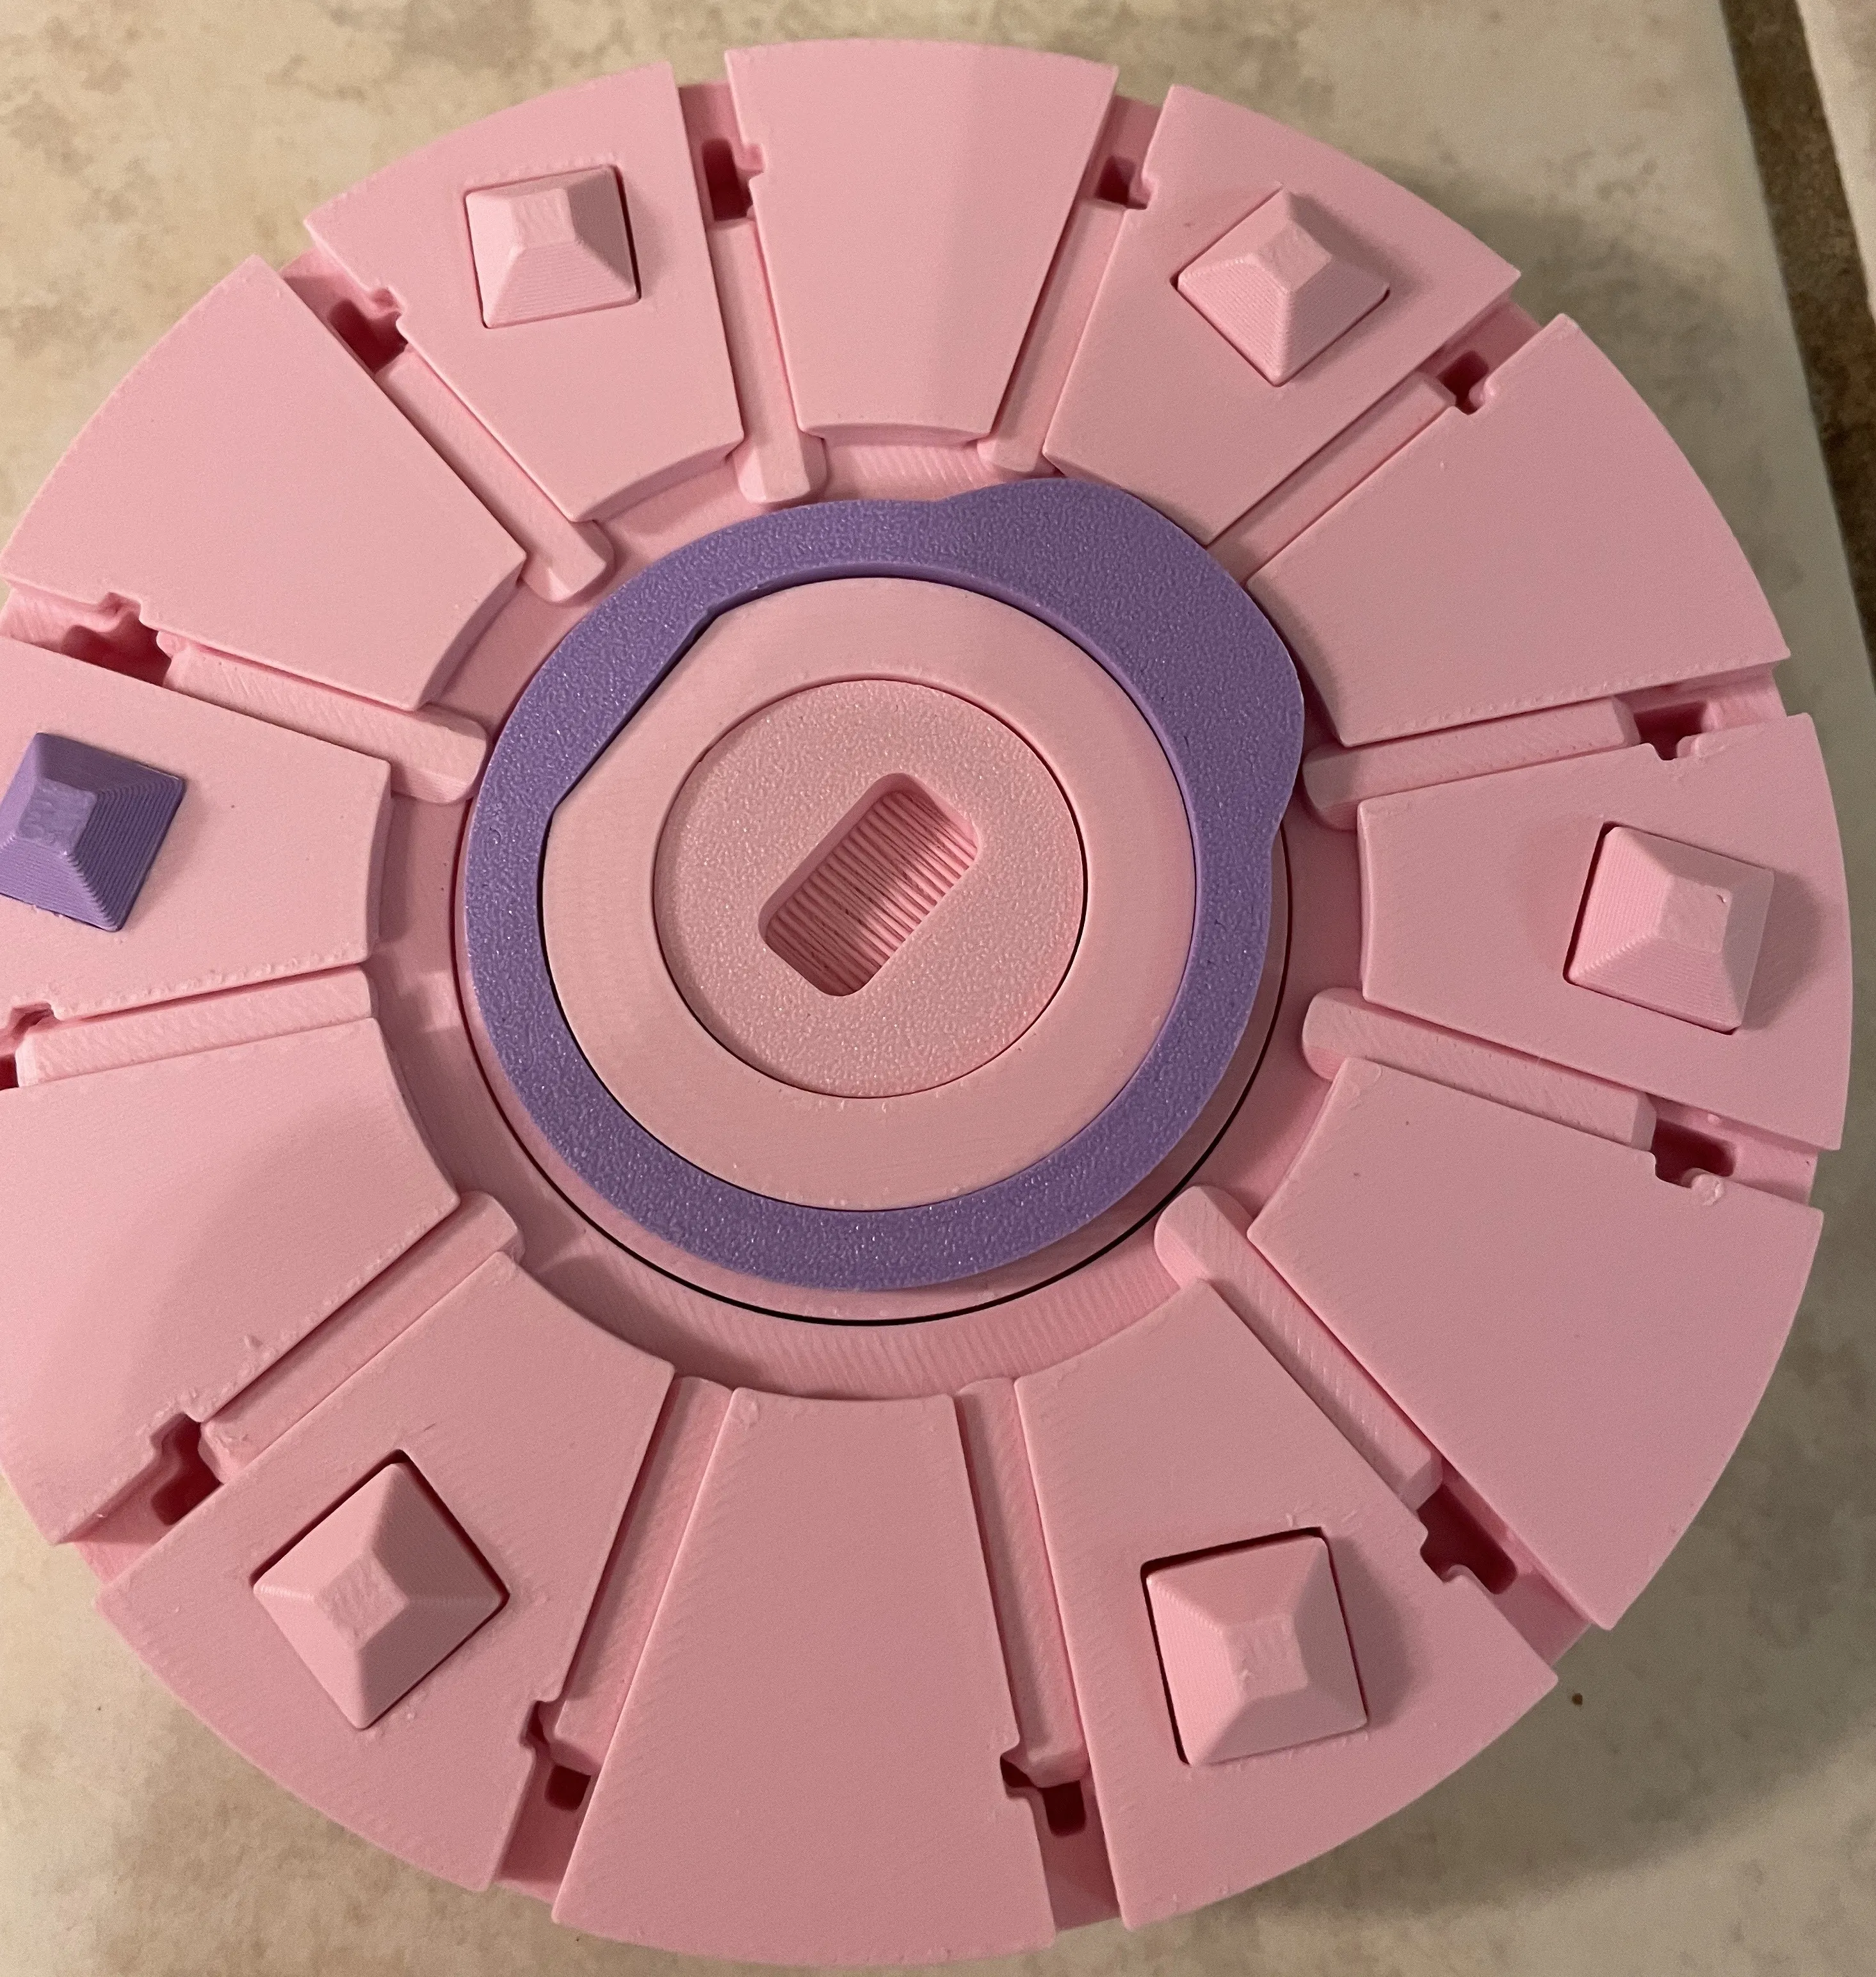
Line up the rods with the indends on the bottom as well as the slots for the tabs on the bottom disk.
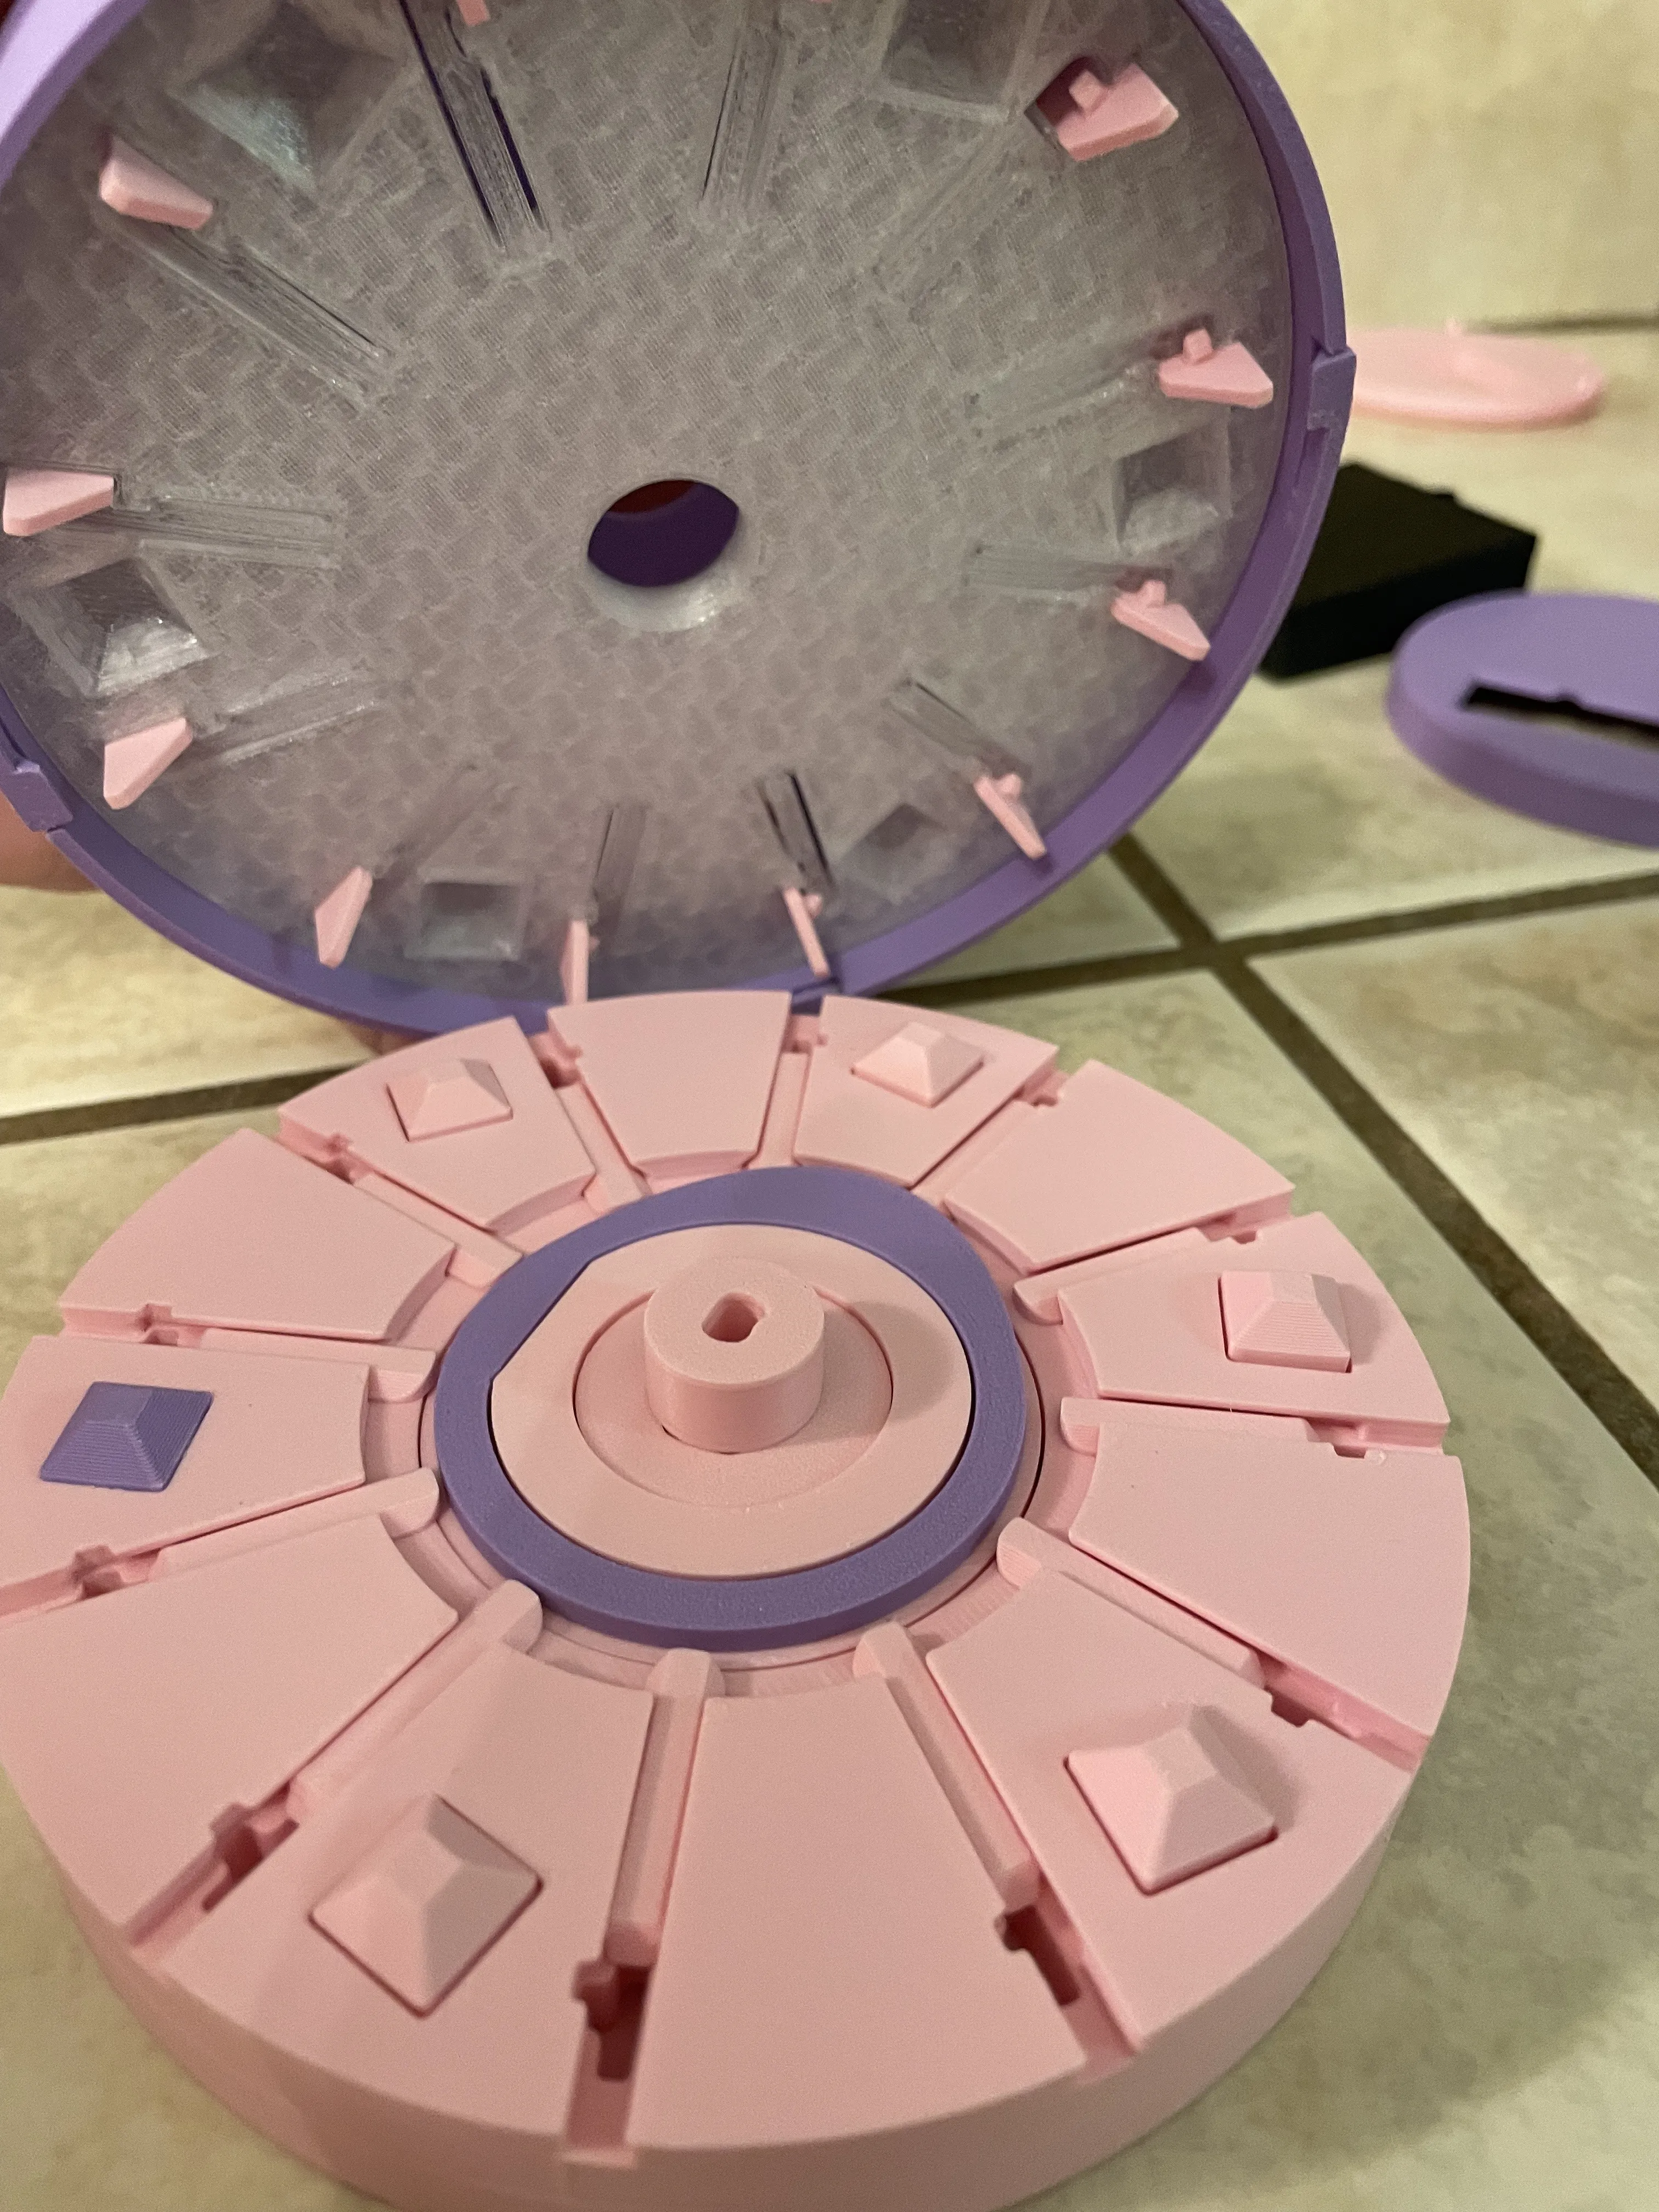
Press the track mount into the slots and work the outer cover over the disks. Once the track mounts are fully seated you can press the outer cover all the way to the bottom
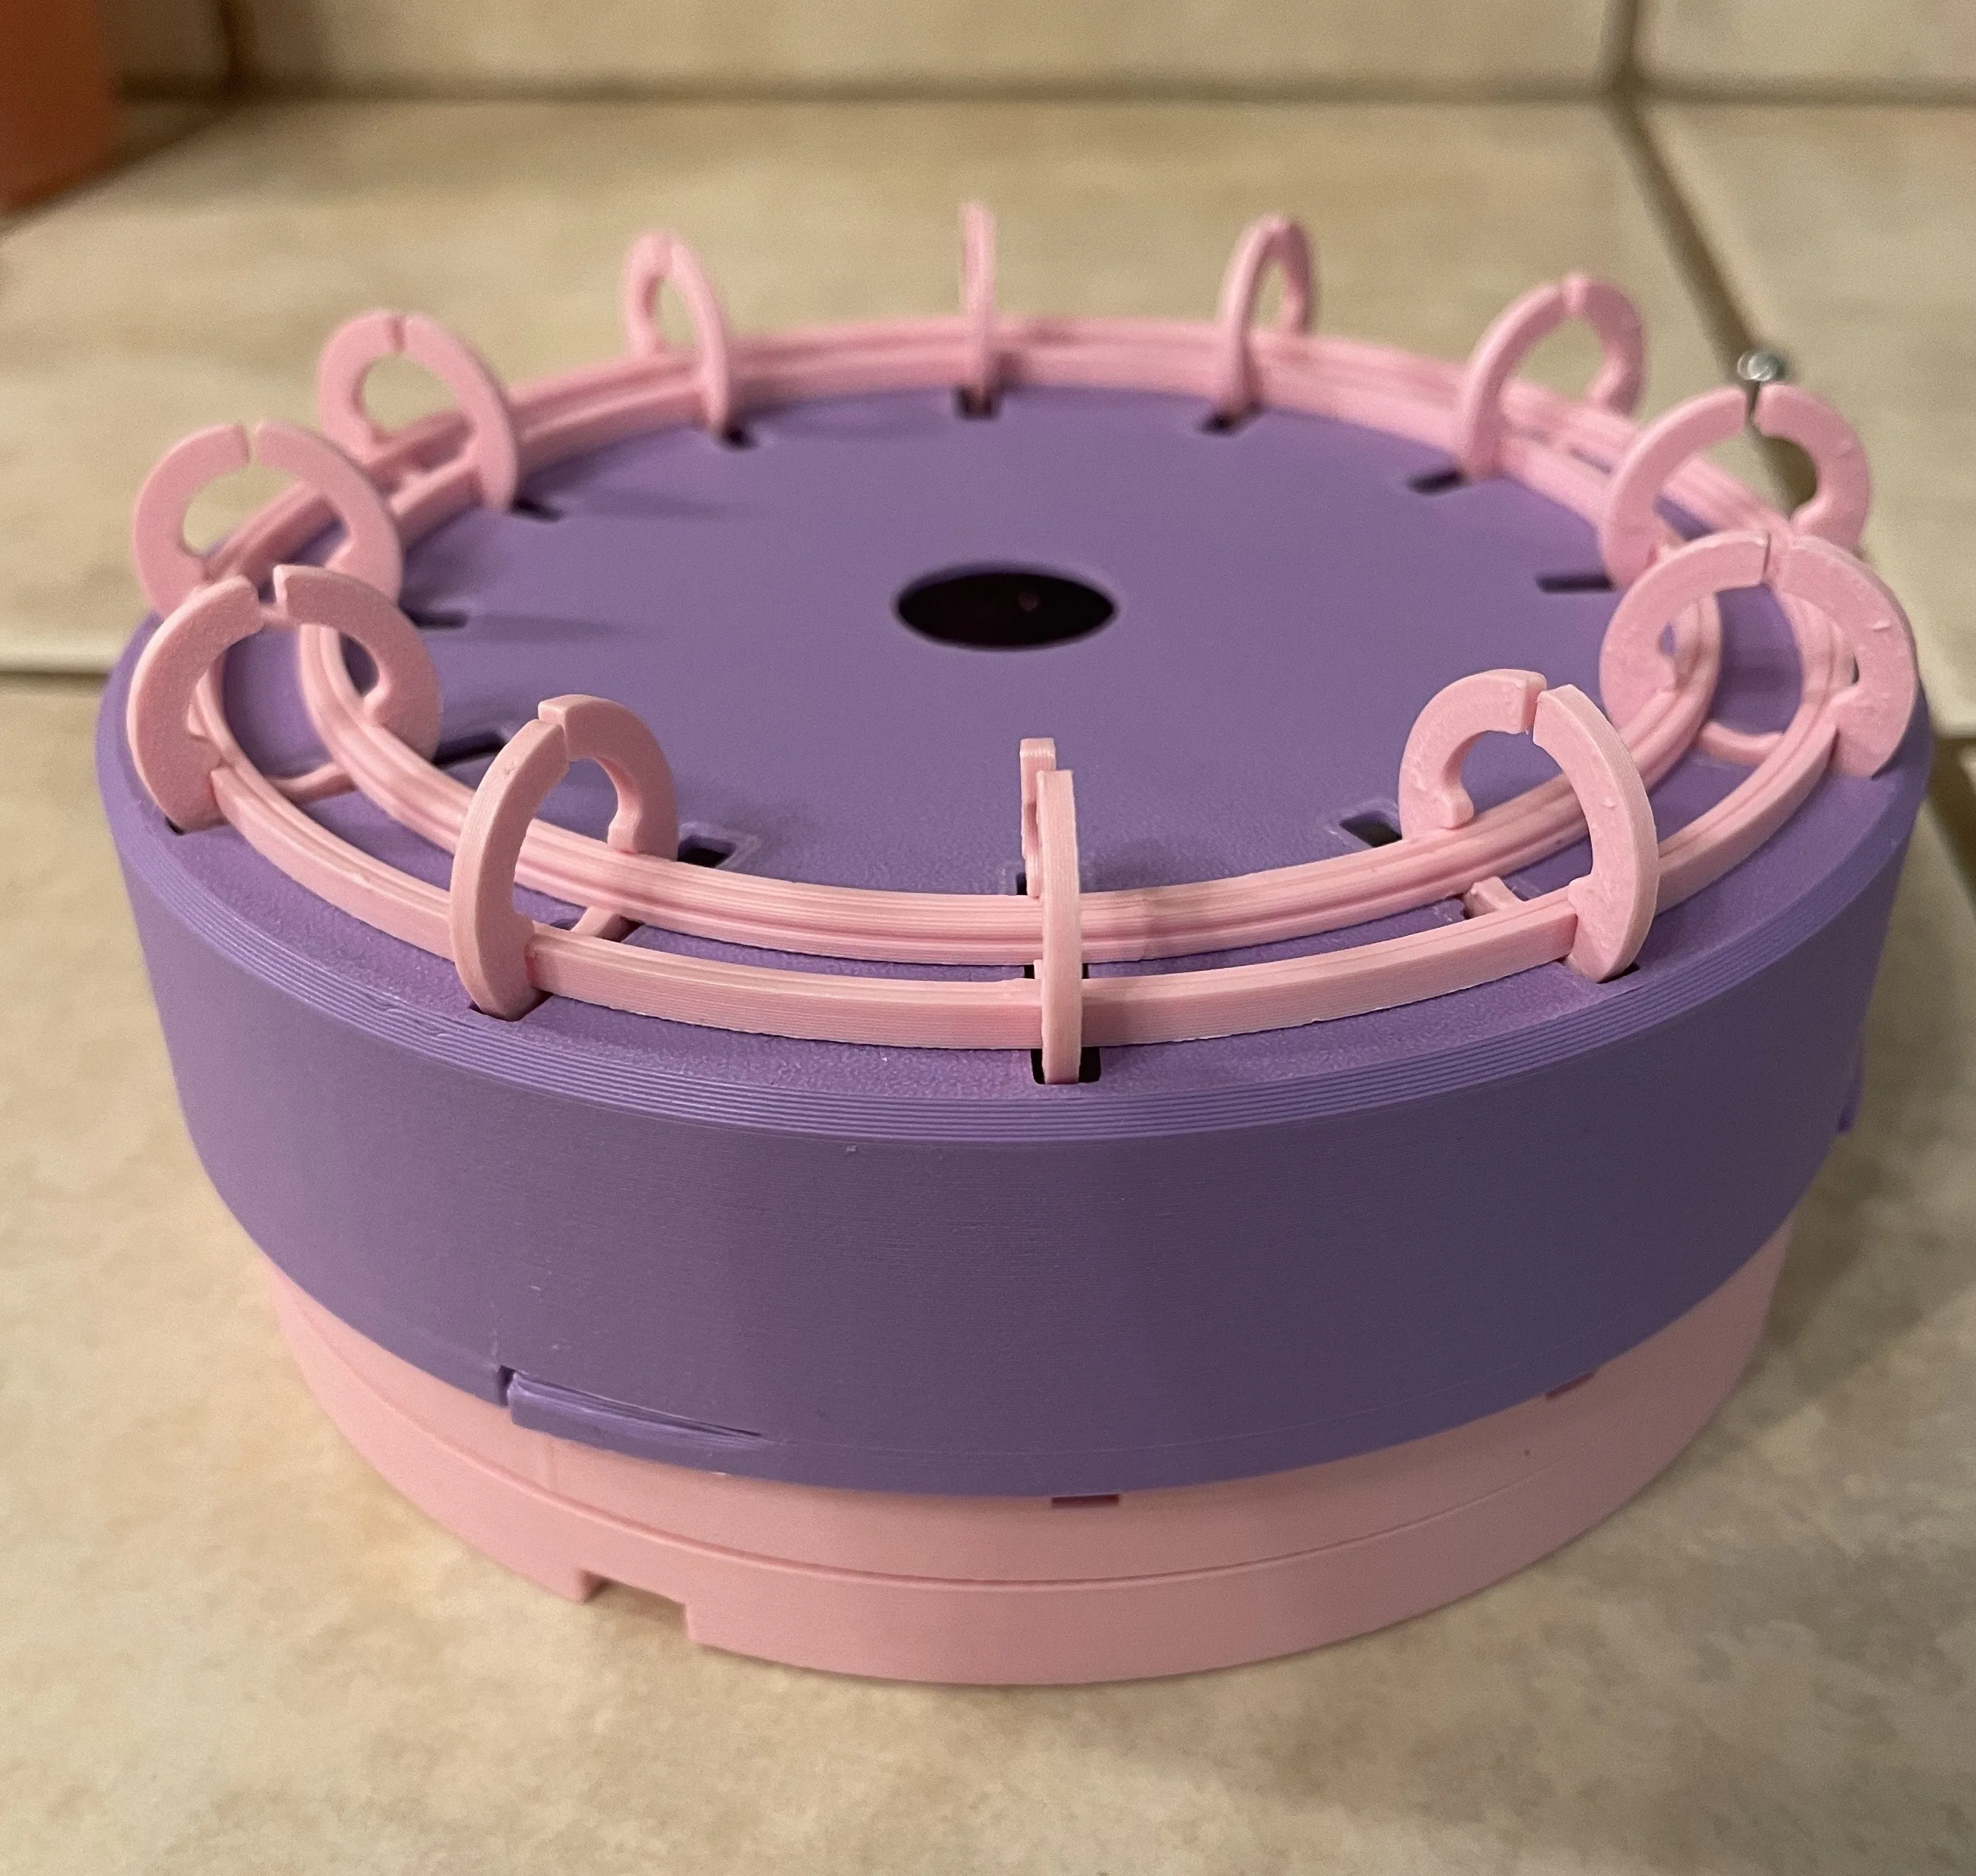
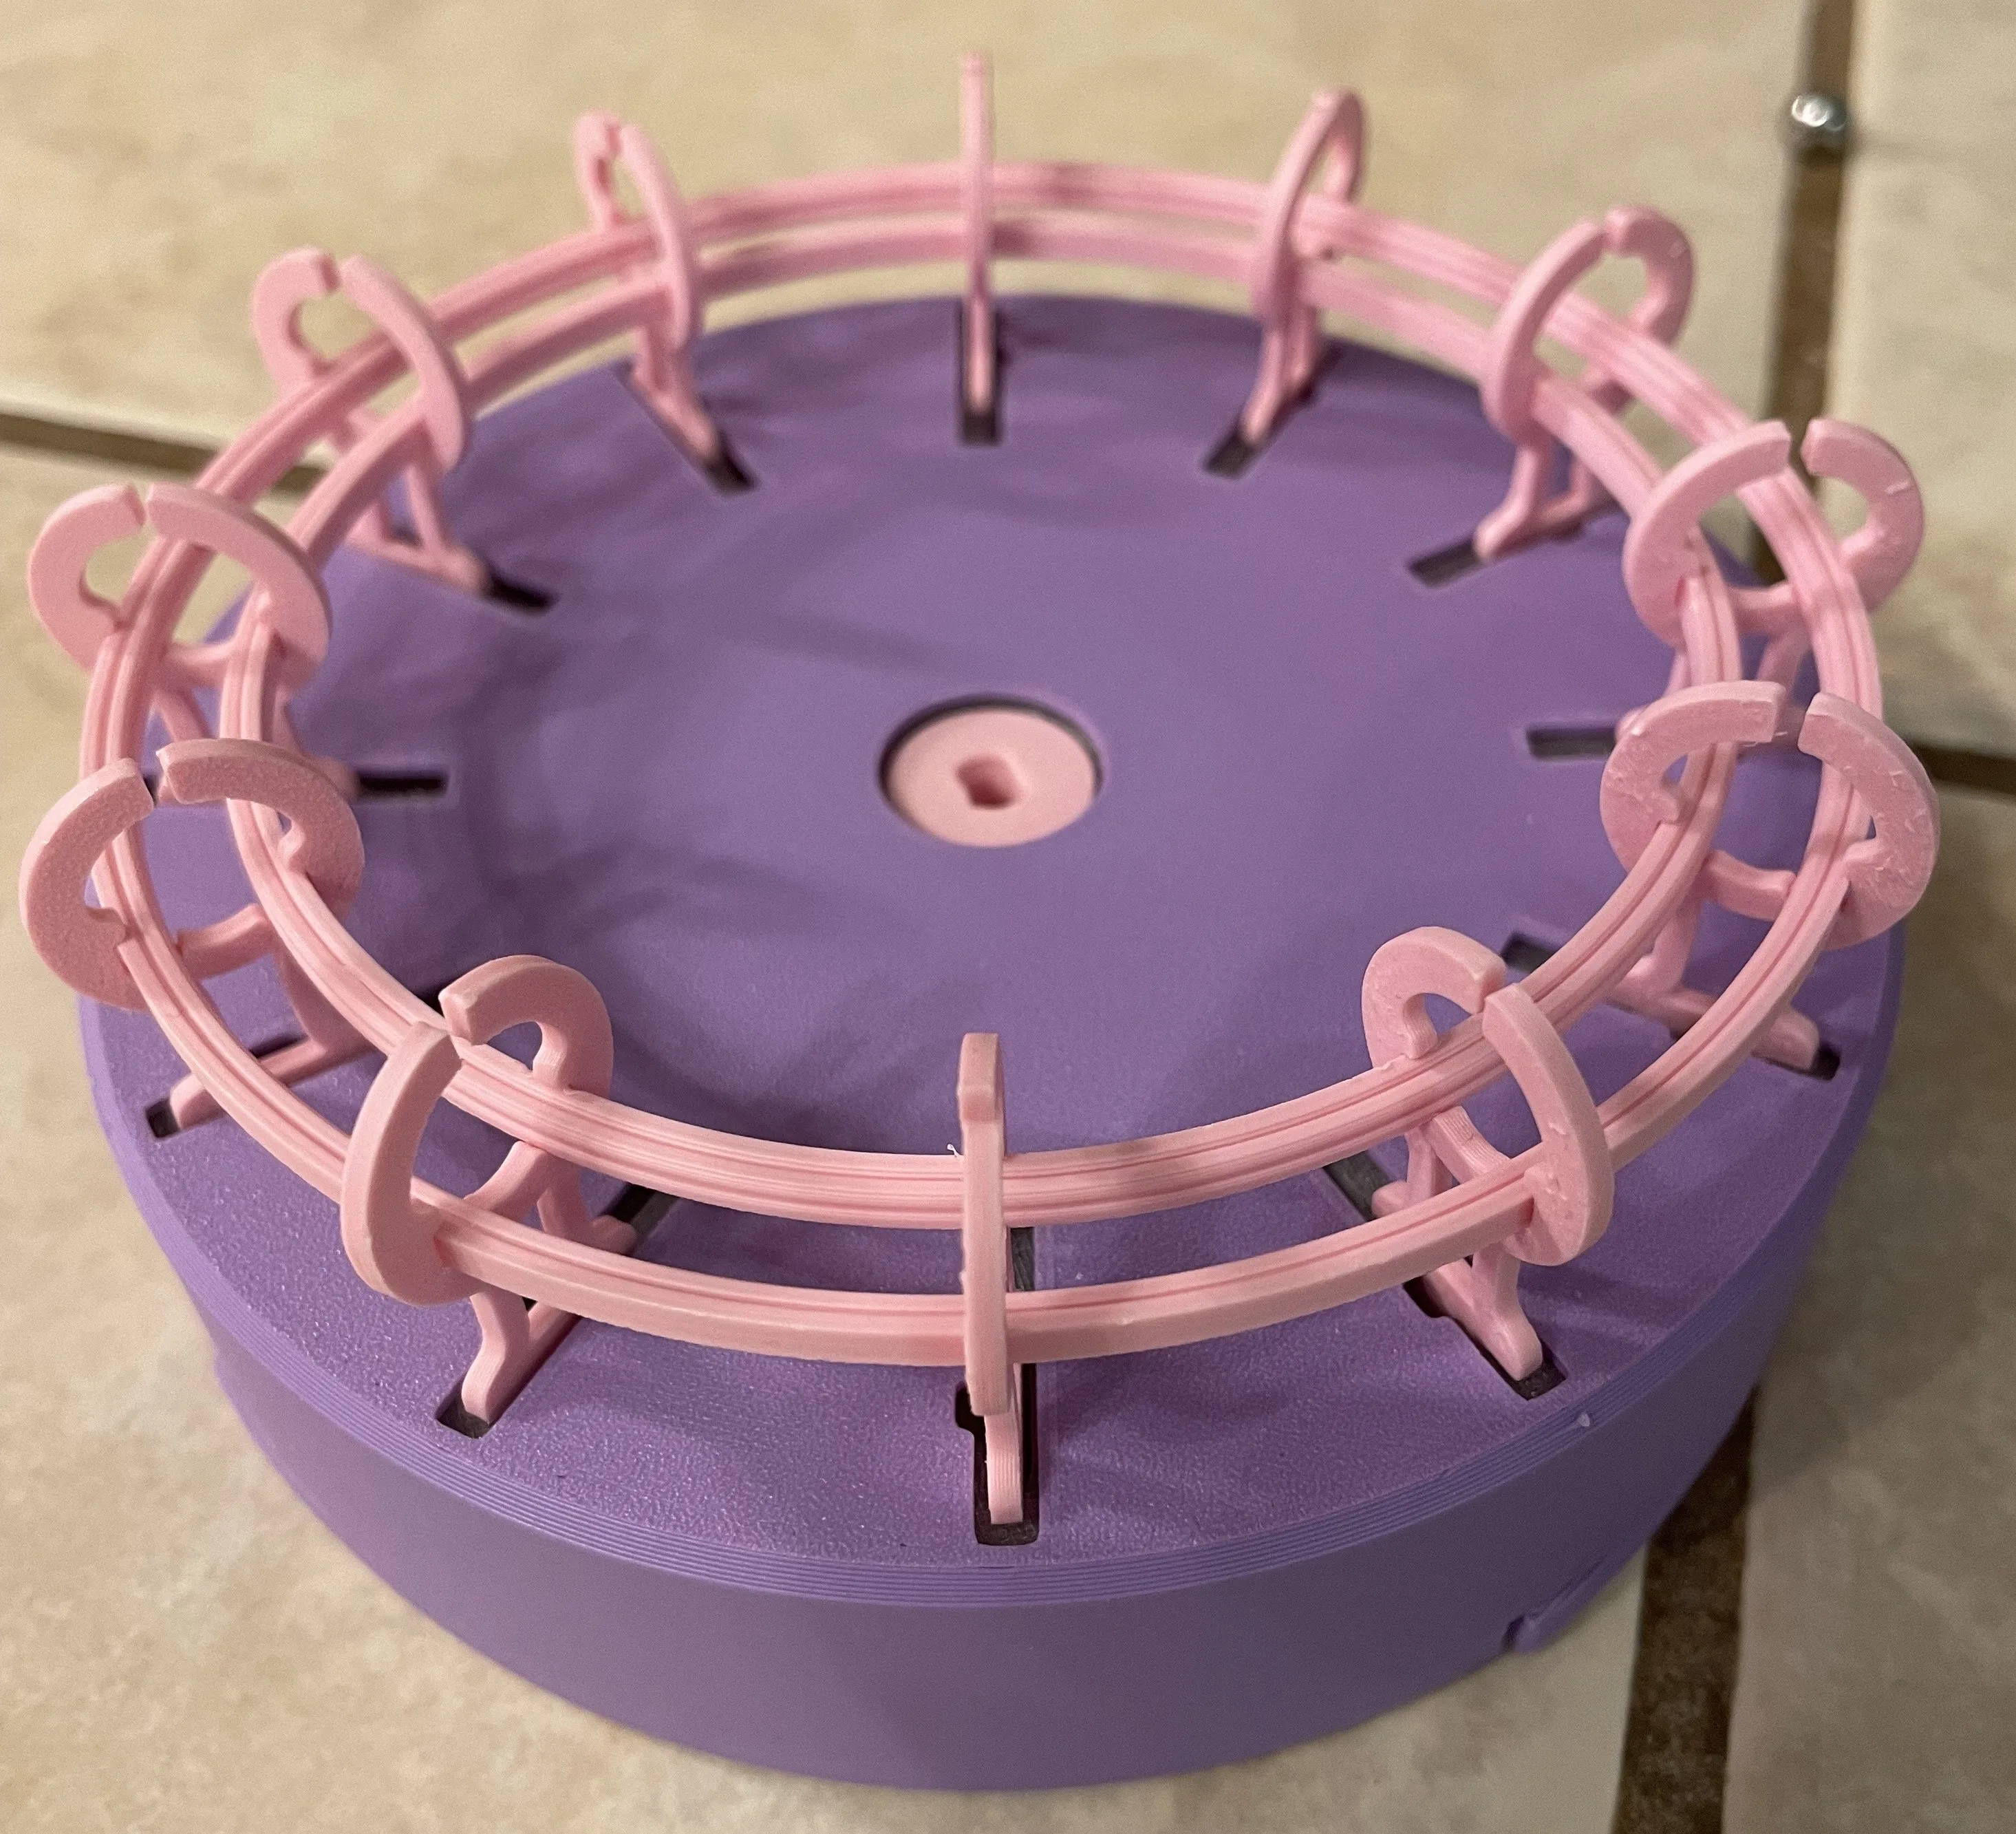
Using the wires from the Maker Kit put it into the motor mount so they fall into the slots.
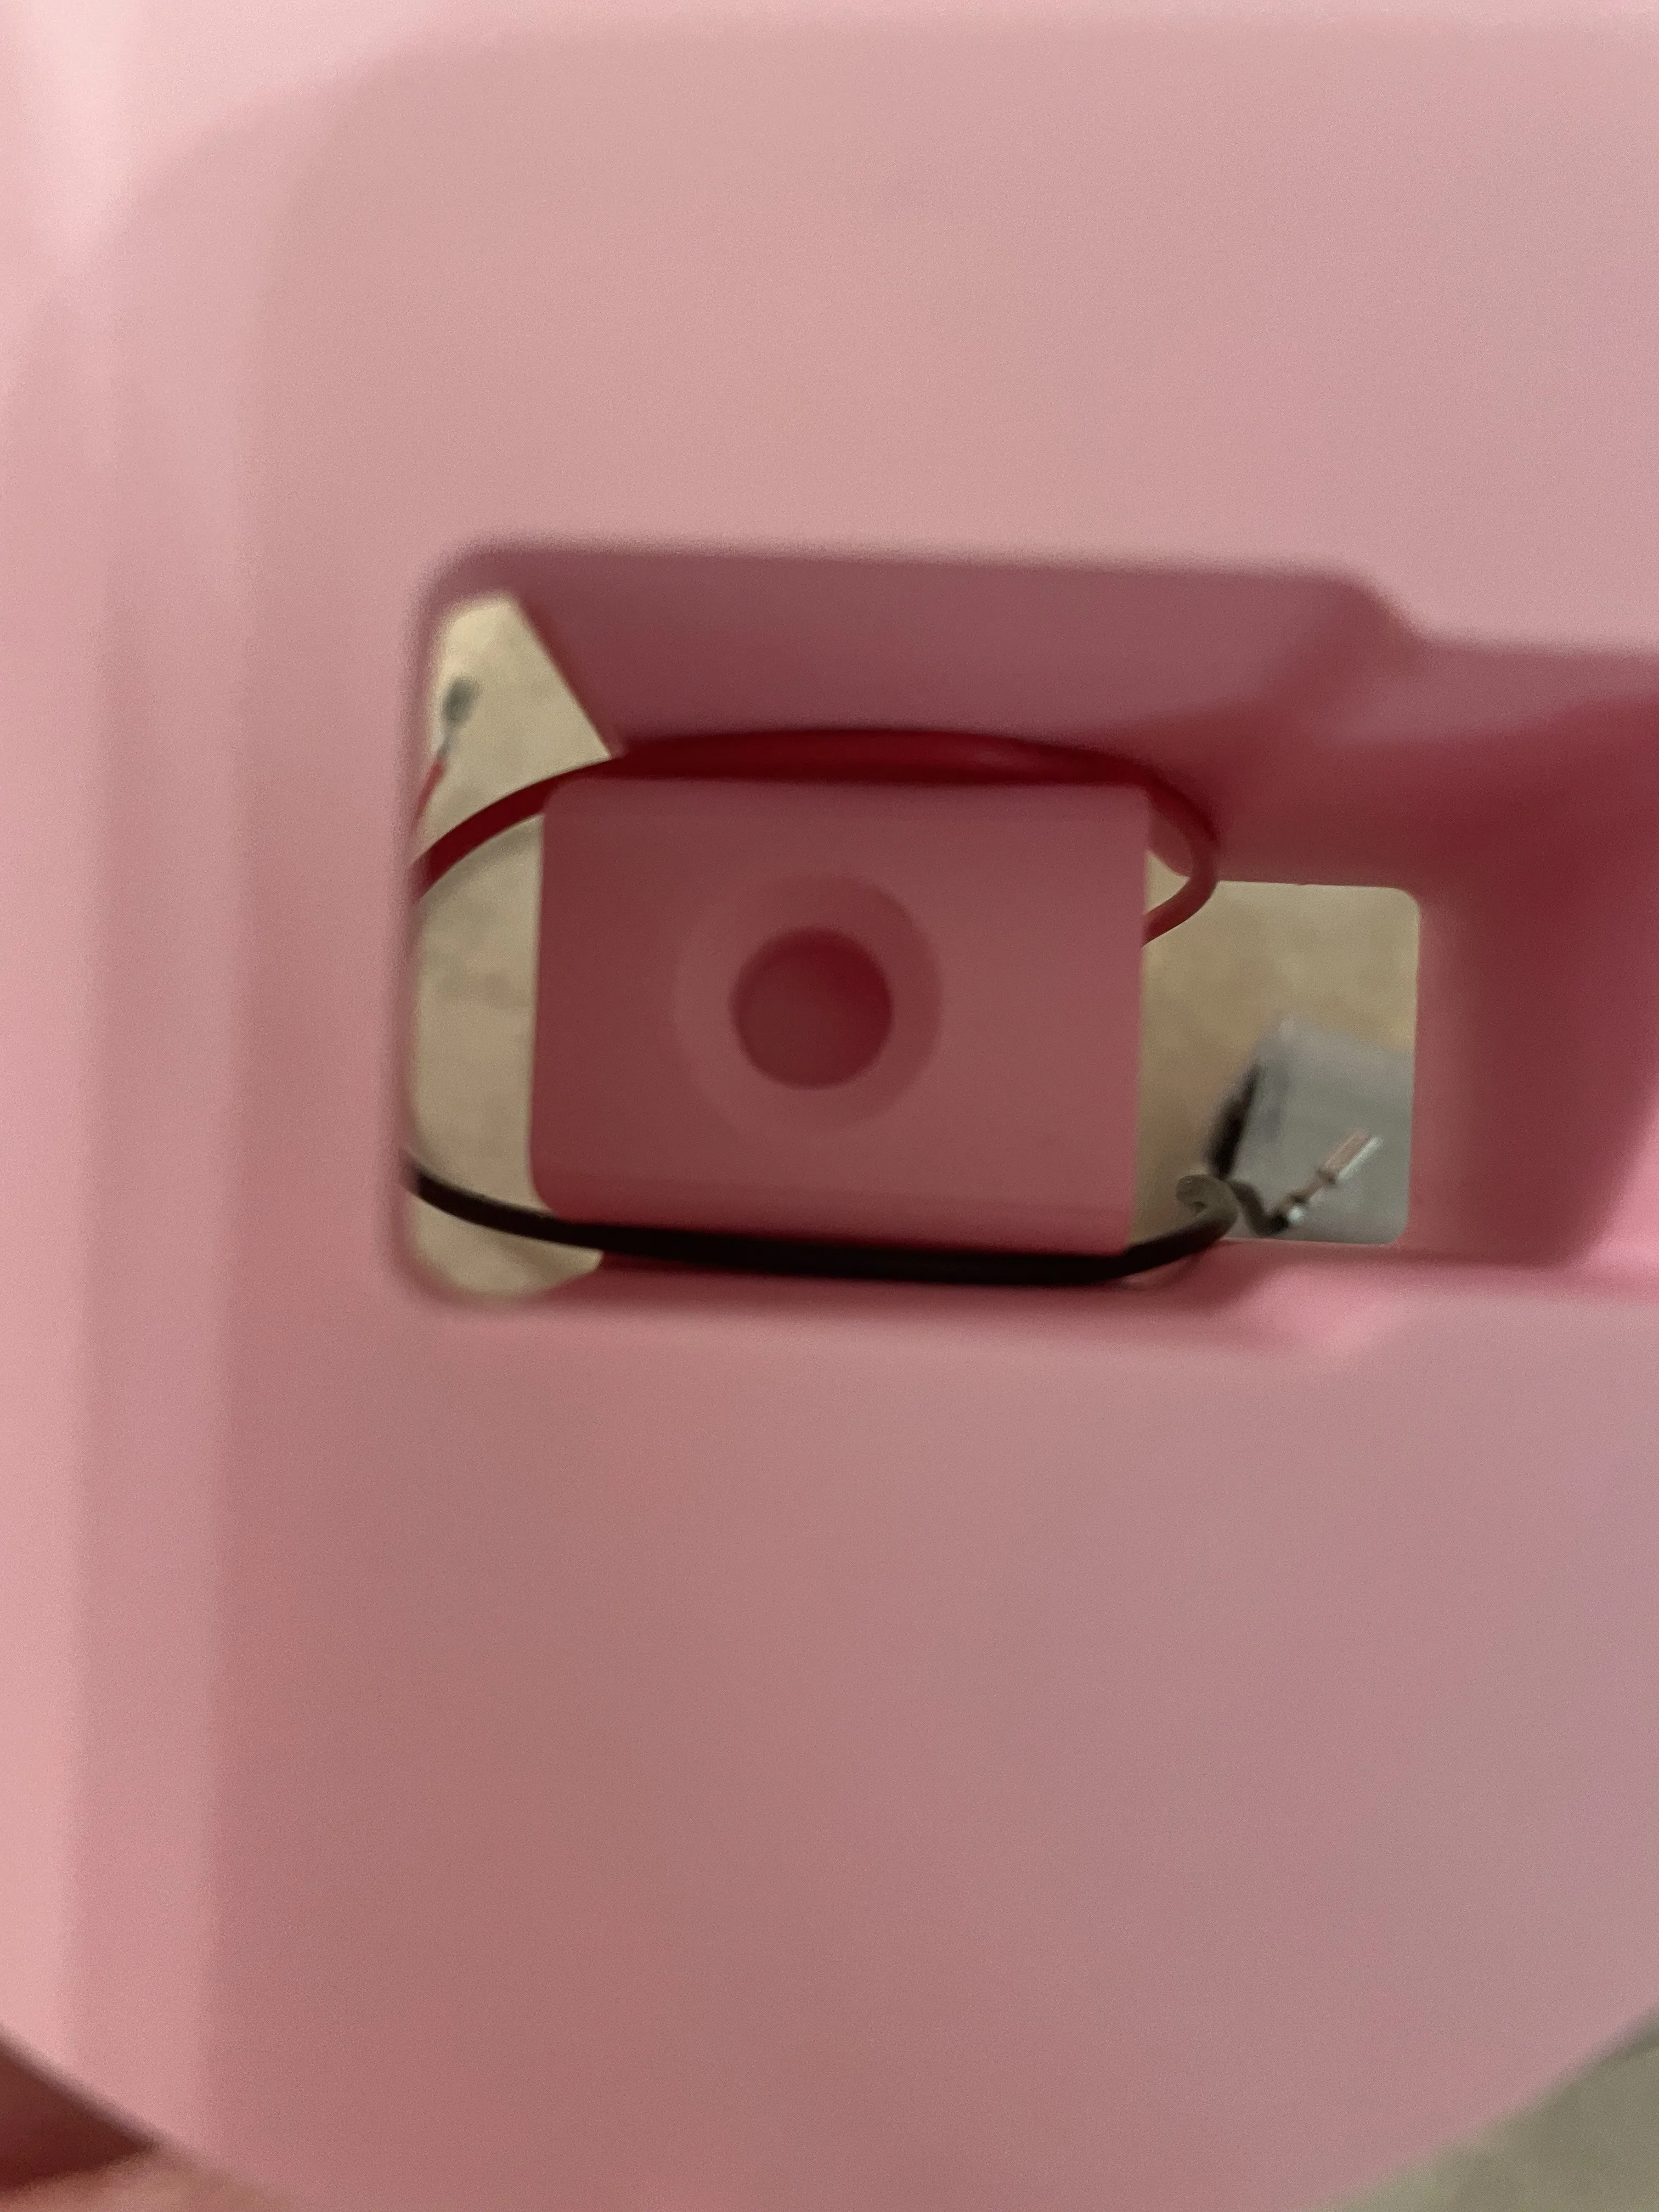
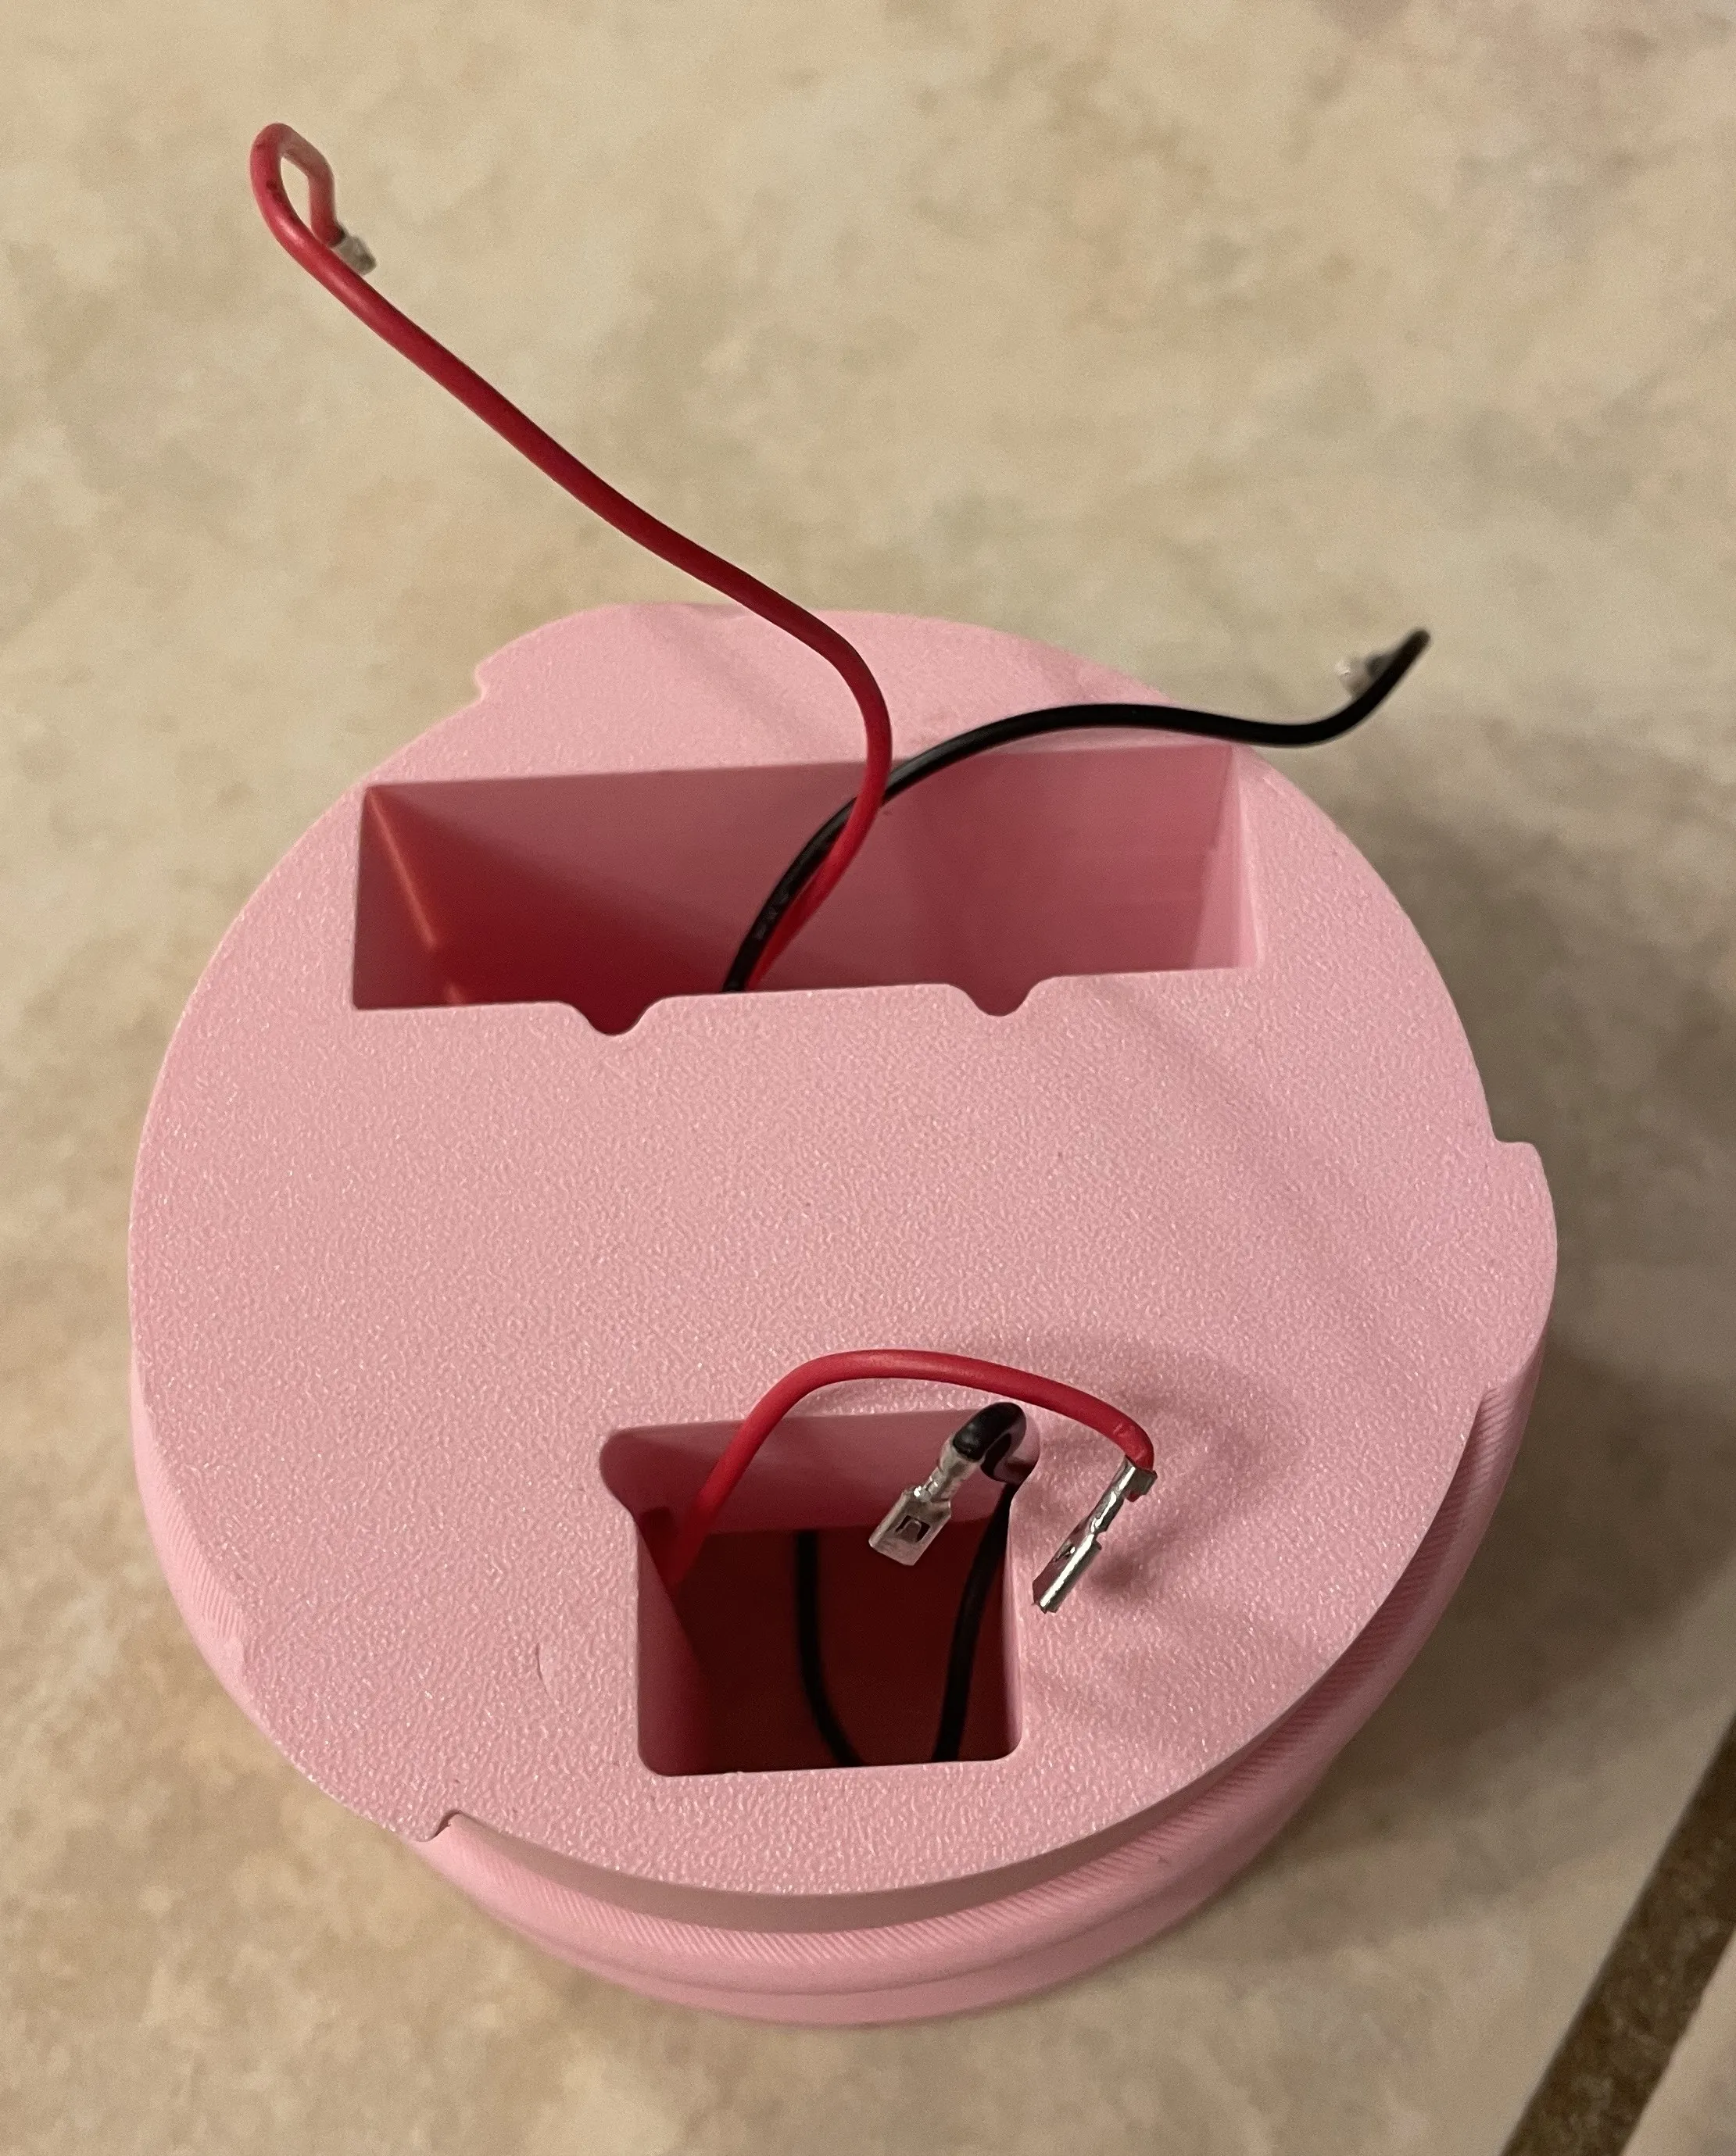
Once the wires are in put the motor gear box in and attach the wires to the motor. Put the motor housing onto the outer casing
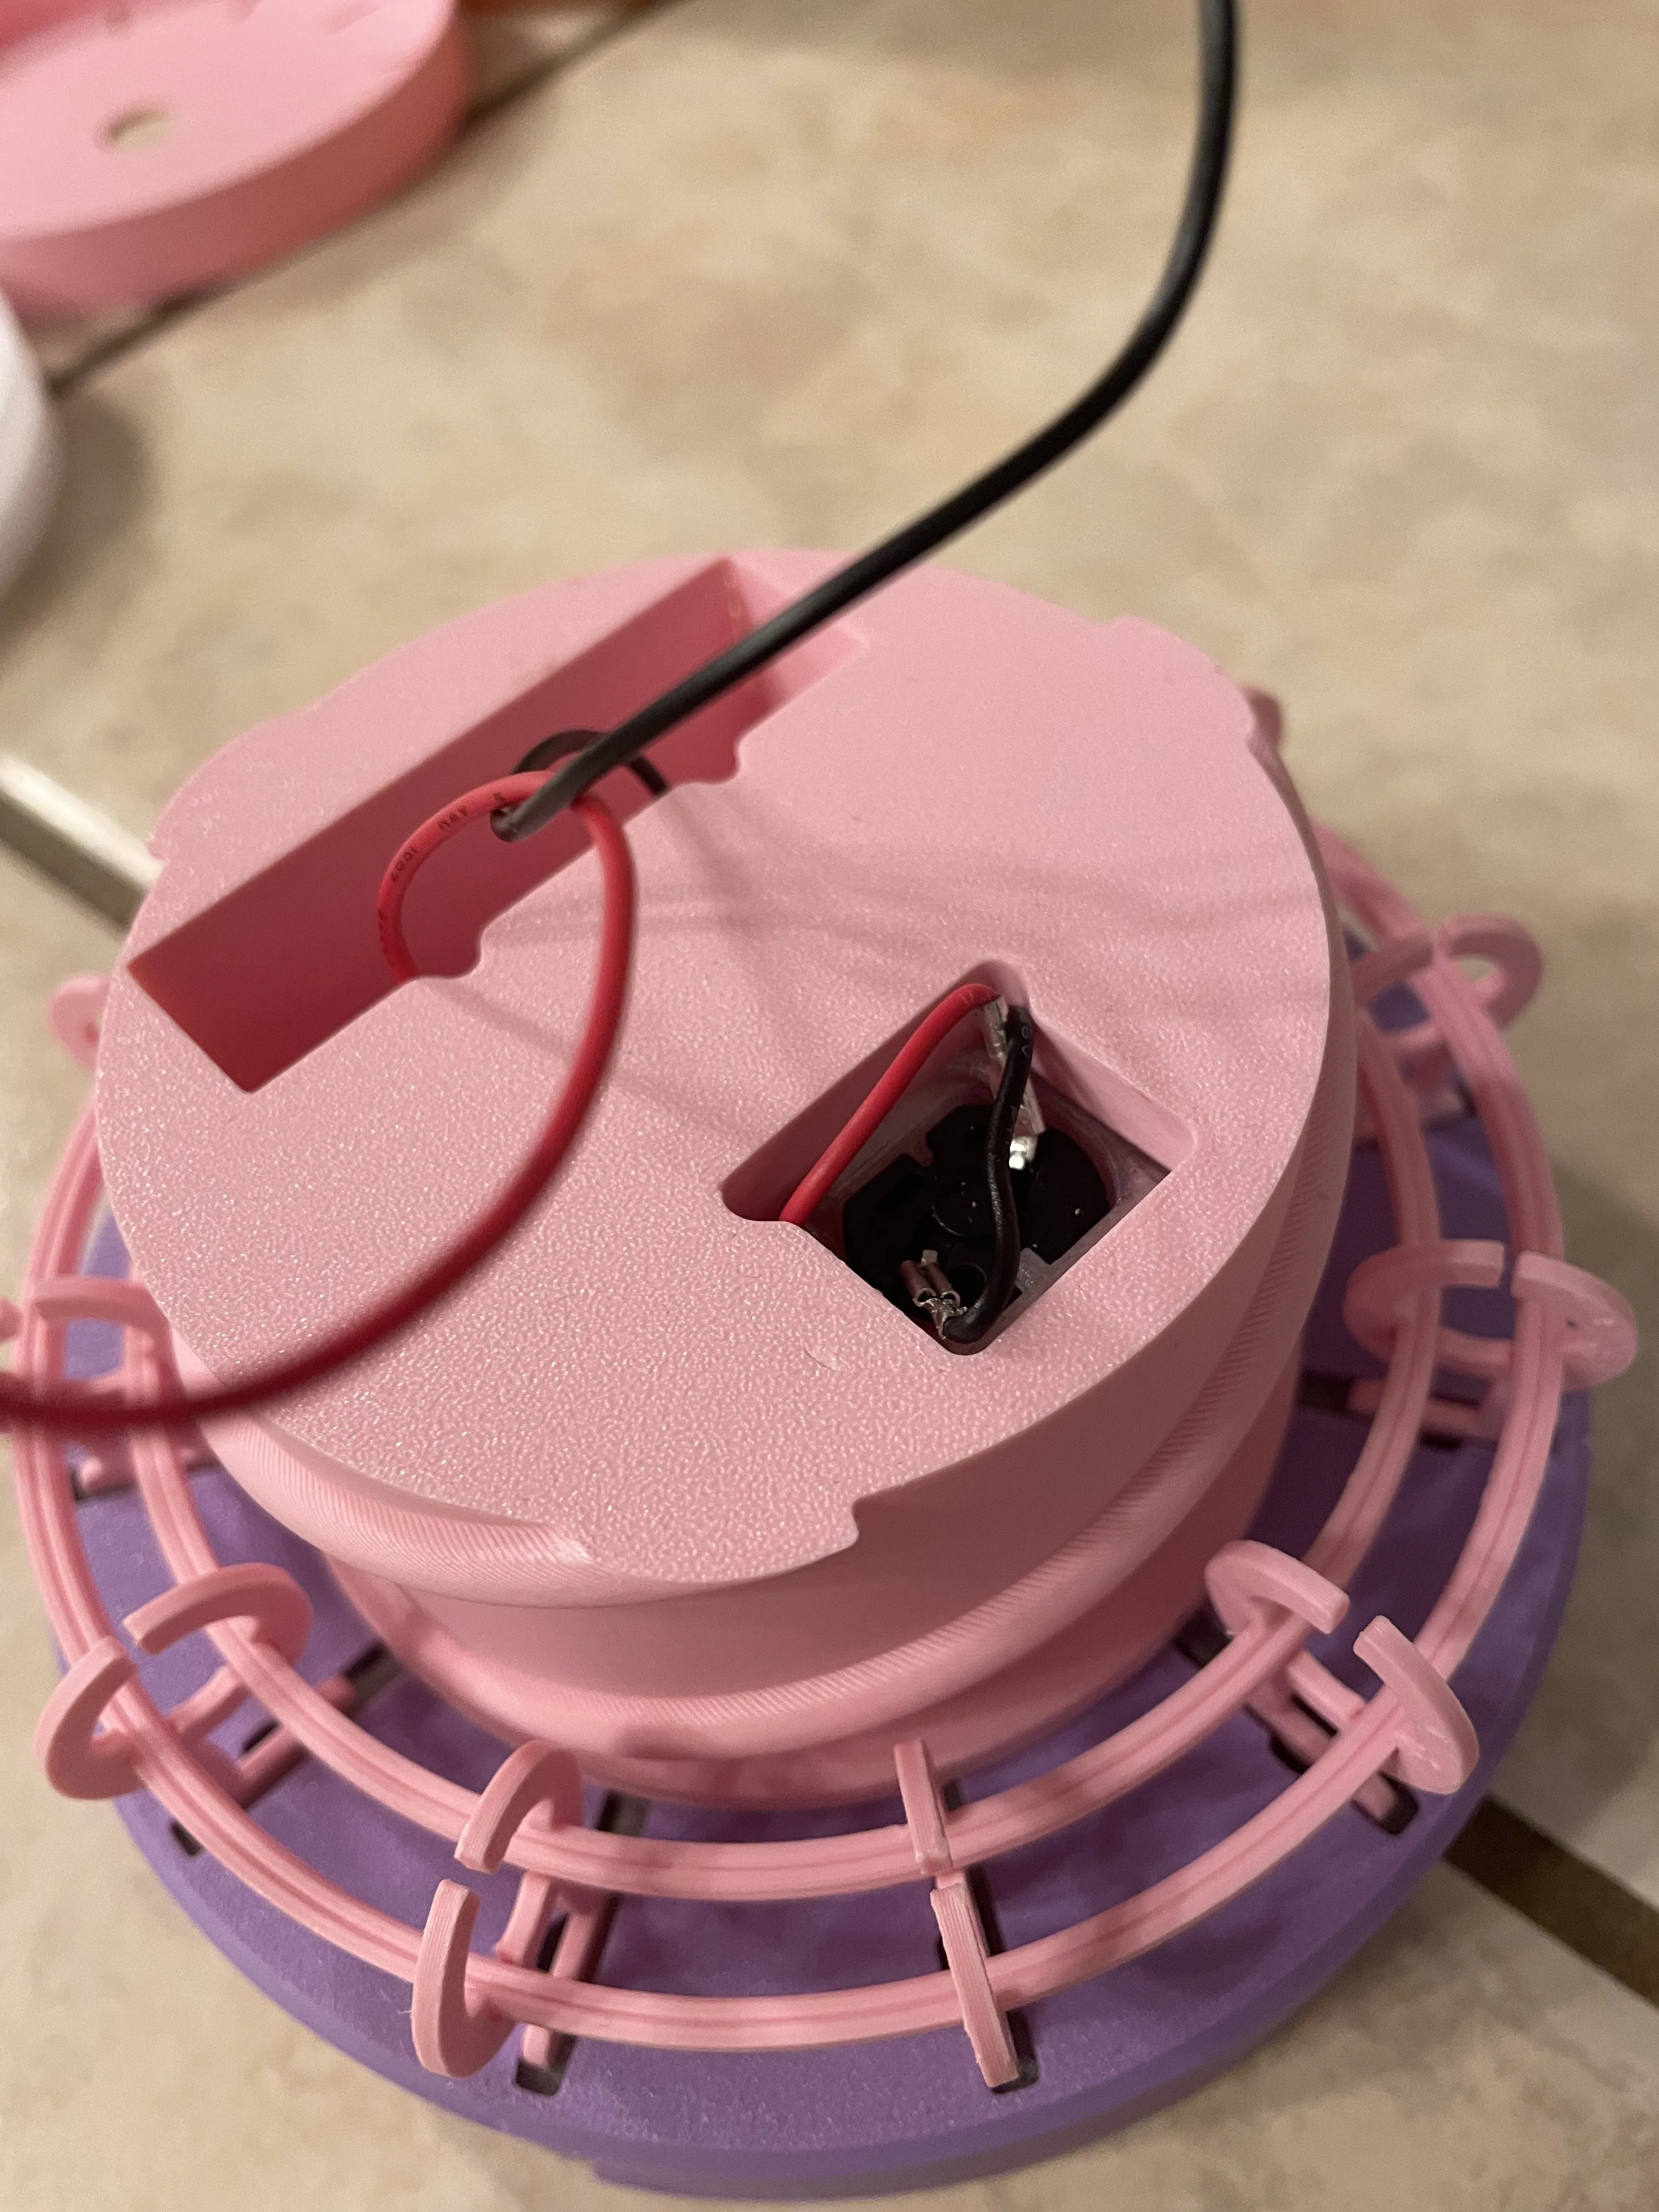
Screw the cap on and slid the batter pack in attaching the wires
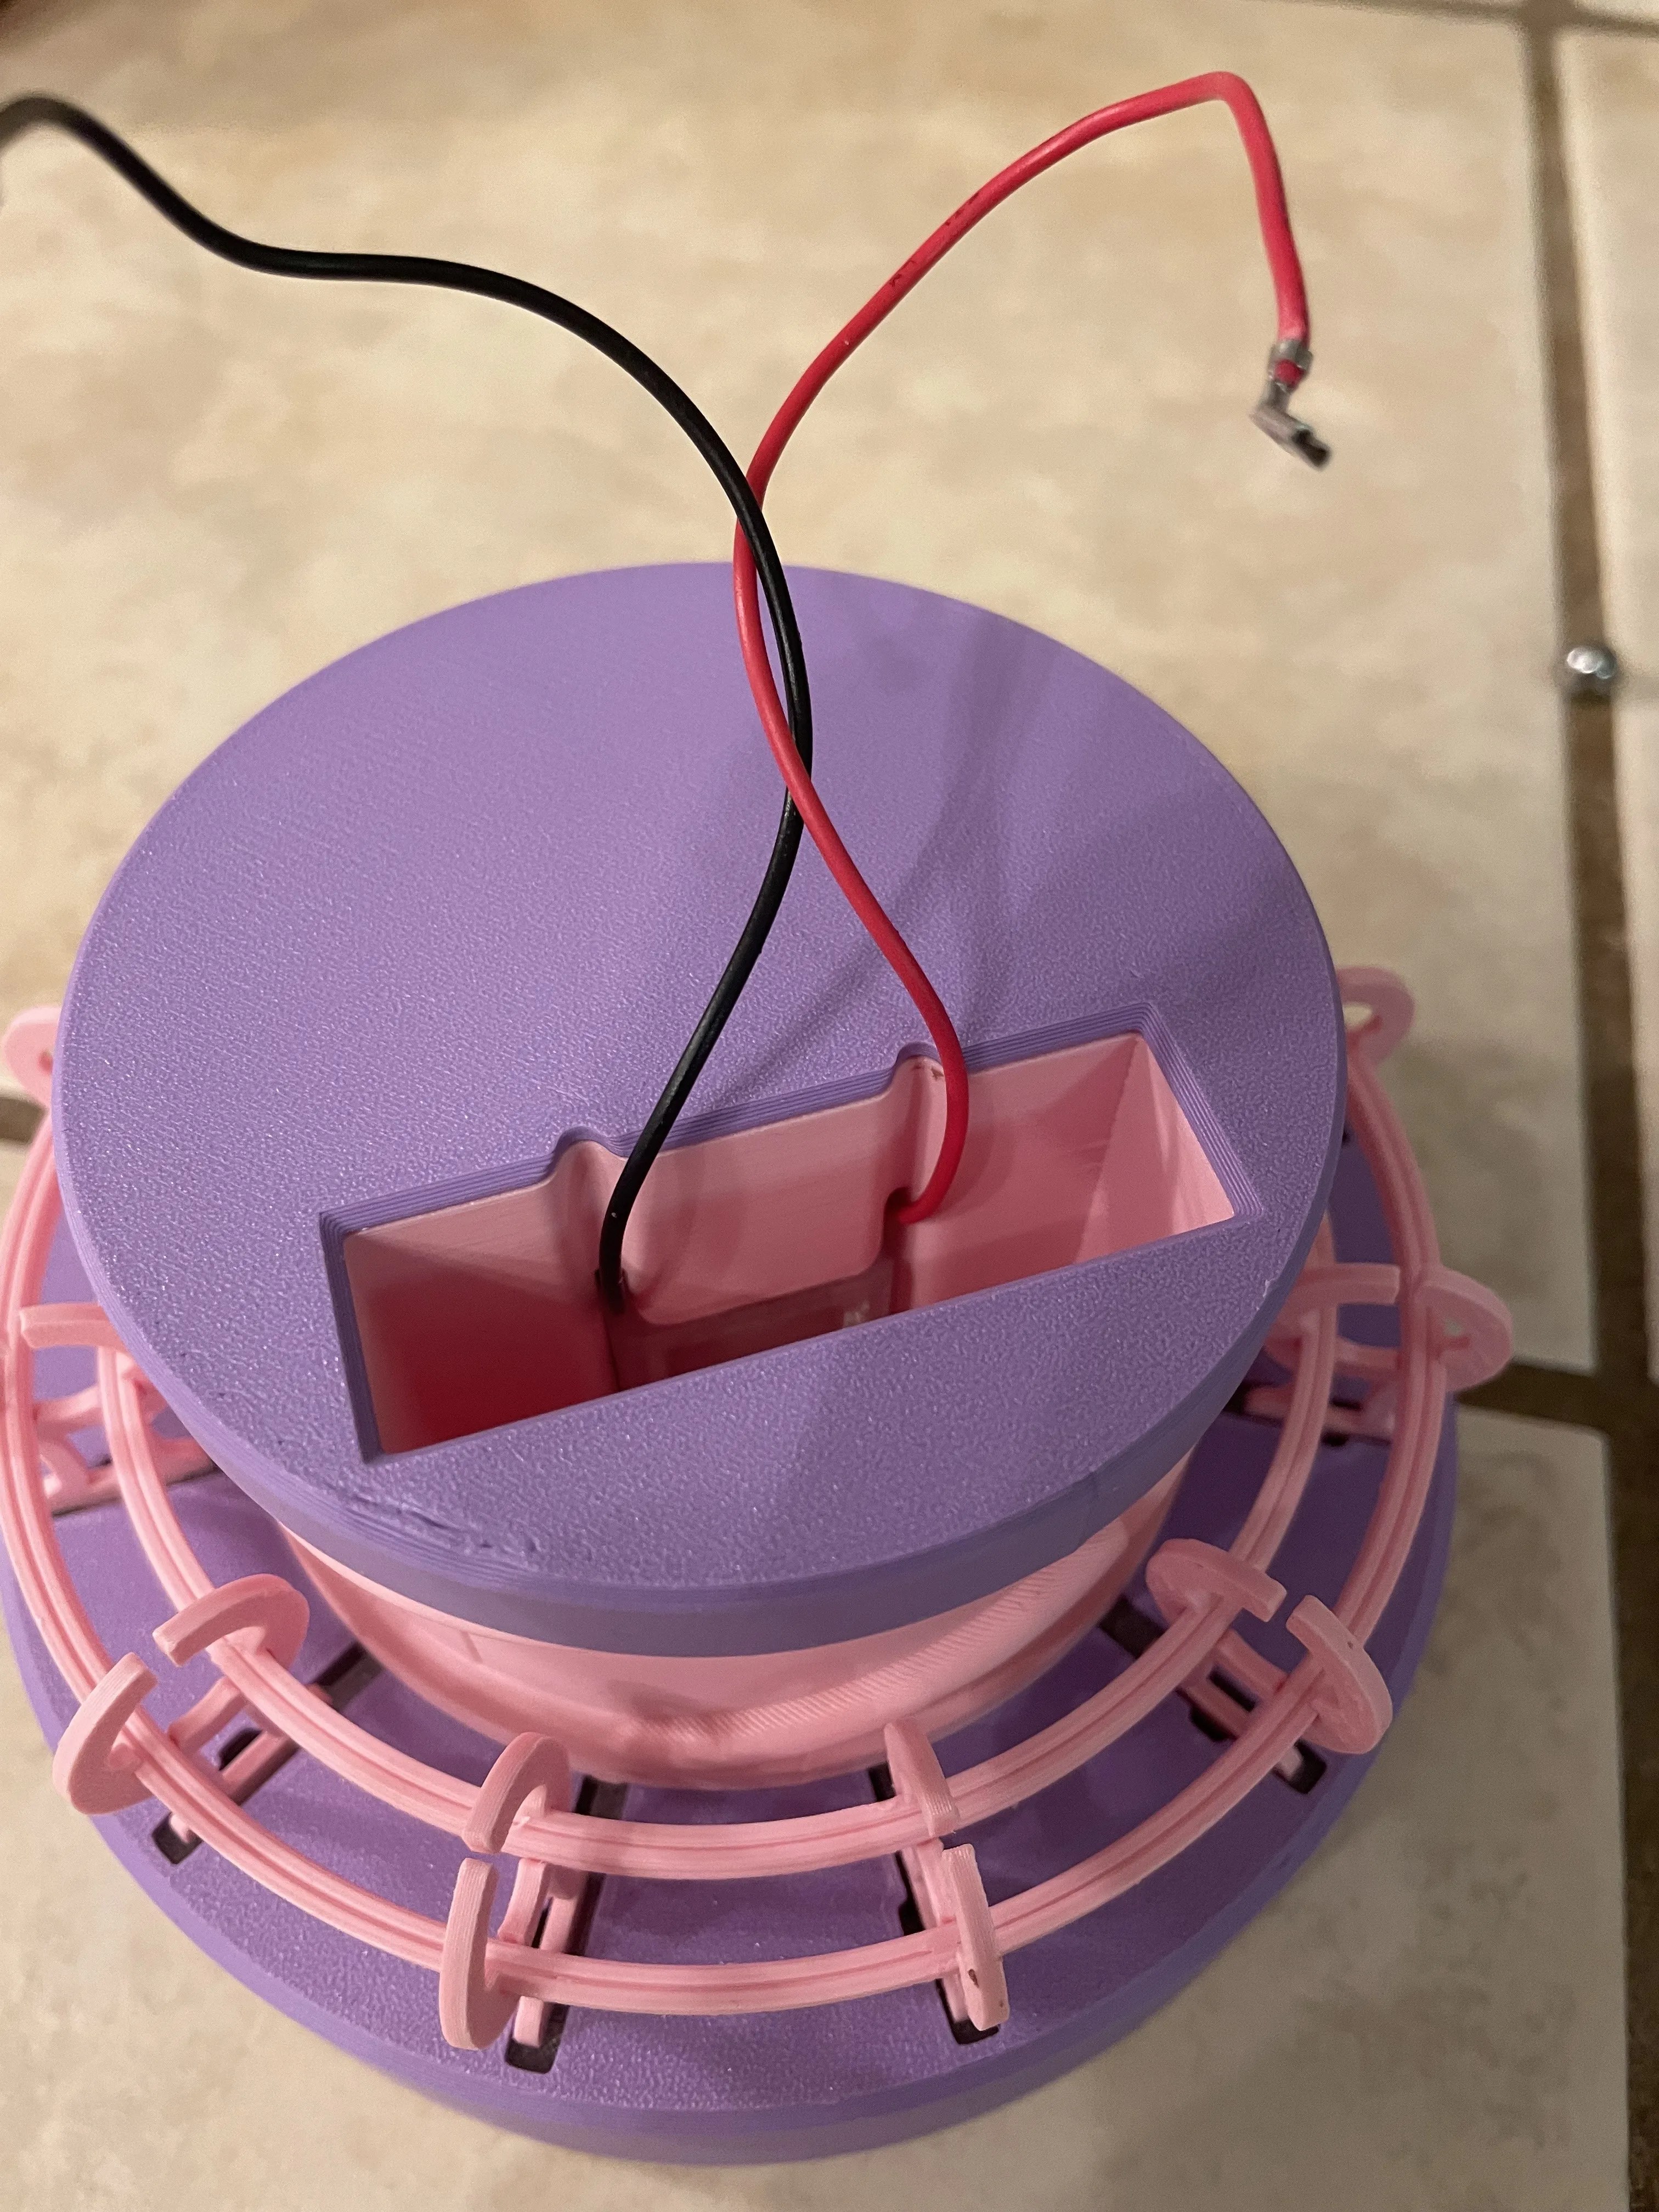
Put a 8mm ball bearing on the track and turn the power on and watch it go round and round
License

You shall not share, sub-license, sell, rent, host, transfer, or distribute in any way the digital or 3D printed versions of this object, nor any other derivative work of this object in its digital or physical format (including - but not limited to - remixes of this object, and hosting on other digital platforms). The objects may not be used without permission in any way whatsoever in which you charge money, or collect fees.


Comment & Rating (1)