
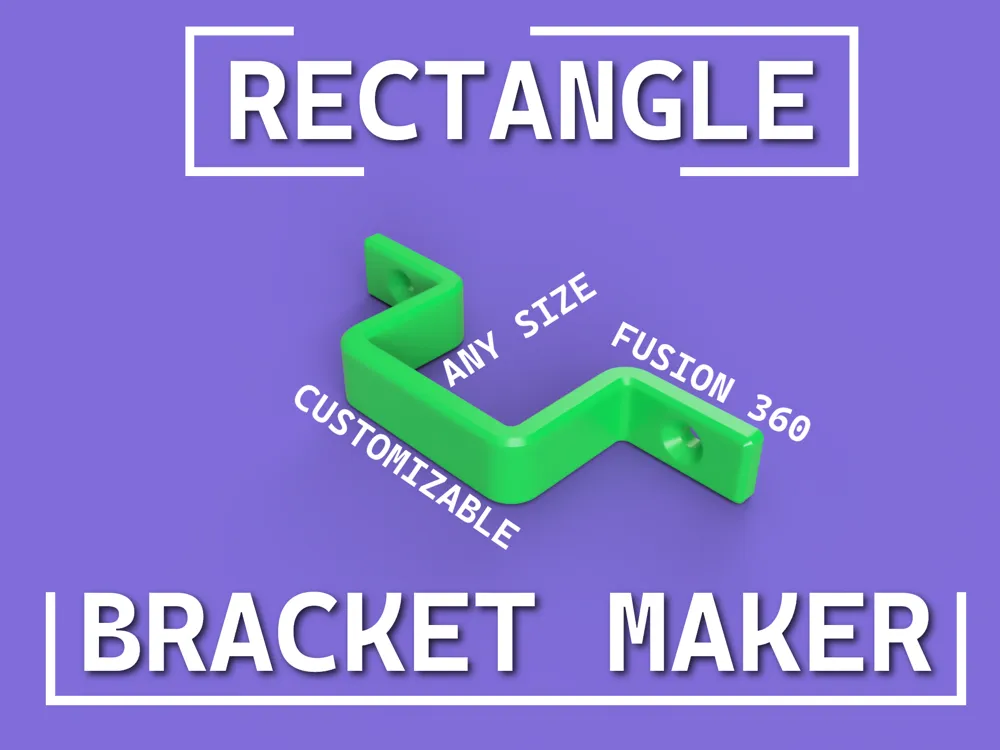
Rectangle Bracket Maker

Print Profile(1)

Description
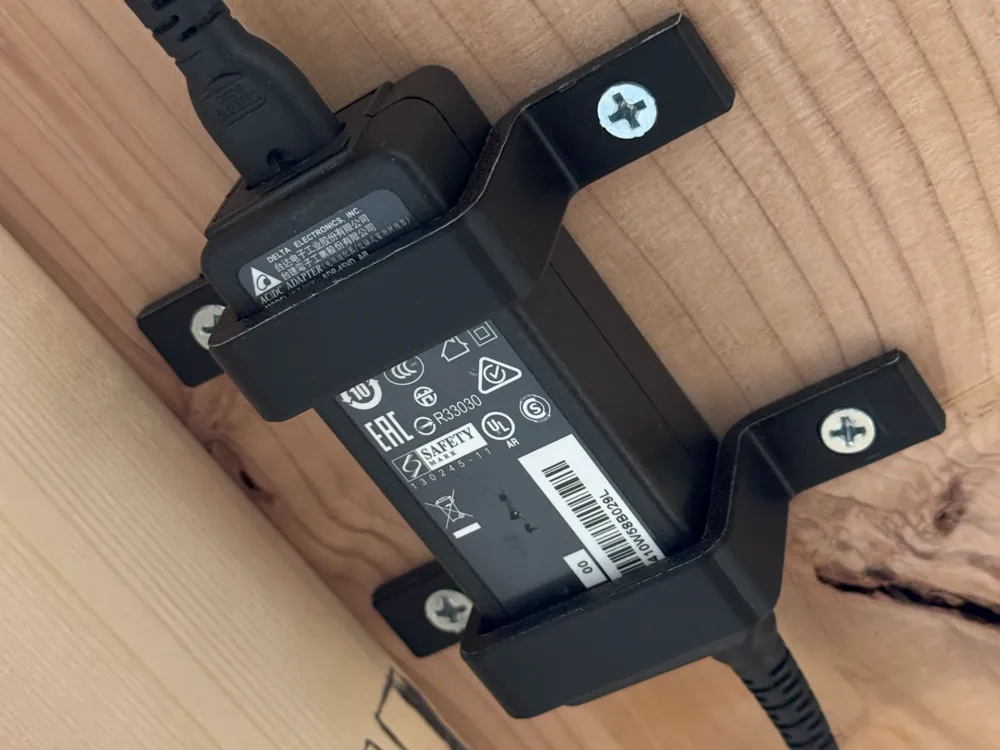
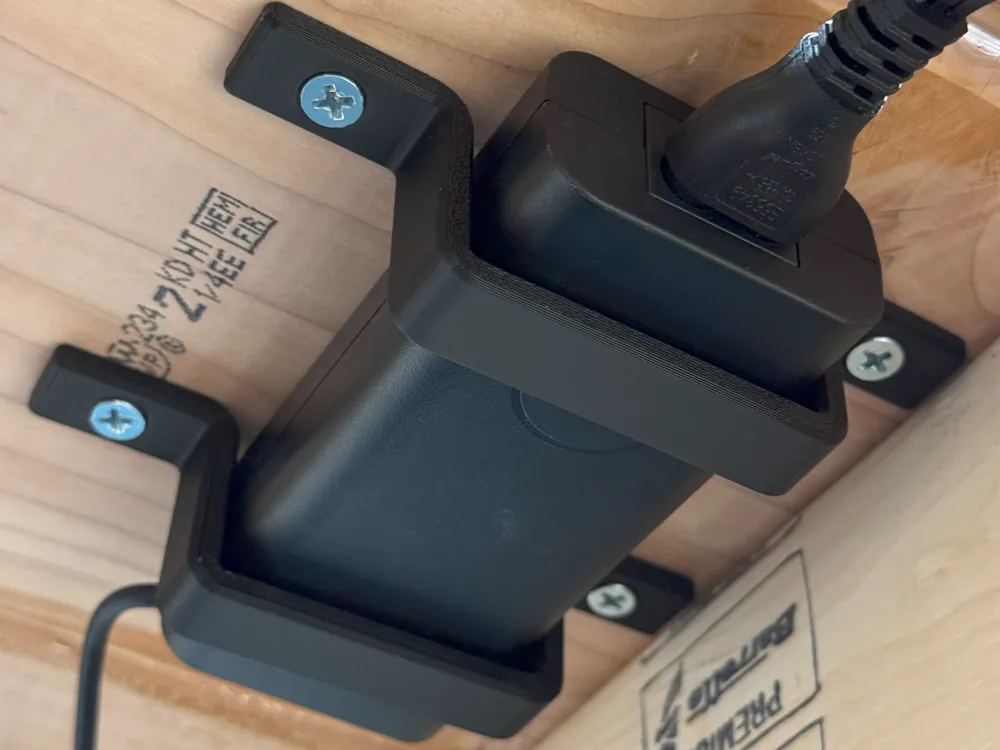
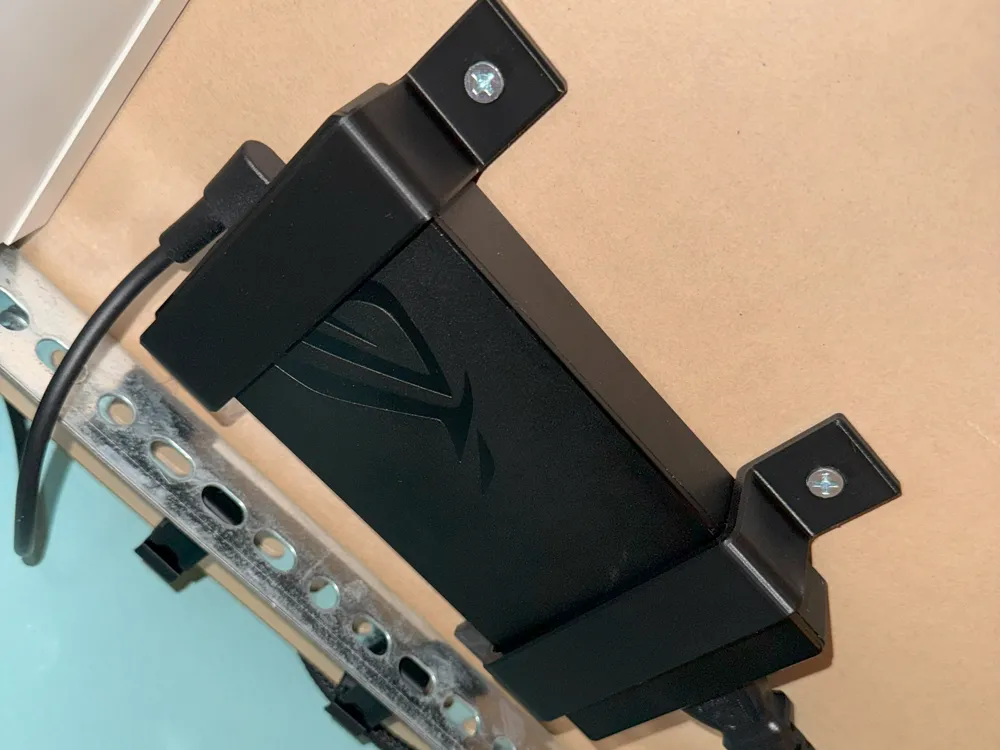
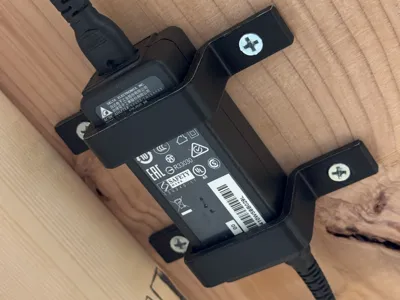
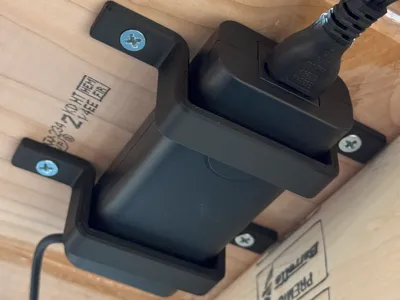
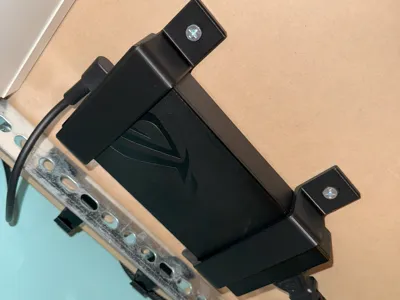
What you've been waiting for – the simplest and most enjoyable customizable system for crafting your very own custom rectangle bracket. Choose from printing the example test model or dive straight into customization with one of the most user-friendly Autodesk Fusion 360 files available. You don't need to be a pro, and there's no need to purchase a Fusion license.
Simply open the file in Fusion 360, input the desired heigh and width of your part you're looking to secure, and export for printing! That's all – the Fusion 360 file takes care of all the heavy lifting for you, meticulously refined, labeled, and easy to navigate. Screw holes use your standard Phillips sizes, the stock hole is setup for a #8 Wood Screw.
Where to start?
I would start by printing the example test print to get an idea of the bracket physically (you can always use more brackets!) or jump right in by downloading Autodesk Fusion 360 for personal use for free.
How do I create my own bracket in Fusion 360?
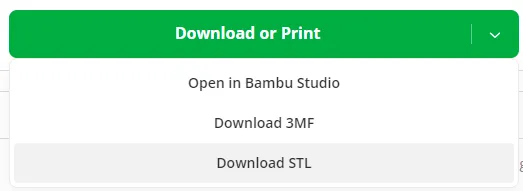
After you download Fusion 360 and create an Autodesk account you will be able to open the Rectangle Bracket Maker File. To get a copy of the file by hovering your mouse cursor over the Download or Print > Download STL and select the file.
Open the Fusion 360 file.
Click on Modify > Change Parameters.
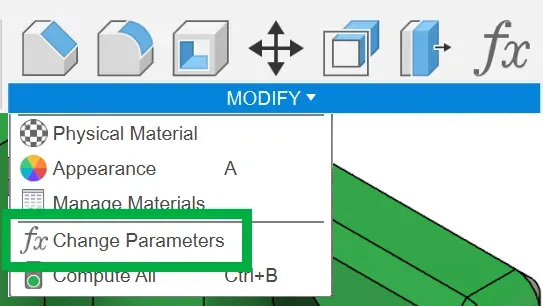
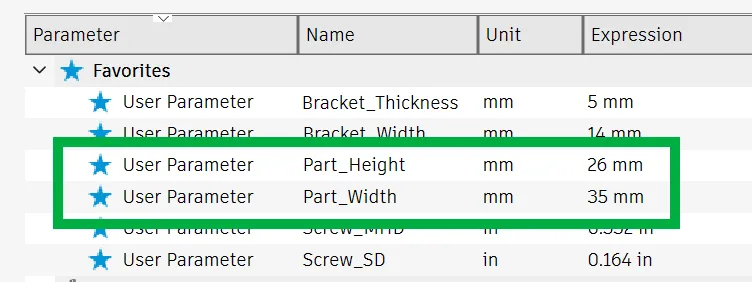
Adjust the Part_Height and Part_Width to match the desired size of the bracket. I have added a 2mm clearance to both Part_Height and Part_Width, it is recommended to keep this modifier.
If you need to remove the 2mm clearance just enter 2mm less for your Part_Height and Part_Width.
(For example, if my part was 25mm tall then I would enter 23mm into the Expression.)
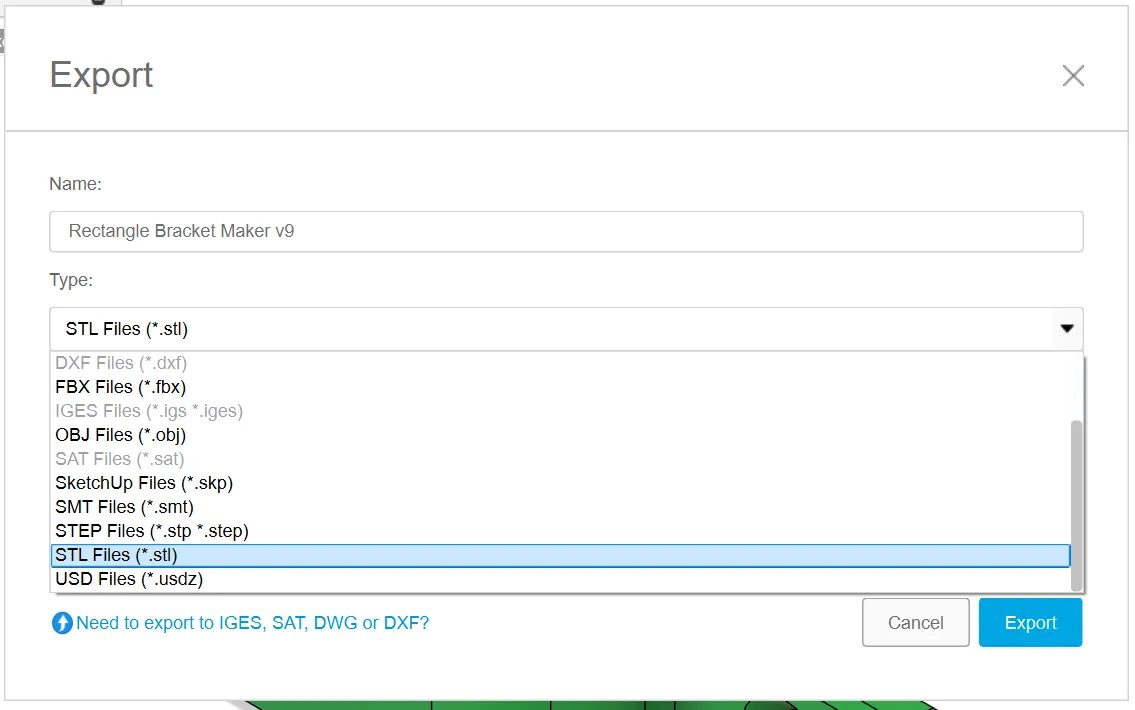
Choose Export > Name the file > Choose STL Files (*.stl) > Export
How do I change the size of the screw hole?
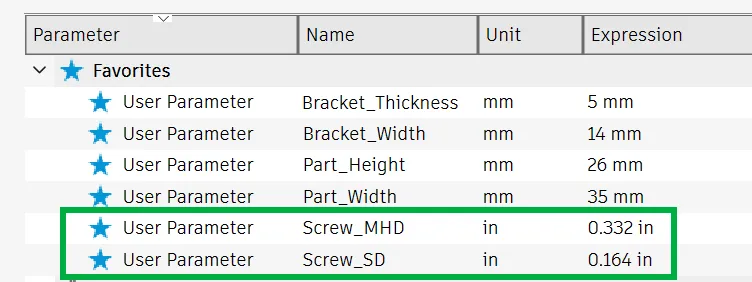
You can view the chart below and enter these values into the respective locations.
Screw_MHD = Maximum Head Diameter
- Screw_SD = Shank Diameter
Screw Number | Maximum Head Diameter | Shank Diameter |
#0 | .119 | .060 |
#1 | .146 | .073 |
#2 | .172 | .086 |
#3 | .199 | .099 |
#4 | .225 | .112 |
#5 | .252 | .125 |
#6 | .279 | .138 |
#7 | .305 | .151 |
#8 | .332 | .164 |
#9 | .358 | .177 |
#10 | .385 | .190 |
#11 | .411 | .203 |
#12 | .438 | .216 |
License

You shall not share, sub-license, sell, rent, host, transfer, or distribute in any way the digital or 3D printed versions of this object, nor any other derivative work of this object in its digital or physical format (including - but not limited to - remixes of this object, and hosting on other digital platforms). The objects may not be used without permission in any way whatsoever in which you charge money, or collect fees.


Comment & Rating (2)