
Laser Holder
Print Profile(1)

Description
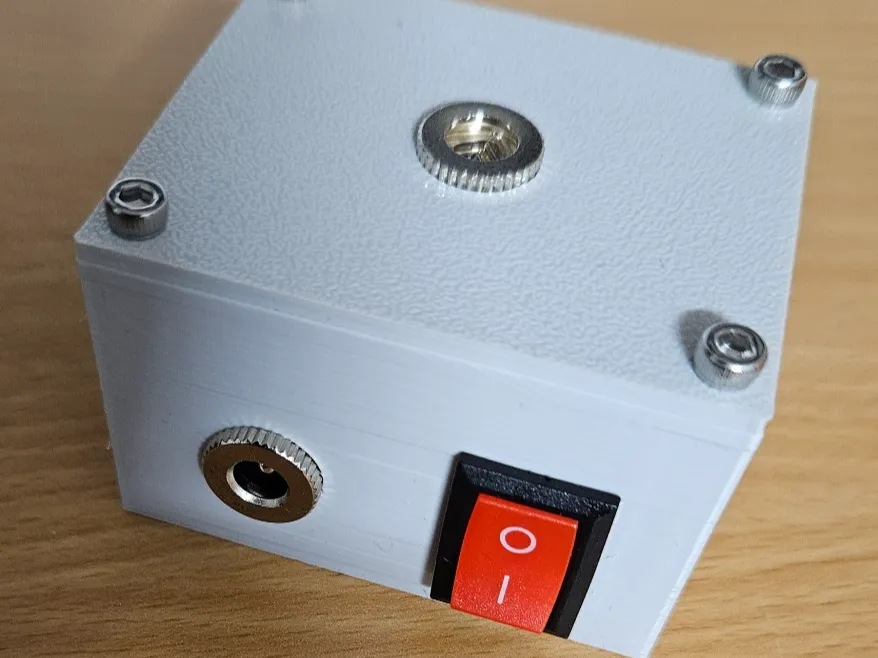
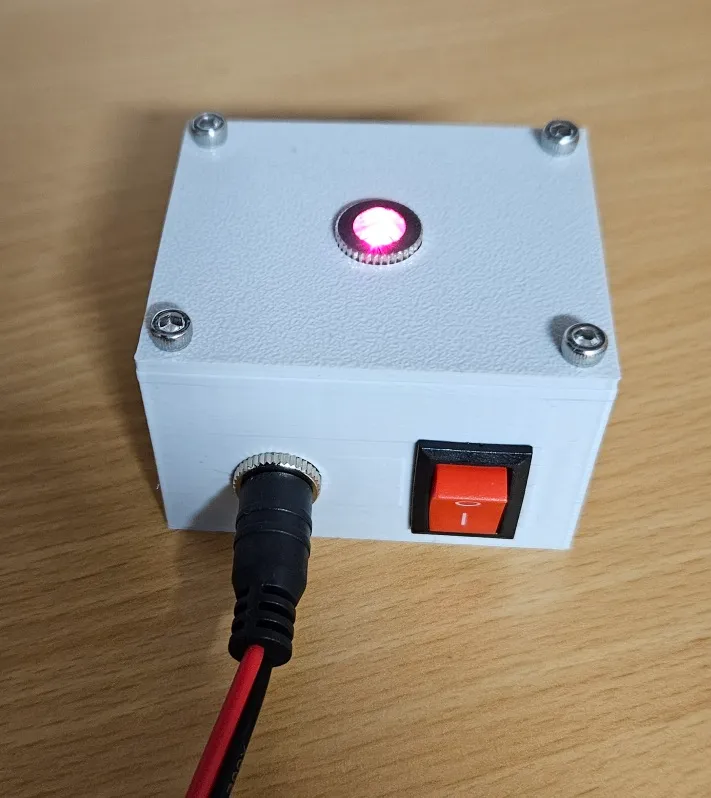
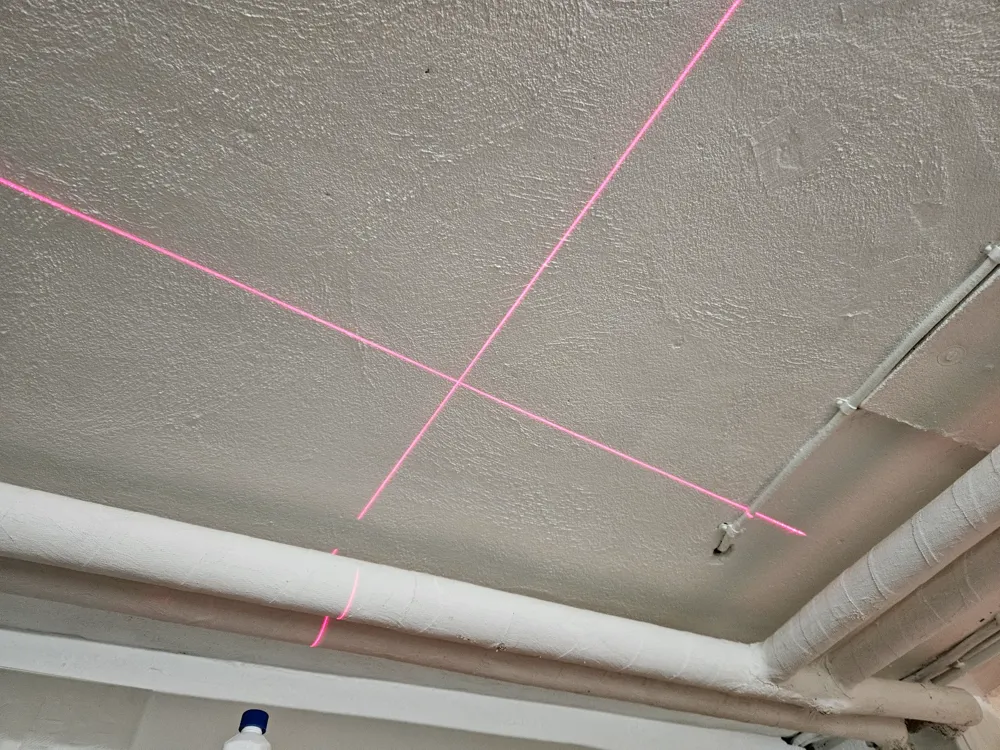
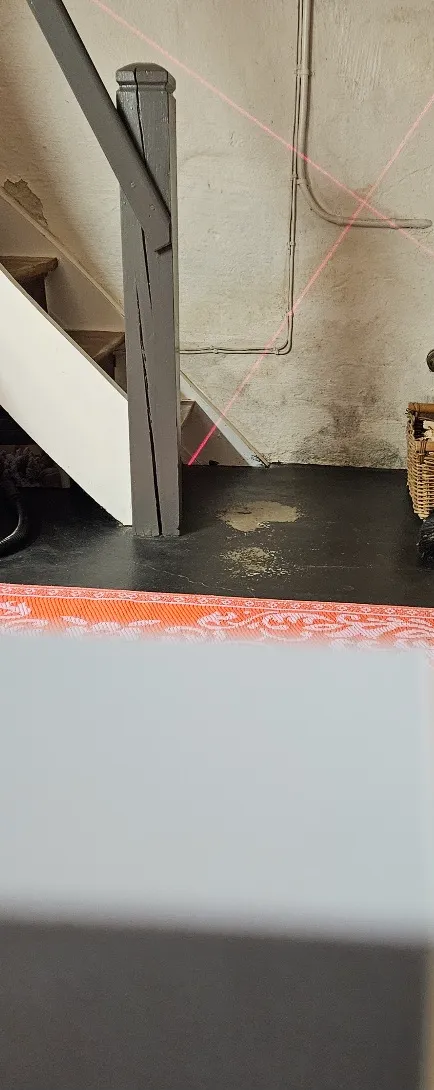
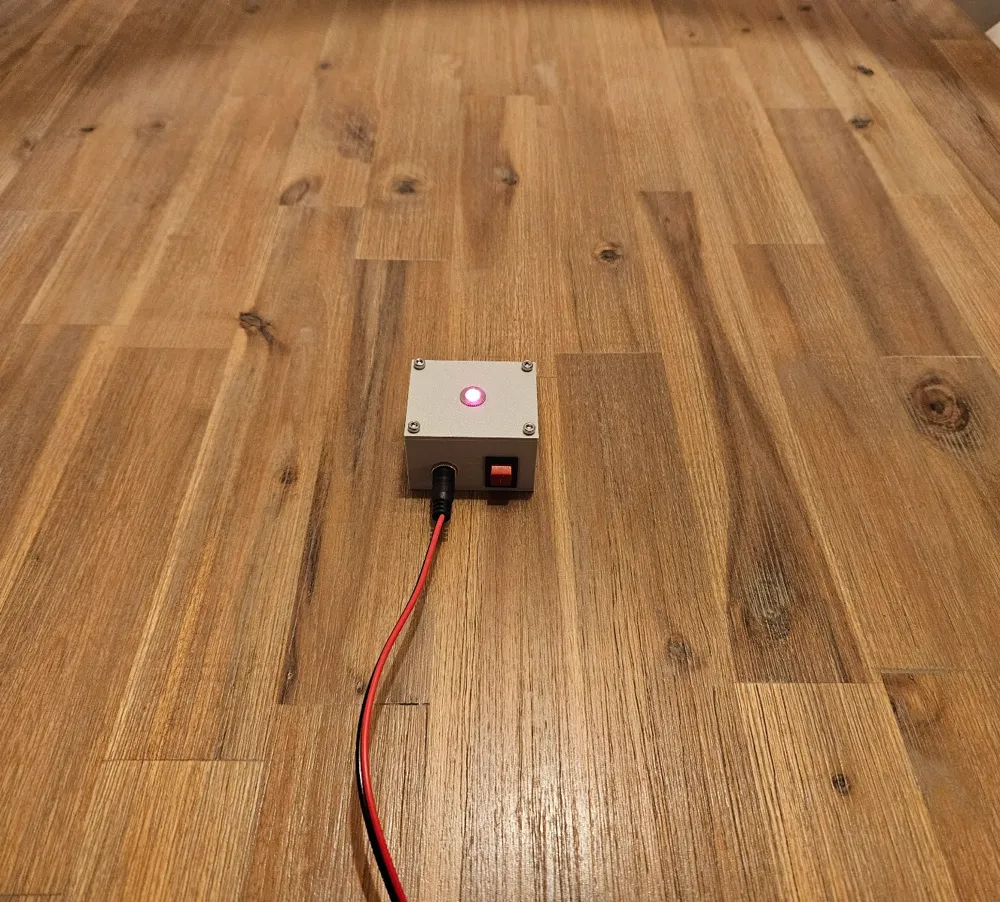
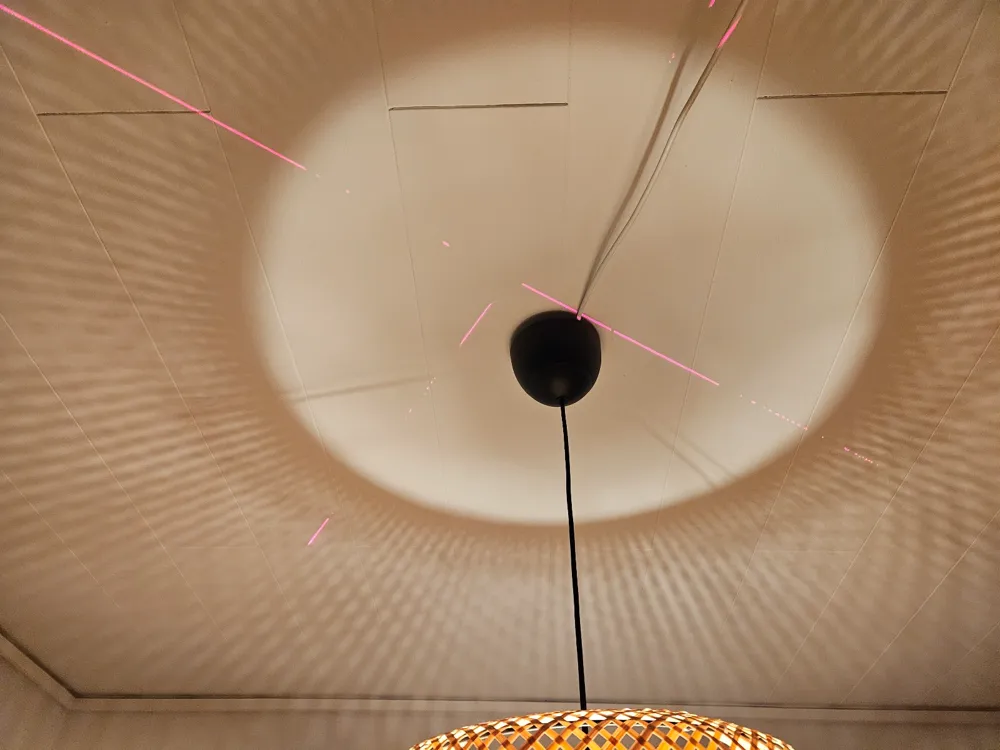
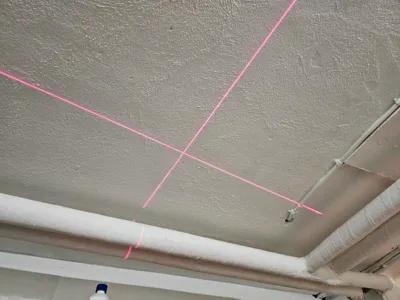
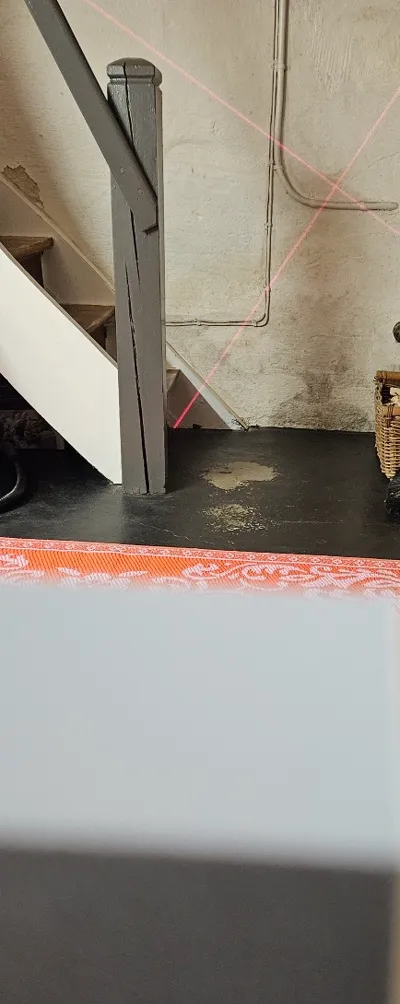
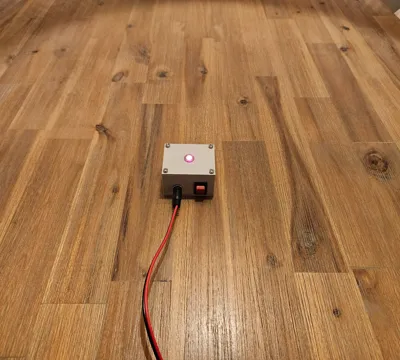
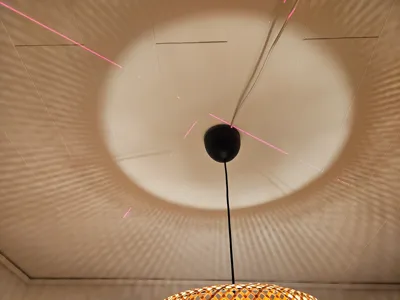
This model is a simple laser holder, the reason this came about is that I needed to put a light above the center of the table, could also be useful for other applications.
Parts required:
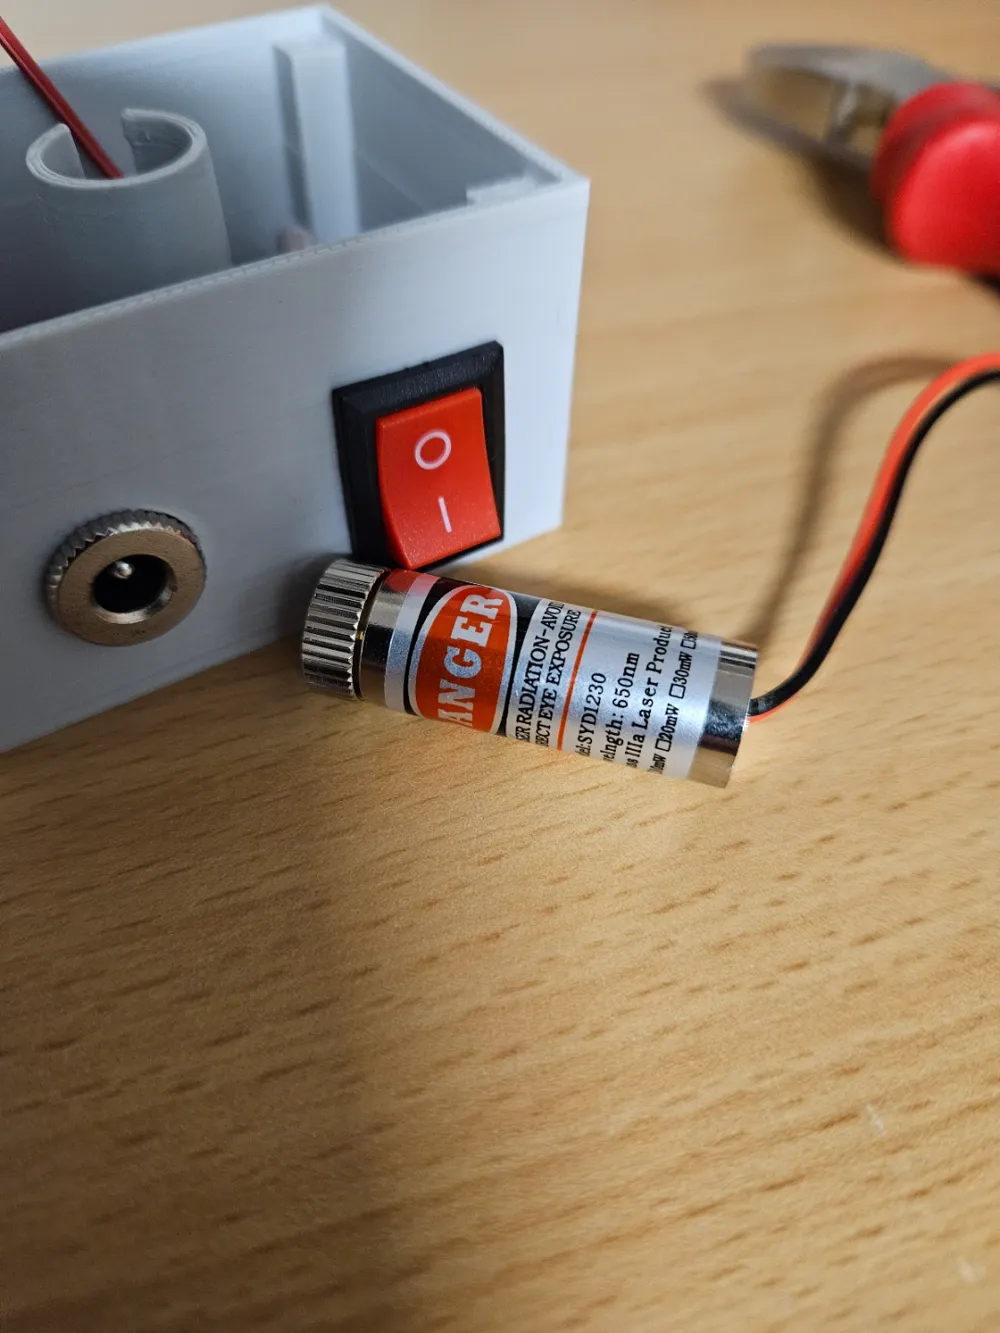
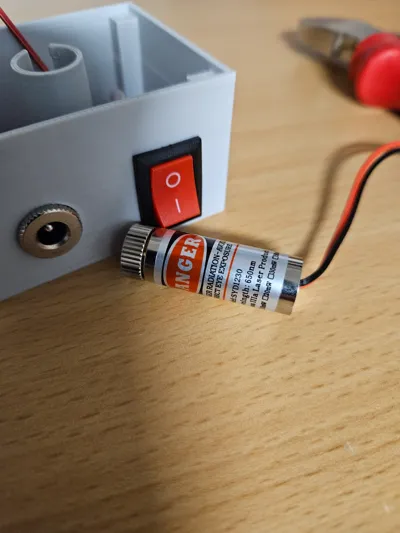
1 x 3v to 5v laser (with dot or cross) from amazon (https://www.amazon.de/-/en/Focusable-Adjustable-Correction-Alignment-Industrial/dp/B0C3QF6B1H/ref=sr_1_5)
4 x M3 10mm bolts (https://www.amazon.de/dp/B0DHKSHM8D?ref=ppx_yo2ov_dt_b_fed_asin_title&th=1)
1 x Barrel Plug and jack socket (https://www.amazon.de/-/en/RUNCCI-YUN-Adapter-Barrel-Surveillance-Cameras-5-5mm-x-2-1mm-Plug-Set-R326/dp/B089DXQDS9)
1 x Pressure Switch (https://www.amazon.de/GTIWUNG-Pieces-Pressure-Household-Appliances/dp/B08CY5437N/ref=sxin_15_pa_sp_search_thematic_sspa)
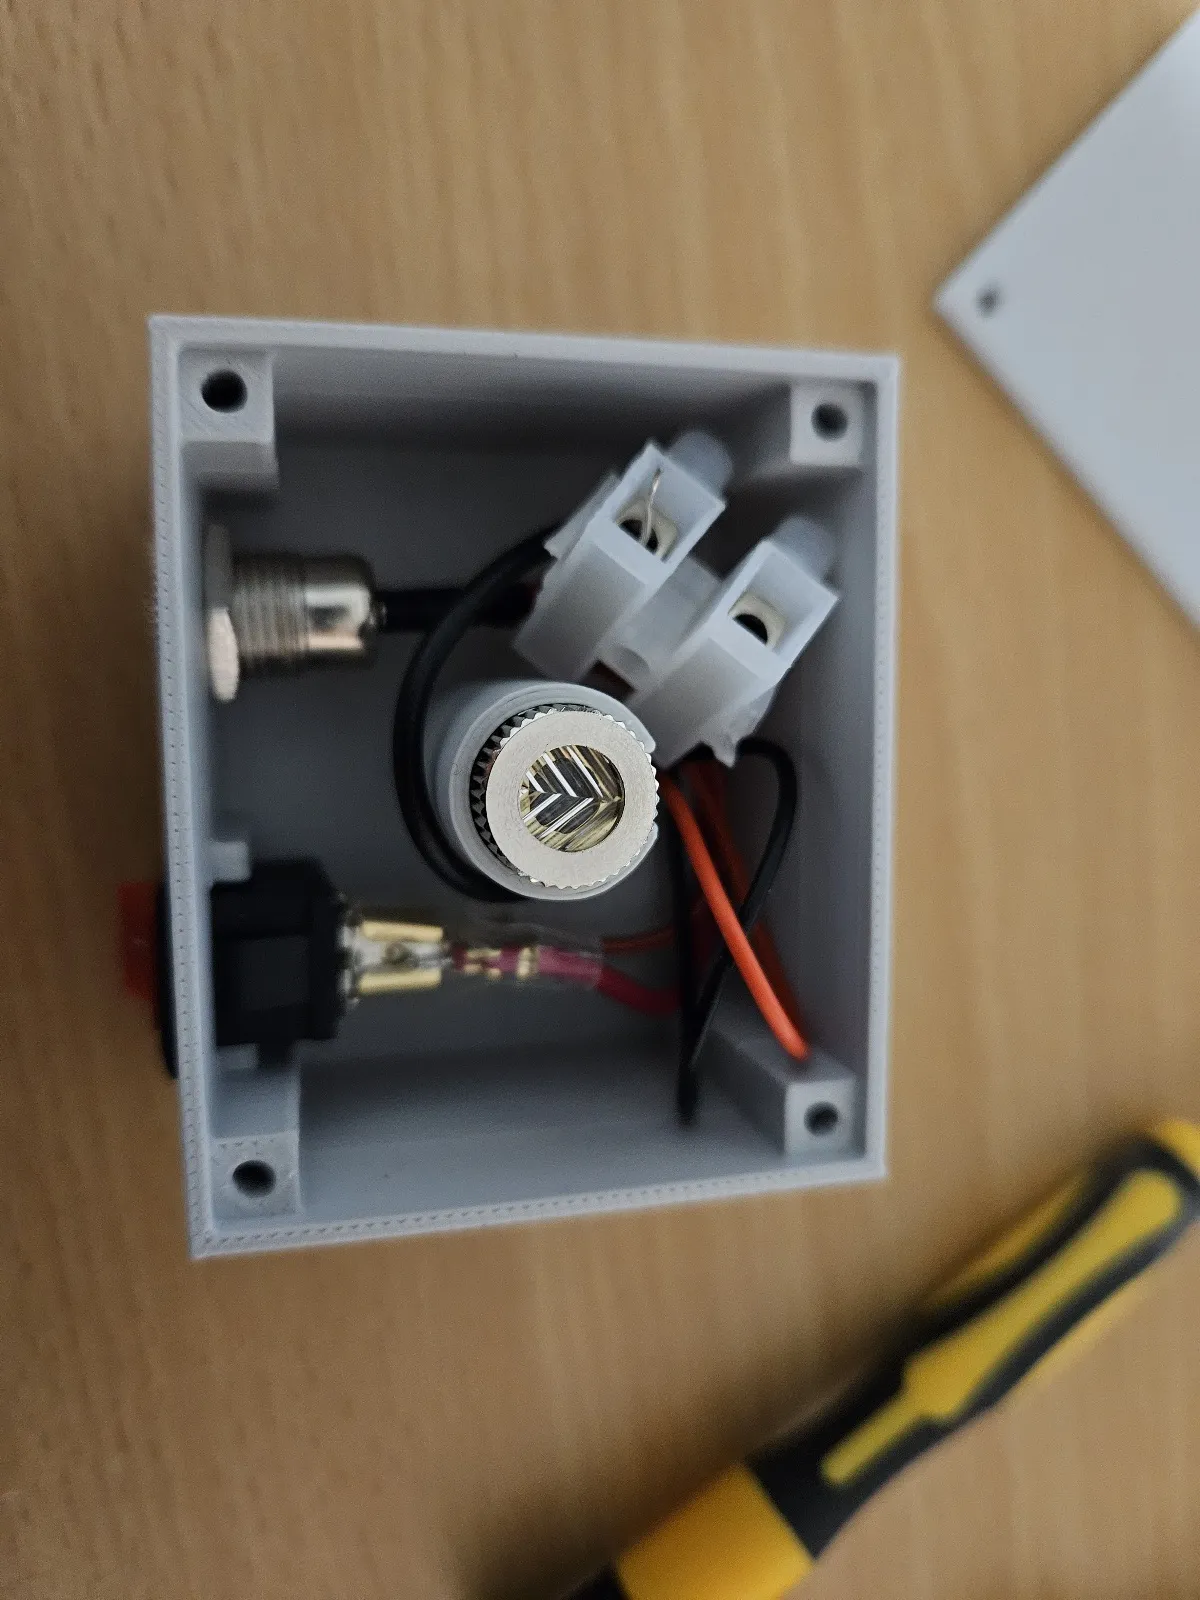
2 x Terminal Block for connecting wires
1 piece of AWG22 wire approx 100mm long
1 x 3v to 5v power source (double AA battery connector).
Building
A relatively simple build
Step 1
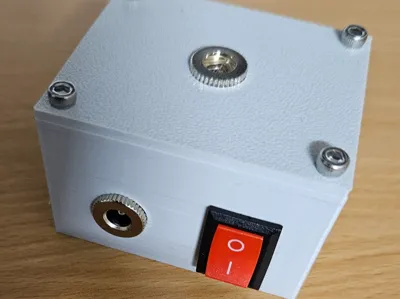
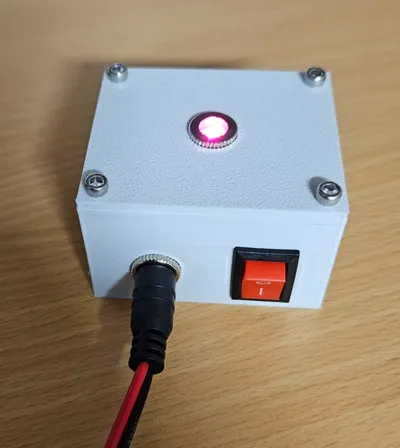
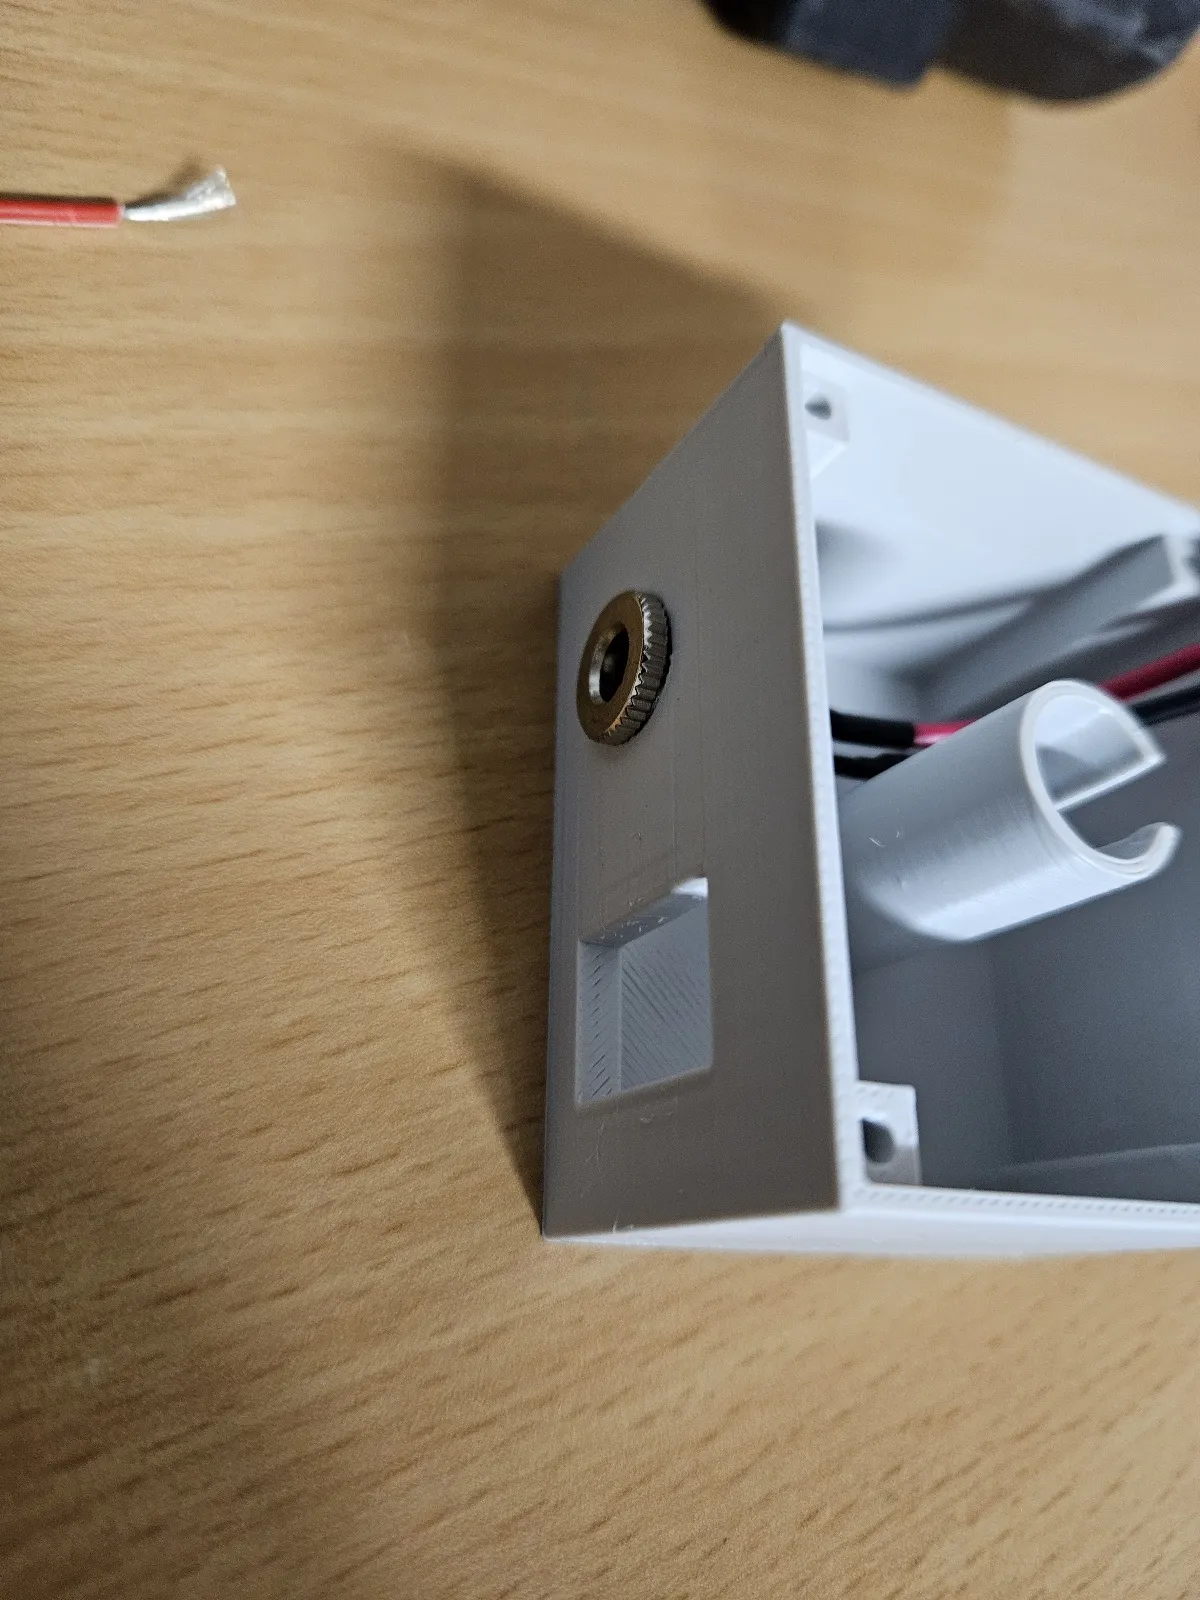
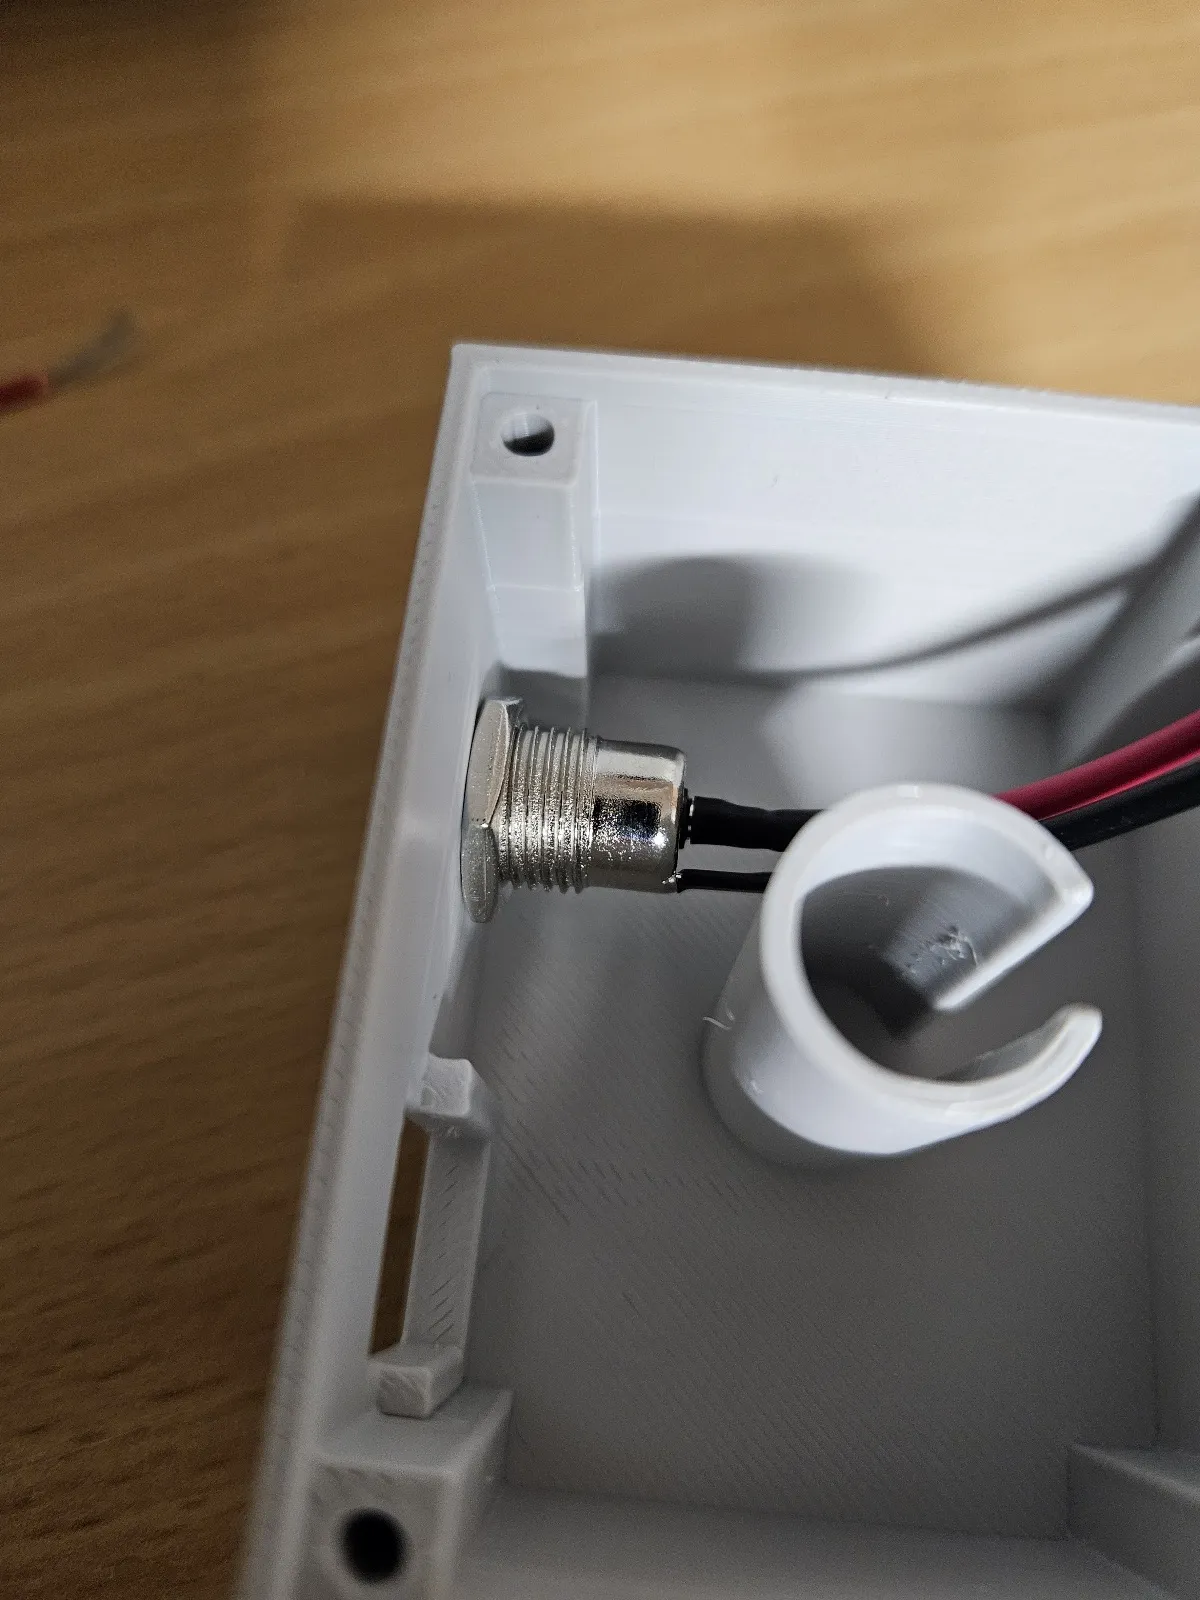
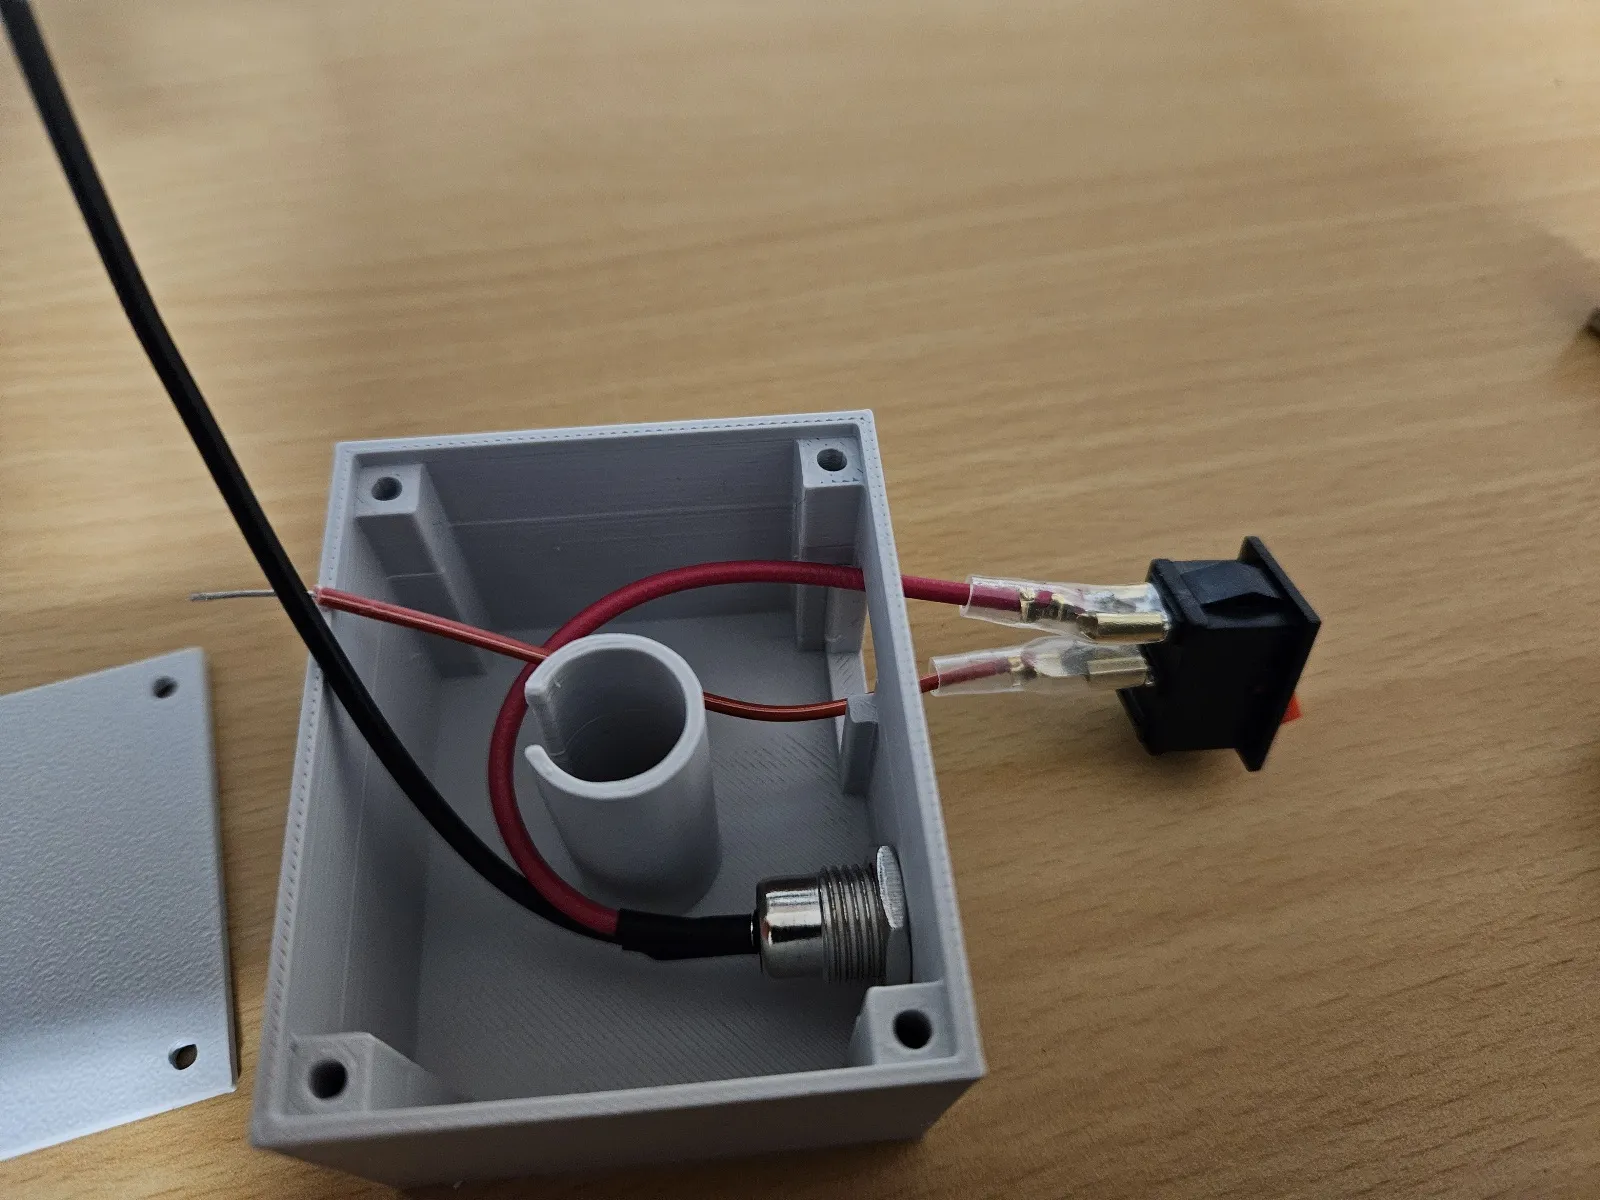
Insert the jack plug into the slot and tighten up the nut behind to secure it.
Step 2
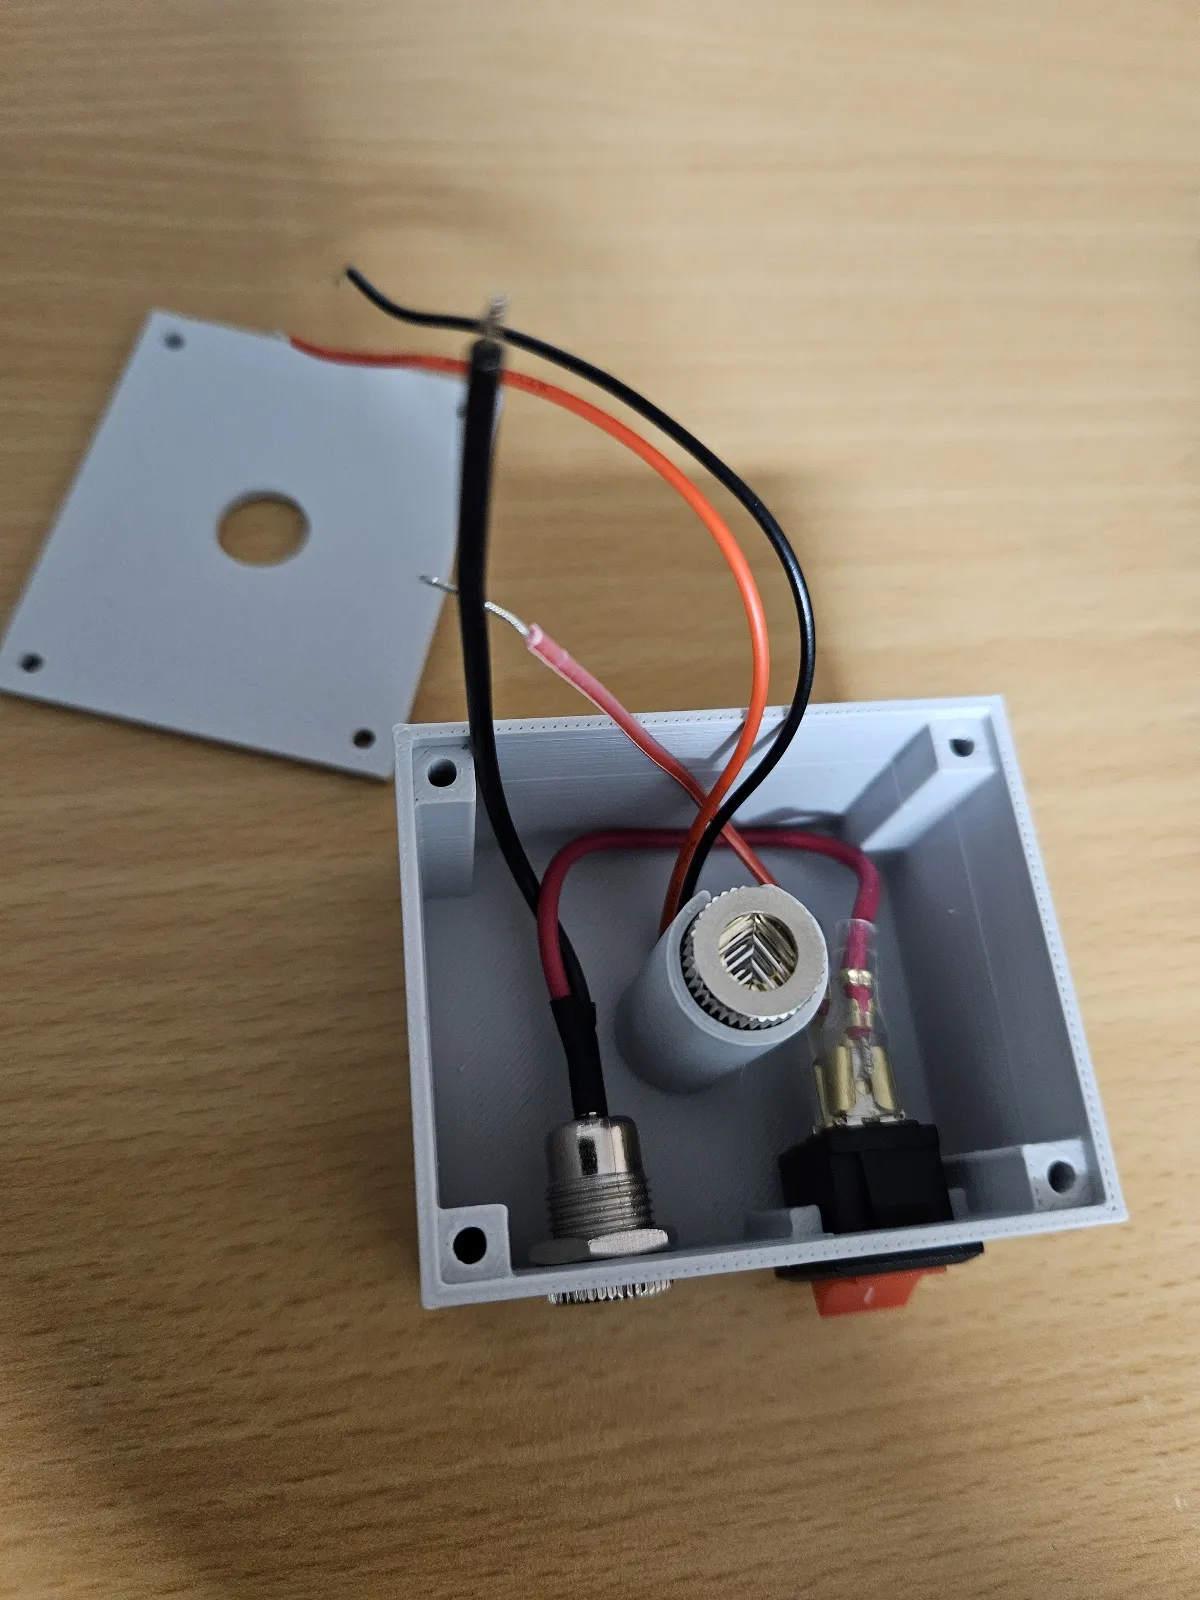
Add a connector to the red wire from the barrel plug and then using a spare piece of wire (with connector), plug into the pressure switch. Ensure the wire from the barrel plug goes to the off position of the pressure switch. Push the pressure switch into the housing.
Step 3
Connect the negative and positive wires together
Step 4
Place the lid on top and secure with 4 x M3 bolts
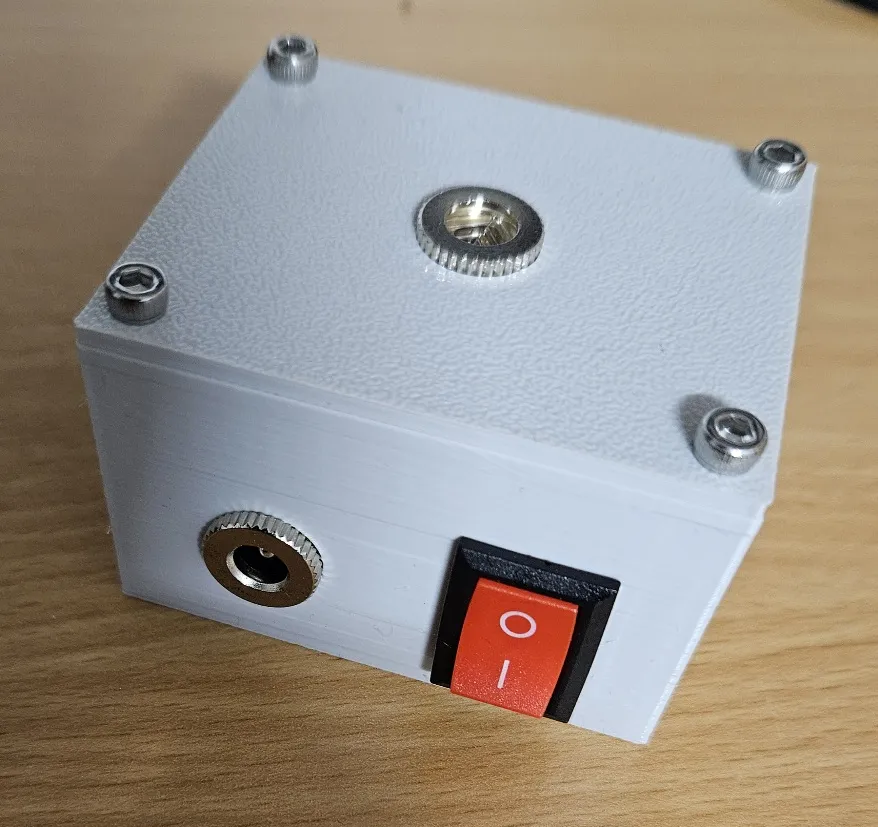
Hope you enjoy if you build it ;-)
Disclaimer:
Do not exceed the voltage allowed for the laser and remember lasers can be dangerous to eyes ;-)
License



Comment & Rating (0)