
UltimaShifter V2! | Gear Shifter | Stick Shifter


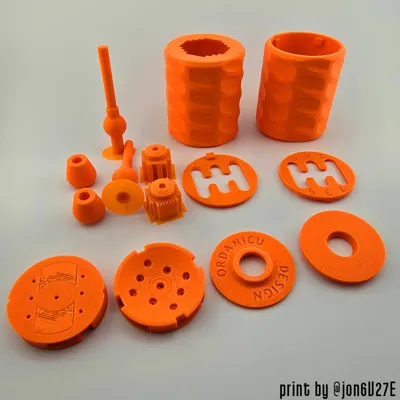
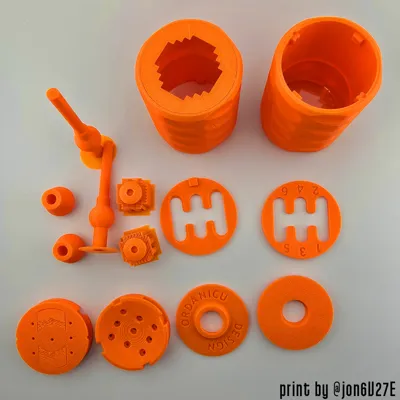
Print Profile(5)


Bill of Materials

- D4x2mm Round Magnet x 10:
- 0.5x5x25 mm Helical- Compression Spring x 1:
Description
🌟 Tap Follow to never miss a new design. 🌟
I'm trying to reach 200 followers!
→ ULTIMA SHIFTER V2 ←
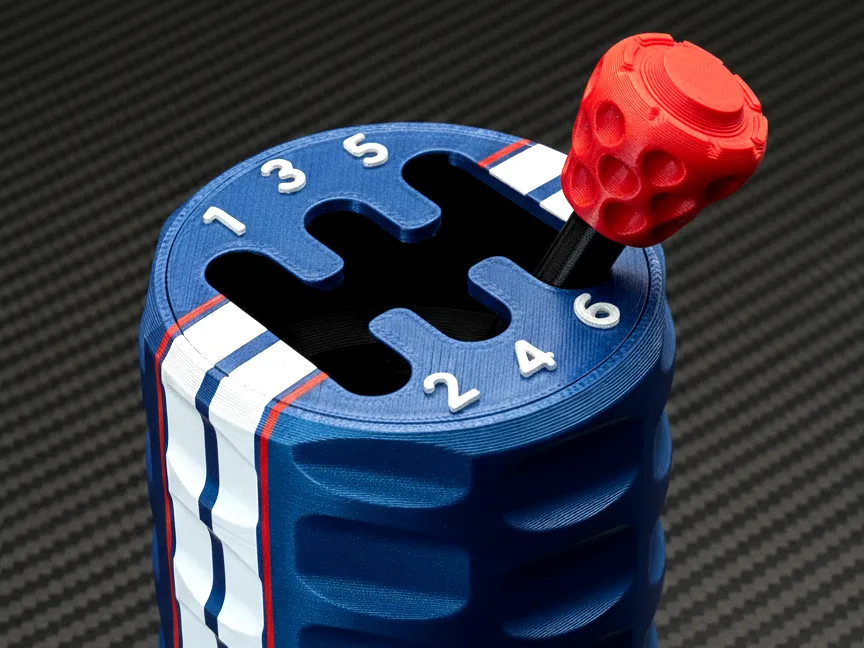
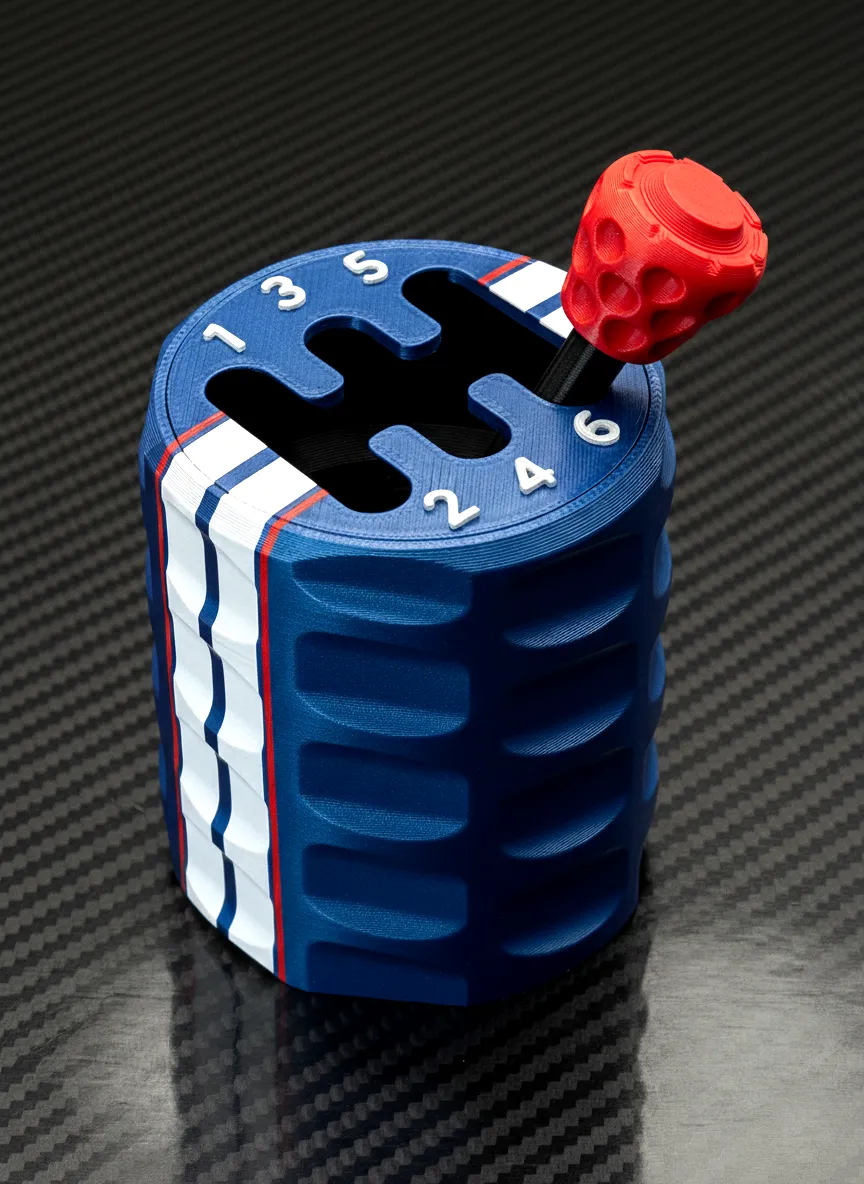
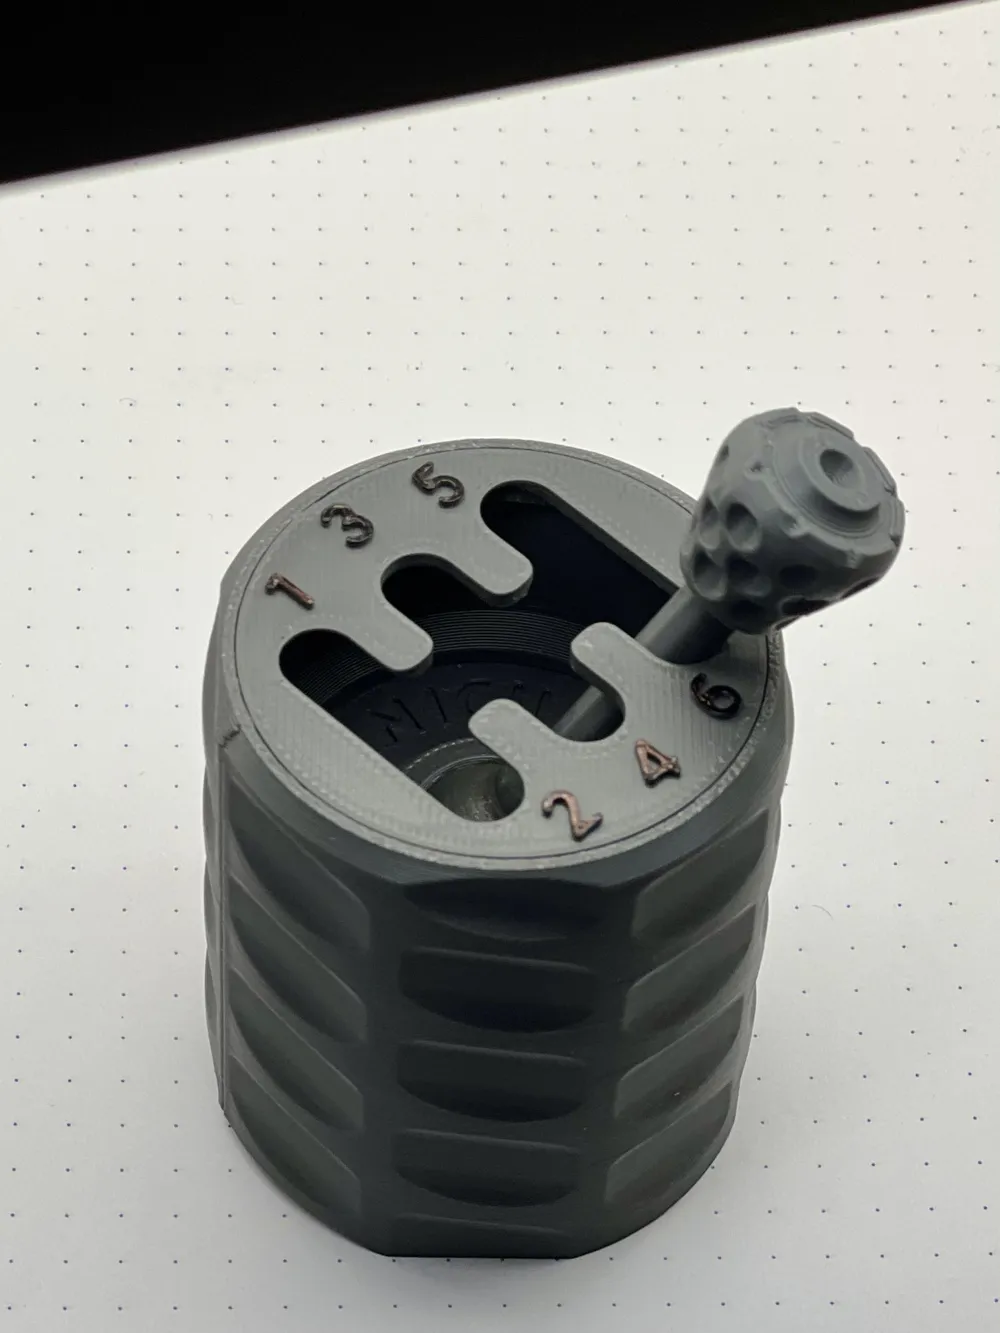
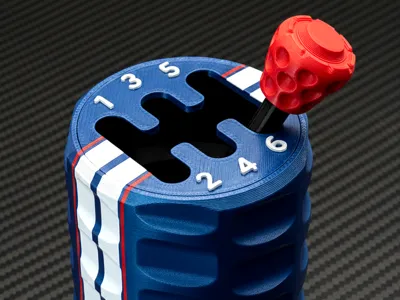
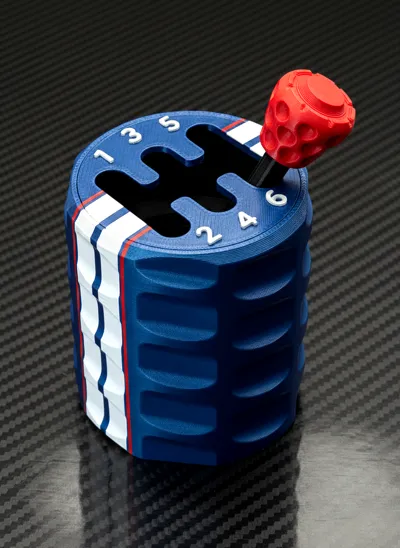
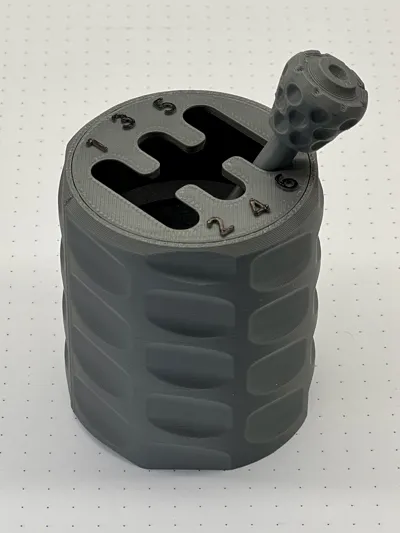
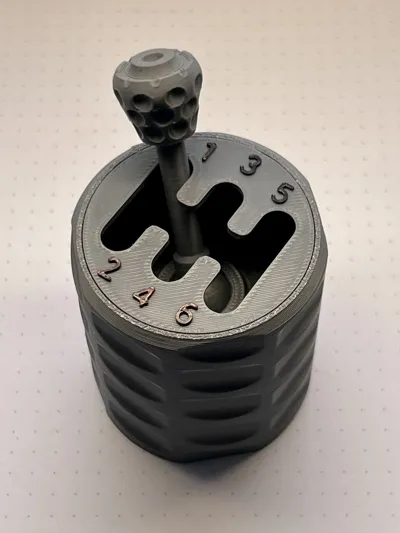
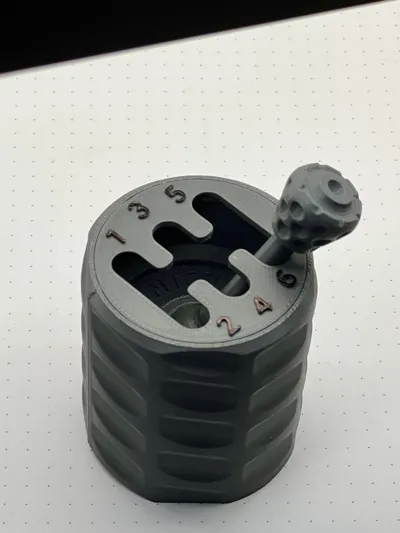
Let your inner car guy take over and enjoy the ultimate stick shifting experience - from your office!
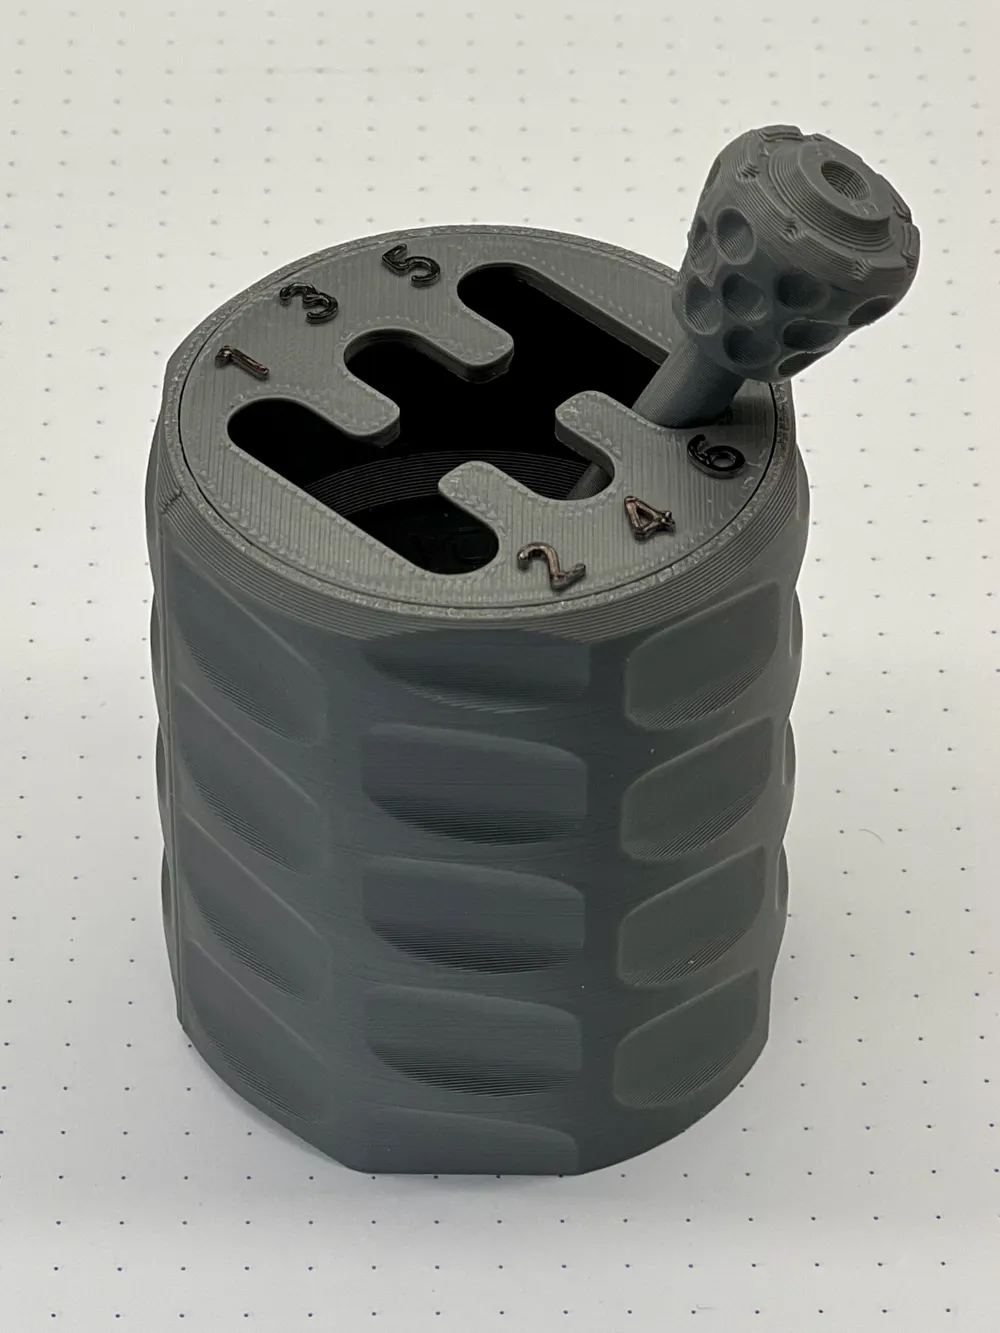
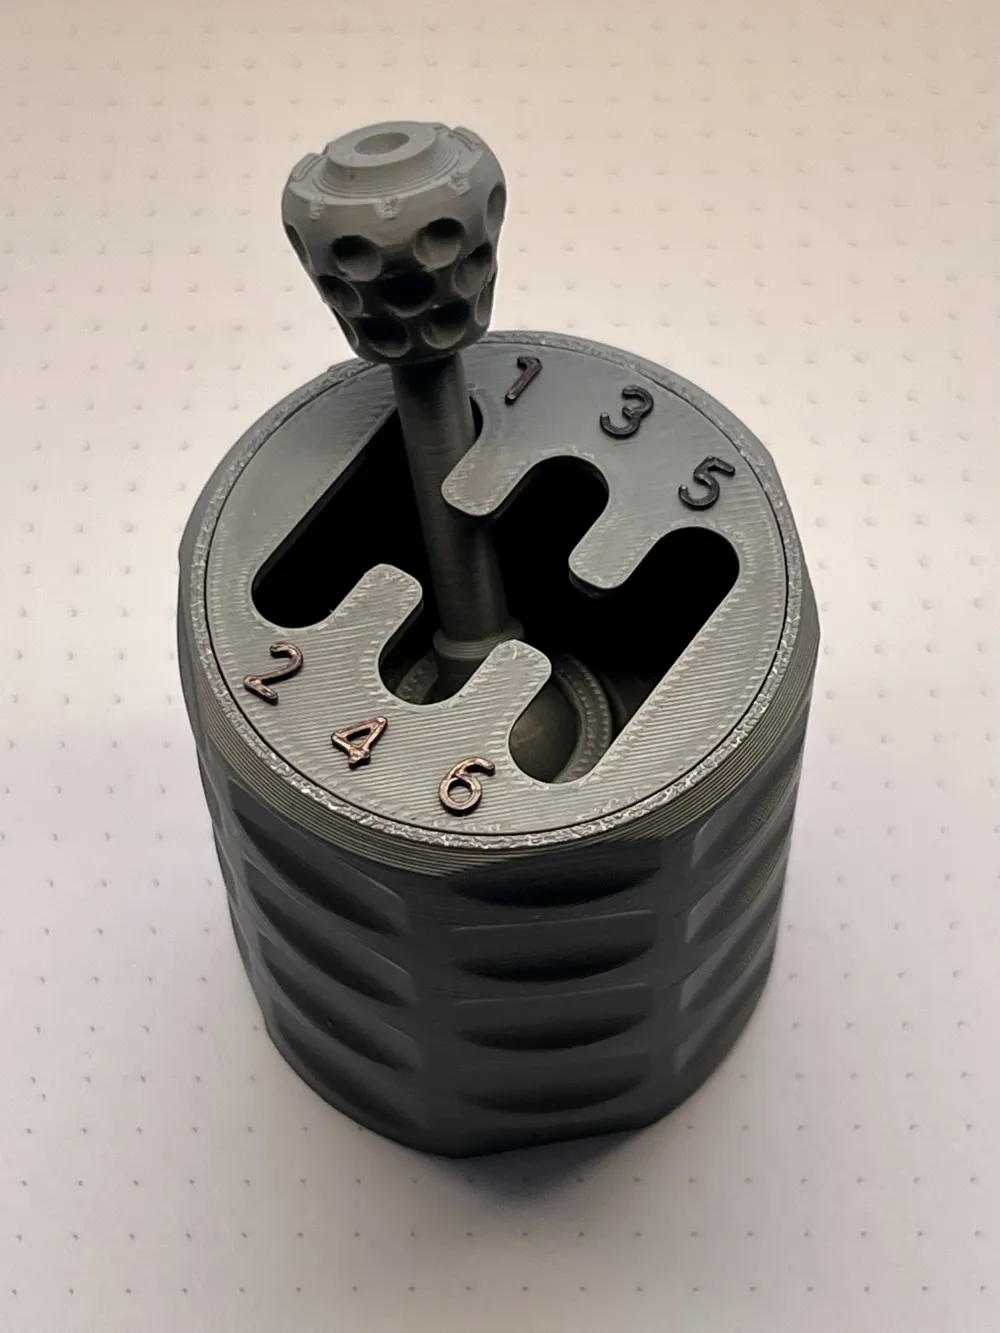
This unique design based on magnets is aimed at replicating an authentic manual shifting sensation.
It mimics the feeling of manual shifting cars very closely and comes in a small form factor, perfect for your desk.
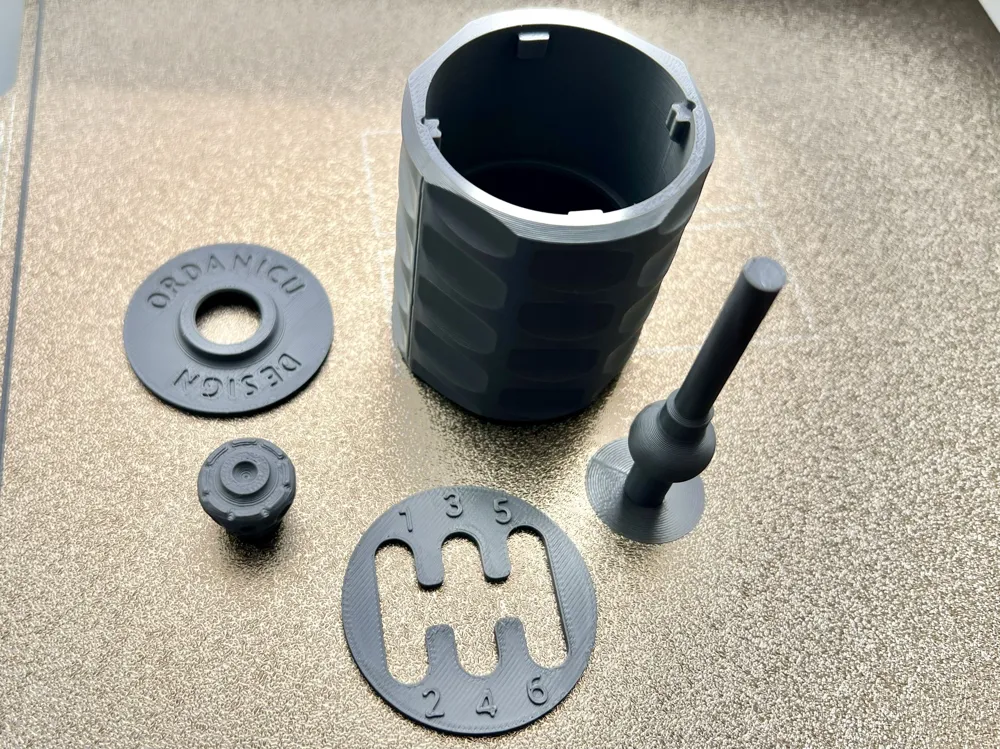
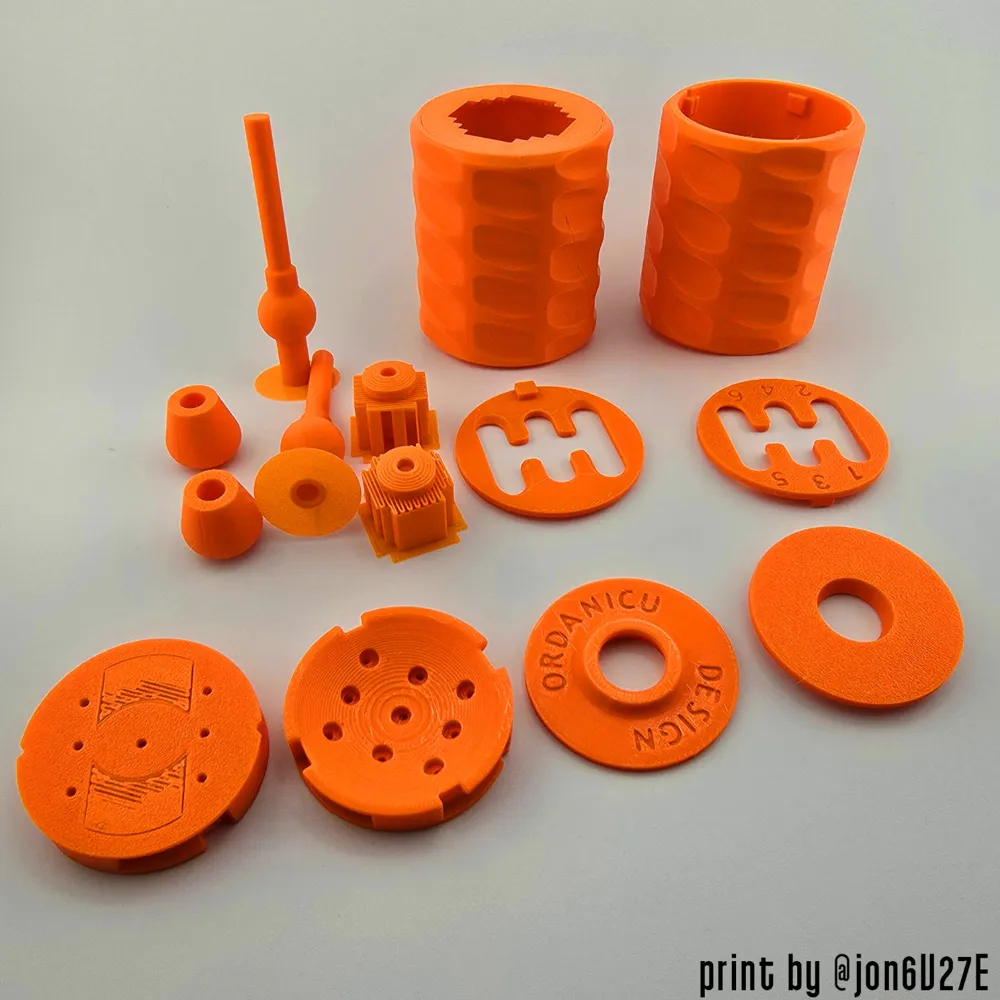
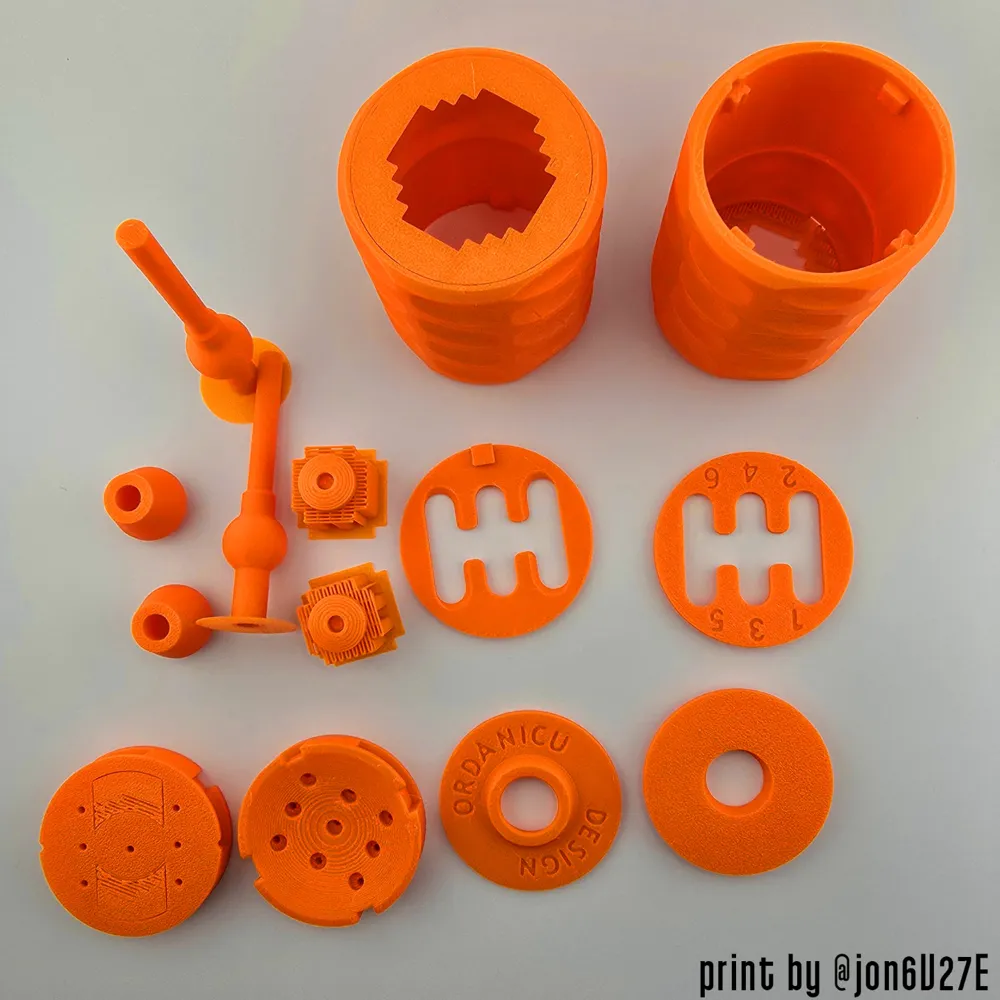
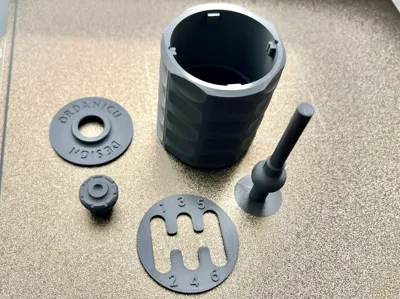
The assembly is user friendly thanks to a modular design which allows for customization.
Custom parts available in the print profiles, let me know which you like most!
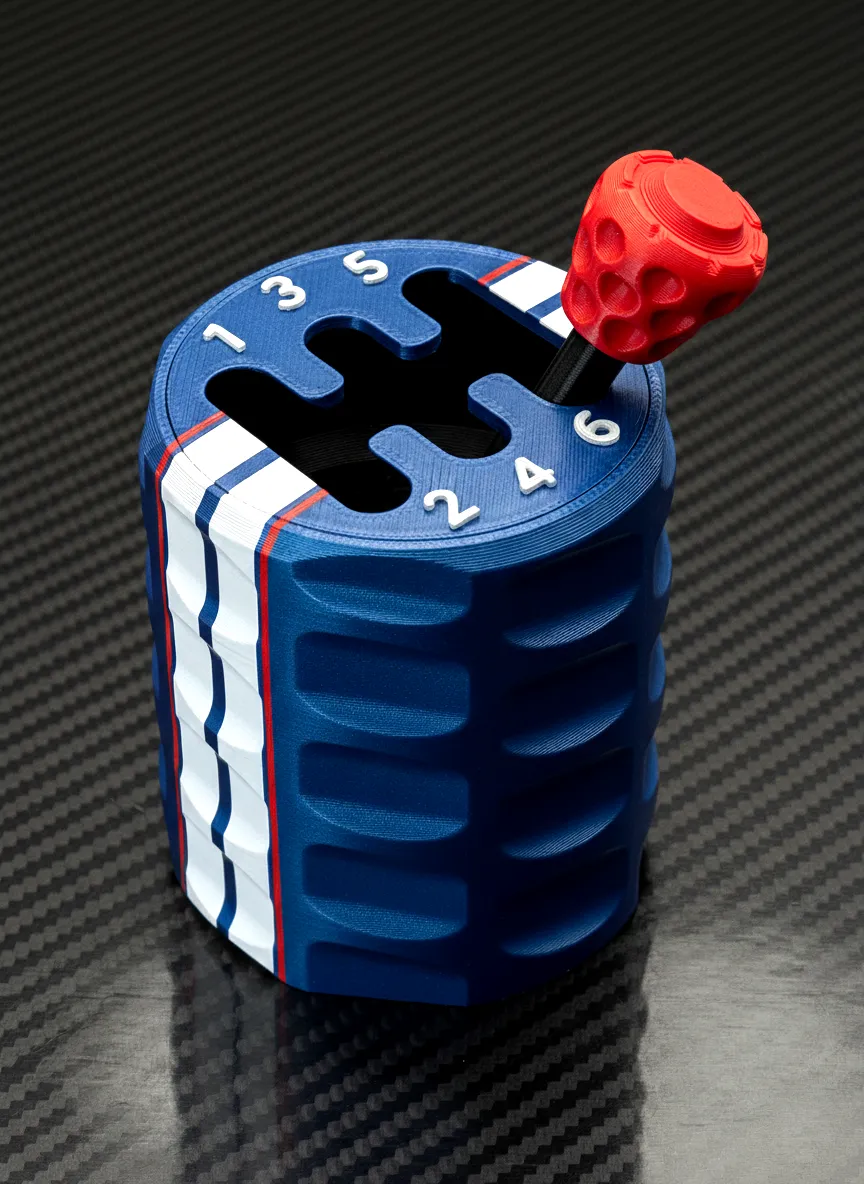
Boost Me (for free)
Like the model? Give it a visibility boost! <3
Requirements:
• ten D6x2mm Round Magnets: https://amzn.to/46qyrIF
• one 0.5x5x25 mm Helical- Compression Spring (from a pen)
The links are Amazon affiliates—at no extra cost to you, they help support my work and the creation process. Thanks!
*note: some springs might be too strong, in which case I recommend cutting off a few turns.
Aim for a smooth, constant contact in the ball joint mechanism. Too much force can negatively affect the feeling.
Detailed assembly:
1. Remove all supports and sand the base plate, plunger and ball joint mechanism. Sanding is essential for a good shifting experience.
DO NOT go through with the next steps unless you properly sanded the surfaces!
(see detailed tips at the end + video showcasing the ideal shifting experience)
2. Press-fit a magnet in the plunger and, using the plunger, pick up new magnets and insert them in the base plate using the plunger.
Make sure all the baseplate magnets attract the plunger prior to press fitting or else you will need to sim-eject the magnets out.
3. (Adhesive needed) Install the mid plate and top plate, then glue them in place.
4. Insert the stick shifter through the mid plate; insert the spring in the hollow end of the shifter. Lubrication is needed on moving parts! (the ball joint, plunger and base plate need lubrication)
5. After lubrication, use gravity to center the stick shifter, snap the plunger on the base plate's center magnet, then using the plunger as a reference point, press the base plate into position.
6. Press down until flush then twist left until the baseplate snaps in position and the semicircles form a full circle.
(you might need pliers to help you twist)
7. Install the shifter knob and enjoy!
Here are some tips for a great gear selection:
• To smooth the surface, you need to sand the rough layers lines, and finish up with acetone to “melt” any remaining scratches.
Make sure your base plate and plunger slide without hick-ups. It does not need to skate on ice, a decent sliding feel is what you should aim for. Use the same technique for the ball joint until smooth.
• To achieve the specific “mechanical lock” you see in my video, do not over press the magnets. The plunger and the base plate magnets need to be in direct contact.
Listen for the metallic ping when passing with the plunger over the base plate. You want to hear that ping and even feel a little bit the magnet's flat spot effect. If you can't hear the magnets touching, you pressed them too far. "sim-eject" them and push back to the right depth.
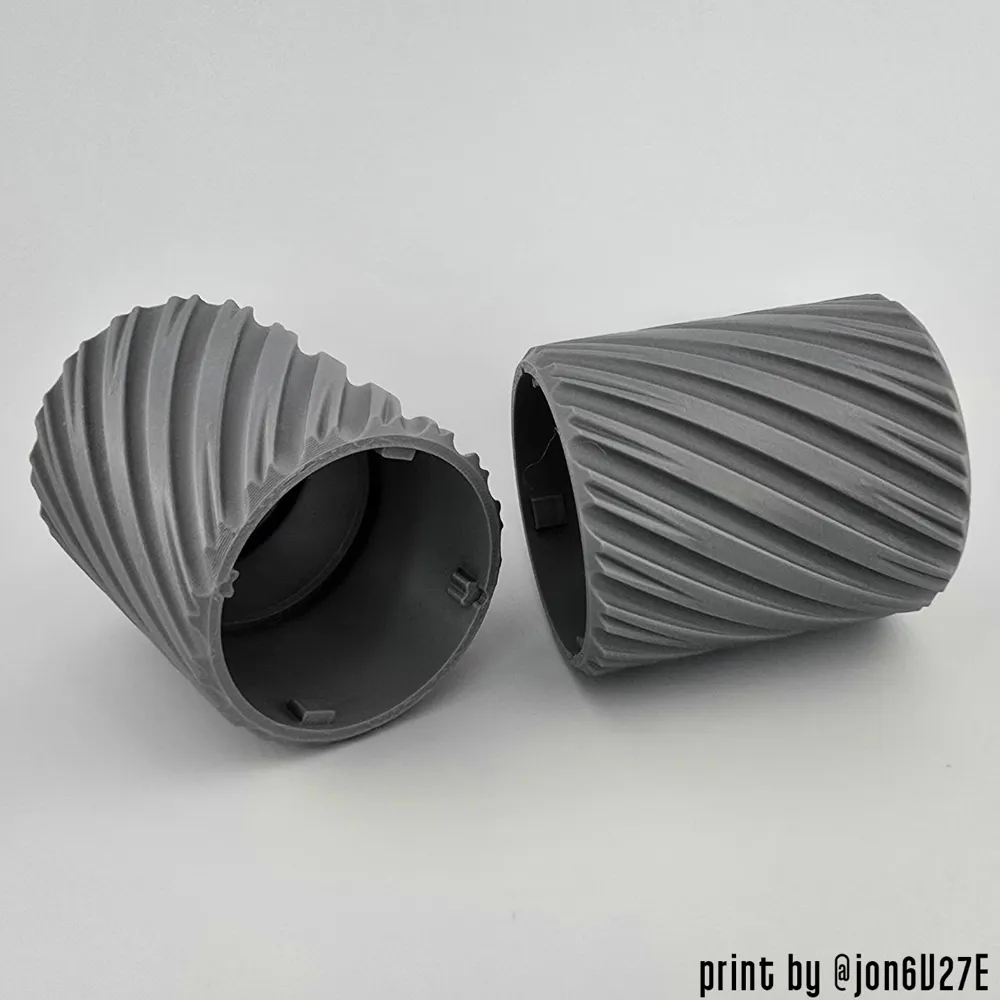
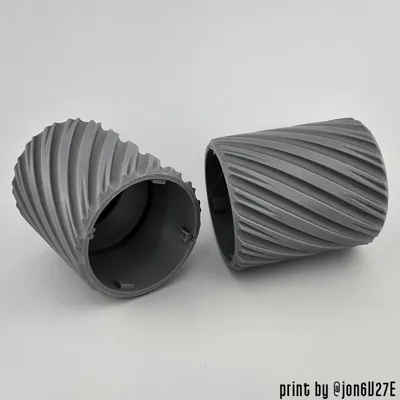
• Please keep in mind this is 3d printing and inconsistencies arise in every print. Give another try at printing the base if you can't get it right first time, that's why I invested so much into modularity. I also published a base plate conversion kit, alternative shift plates and even body designs!
• Finally, spring tension adjustments will change the shifting feel drastically. Elongate the spring for for more pressure and a notchy feel or compress/cut spring turns for a more "gliding" motion.
Please let me know how this turns out for you, I would love to hear your feedbacks and tips for the future. I plan to keep this project updated for the following weeks with new body designs, mounting options for desks and quality of life improvements.
Boost Me (for free)
consider sharing some love with the creative mind :)
Boost Me (for free)
I create and share new designs in my spare time, often late at night after a full workday, simply because I enjoy solving problems and making things accessible. If you find value in this and would have paid for a similar product, a donation helps make this kind of work possible.
paypal.me/Ordanicu
🚀 Follow the source of professional quality!
🥇Years Of Expert Design. Quality built on a long, proven track record.
💎 Crafted for Detail. Beautiful, reliable and high-quality prints.
⚙️ Utility Perfected. Designs made for real-life application.
License

You shall not share, sub-license, sell, rent, host, transfer, or distribute in any way the digital or 3D printed versions of this object, nor any other derivative work of this object in its digital or physical format (including - but not limited to - remixes of this object, and hosting on other digital platforms). The objects may not be used without permission in any way whatsoever in which you charge money, or collect fees.


Comment & Rating (39)