
BamBus - Self driving car

Print Profile(1)

Bill of Materials







Description
Membership
You want to sell this or other model which i created? Now you can subscribe for a Membership here on Makerworld. Or support me with a monthly donation for honor my work. Thank you🥰
BamBus - Self driving car
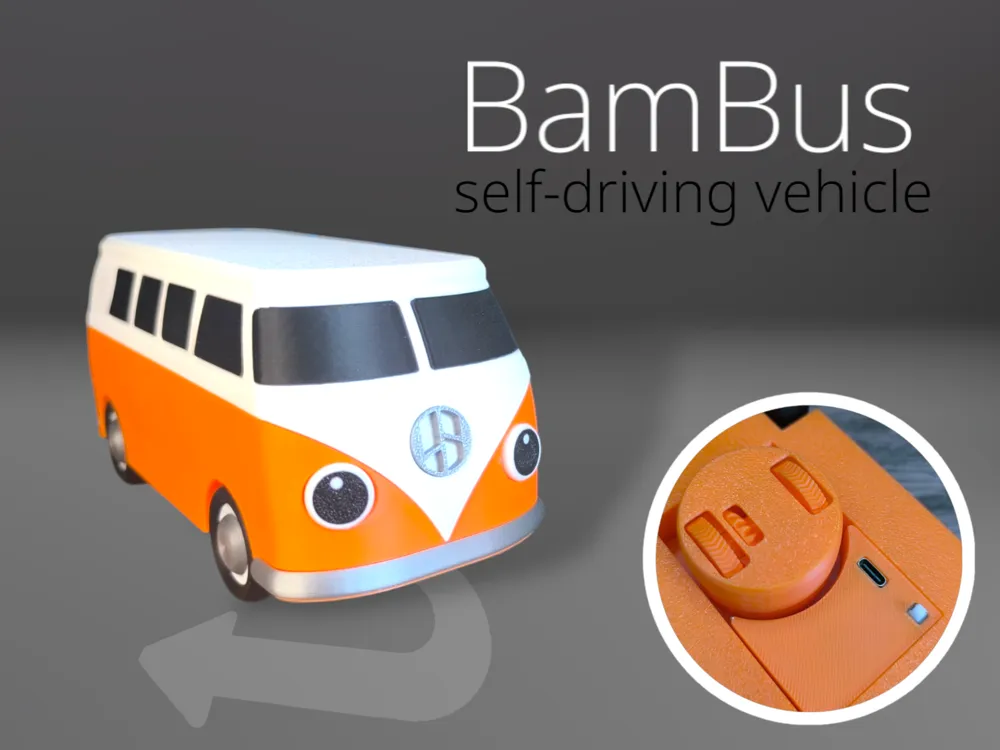
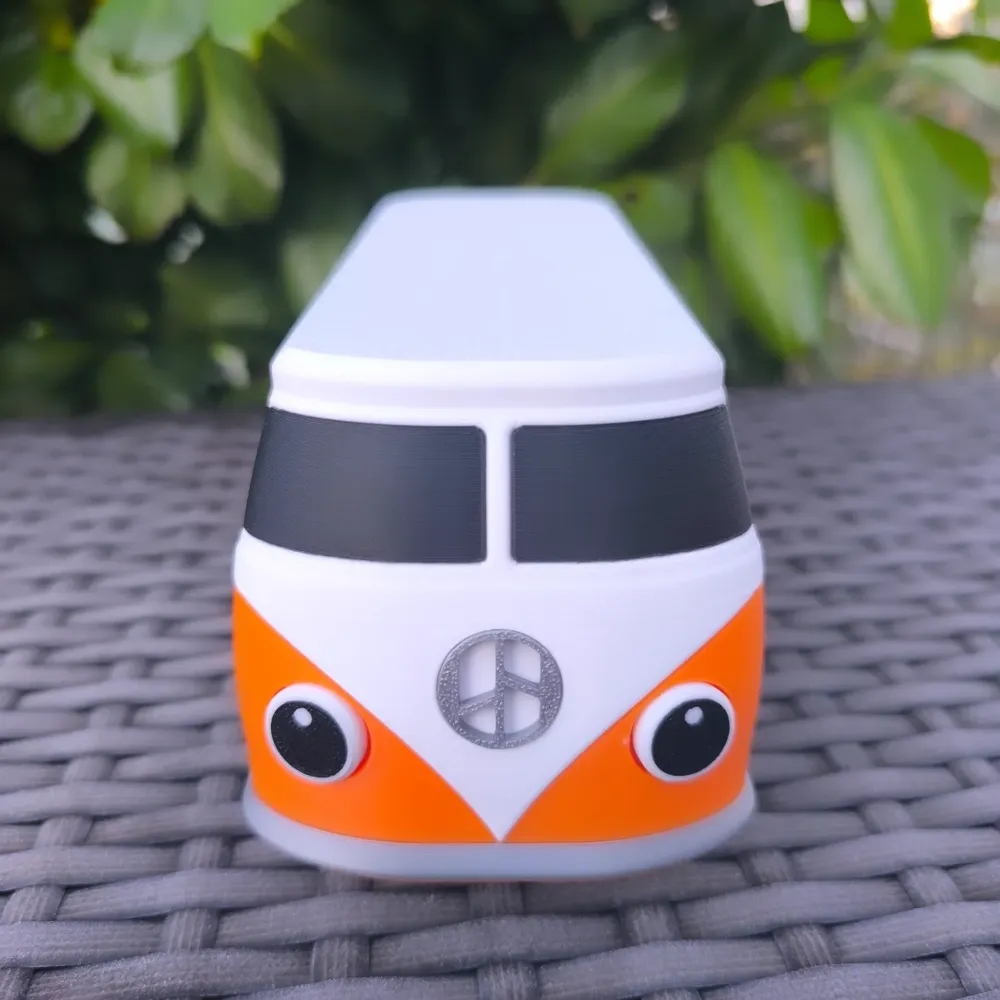
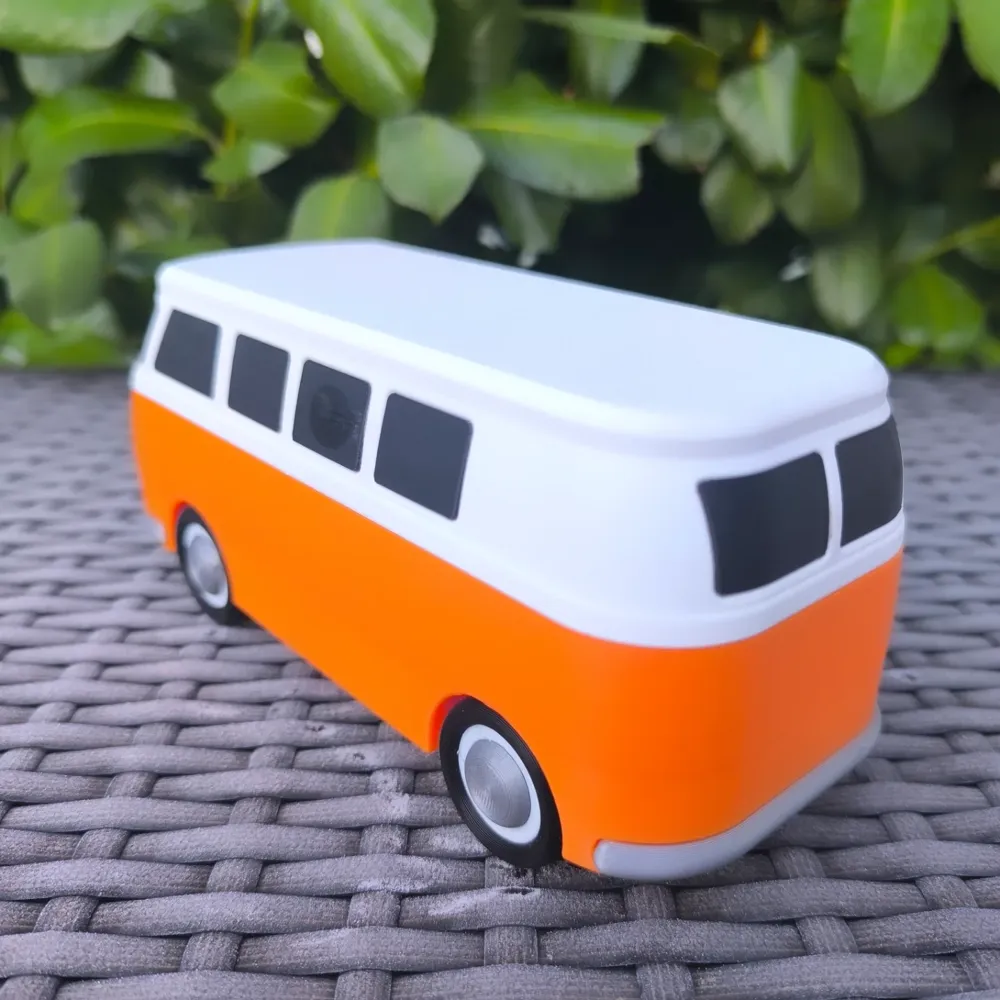
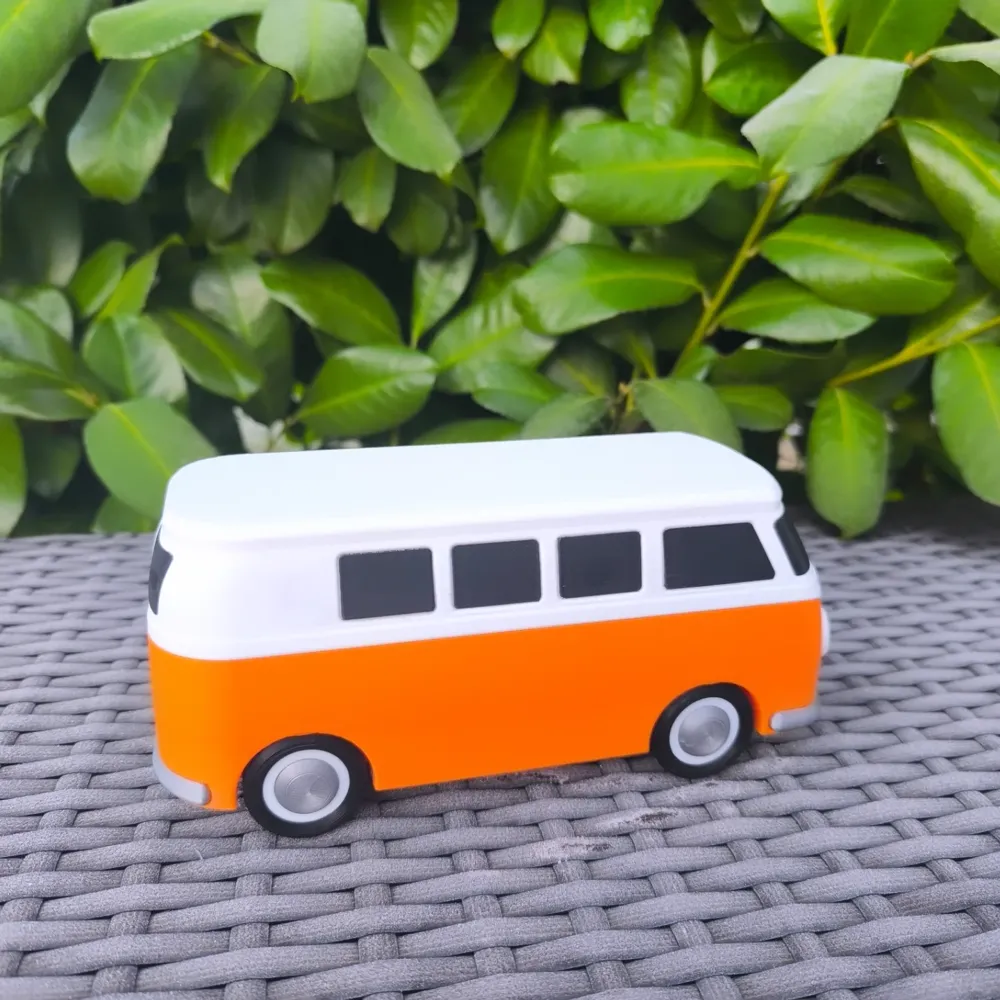
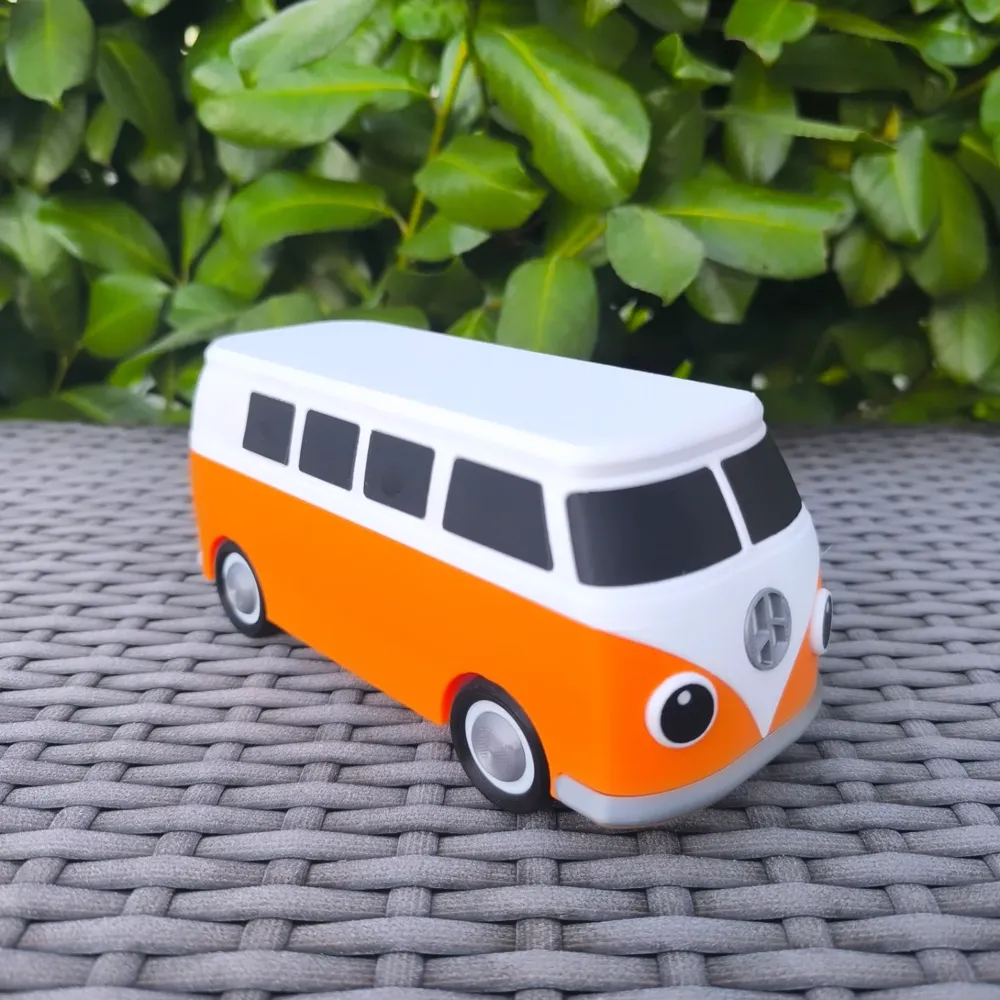
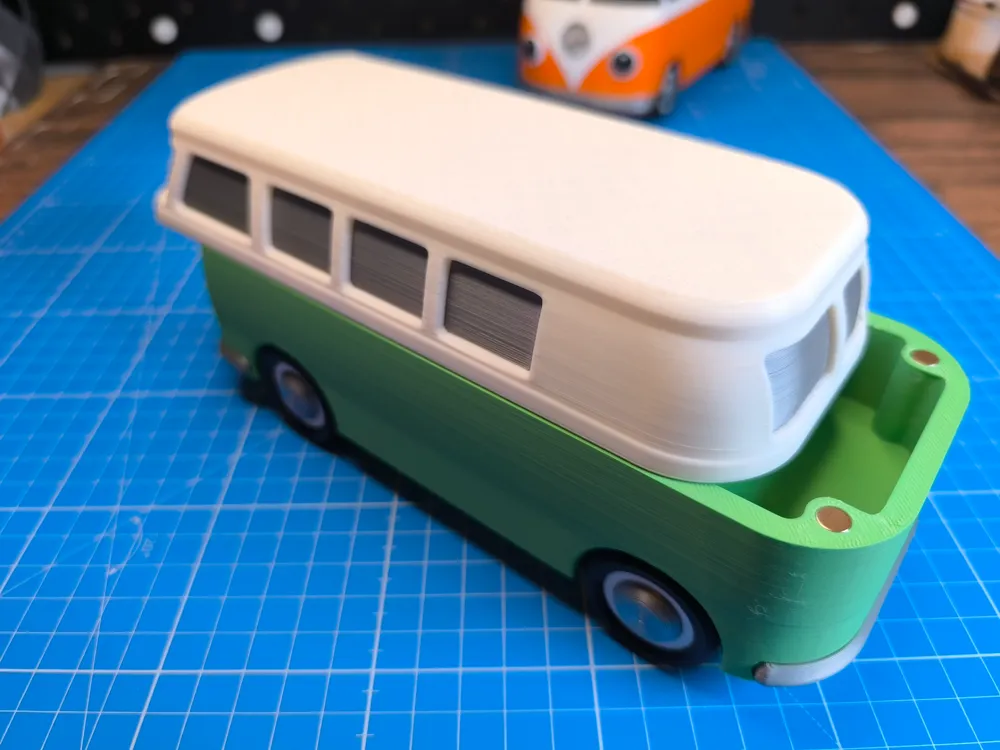
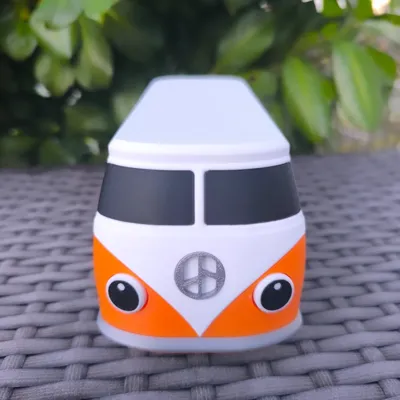
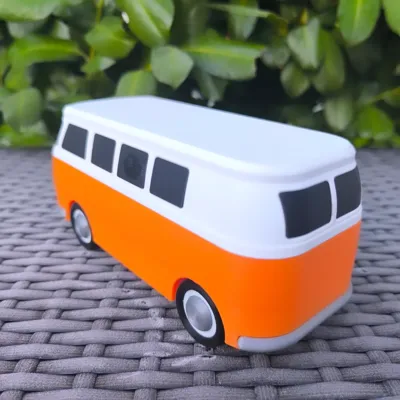
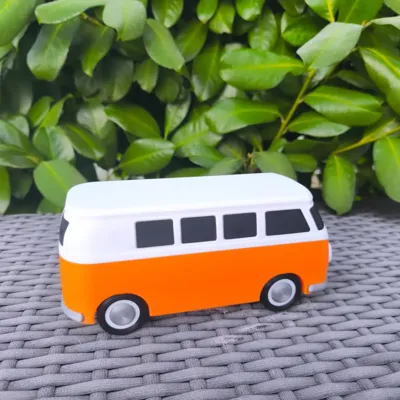
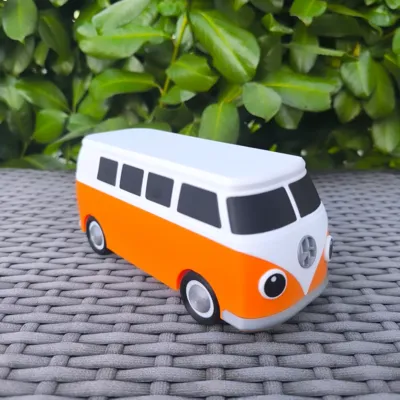
This is BamBus, the self steering/driving bumper car.
A cool little functional project and a great toy for kids. Watch Insa Reel
The bus is motorized through the Rechargeable Power Kit from Maker Supply.
When the bus hits an obstacle, it automatically changes direction.
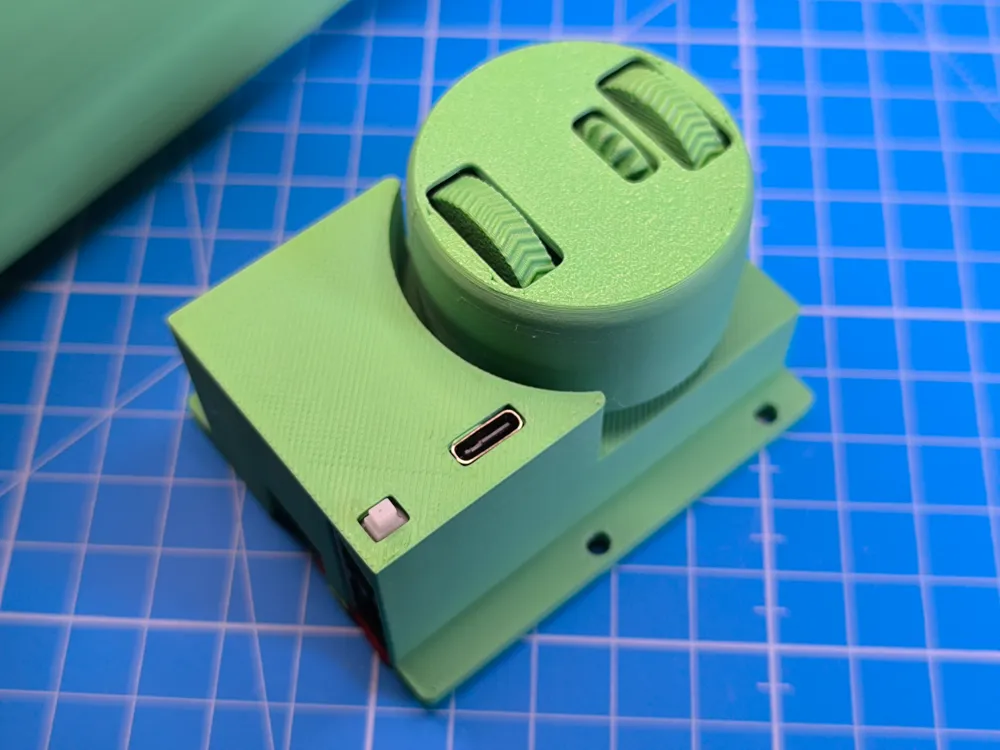
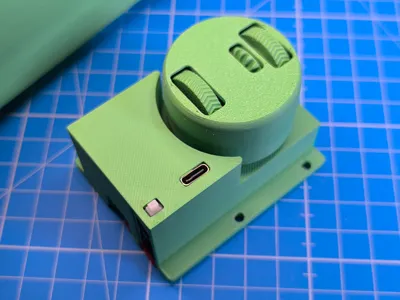
The whole thing works with a turntable, that turns as soon as the drive wheels come to a standstill. It works perfectly on smooth floors.
Tile joints are also no problem. Flat carpets are also fine. Just try it out! It's super funny to watch the bus.
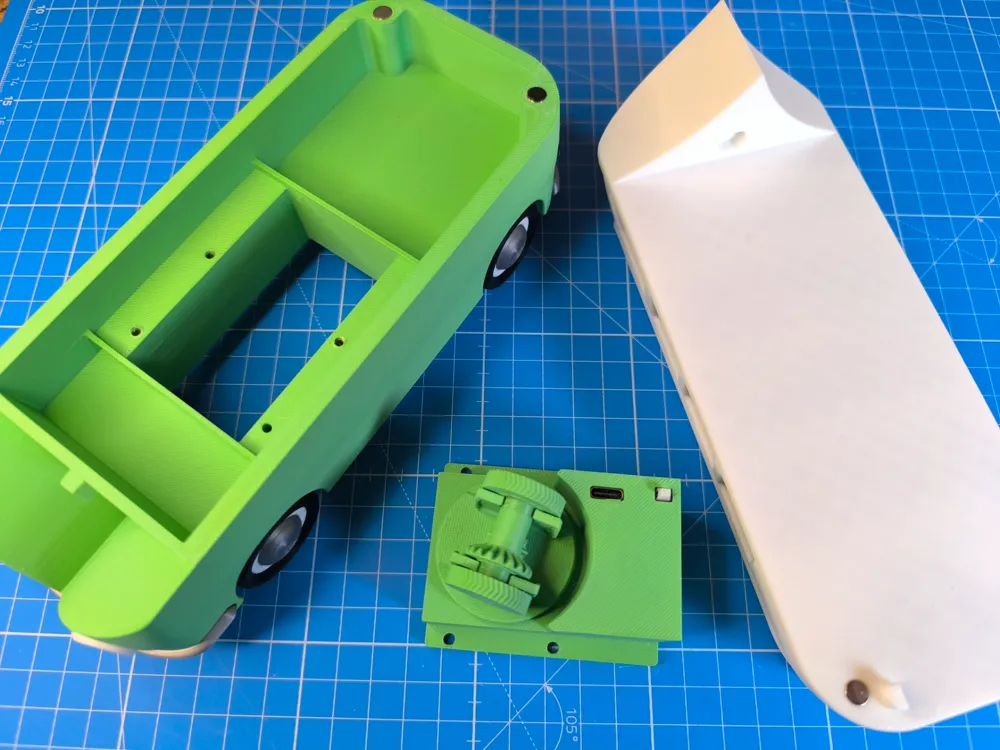
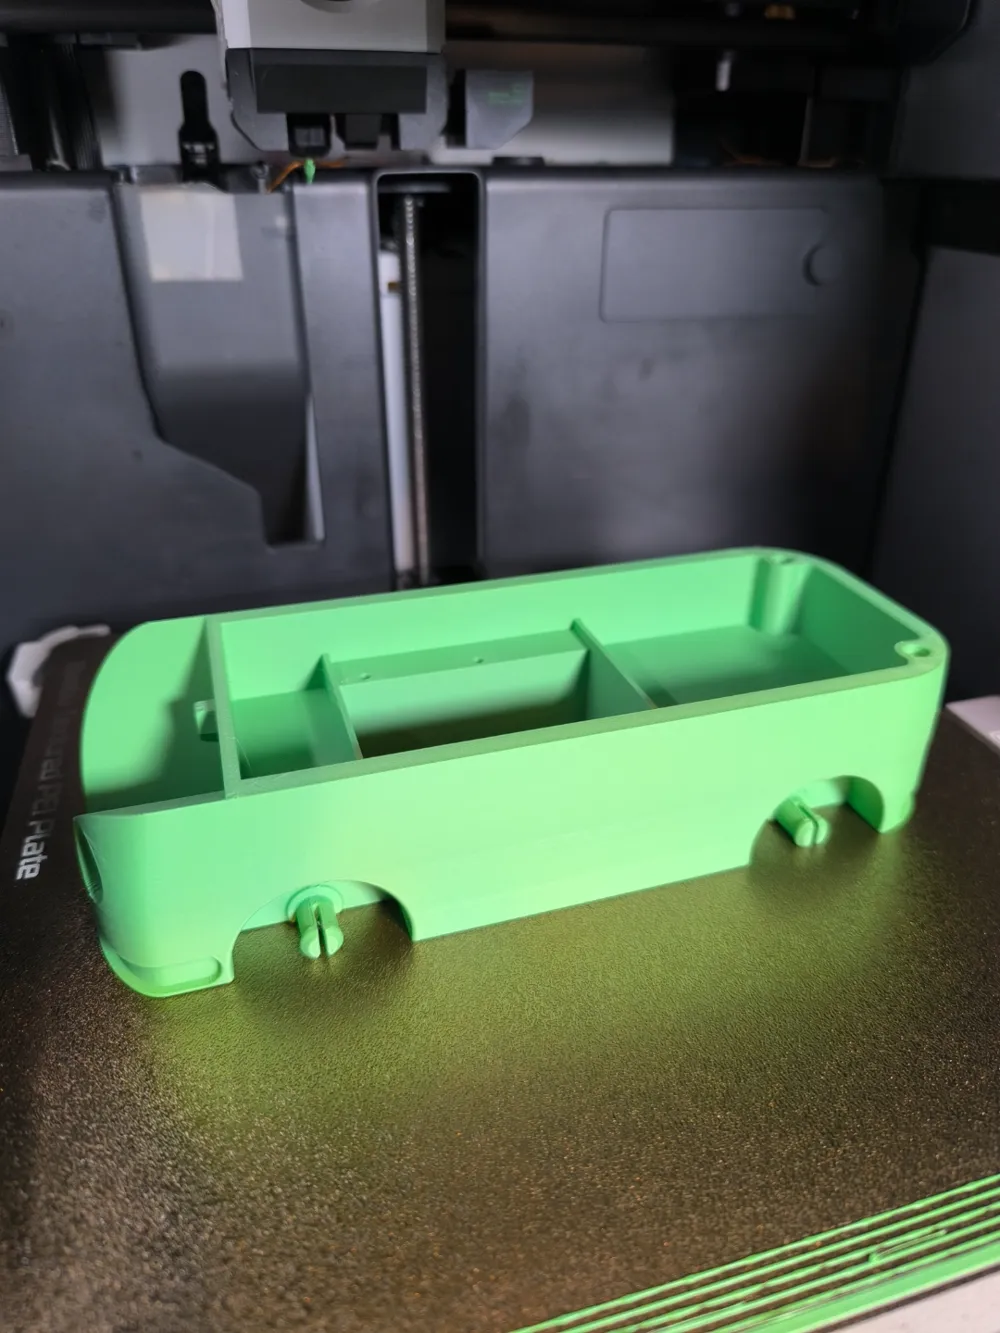
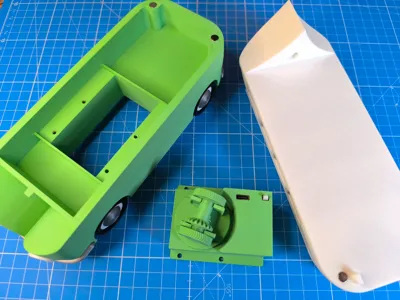
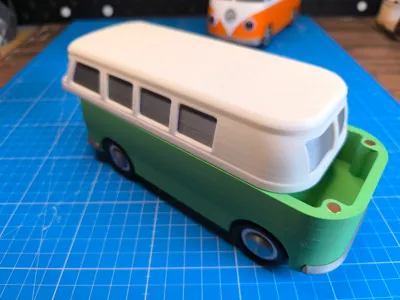
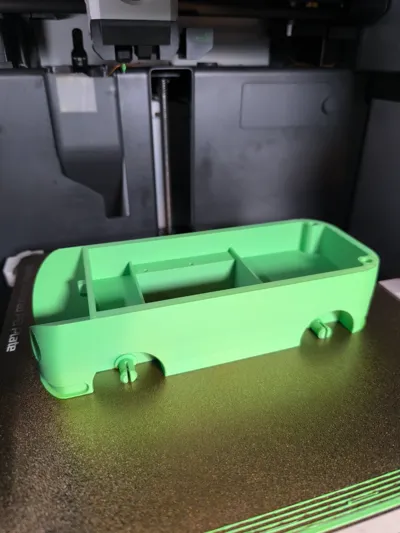
I designed the parts for less filament waste, means 2-piece car body , separate bumpers & logo-sign
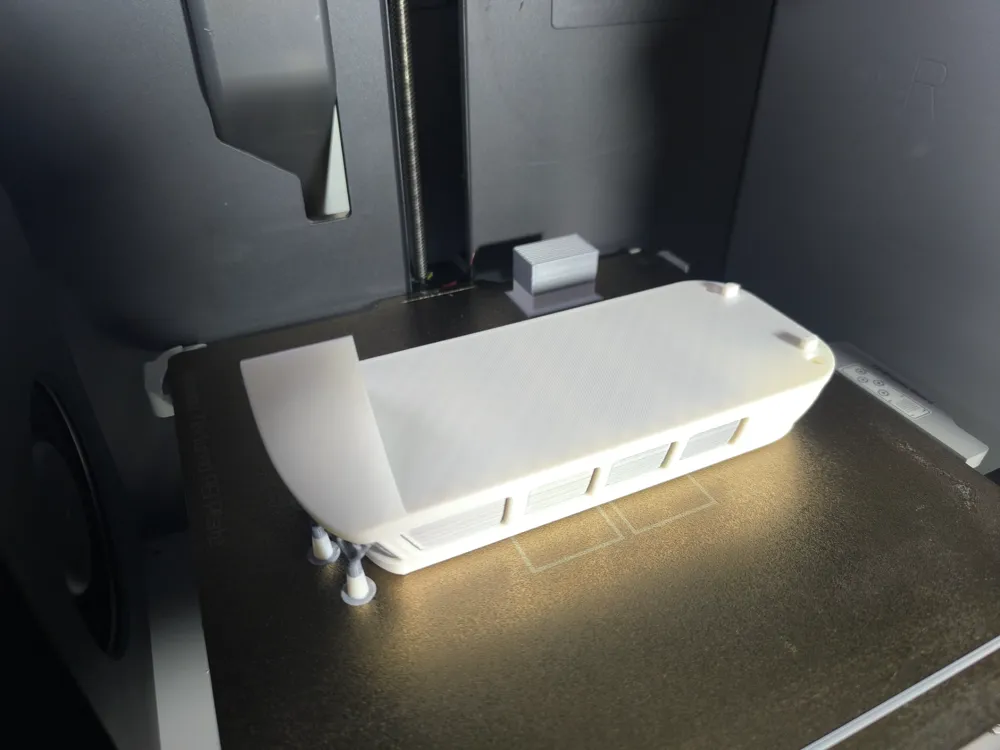
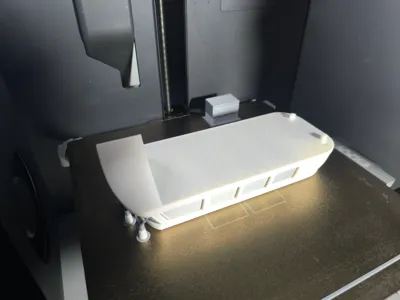
The Top Part could be printed with colored windows, but i added the option to print the windows separate to glue them in.
Feel free to share your opinion about the model, we can optimize it together and possibly make a whole series of cars printable.
Boost Me (for free)
Printing:
I designed all parts to print relatively easy. A good adhesion is recommended! Clean your build plate before.
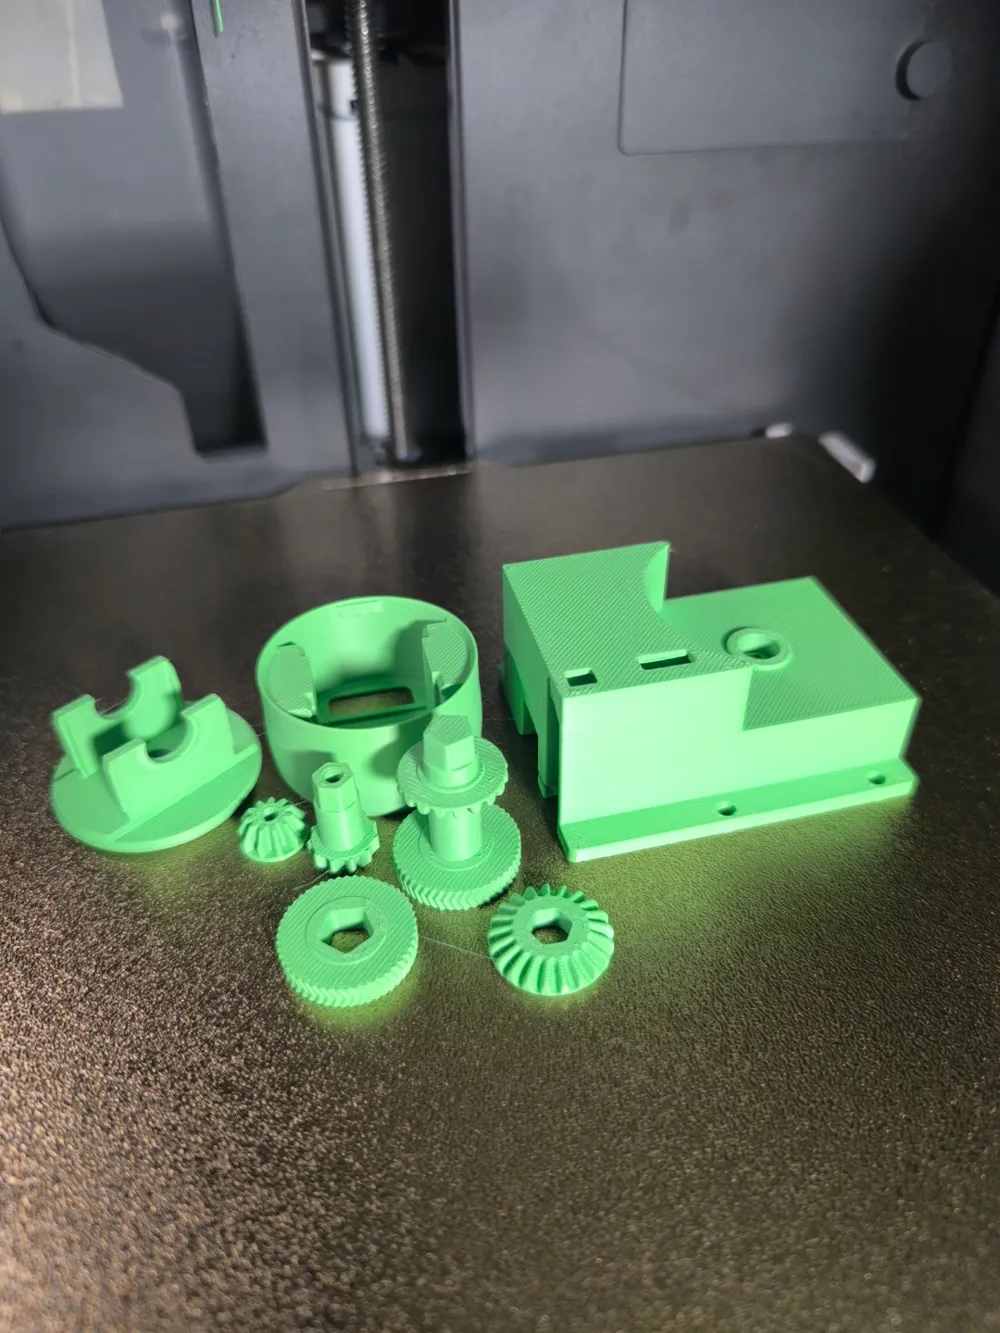
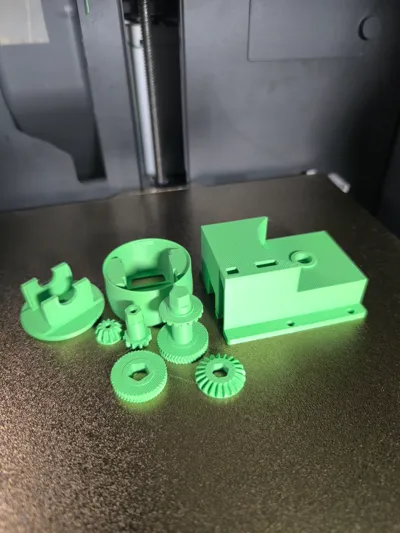
Support is only used on some windows and the gearbox.
You have the option to print the Upper Bus Part in multi color or in single color and glue the separated windows afterwards.
Assembly:
You need:
1x Rechargeable Kit
5x M3 Screws and 1x Washer
Optional 4pcs Round 6x2 Magnet
Gearbox:
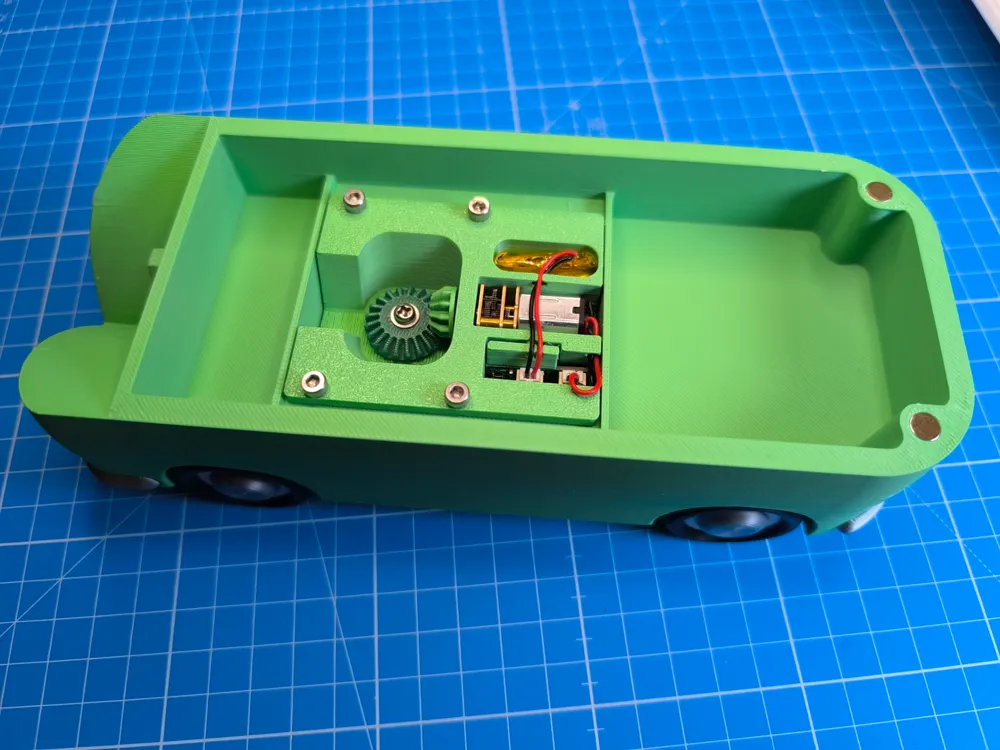
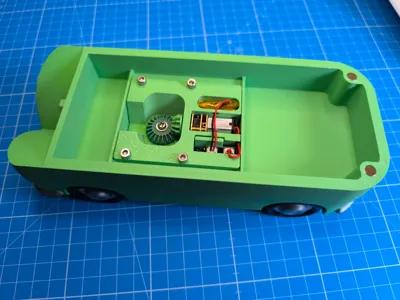
- Insert the circuit board in the base
- Slide motor and battery in and attache the cables
- Press the smallest gear on the motor shaft → Pay attention to the flat side of the shaft
Insert the flat gear(red) in the housing (yellow) and attache the turntable(purple) from the other side with the gear-shaft (blue)
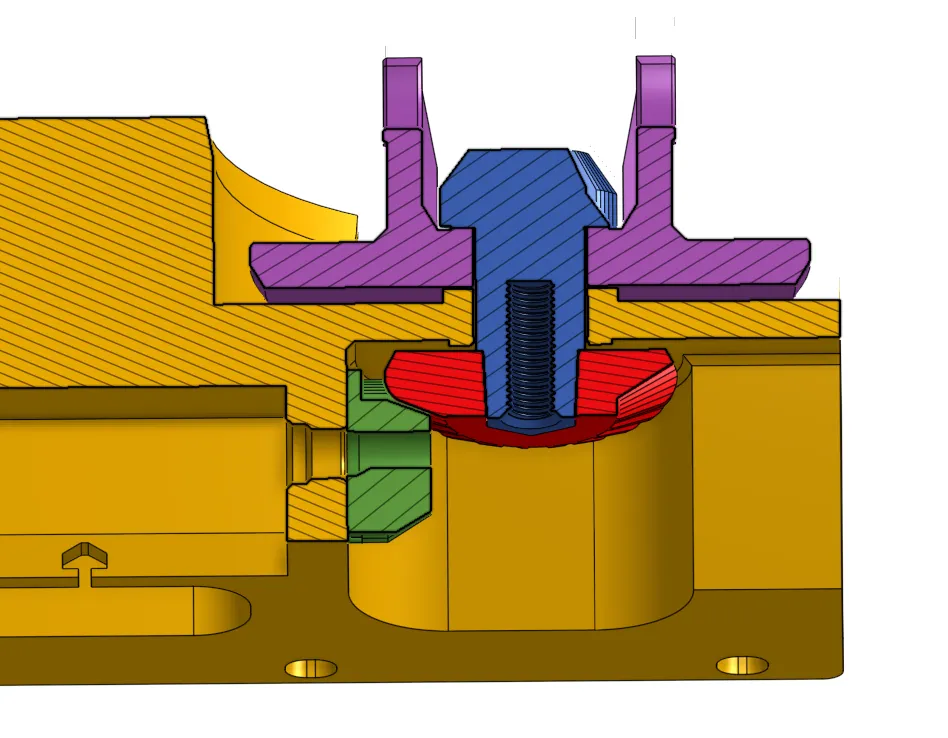
- Secure the flat gear with washer & M3 screw
Press the ‘drive wheel’ on the ‘drive wheel axle’
and push them into the axle mount from the turntable
- Check the function if all turns well, place the cap above to cover the gears
Bus:
- Insert the gearbox to the bus bottom part and secure with M3 screws
- Take some superglue and insert bumpers and eyes to the correct spots from ‘bus bottom’
- Clip on the 4 printed wheels
- Glue the logo sign to the 'bus top' and if you decided to print the windows before, glue them also. (carefully check the orientation)
- Slide Top and Bottom Part together
Have fun!😃 If you want to support me you can simply follow, boost & like the model.
You want to sell printed parts from my designs? Commercial license you can get here:
https://www.patreon.com/BamBamDesign/
Membership
You want to sell printed objects from my designs or just support my work? Now you can subscribe on Makerworld! Thank you!
License

You shall not share, sub-license, sell, rent, host, transfer, or distribute in any way the digital or 3D printed versions of this object, nor any other derivative work of this object in its digital or physical format (including - but not limited to - remixes of this object, and hosting on other digital platforms). The objects may not be used without permission in any way whatsoever in which you charge money, or collect fees.


Comment & Rating (88)