Led Christmas bulb earrings
Led Christmas bulb earrings


Print Profile(3)


Description
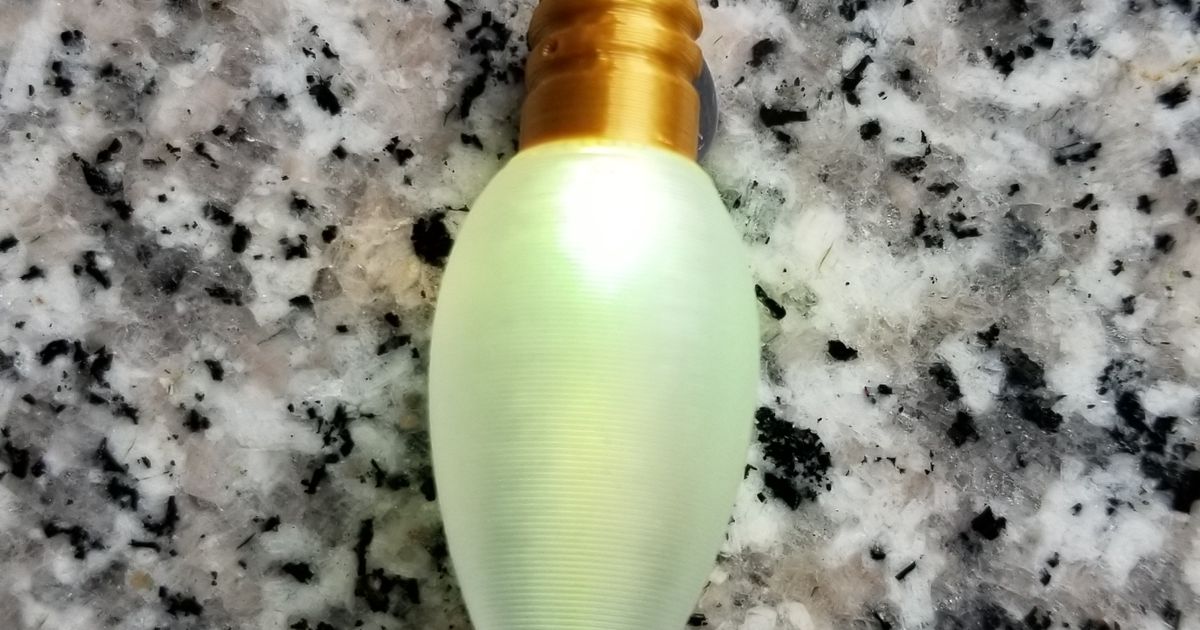
Here is a model of led bulbs that i remixed from author https://www.printables.com/@vetterick_175328.
Bare with me as this is my first upload ever. hope you like what I've done to this model.
I found the original model was good but weak and had a tendency to break where the earrings attached. i completely remixed the base to be stronger and a better fit for the led and battery. I also created a led setting tool to help guide the led into place along with knowing the correct length to cut the led legs.
To successfully complete this task, you will require a few items. Firstly, you will need transparent filament, which can be purchased in various colors or as color-changing LEDs. However, I have found that transparent white works best for color-changing LEDs. You can find the specific LEDs I am using at this link: https://www.amazon.com/dp/B07DL9DGNC.
Additionally, you will need CR 927 batteries. I recommend buying them in bulk as this will significantly reduce the price.
Now, let's proceed with the instructions. As depicted in the pictures, begin by using the back of the setting tool. Place it between the leads on the LED, making use of the little groove to guide them for sizing. While holding the leads in place, push the LED down. Ensure that the bottom of the LED is close to, but not touching, the tool.
Once you have sized the LED on the tool, utilize your flush cuts to trim the leads that extend beyond the bottom of the tool.
After cutting the leads, take the rounded side of the tool and insert it into the battery opening. Insert the LED leads into the top of the bulb base, without worrying about the direction in which they are inserted.
Using the tool, push the LED into the base, guiding it into the holding slot at the bottom. You should have approximately 1/8 inch of the leads exposed, as this is necessary for a proper fit of the battery.
Once you have completed these steps, apply CA glue to the top and a dap on the leads. Now, attach the bulb to the base.
Comment & Rating (0)
This remix is based on
License
Related Models


