
Tic-Tac-Toe Toilet Paper Holder

Print Profile(1)

Bill of Materials


Description
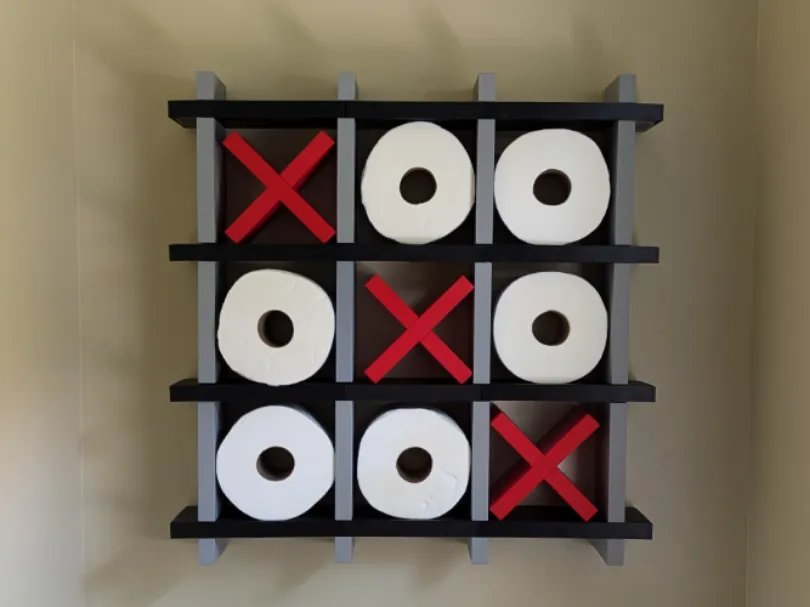
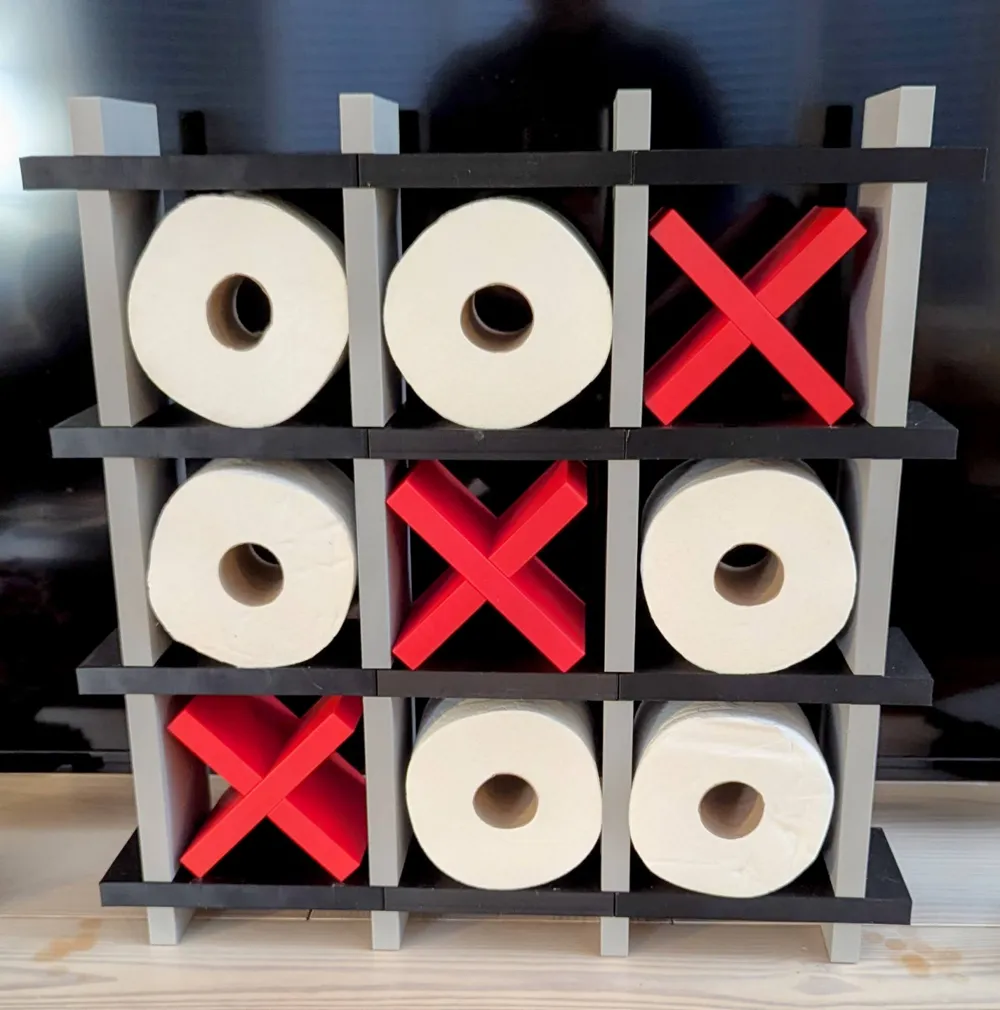
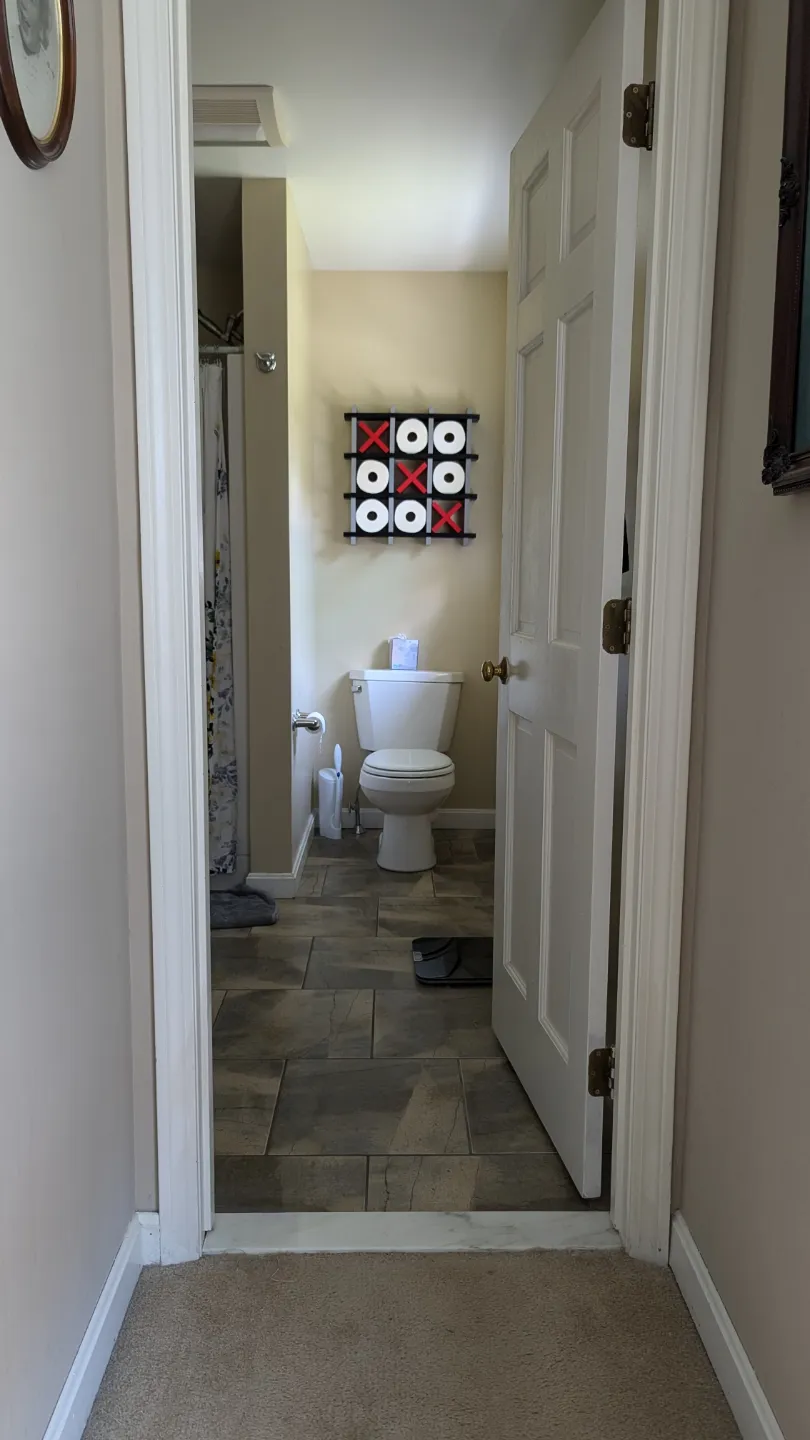
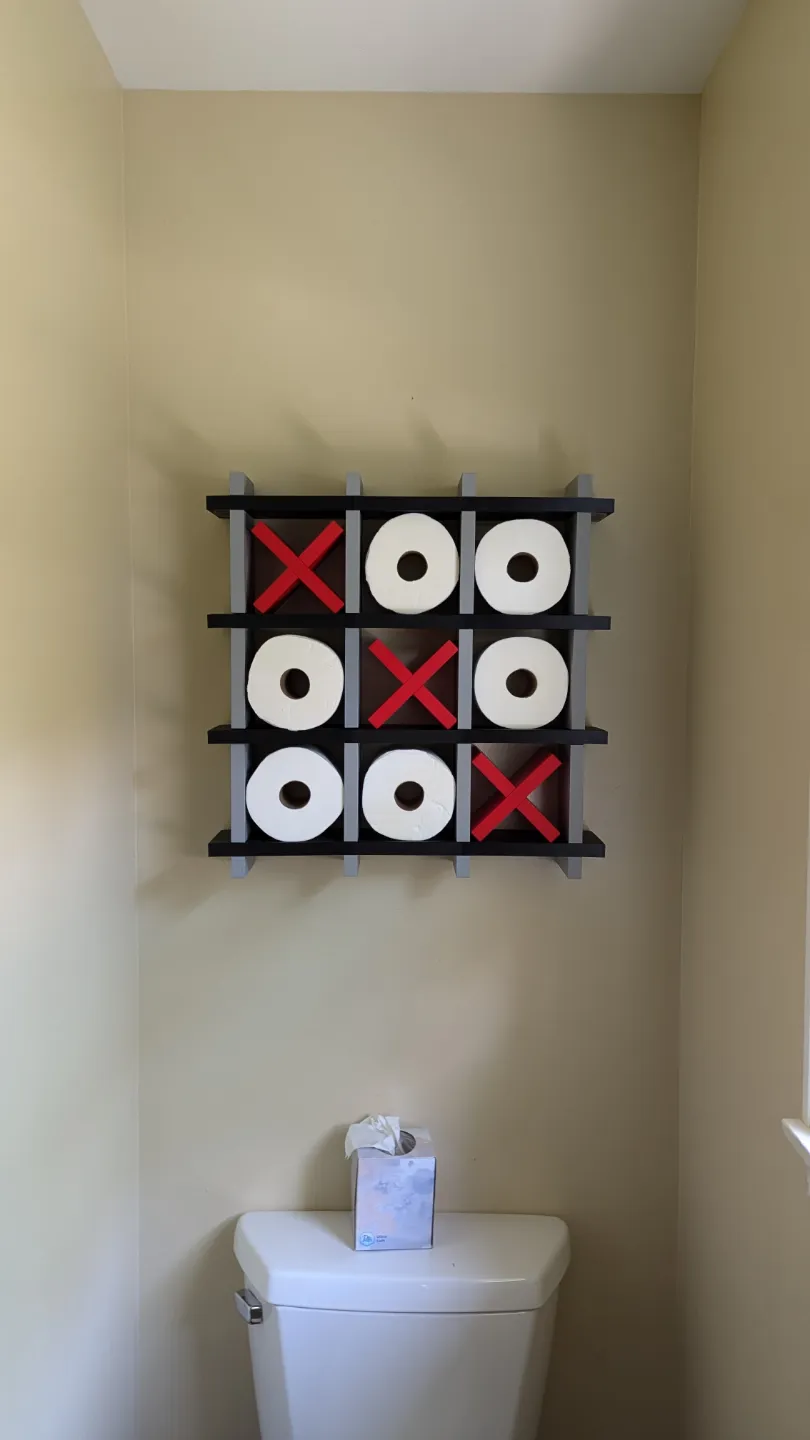
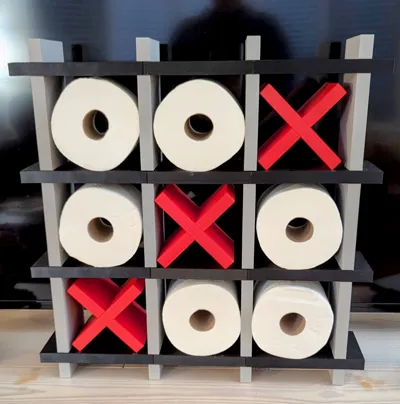
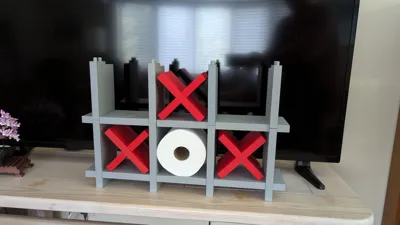
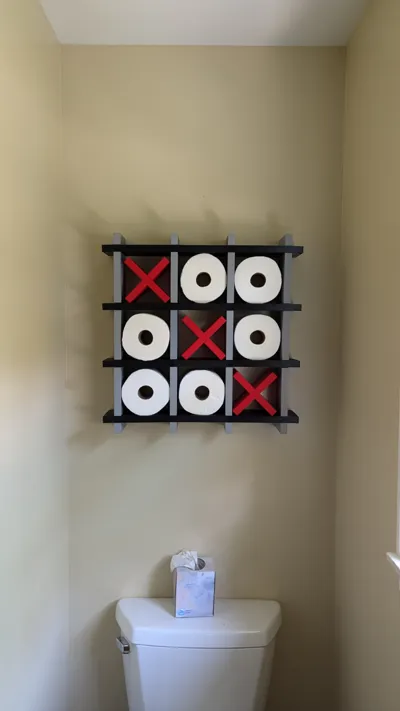
This unique Tic-Tac-Toe Toilet Paper Holder is the perfect blend of functional design and playful decor. Whether you want to bring some fun to your bathroom or create a quirky conversation starter, this 3D-printed project does it all. It stores toilet paper rolls in an eye-catching and accessible way while doubling as a large-scale Tic-Tac-Toe board.
The design features sturdy interlocking pieces for easy assembly and customizable pegs to hold either "X" markers or standard-sized toilet paper rolls as the "O's." The model is modular and can be printed in different colors for a personalized touch.
Features:
- Functional and Fun: Serves as a storage solution and game board in one.
- Customizable Pieces: Print "X" markers in any color, or mix and match shades for a vibrant design.
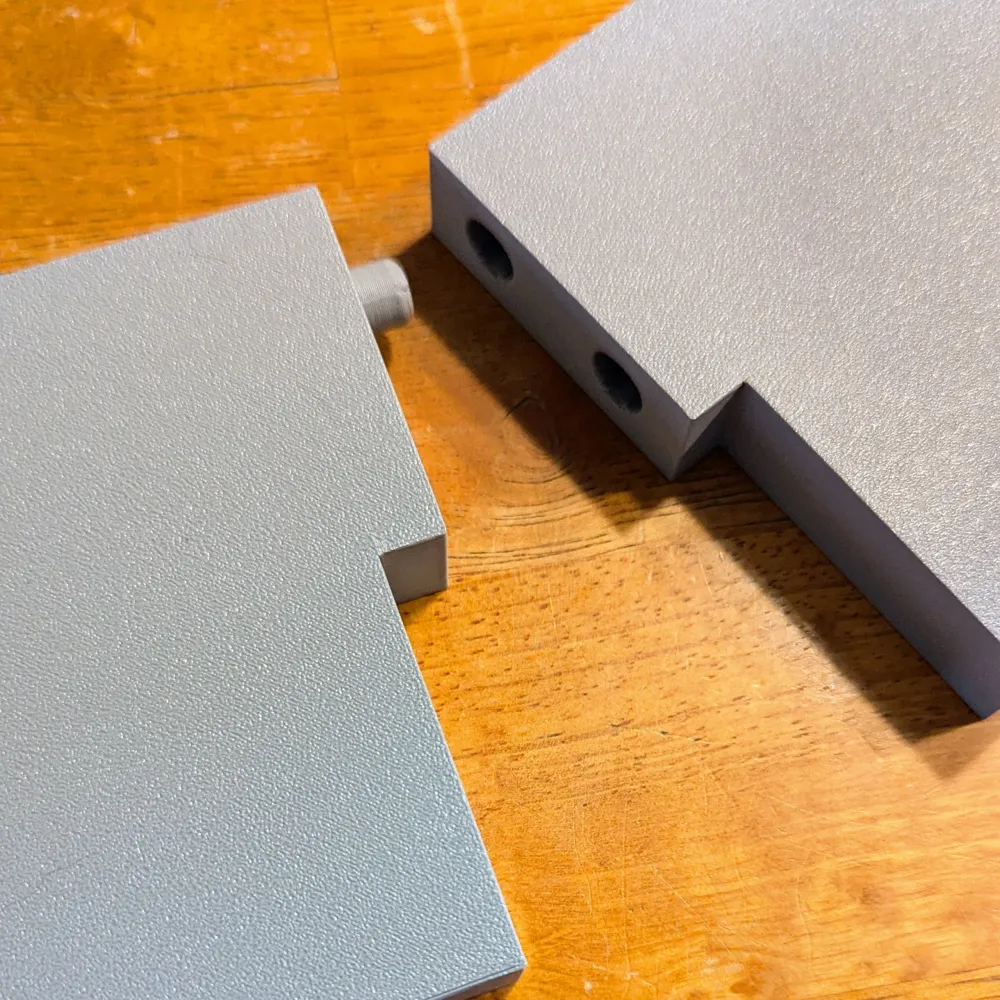
- Easy Assembly: Designed with interlocking parts for a hassle-free build.
- Compact and Space-Saving: Perfect for bathrooms of any size.
Printing Instructions:
- Pieces to Print:
- End Planks (16 pieces)
- Middle Planks (8 pieces)
- Pegs (32 pieces)
- X Blocks (2 per "X" needed)
- Recommended Settings:
- Layer height: 0.2mm
- Infill: 20%
- Supports: Not required
Printing Instructions:
This model was designed with a focus on efficiency and minimizing weight, making it both quick to print and easy to mount. I used Extra Draft Mode with a 0.28mm layer height and 10% infill set to the lightning pattern. This combination ensures the model is lightweight while retaining the structural integrity needed for practical use.
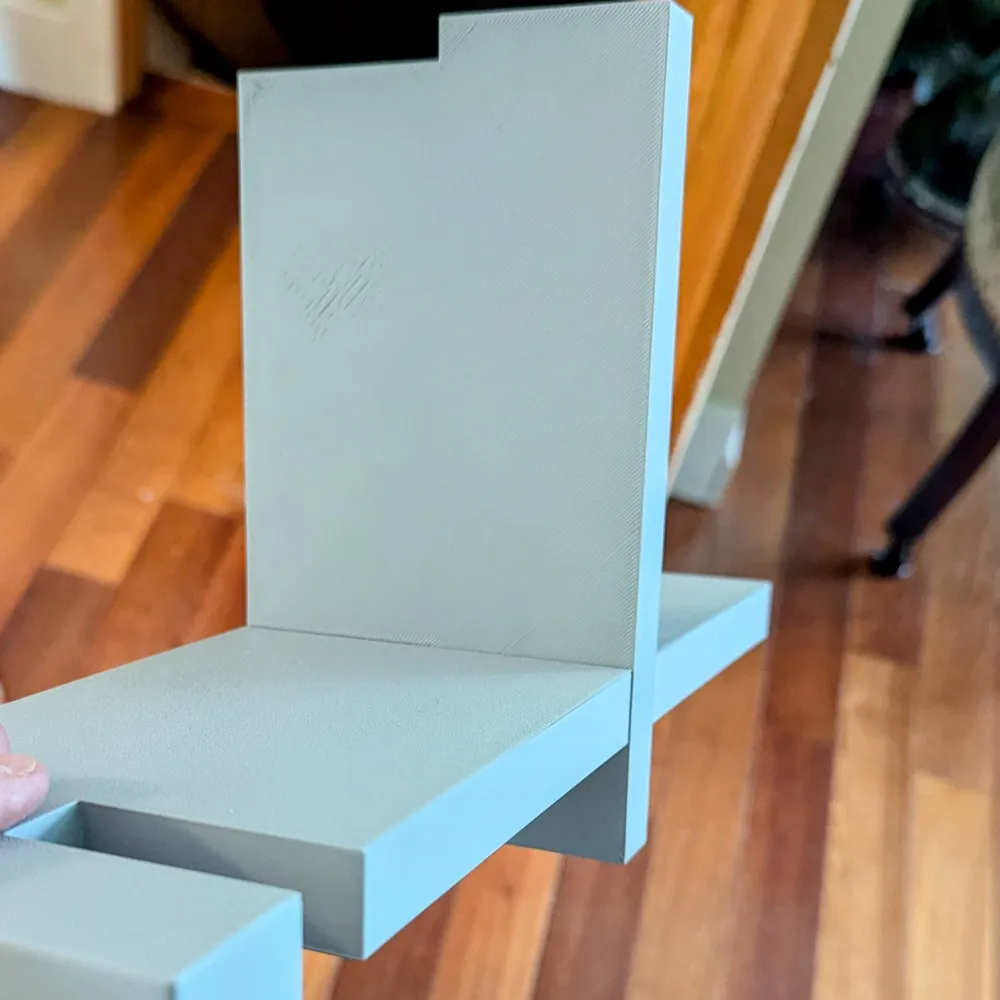
The end planks are universal for either side, but for the best aesthetic finish, I recommend flipping one of the ends so you achieve a clean shelf surface. This orientation adjustment has already been made for you on the “Double Plank” plate, but if you’re printing them individually, ensure the top of the shelf is printed facedown for a smoother finish. Proper orientation will significantly enhance the model's visual appeal and functionality.
Assembly Guide:
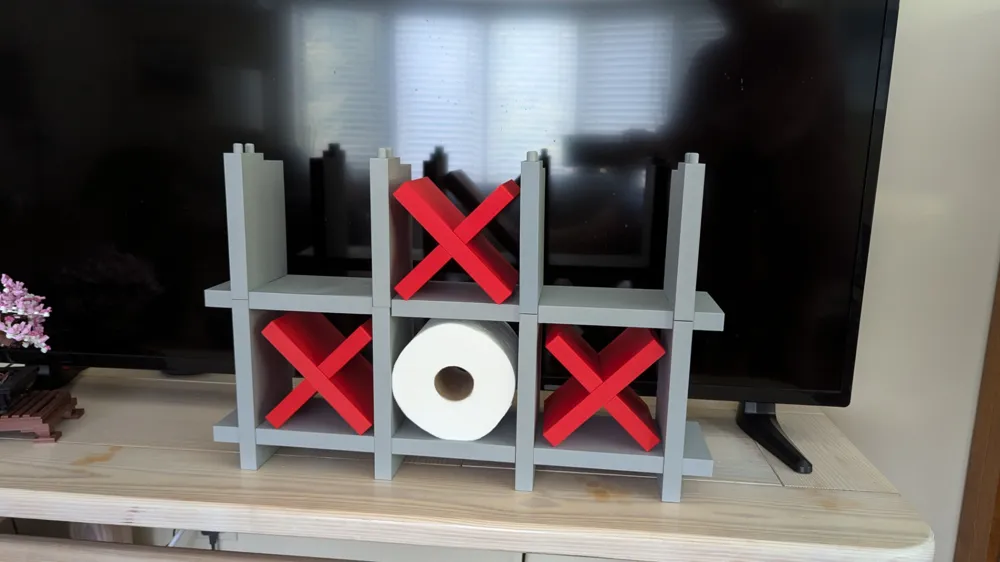
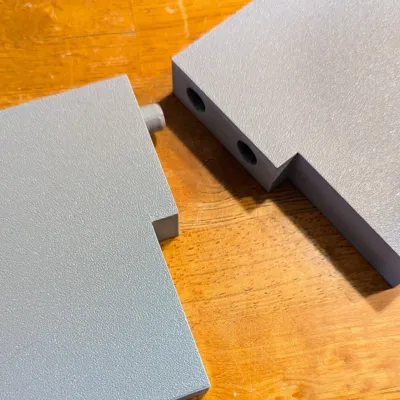
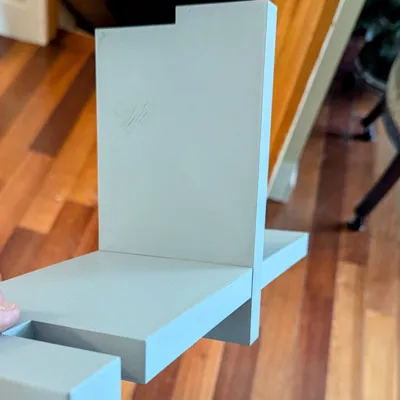
Each component is designed to slot together seamlessly without the need for adhesives or screws. Refer to the included photos for examples. If you used the lightning infill, handle the panels with care during assembly to avoid damaging them. While the panels are strong enough to support toilet paper rolls, excessive pressure while gripping or fitting them together could risk crushing the material. For added durability, or if you’re concerned about the panels’ strength during assembly, consider increasing the infill percentage. However, if you’re like me and prefer a quicker print, the provided settings should work perfectly fine with a bit of caution.
Mounting Instructions:
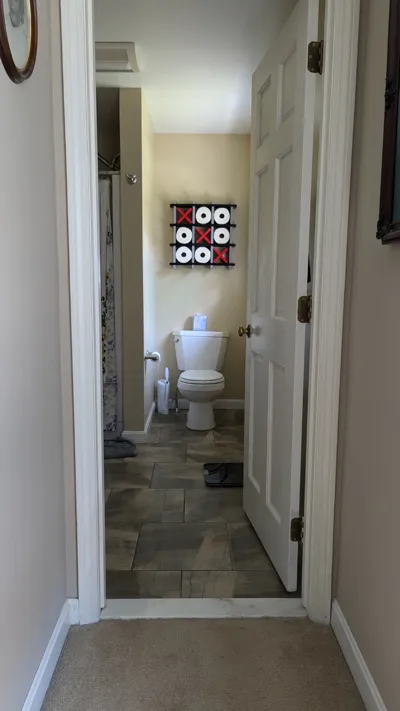
To mount this model, I used 3M X-Large Picture Hanging Strips (rated for 20 lbs). These adhesive strips are perfect for securing the model without damaging your walls. You probably don't need 20lb rated strips, but it was what I had on hand. I have linked a similar item in the bill of materials section. They are easy to use and provide a reliable hold.
License



Comment & Rating (28)