Search models, users, collections, and posts

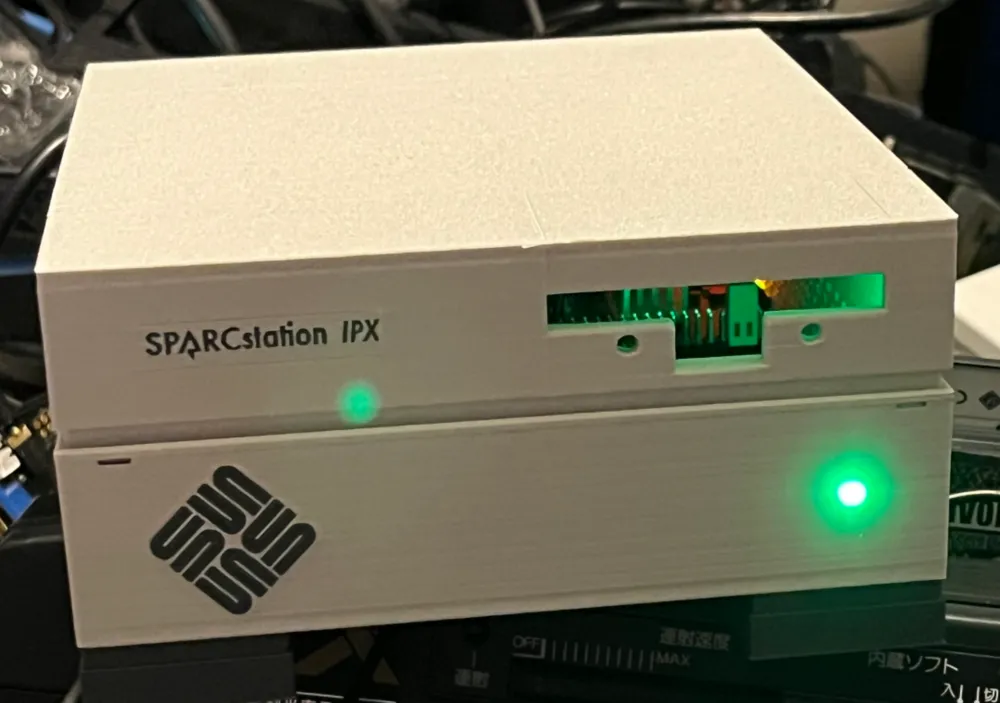
piSparc

Print Profile(1)

0.2mm layer, 2 walls, 15% infill
Designer
20.2 h
5 plates
Open in Bambu Studio
Boost
18
41
4
4
28
4
Released
Bill of Materials
Maker's Supply Kits and Parts
Select all


List other parts
- Raspberry Pi x 1:
- 3mm Green LED x 1:
- 330 Ohm Resistor x 1:
- Black Wire x 1:
- Red Wire x 1:
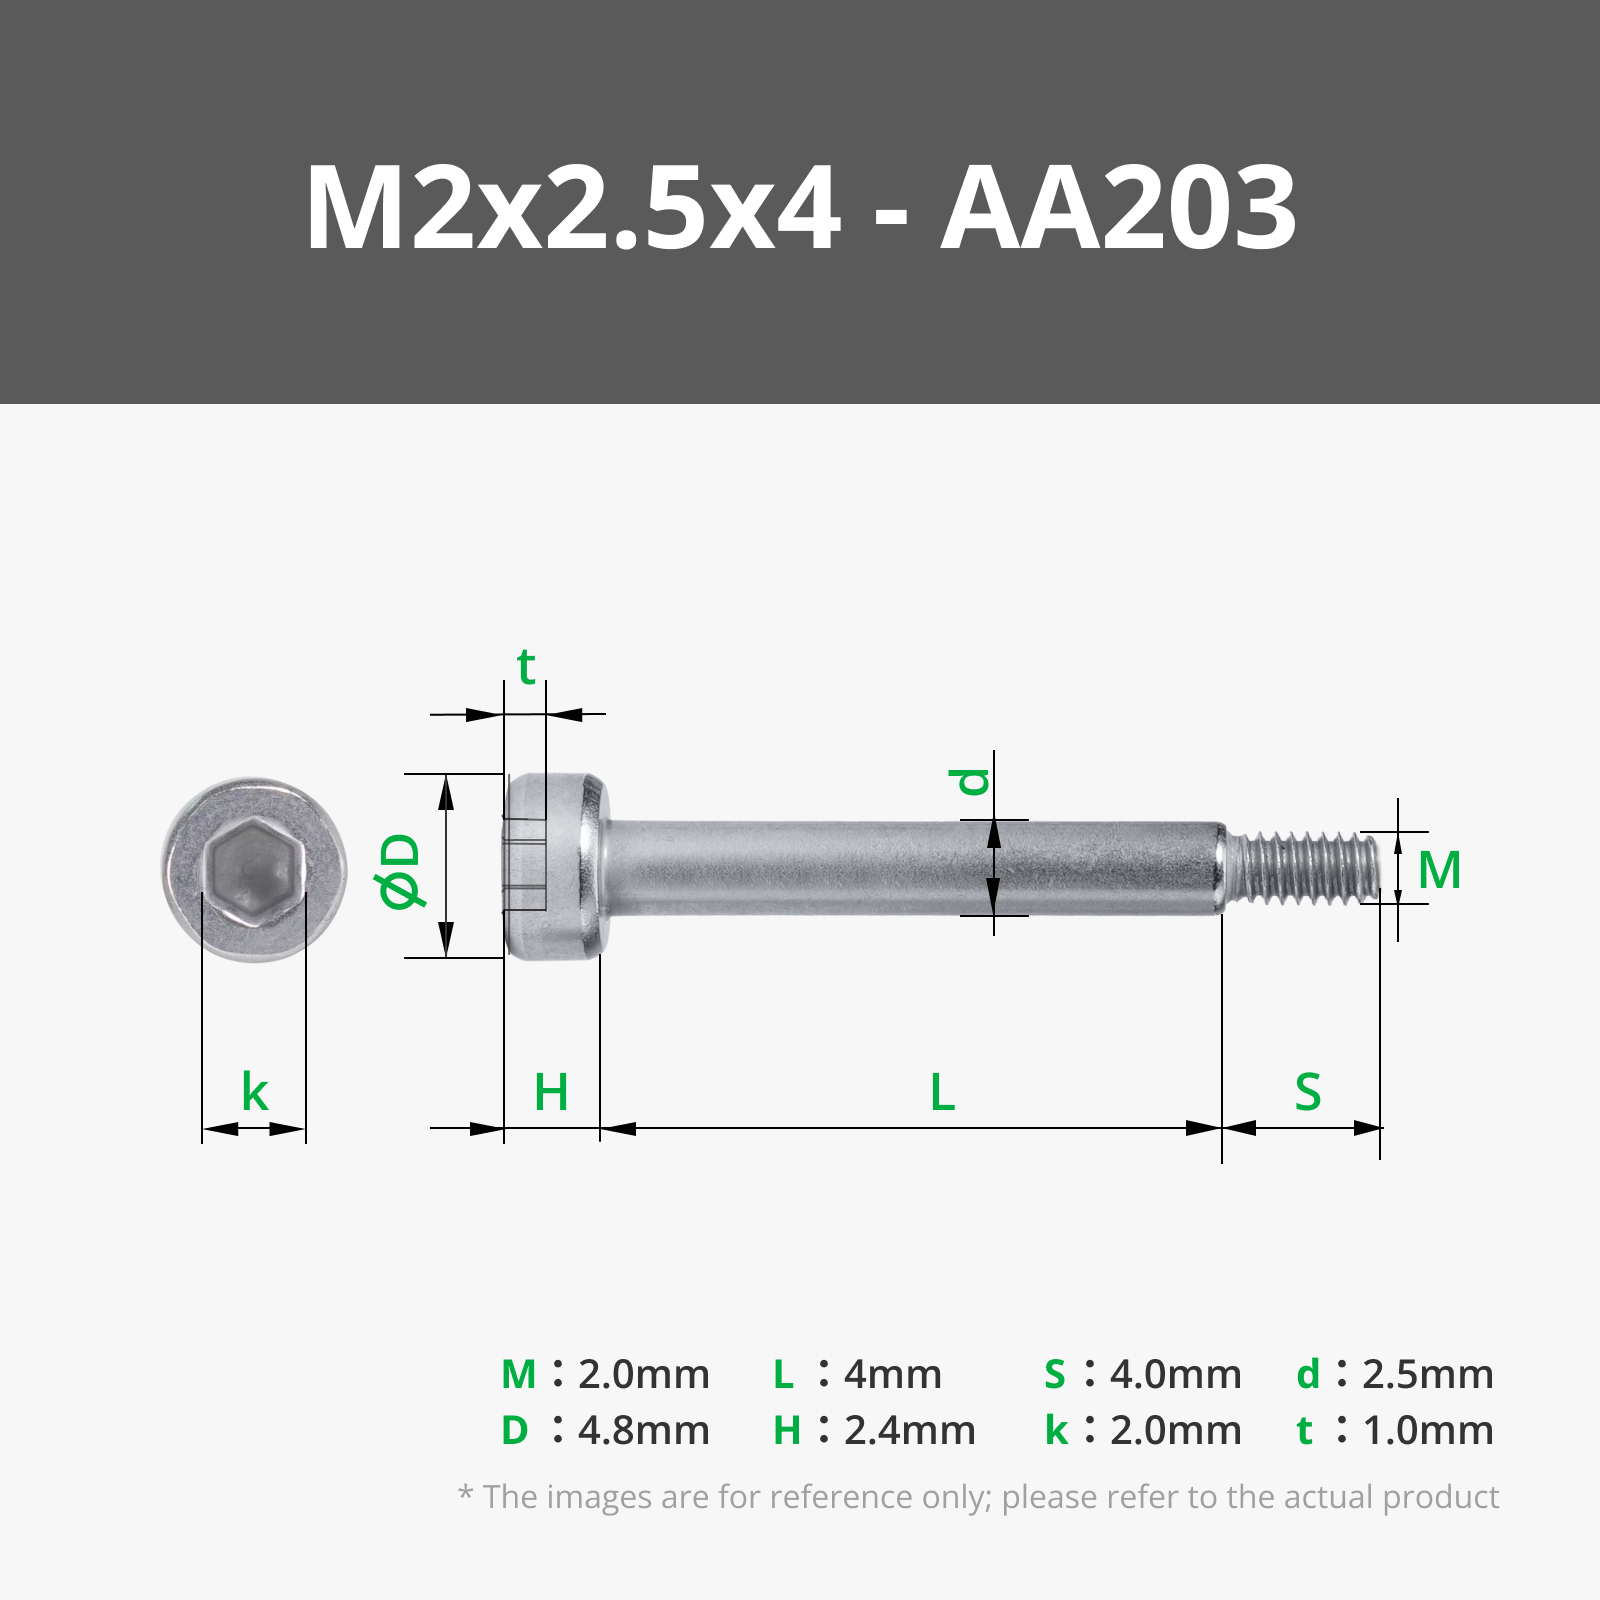
- M2 x 1:
Description
See https://github.com/jonn-reenthused/piSparc/tree/main for up to date files
BOM
To build the basic case you need:
- 1 x Top
- 1 x Bottom
- 4 x Leg
- Raspberry Pi
- 4 x M2 screw
If you want to use the case latches you will also need
- 2 x Case-Button
- 2 x Case-Latch
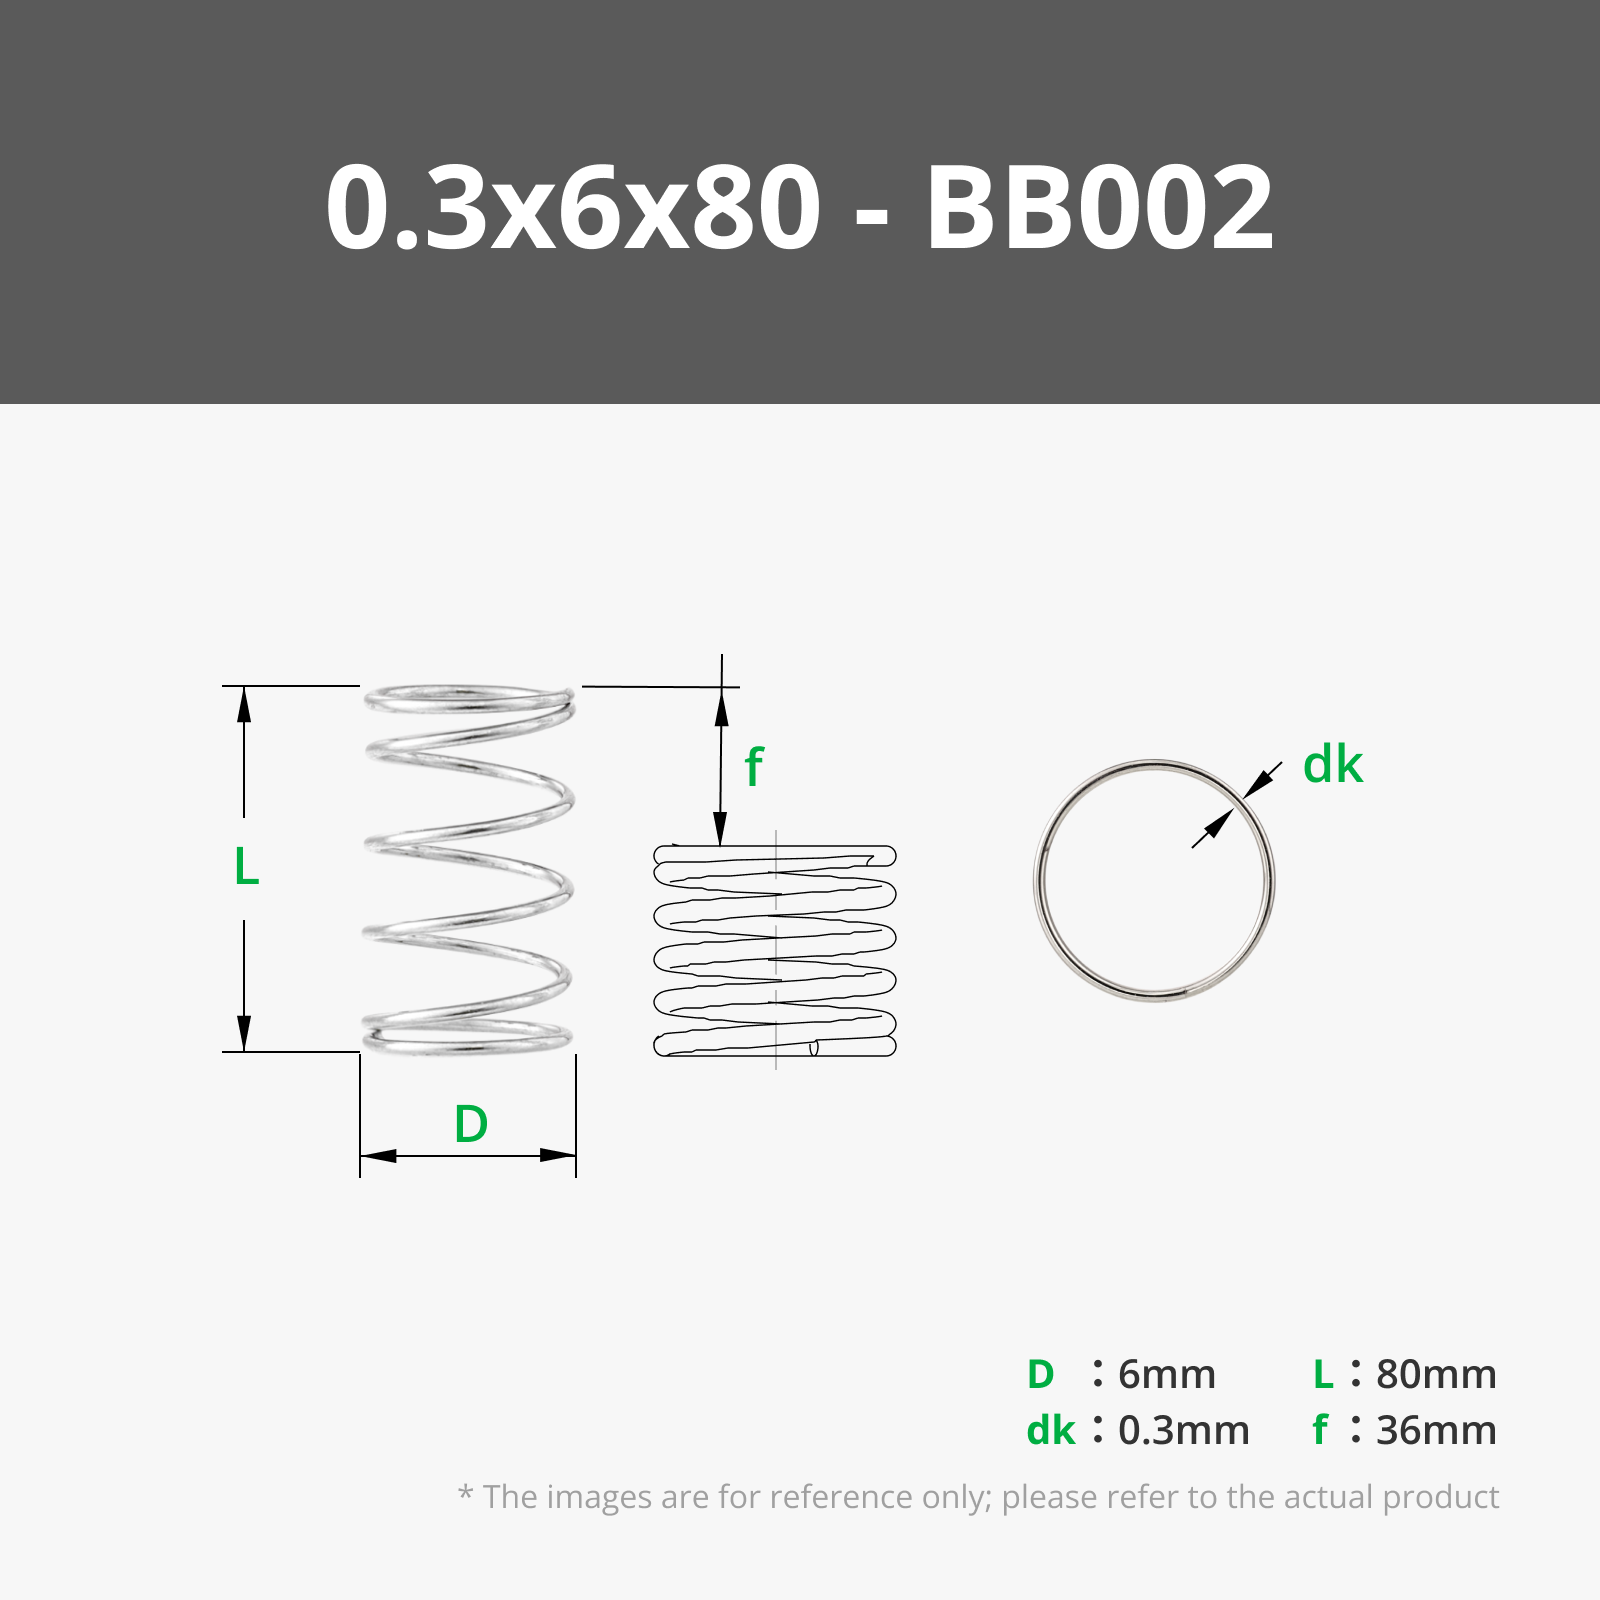
- 2 x 0.5 x 6 x 3mm Compression Spring
- 2 x M2 screw
If you don't have an AMS printer or want to print the case badges separately then you will also need:
- 1 x SparcStation Logo
- 1 x Sun Logo
External Ports
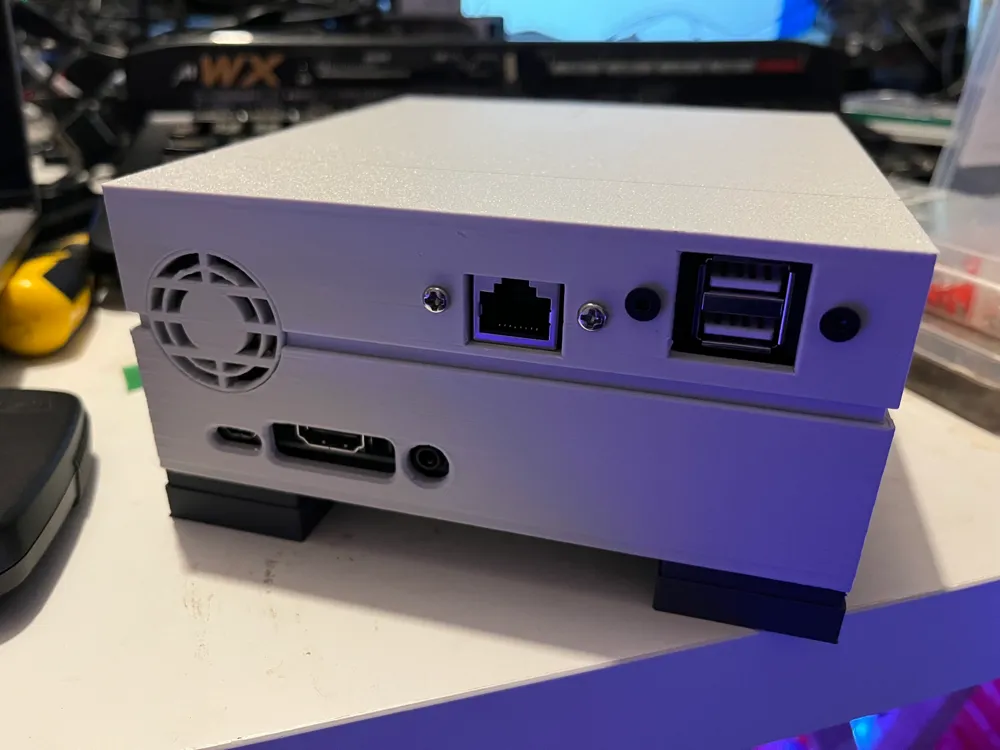
You can also use external ports for the USB ports and Ethernet ports
- 1 x Panel Mount Ethernet Port https://www.amazon.co.uk/dp/B092DR5H53
- 1 x Panel Mount Dual USB Ports https://www.amazon.co.uk/dp/B08T8J94RS
- 1 x Panel Mount Single USB Port (for front mounted USB) https://www.amazon.co.uk/dp/B07BPDSFJY
Instructions
Bottom
- Screw Raspberry Pi into bottom
- If using external ports, connect them now
Top
- Place 1 x Case Latch one of the latch pillers with the clip facing outwards
- Put a spring onto a Case-Button stem, push it through the clip hole from the outside. Use an M2 screw to connect the Latch to the Button
- Repeat for the other side
- Screw the dual USB port into the top case, it uses the larger hole at the back of the top case.
- Screw the Ethernet socket into the hole next to it.
- If using the front USB socket you can screw this in the front of the top case.
Power LED
- 1 x 3mm Green LED
- 1 x 330ohm resistor
- Black and Red wire connected to two pin header connector (on both ends for ease of use) If you want to use a Power LED then you need a 3mm LED (ideally green), connect a 330 ohm resistor to the longest leg, connect a red wire to the resistor and a black wire to the other leg of the LED. This needs to be connected to 5v and Ground on the Pi. The best way to do that is to use the second pin from the right (as you're looking at the Pi from the front of the piSparc) for 5v (red wire) and the third pin for Ground (black wire).
Putting it together
- angle the top case so the clips do into the holes on the bottom case
- Close the case, you may need to push the clips in to get the case to close. The two sides will be quite close in size so will need some aligning to close.
Finishing touches
Push the legs into the bottom holes, if they're too loose you can use an M3 screw to hold them in
License

This user content is licensed under a
Creative Commons Attribution-Noncommercial-Share AlikeRelated Models
There are no related models yet
Comment & Rating (4)