


Print Profile(4)


Bill of Materials

Description
Version 2 is out now! Click Here - No-AMS Required!!!!
-----------------
I heard your feedback! Version 2 has MANY improvements:
- No-AMS required
- Reduced Print Time by 84.4%
- No more filament waste! (bye bye poop)
- Prints with No Supports!
-------------
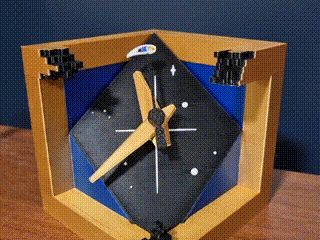
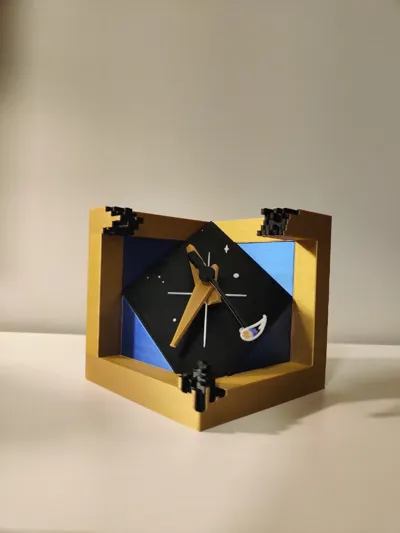
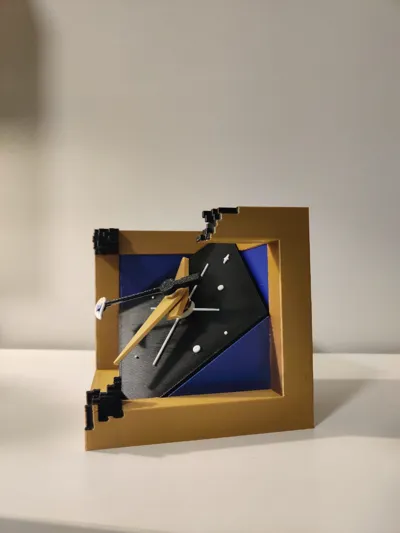
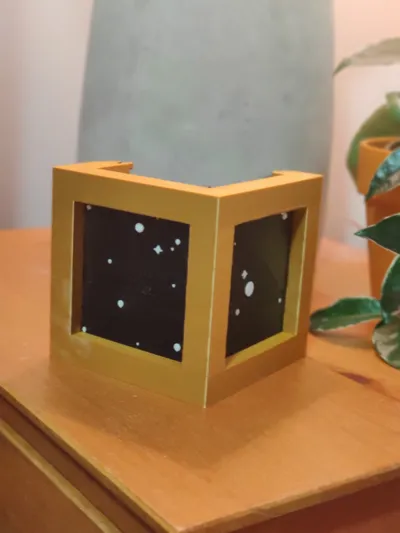
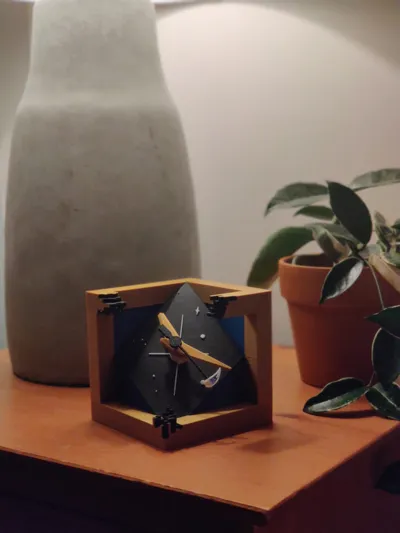
The Cosmic Chronos Cube is an original creation that merges the concept of a Tesseract with astronomical elements, offering a unique perspective on the fourth dimension - time itself ⌛
Printing
4 Color:
🟡 Gold (Silk) PLA
⚫ Black PLA
⚪ White PLA
🔵 Dual-Color Blue & Purple (Silk) PLA or Blue PLA
Assembly
You will need some CA glue (super glue)
Step 0
Once all the parts are printed, you should have these parts:

Step 1
Press the (white) seconds arm into the blue and gold parts:

Step 2
Press the (white) rear diamond into the (black) front diamond:

Step 3
Insert the little tabs into the clock component holes:

Step 4
Fit the clock component into Diamond Plate and align the tabs with the holes (you will feel when they are aligned). Then tighten the screw:

Step 5
Use the “seconds arm” that came with the Clock Kit, and slide it into the printed arm with the comet:

Step 6
Push the Hour arm, then the Minutes Arm and finally the Seconds arm (In this order) into the center of the Clock Kit:

Step 7
Place the (Blue/Purple) Front Back-Drop on each side of the cube:

Step 8
Connect to cube top left and top right together:

Step 9
Add a little bit of glue in the small holes under to Cube's Top:

Step 10
Wait for Glue to Dry and Settle! (IMPORTANT)
Step 11
Push the Rear Black Walls (Left and Right) into the cube:

Step 12
Slide and Push each (black) corner into the Cube's exposed edges:

Step 13
Insert the Diamond Plate into the Cube until it rests within the guides/rails:

Step 14
Enjoy your beautiful new clock! 😍❤️
Ending Notes
I spent a ton of time 😵💫 working on this 2nd version and I learned a lot of new CAD skills.
Thank you to everyone who gave me feedback and encouragement! The MakerWorld community is awesome!
License
You shall not share, sub-license, sell, rent, host, transfer, or distribute in any way the digital or 3D printed versions of this object, nor any other derivative work of this object in its digital or physical format (including - but not limited to - remixes of this object, and hosting on other digital platforms). The objects may not be used without permission in any way whatsoever in which you charge money, or collect fees.
Comment & Rating (69)