
Slim Lithophane Frame

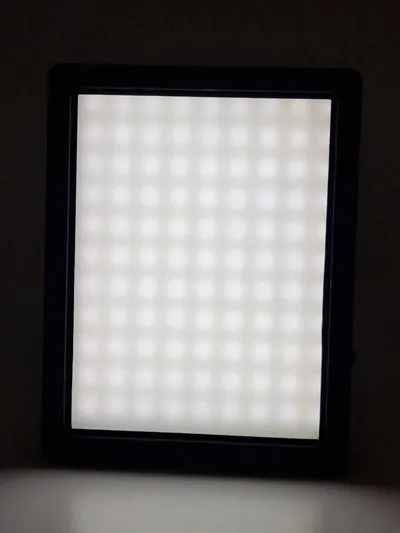
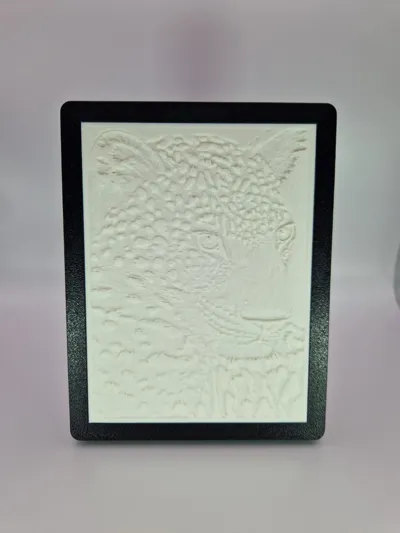
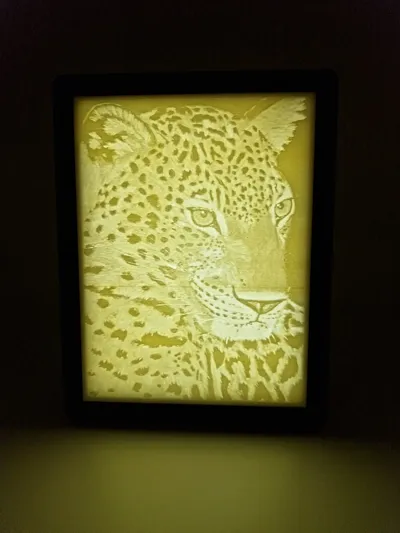
Print Profile(1)

Bill of Materials



Description
Please follow me IG: https://www.instagram.com/tc_toegel_creations/
Boost Me (for free)
💚 Love my creations? 💚 Show your support by giving me a like 👍, following me 🔔, downloading & printing my designs ⬇️, leaving a review ⭐, or boosting my work! 🚀 Every bit of support fuels my next creation. Thanks for being awesome!
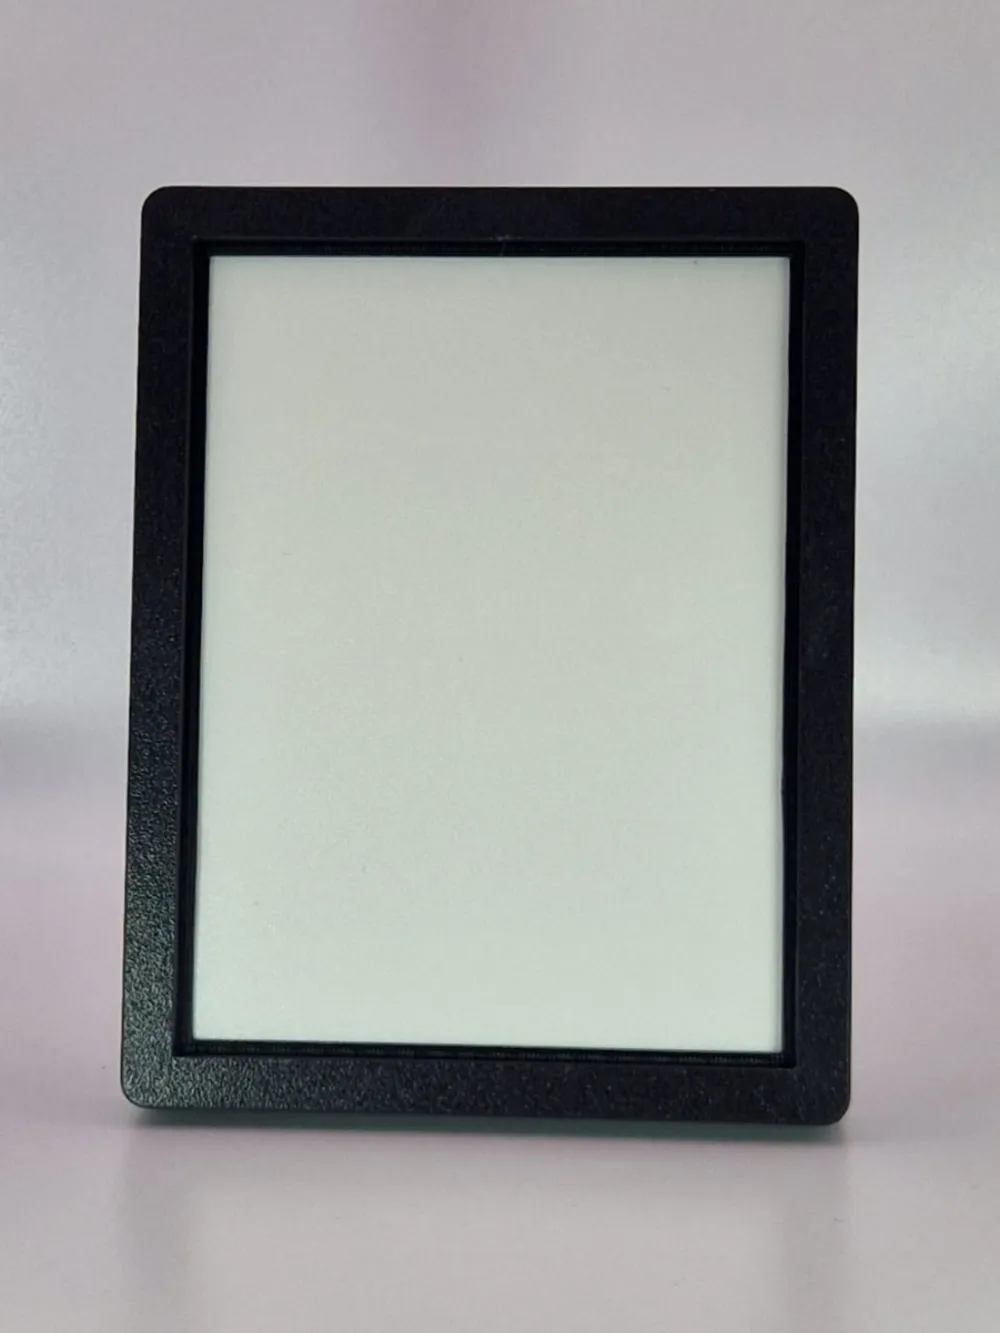
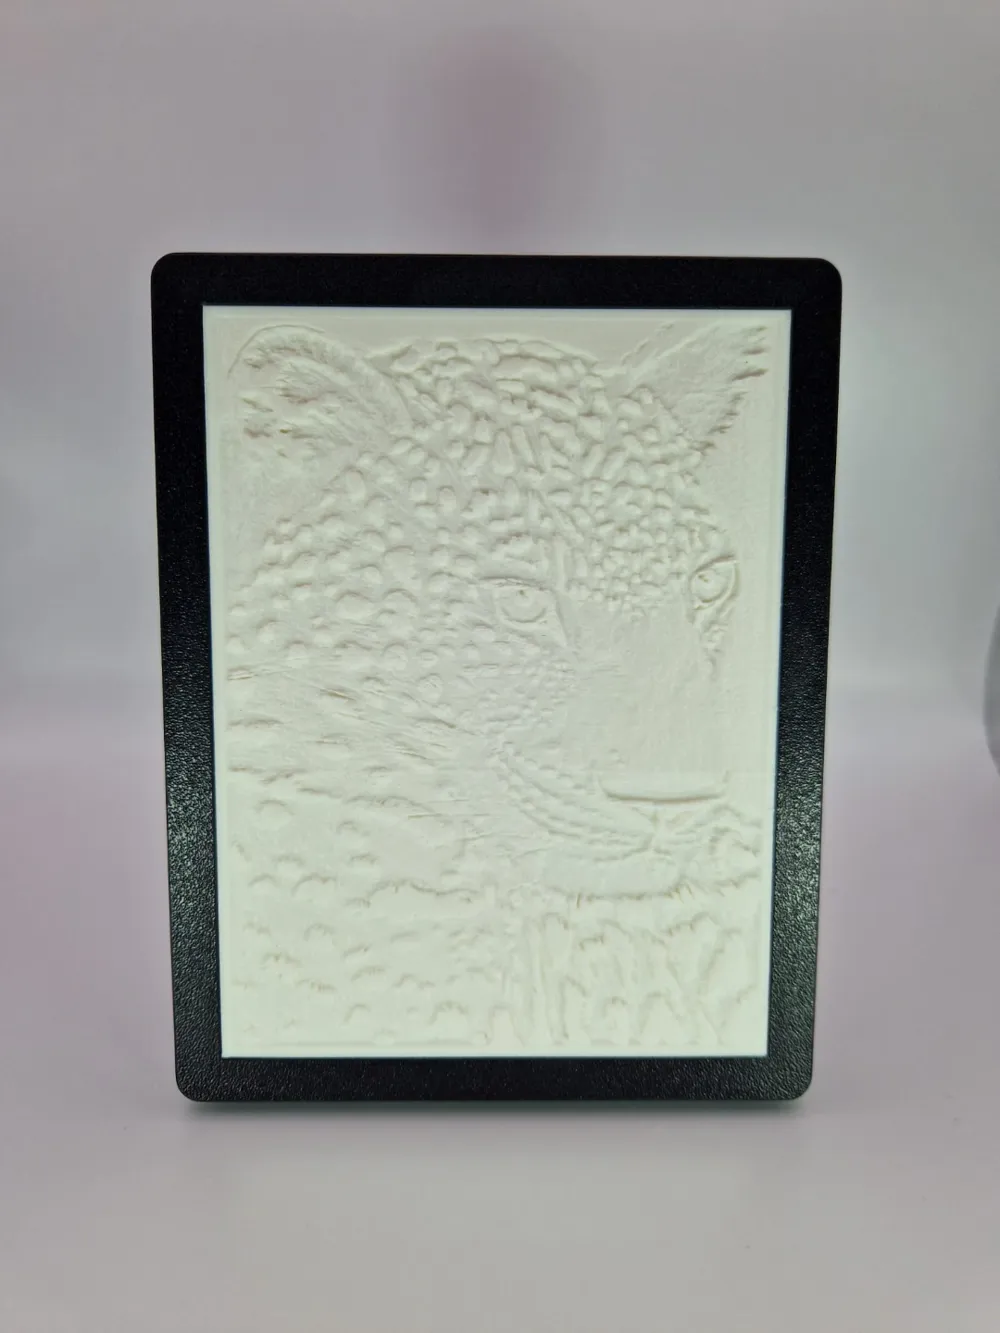
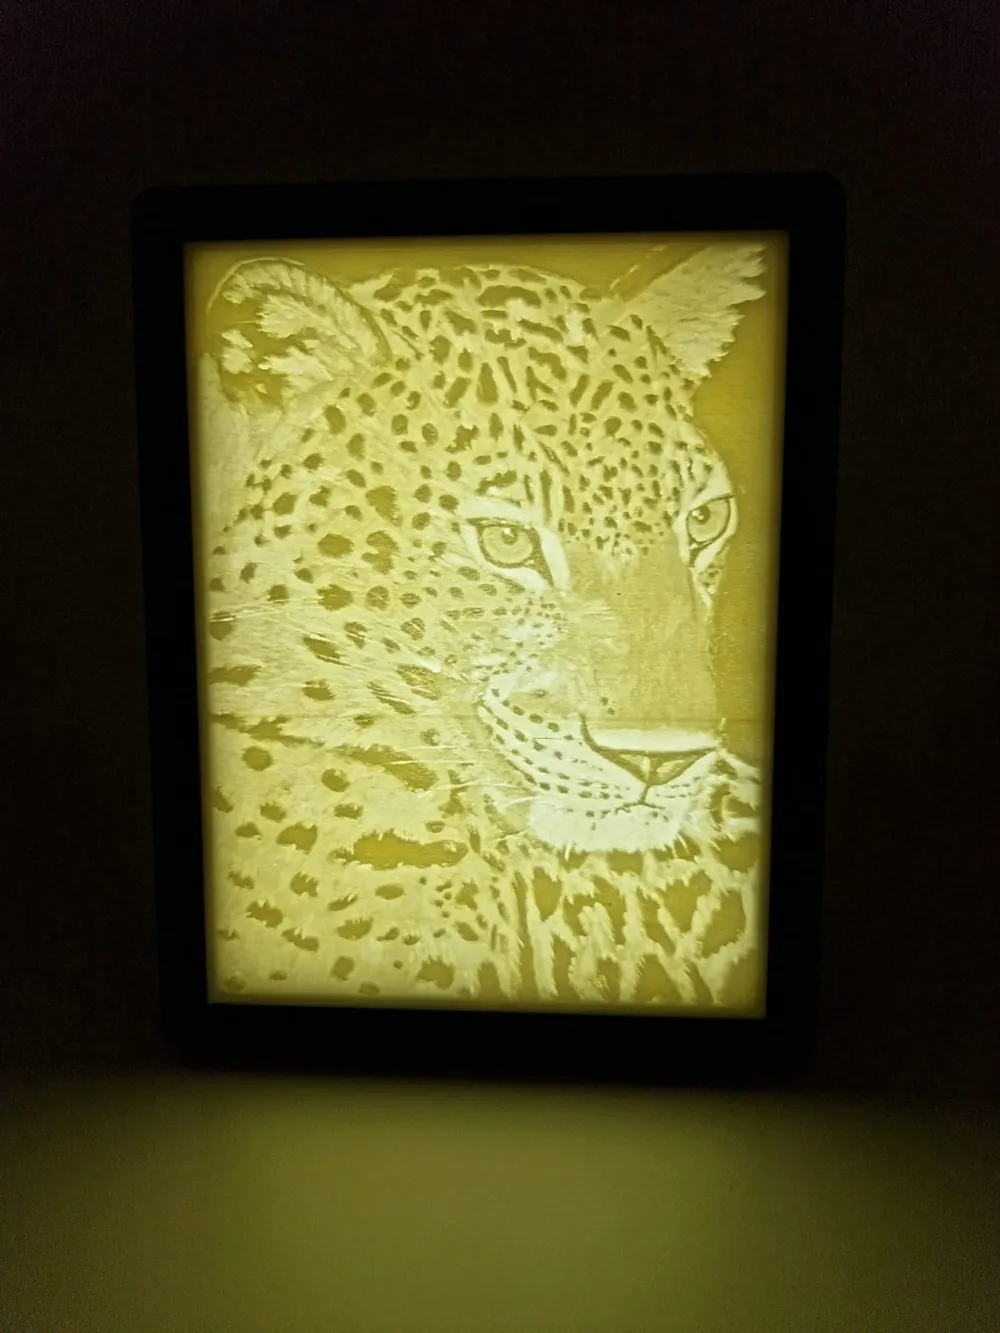
Slim Lithophane Frame – Elegance and Function in Minimalist Design
This slim lithophane frame is the perfect choice for anyone looking to stylishly showcase their illuminated artworks. Its minimalist design takes up little space without compromising on stability or aesthetics.
Features
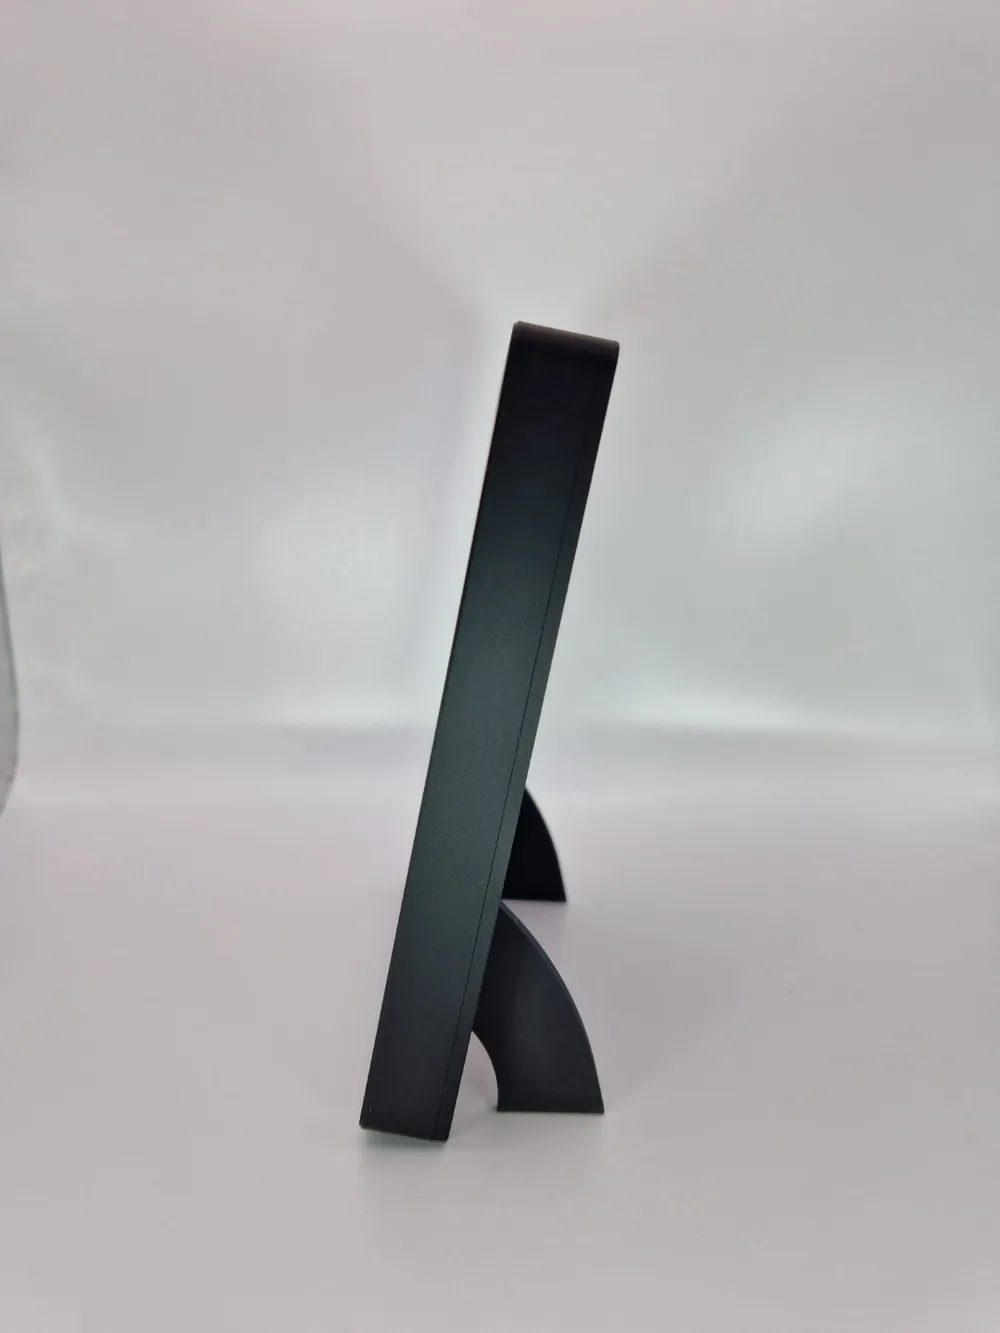
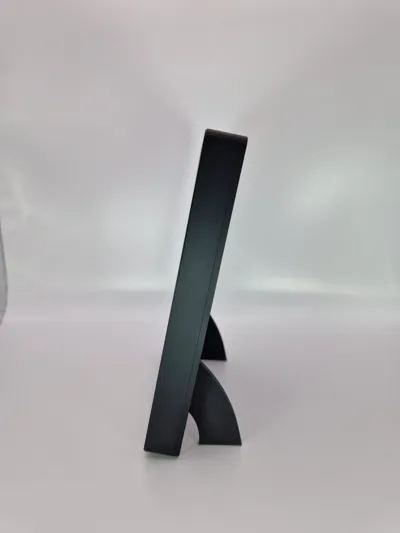
- Compact Design: The frame’s slim construction makes it ideal for small spaces or subtle decorations (18.6 mm).
- Easy Assembly: Simple to assemble.
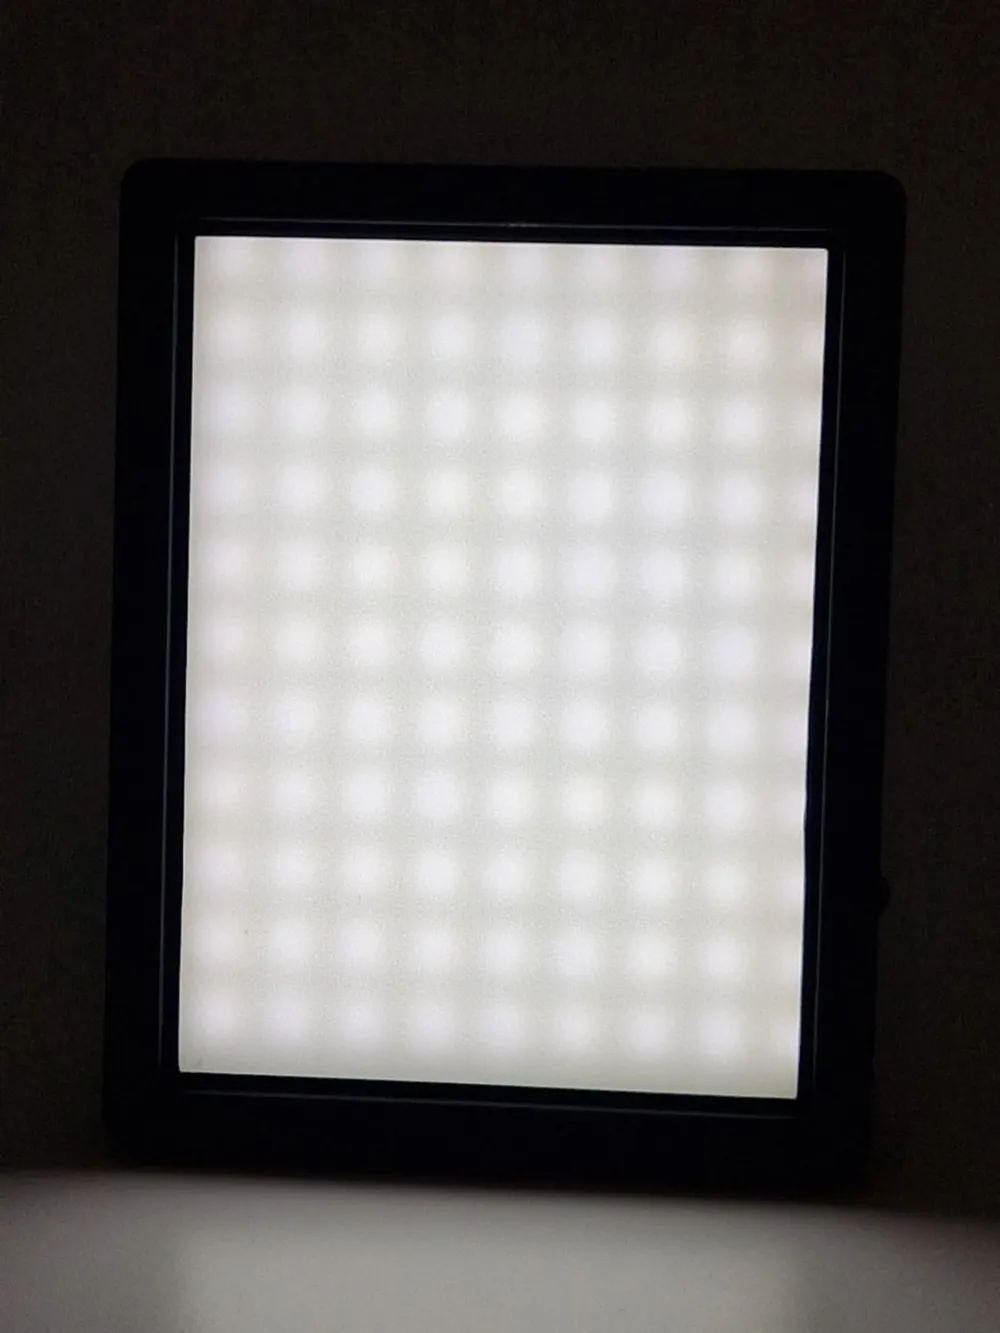
- Stability: Despite its slim profile, the frame provides secure support and optimal lighting for your lithophane.
Why choose a slim frame?
This frame highlights your lithophane without distracting from the design. It’s perfect for minimalist home concepts or as a gift for fans of 3D-printed art.
Showcase your lithophane creations with this elegant and space-saving frame – a true eye-catcher for any home!
Assembly Instructions:
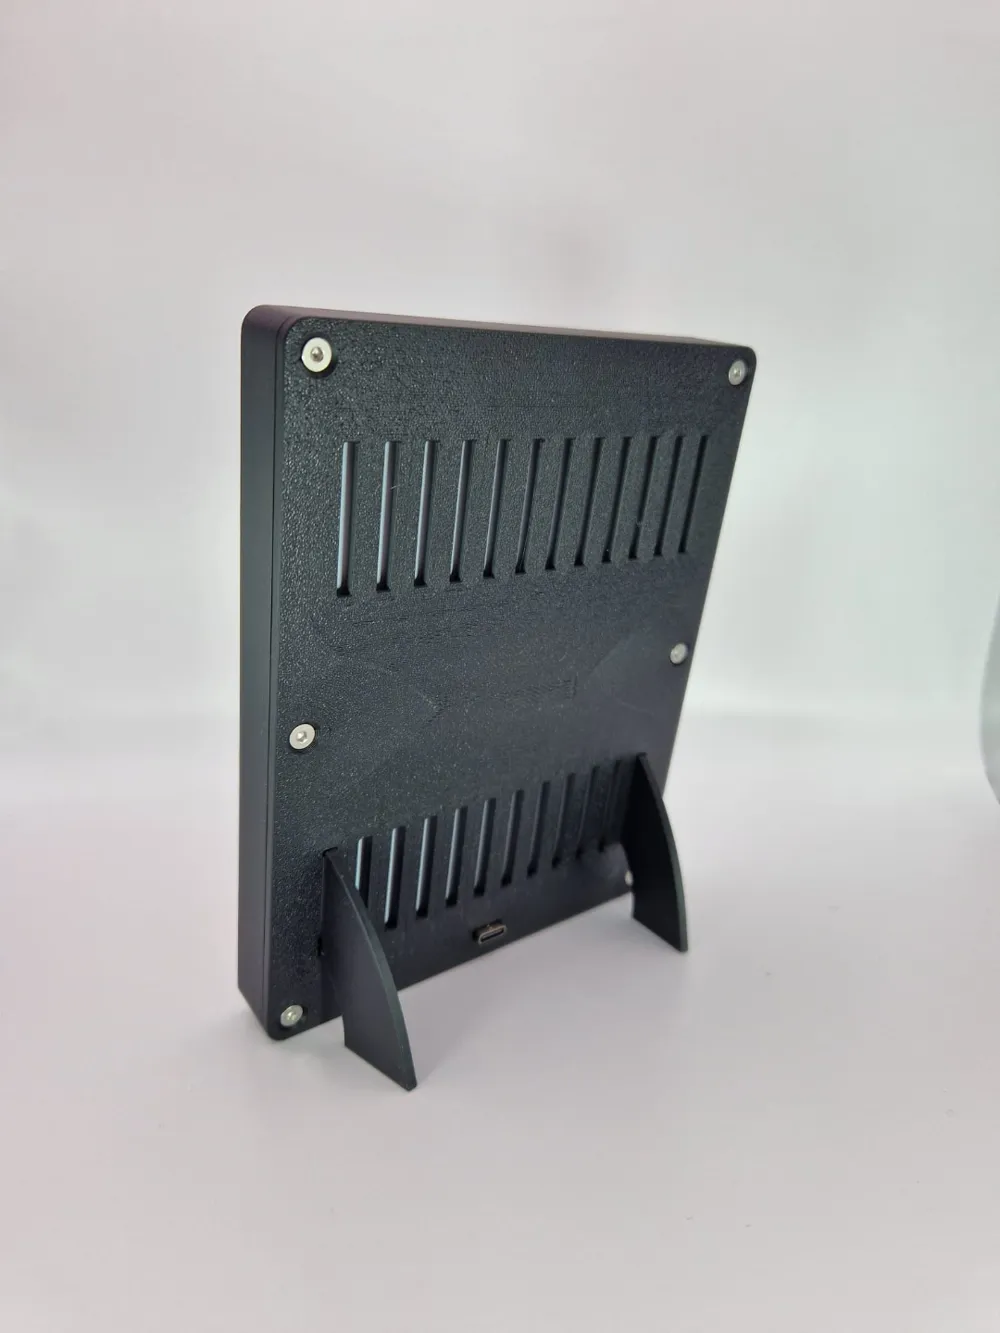
- Insert the brass inserts into the frame first.
- Place the diffuser into the frame.
It will snap securely into its designated position. - Insert the LED panel.
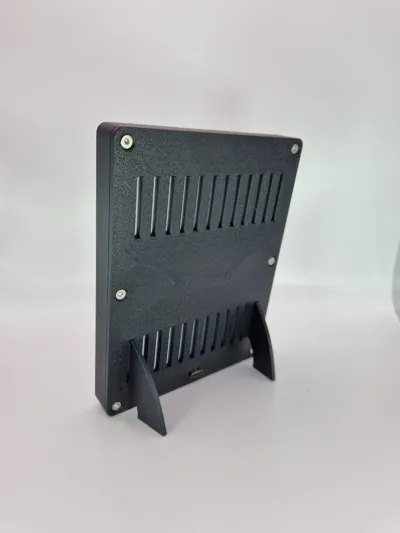
Attach the back panel to the frame using screws. - Mount the stand feet.
The feet can be attached either vertically or horizontally in the ventilation slots.- If mounted horizontally, leave one ventilation slot open.
- Hook the lower clip in first, then carefully lever the upper clip into place.
- Insert your favorite lithophane from the front.
To remove it, gently lever it out with a thin tool.
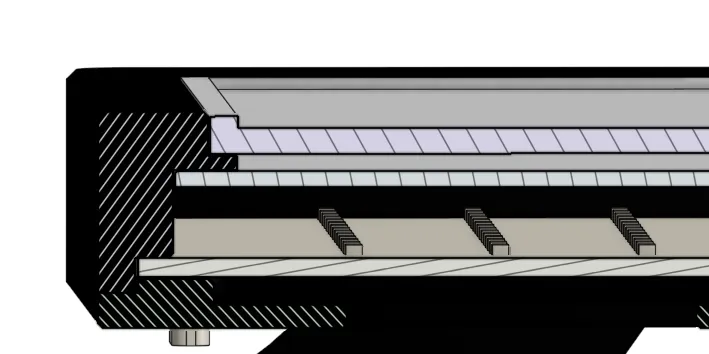
The example lithophane can be found here → https://makerworld.com/en/models/897791#profileId-856192
The frame can hold a 108x144mm lithophane, aligned either horizontally or vertically. The feet can be snapped in for both orientations.
Membership
☕Would you buy me a coffee? ☕ 💸Or interested in a commercial licenz?💸
License

You shall not share, sub-license, sell, rent, host, transfer, or distribute in any way the digital or 3D printed versions of this object, nor any other derivative work of this object in its digital or physical format (including - but not limited to - remixes of this object, and hosting on other digital platforms). The objects may not be used without permission in any way whatsoever in which you charge money, or collect fees.


Comment & Rating (15)