
Cybertruck Side Visor Clip version 2
Print Profile(1)

Description
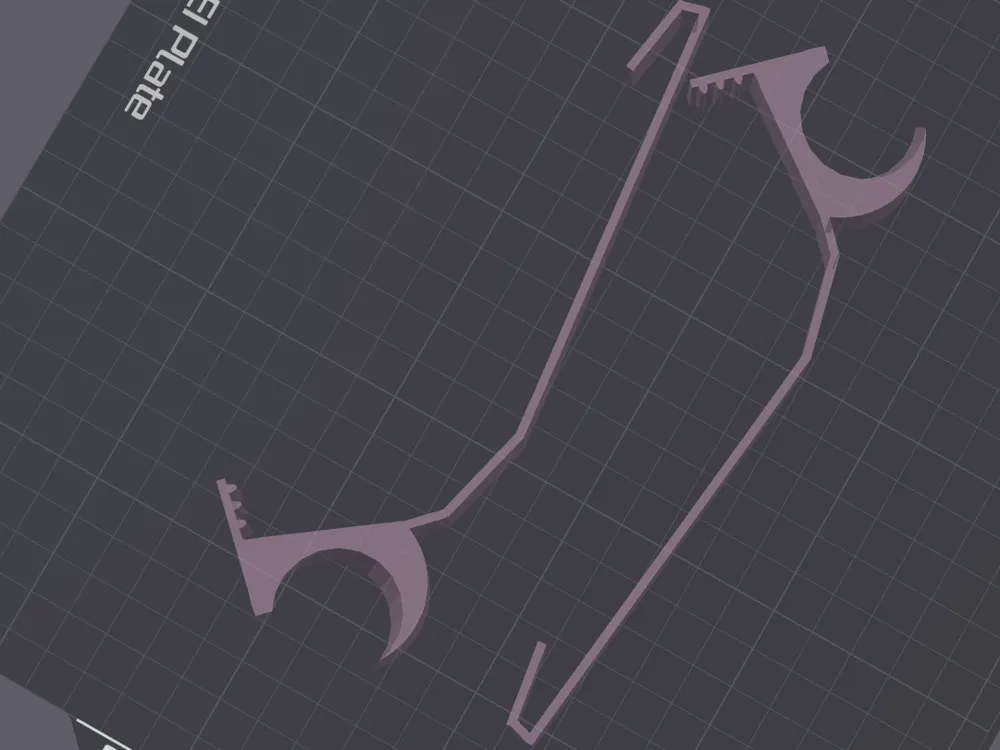
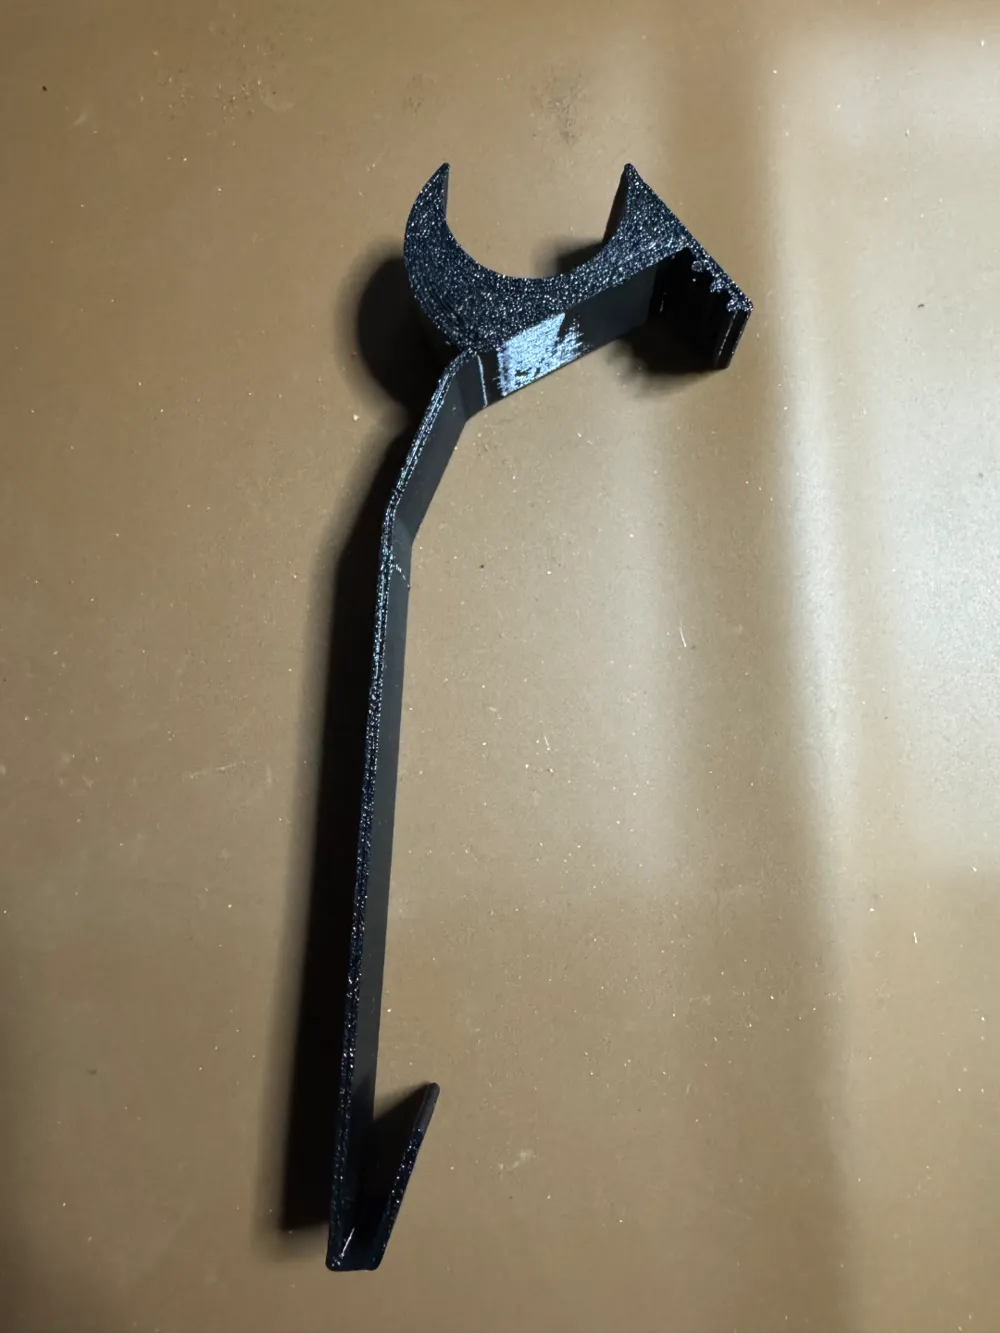
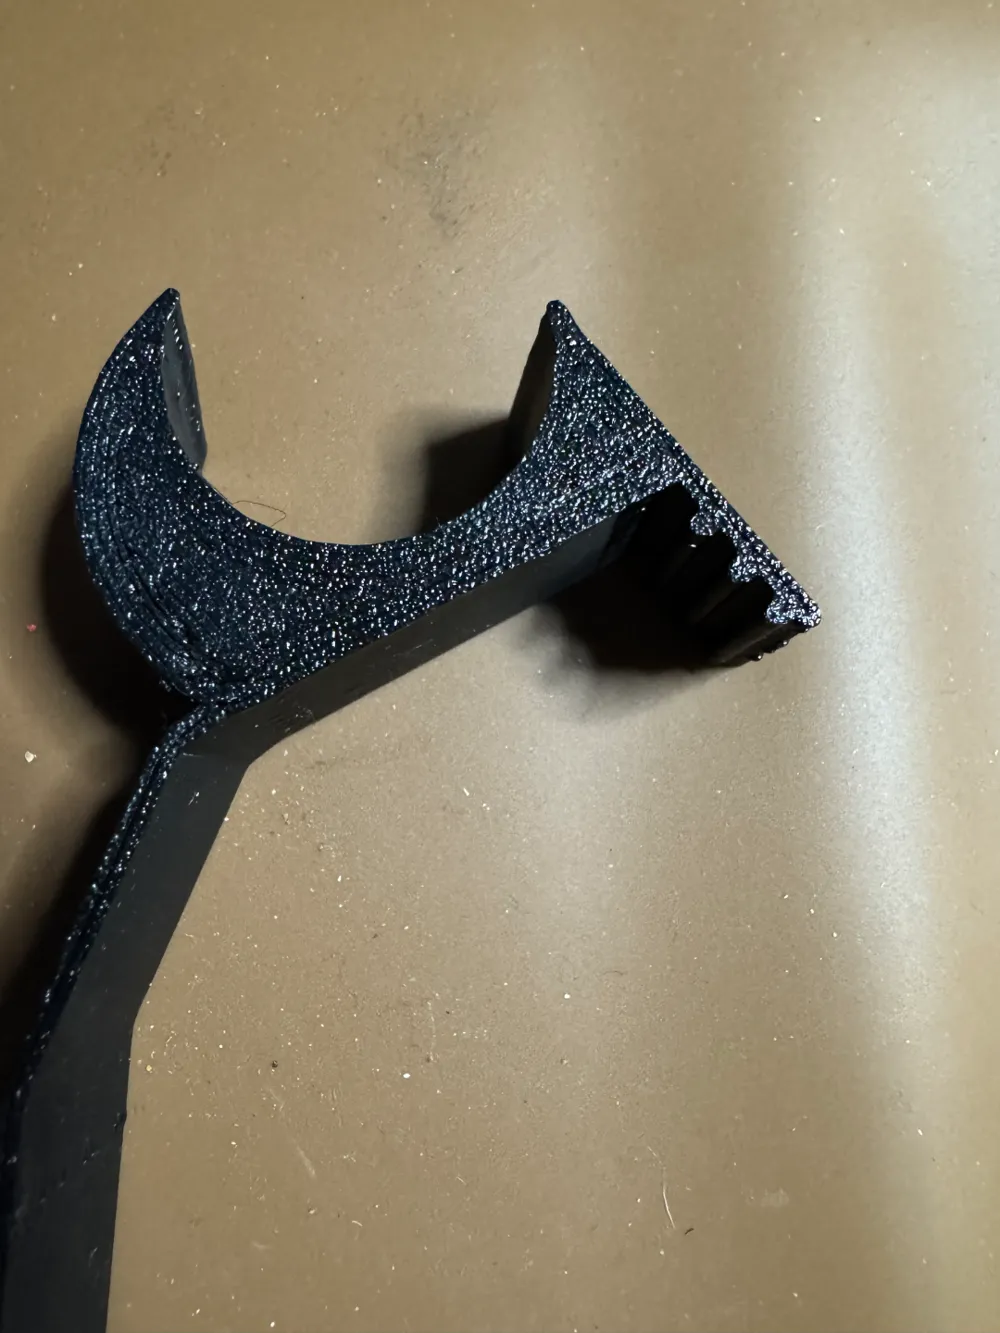
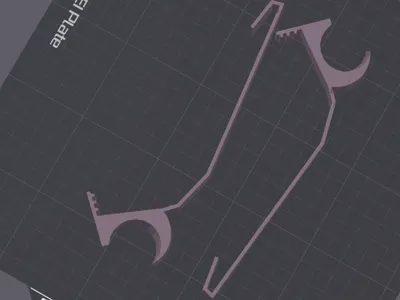
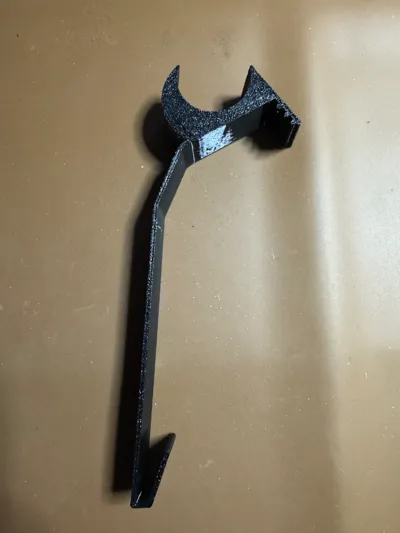
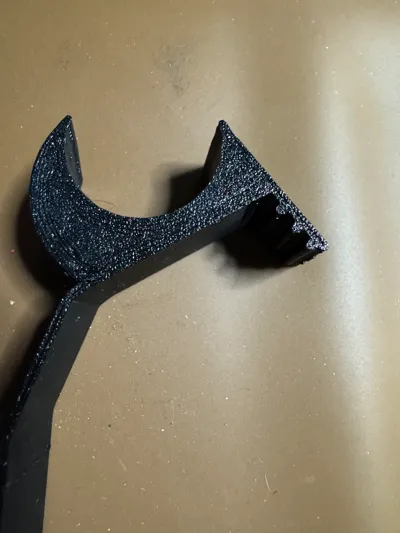
This is version 2 of the side visor clip. Ridges are added to much more securely hold the clip in place between the roof glass and the trim. Altered the dimensions slightly for a better fit.
There are a Left and a Right sided clip with is placed on the respective side of the Cybertruck which allows the visor to be securely placed to the side - giving you the expansive view out the front window. The visor can be flipped down at the side and easily rotted back into the front position without difficulty.
The first version works great if held in place by the add on sun shade. This version has a nice solid “click” into place and once placed, will likely not move or rattle.
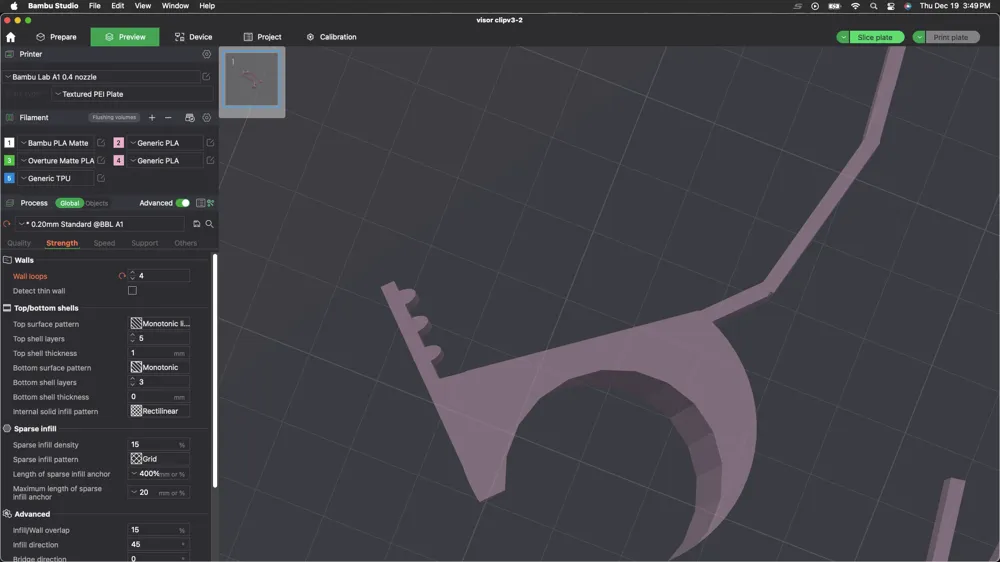
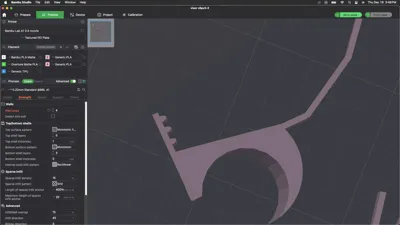
I used PETG, 4 loops. .4mm nozzle, .2mm layer height
Instructions: determine where it needs to be placed using the visor as a guide. Slip the bottom clip in under the trim, Click the top part (with the ridges) between the roof glass and the trim - it should give a nice firm click. the Left and Right sides are mirrored images so you need to be mindful of which side you are working on.
License

You shall not share, sub-license, sell, rent, host, transfer, or distribute in any way the digital or 3D printed versions of this object, nor any other derivative work of this object in its digital or physical format (including - but not limited to - remixes of this object, and hosting on other digital platforms). The objects may not be used without permission in any way whatsoever in which you charge money, or collect fees.


Comment & Rating (3)