
Print Profile(0)
Bill of Materials

Description
Material and Tool Preparation:
1. 3D printer x1 (Duh ^_^);
2. Assorted small files x1;
3. Diagonal cutting pliers
4. Glue x1;
5. Stainless steel beads x1;
6. Pins x2;
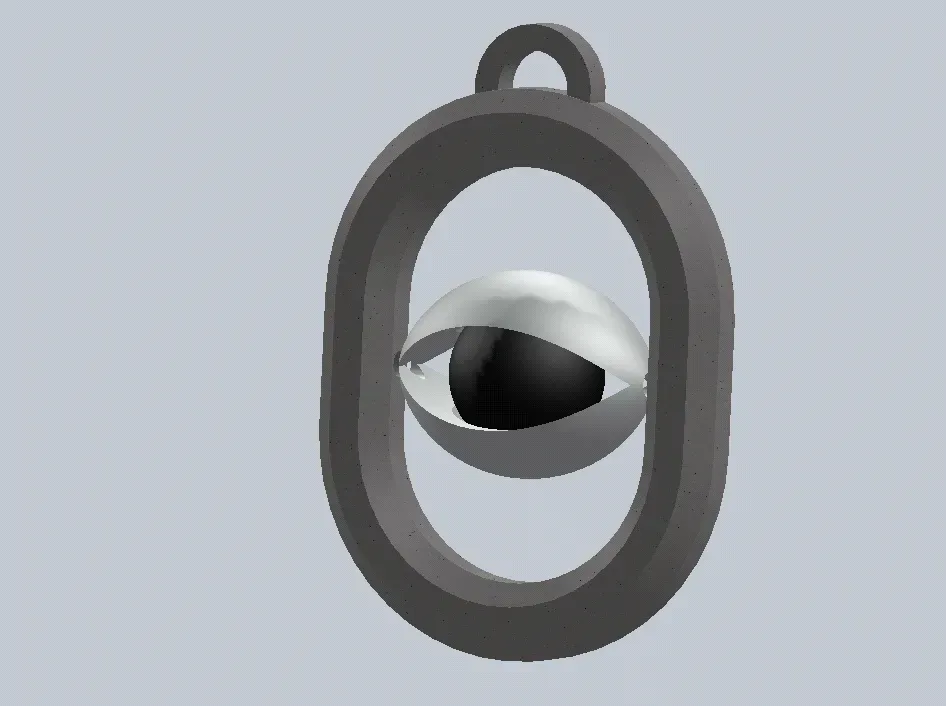
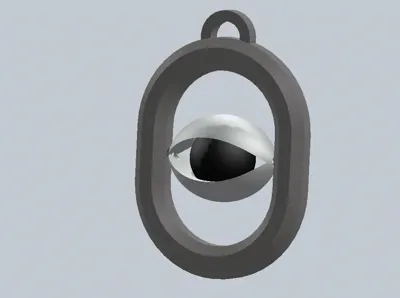
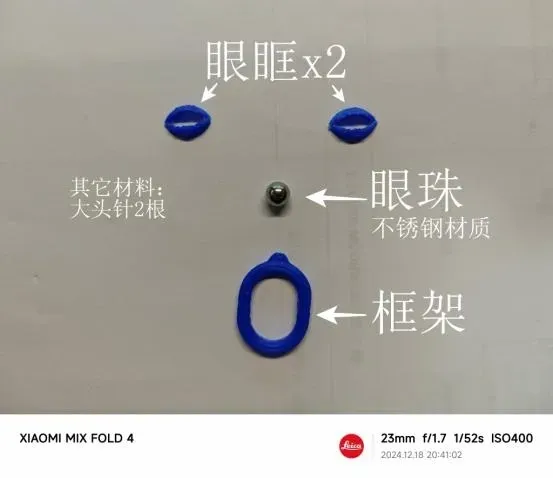
7. 3D printed frame x1, eye sockets x2. A layer height of 0.2mm or less is recommended.
Figure 1: Main Materials
Pendant Assembly Steps
1. Using assorted files, create a groove along the long axis of the eye socket, approximately 0.5-1mm deep.
Figure 2: Grooving Method
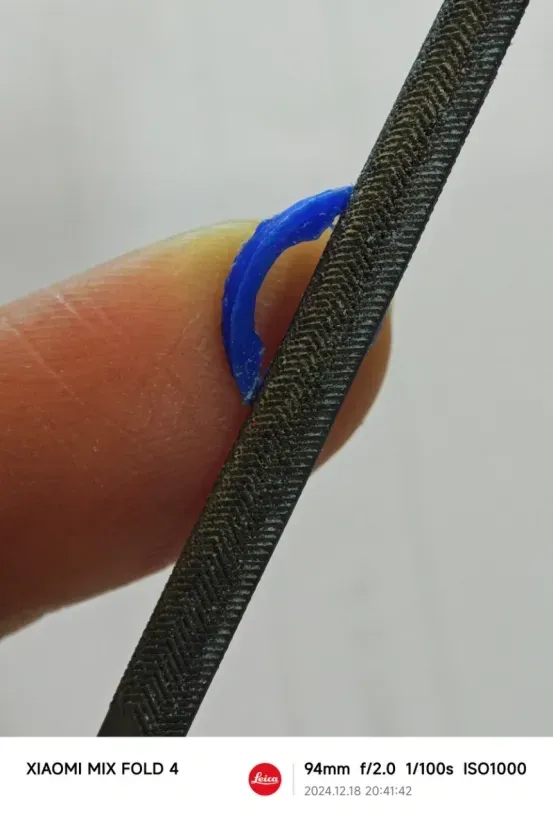
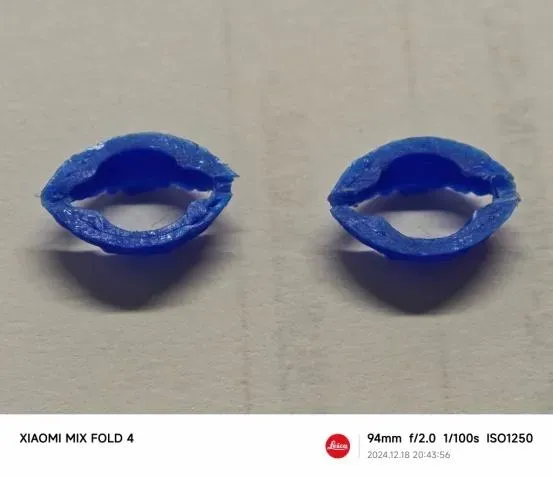
Figure 3: Completed Grooving Diagram
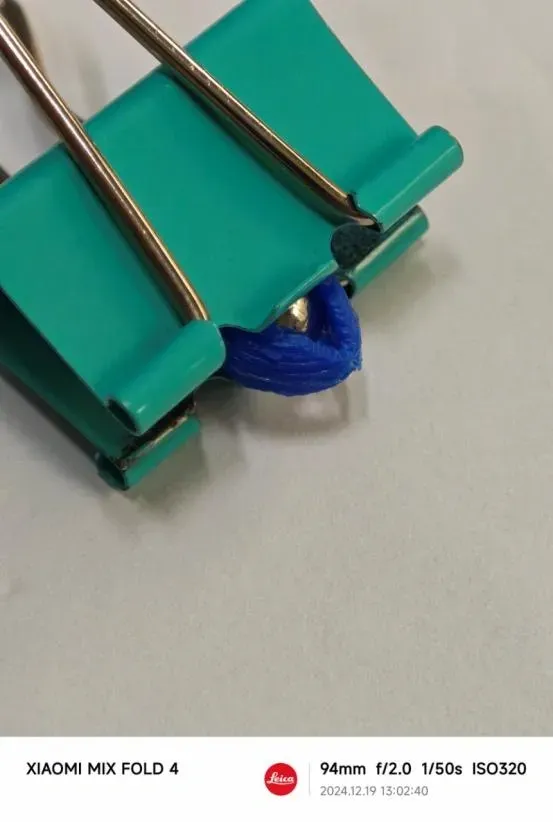
2. Place the stainless steel "eyeball" into the recess of the eye socket, apply glue to the bonding surface, and join the two eye socket halves. Align the eye sockets, clamp them together, and allow the glue to set.
Figure 4: Applying Glue After Placing the Stainless Steel Bead
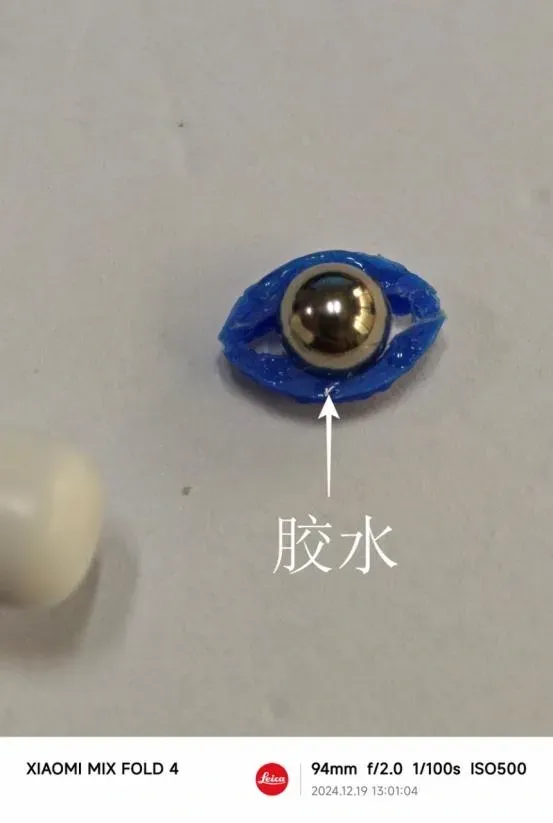
Figure 5: Clamped and Waiting to Dry
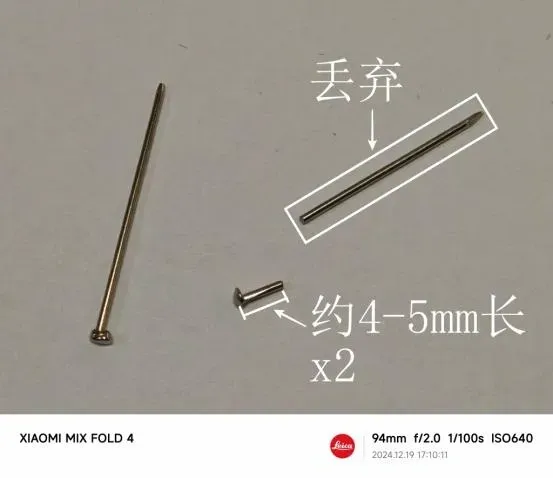
3. Take two pins, use diagonal cutting pliers to shorten them to a length of 4-5mm at the pinhead end.
Figure 6: Pin Cutting Diagram
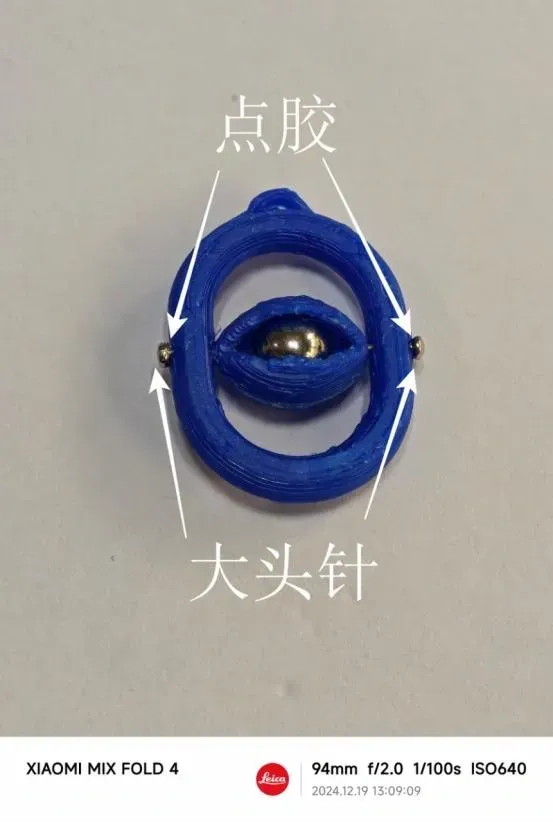
4. Assemble the "eyes" and frame using the trimmed pins. Apply glue to the points of contact between the pins and the frame to prevent the pins from falling out.
Figure 7: Assembly Diagram
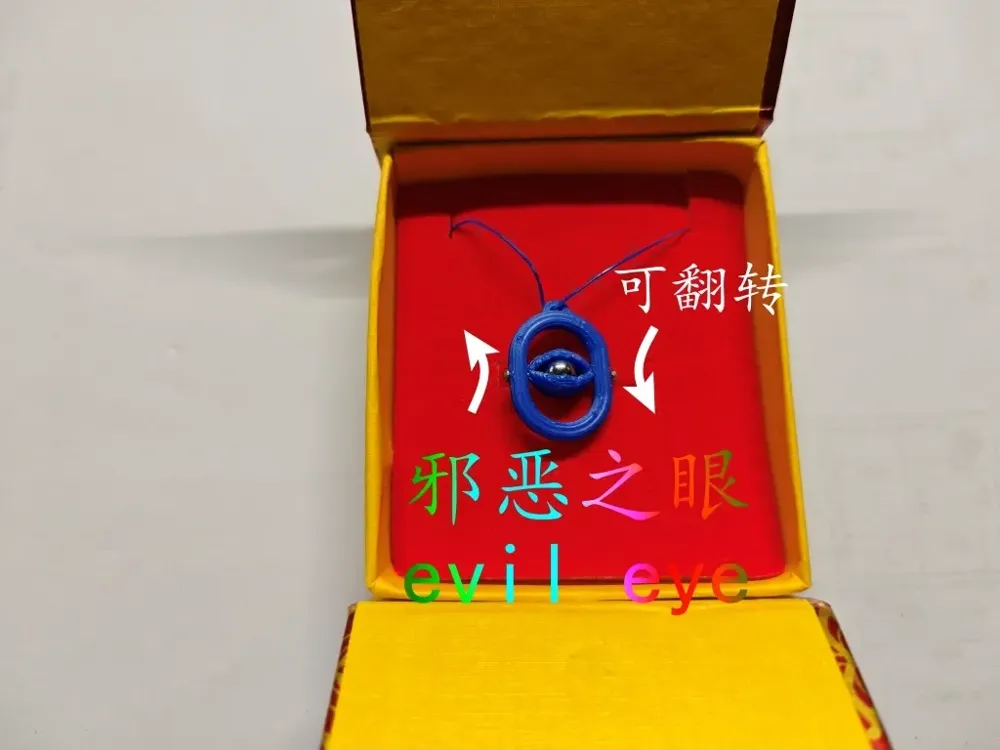
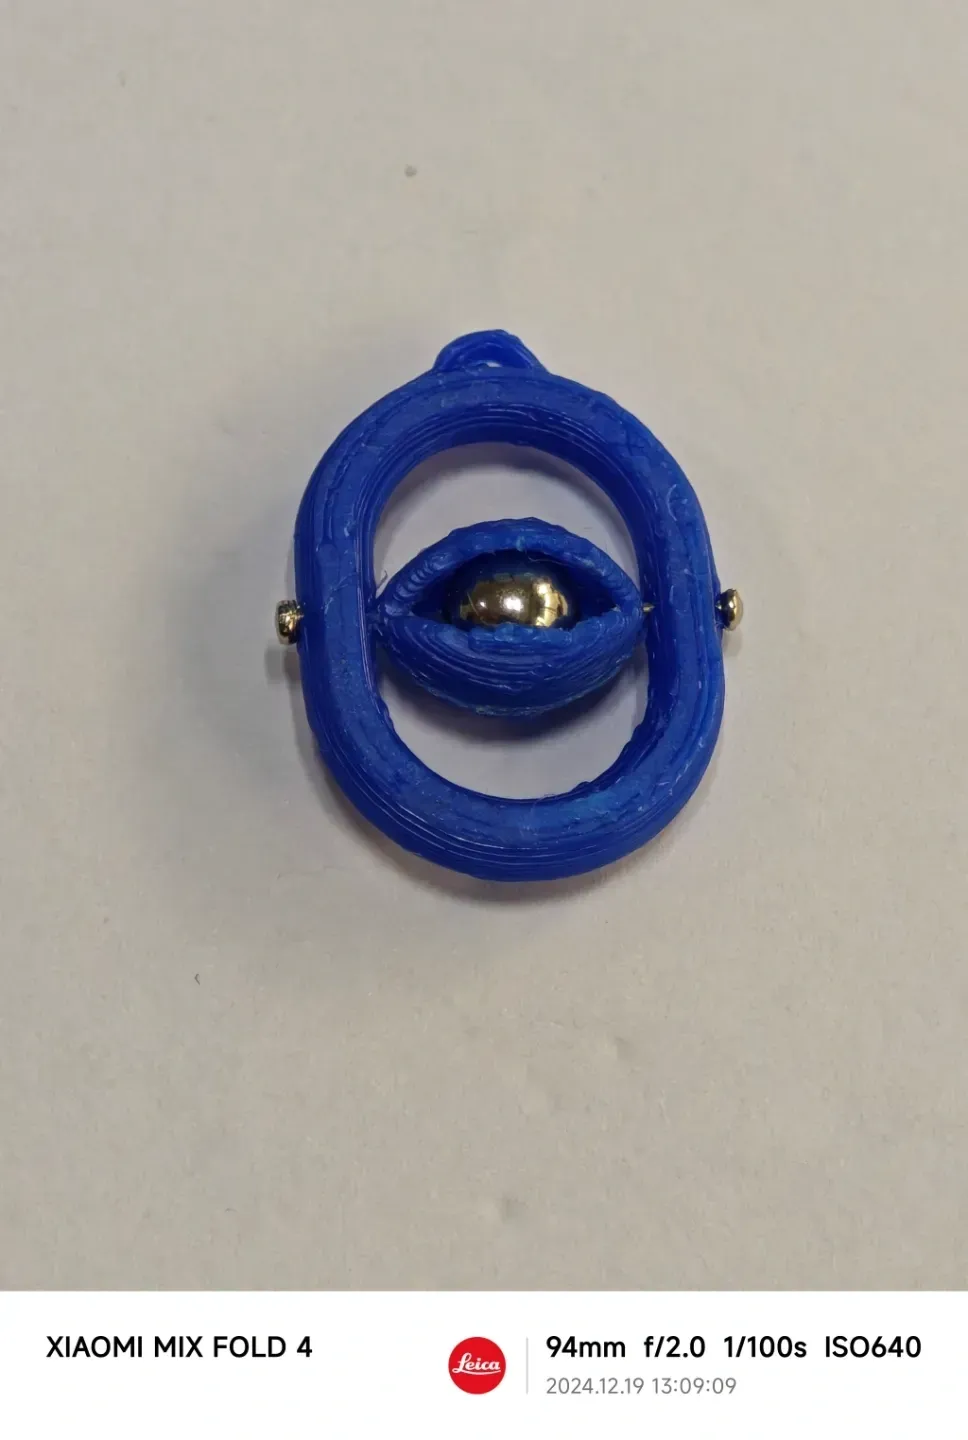
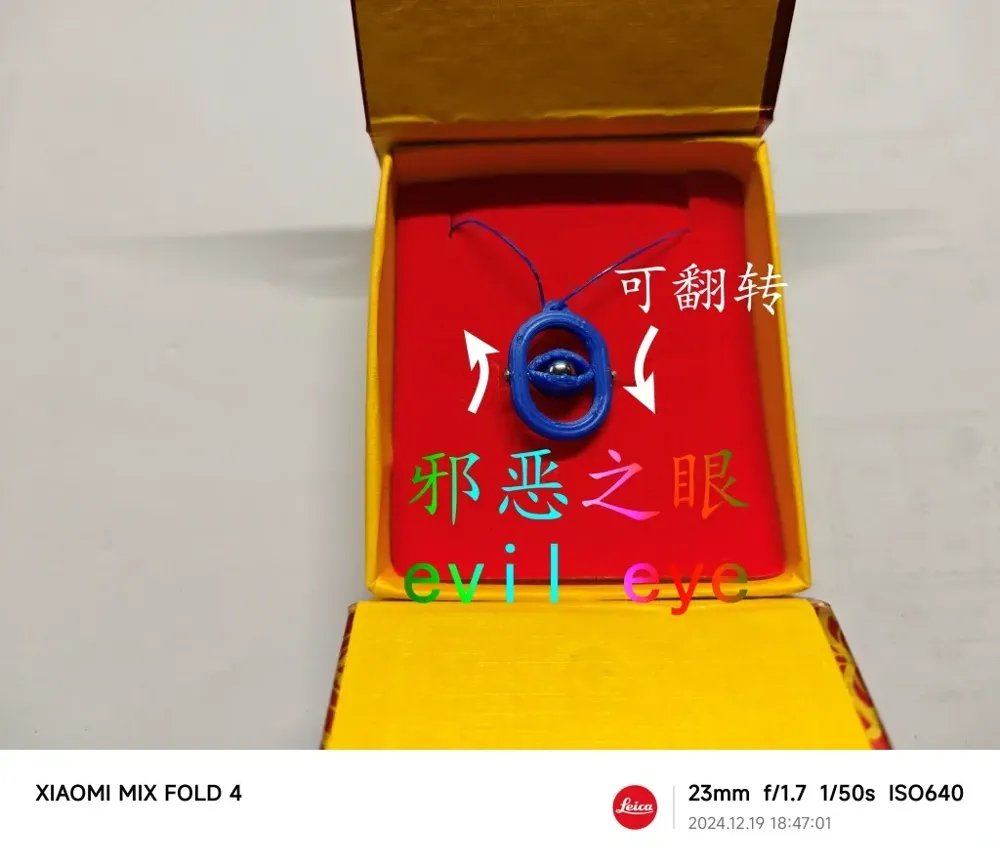
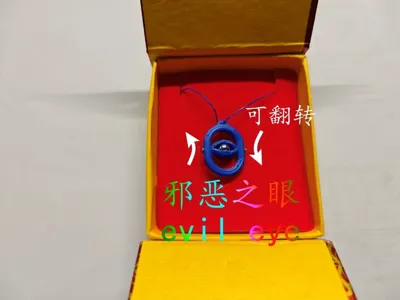
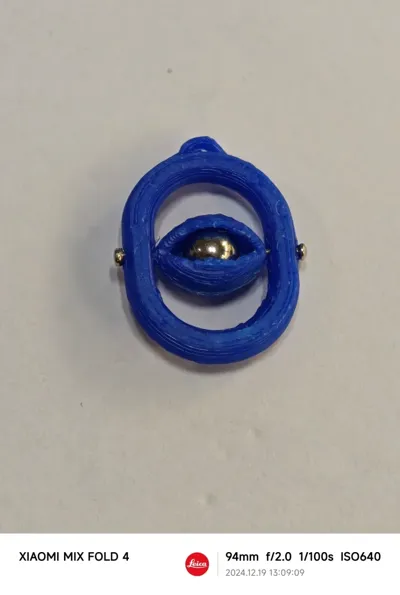
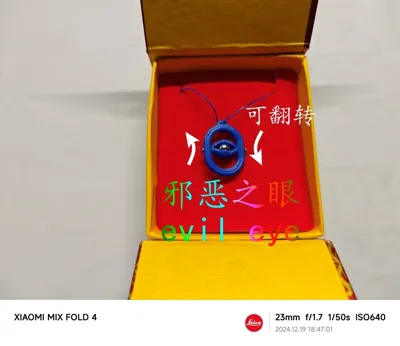
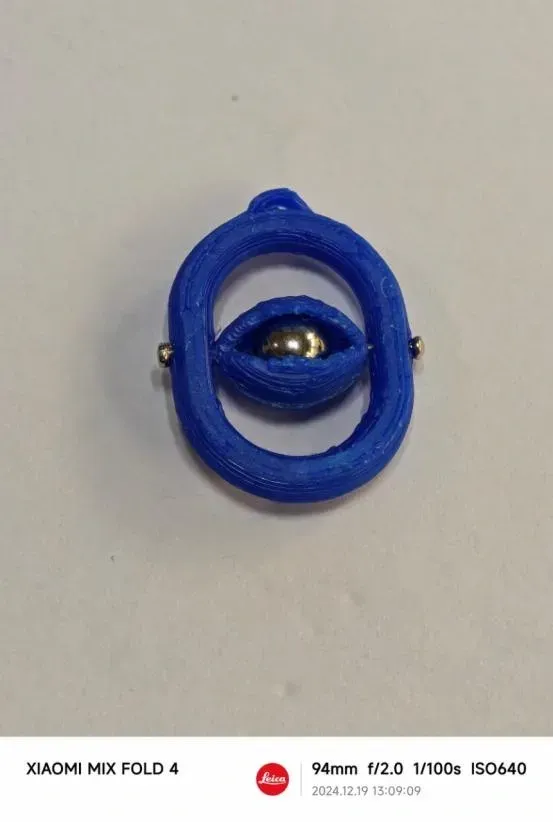
Finished Product
License

You shall not share, sub-license, sell, rent, host, transfer, or distribute in any way the digital or 3D printed versions of this object, nor any other derivative work of this object in its digital or physical format (including - but not limited to - remixes of this object, and hosting on other digital platforms). The objects may not be used without permission in any way whatsoever in which you charge money, or collect fees.
Comment & Rating (0)