
Icy Ledge Lighted Wall Display Stash For Dummy 13
Print Profile(1)

Bill of Materials


- Large3MCommandStrip x 3: https://www.amazon.com/dp/B0751VFF2P
- RemoteControlWaterproofLED x 1: https://www.amazon.com/ALED-LIGHT-Submersible-Waterproof-Underwater/dp/B0CLG9Q4WY
Description
If you find these for sale on Amazon , Etsy or anywhere else, they are not being sold with my permission. There are no "authorized" sellers of these models. They were made for the 3D printing community, not for Amazon or Etsy sellers to profit from.
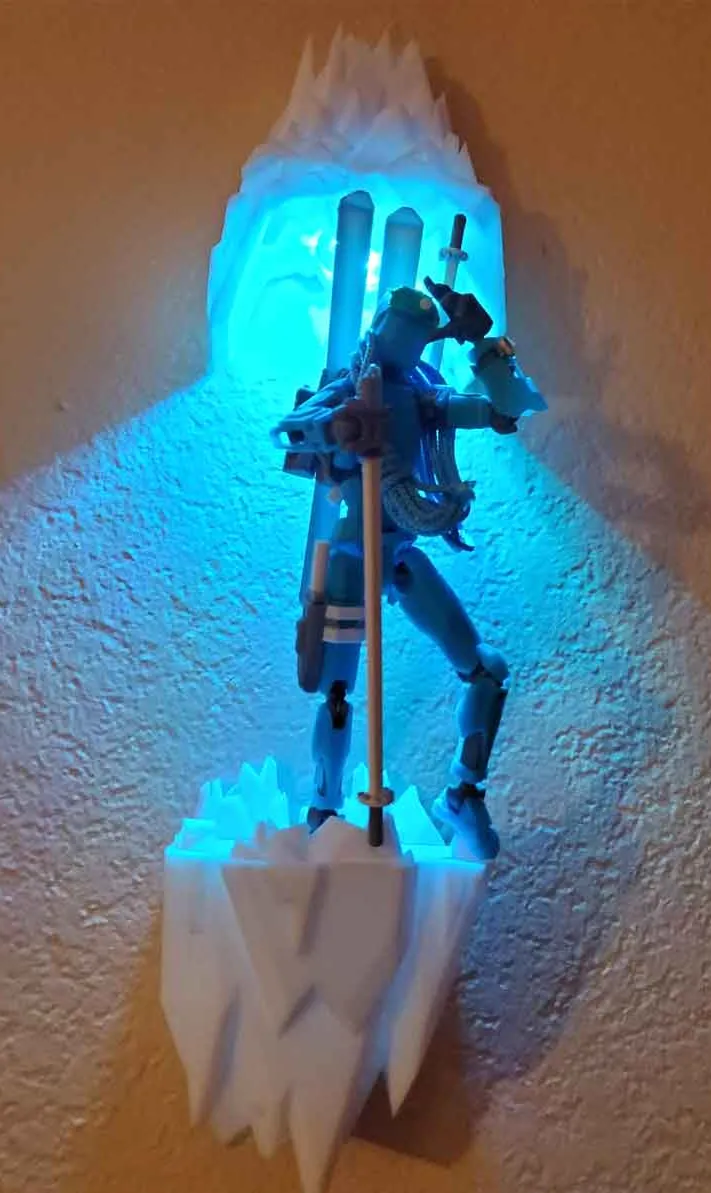
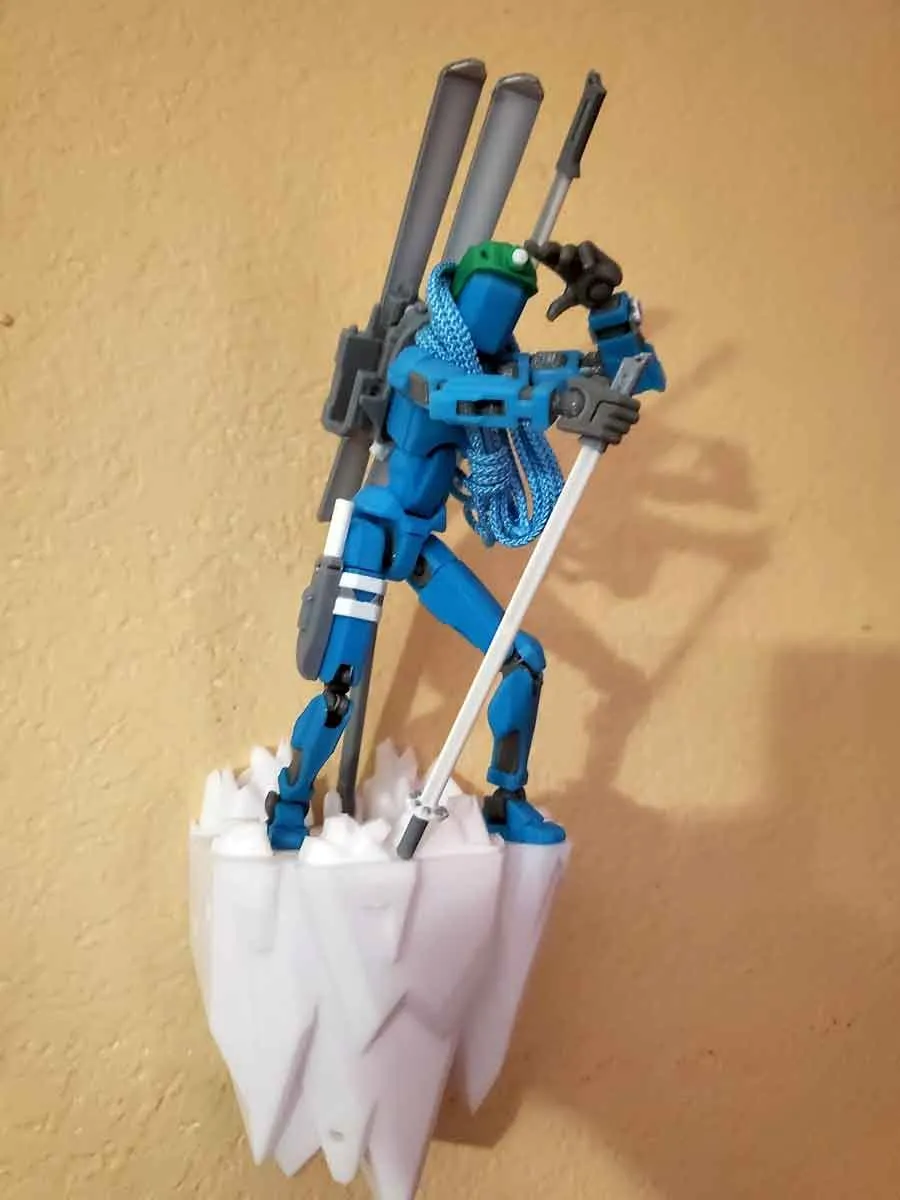
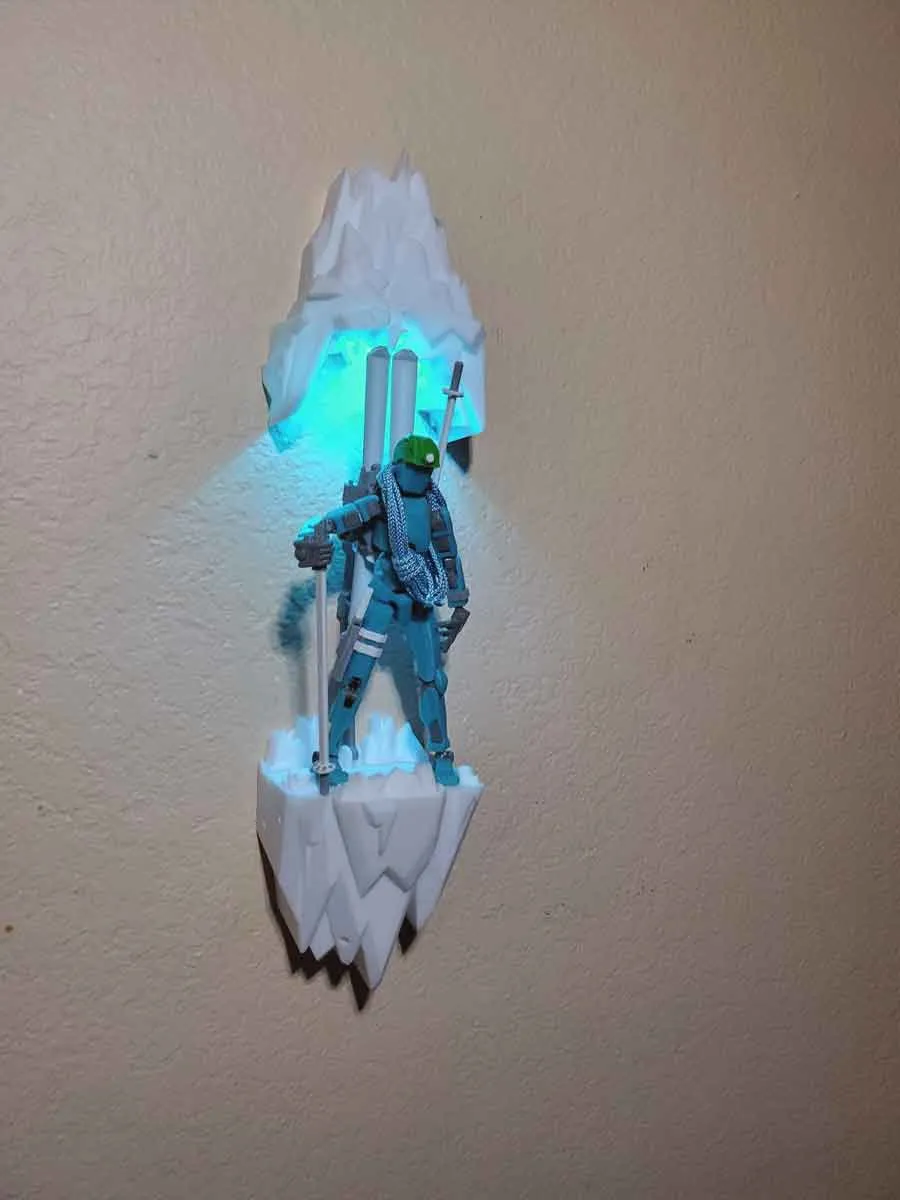
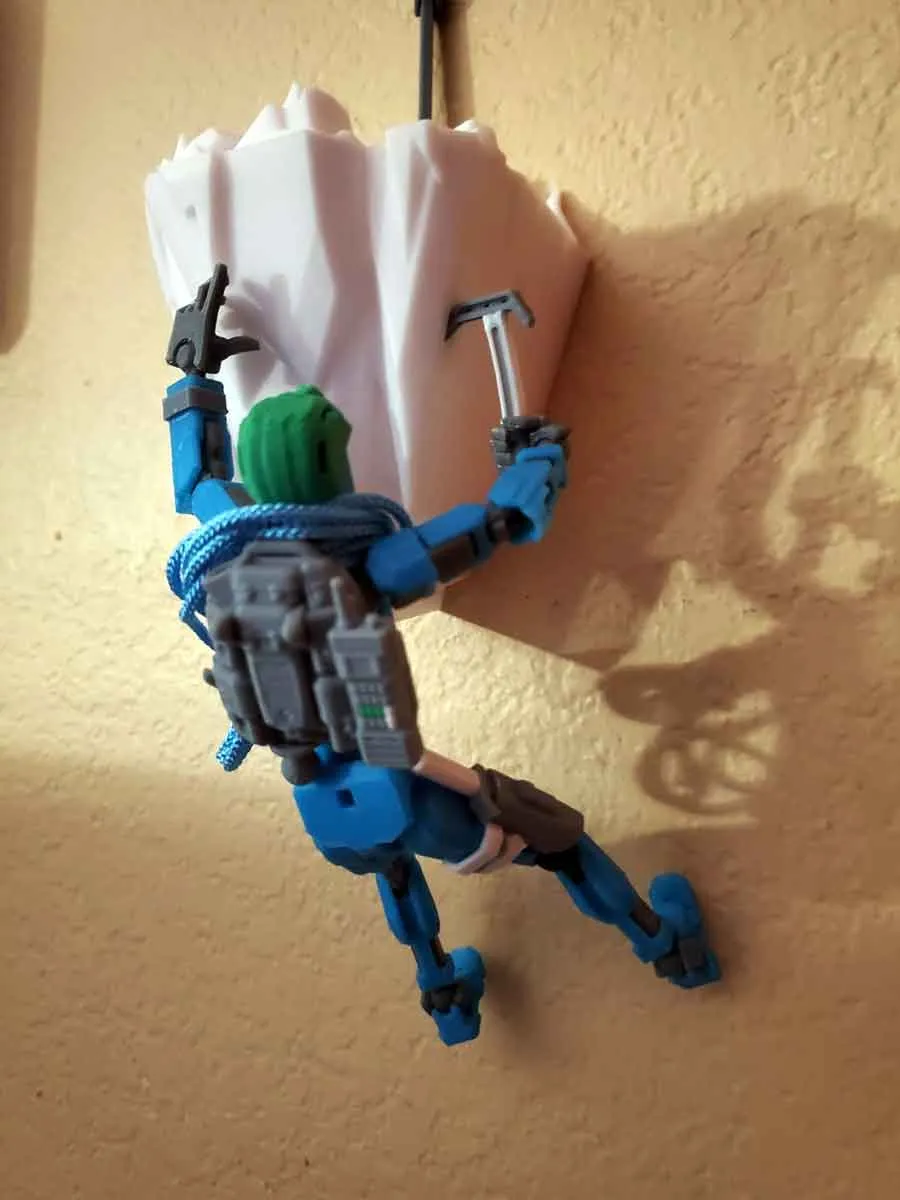
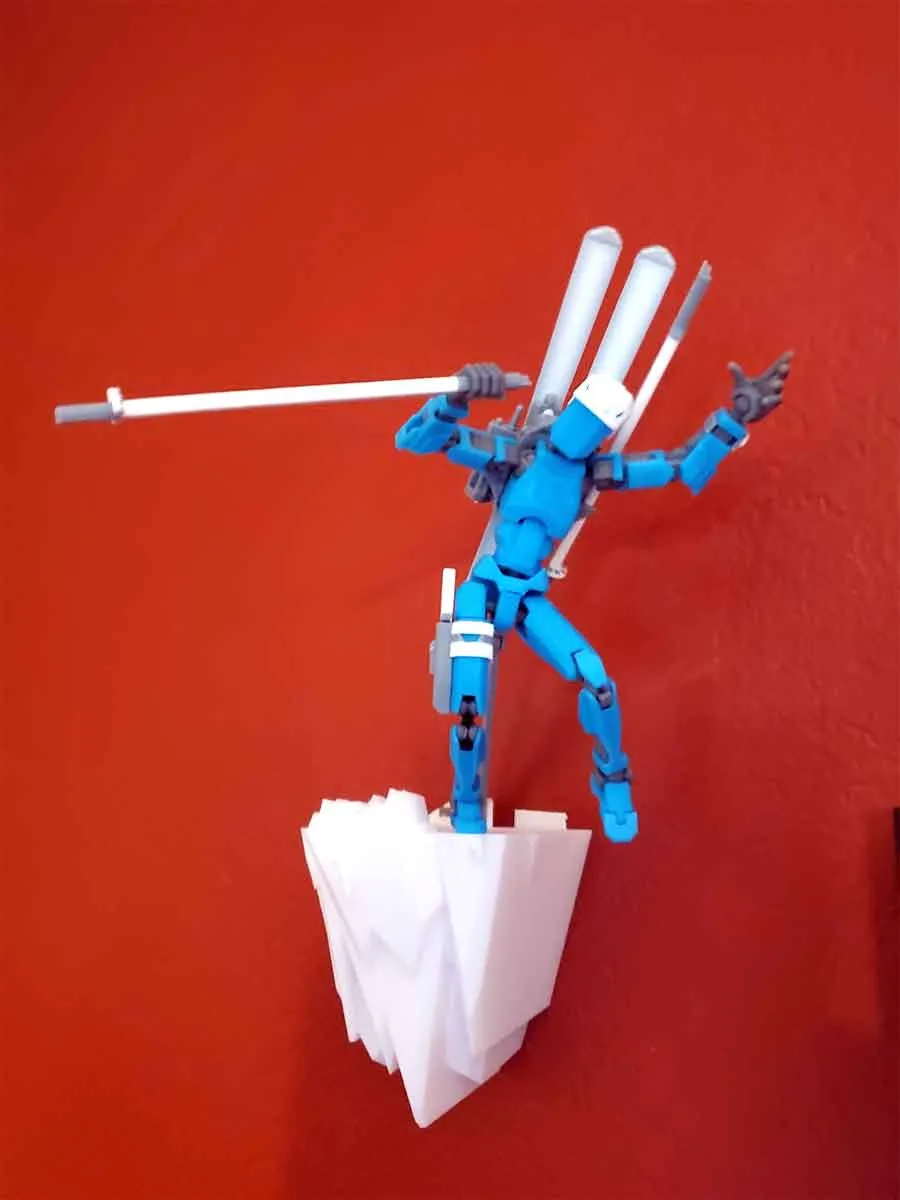
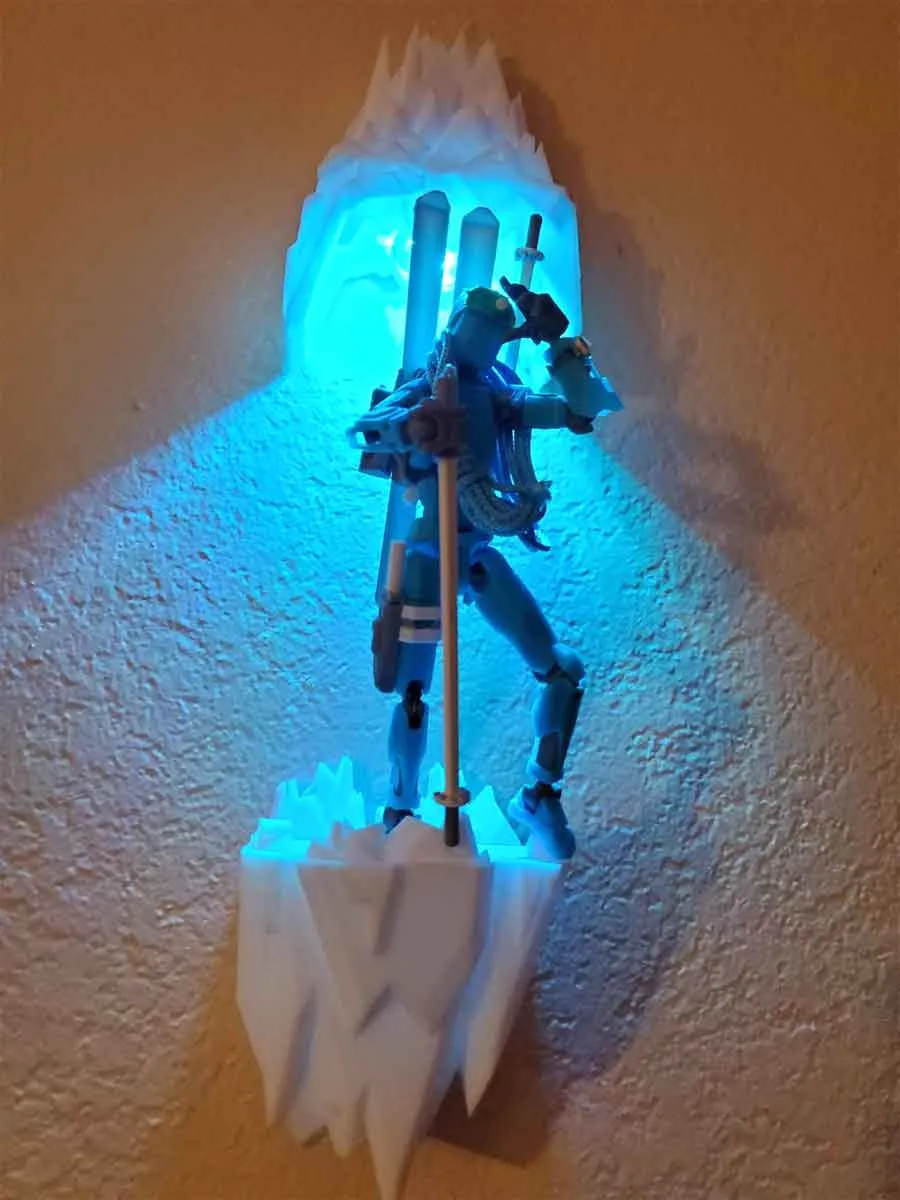
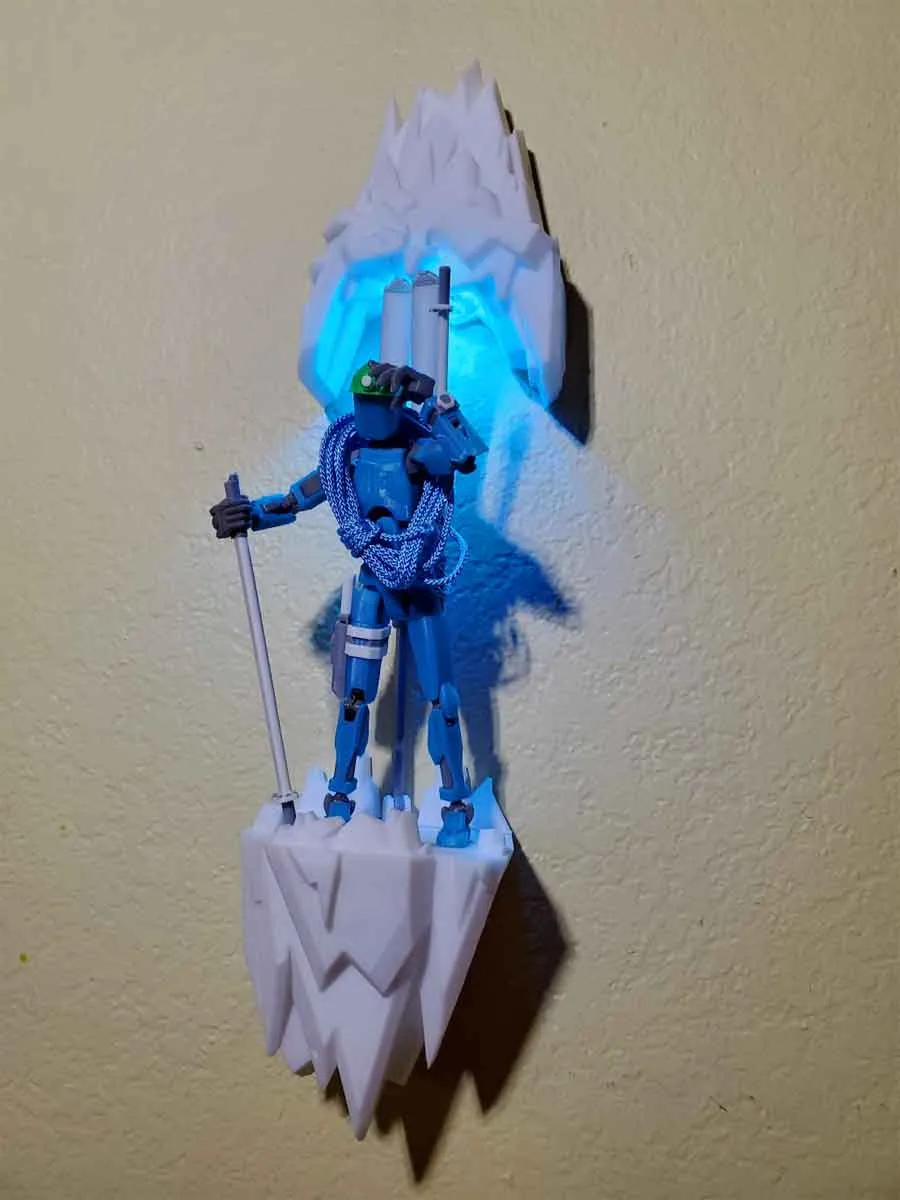
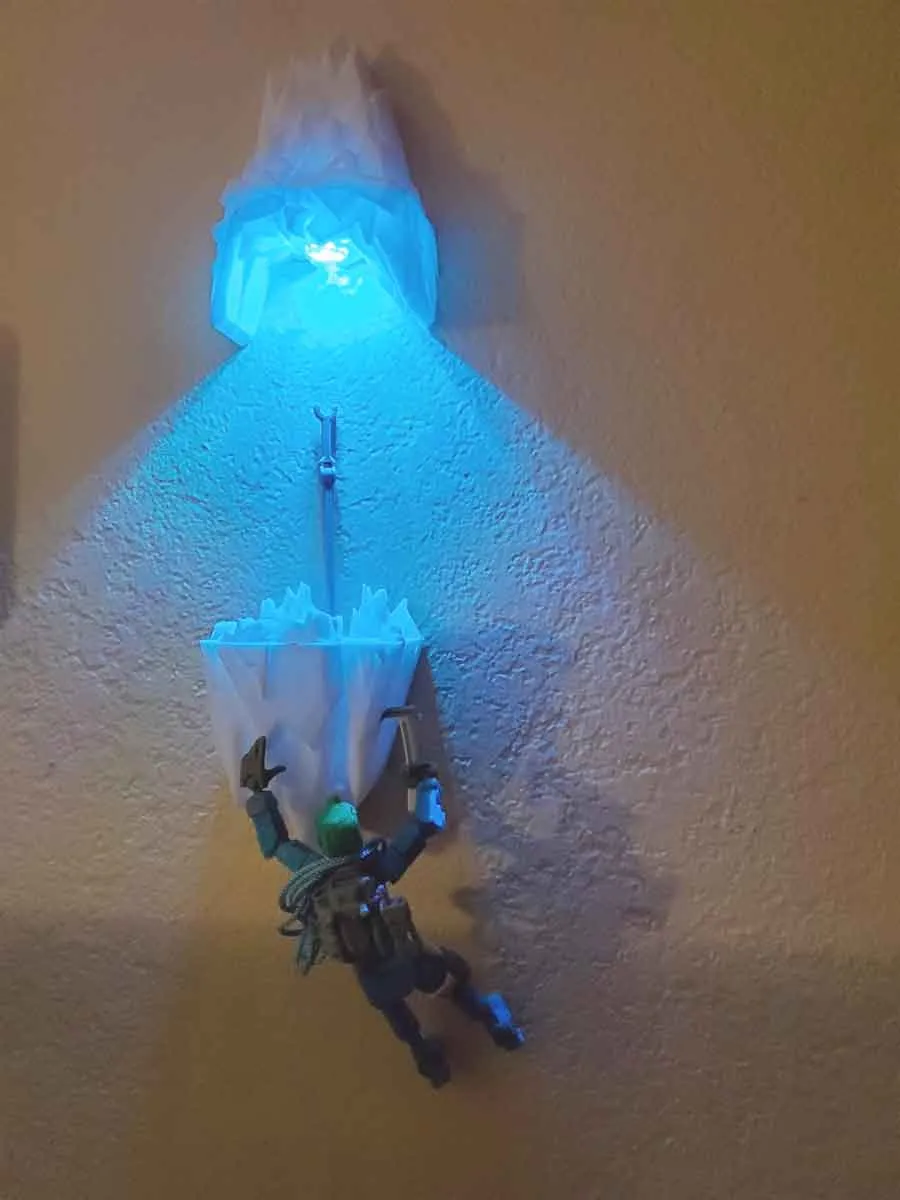
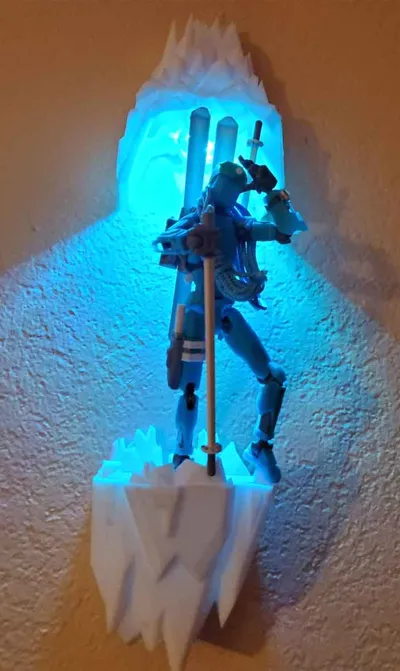
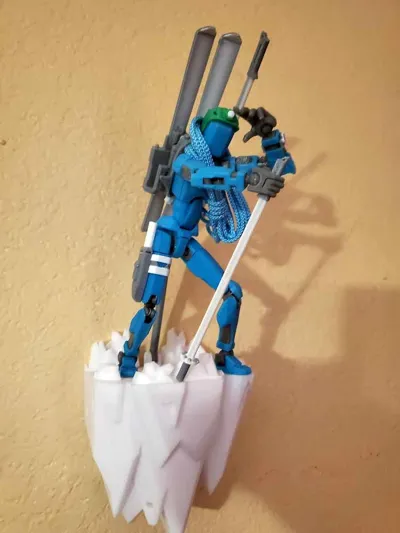
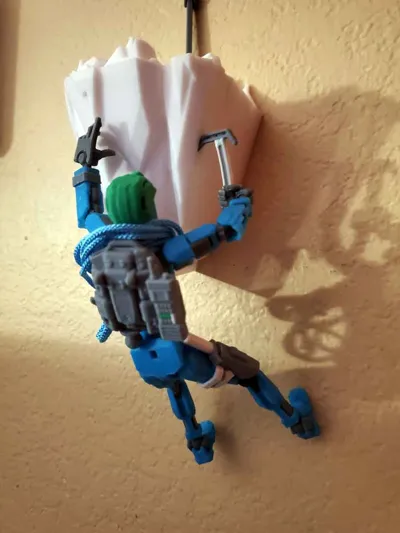
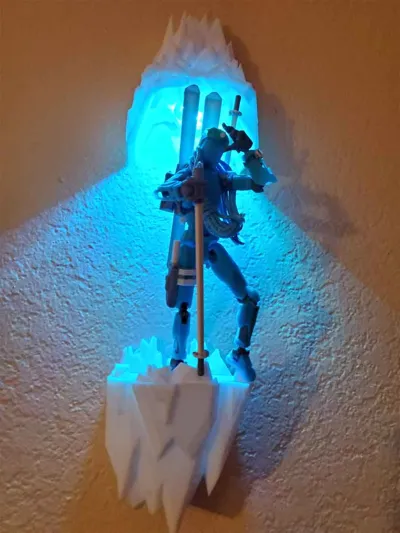
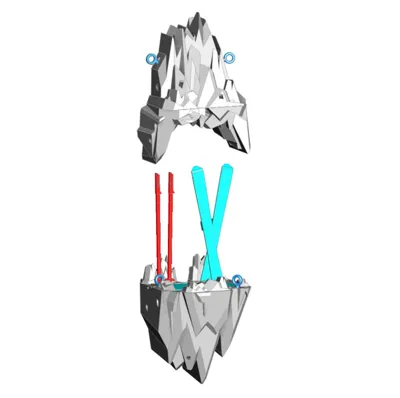
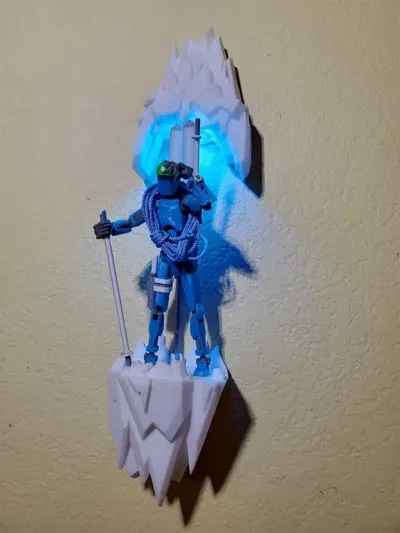
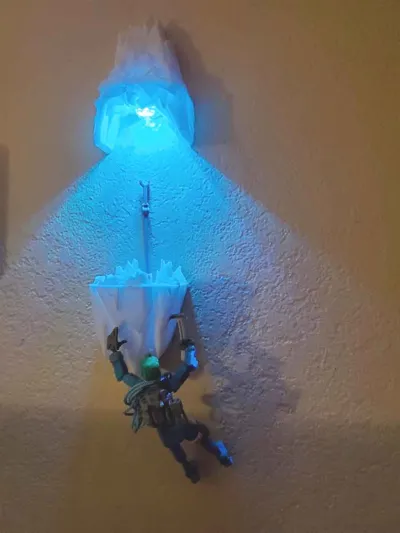
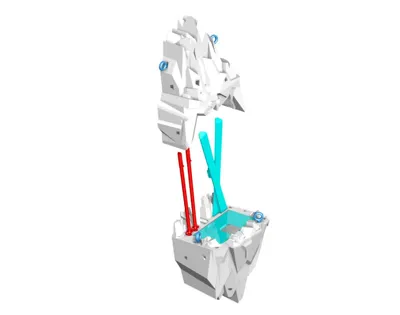
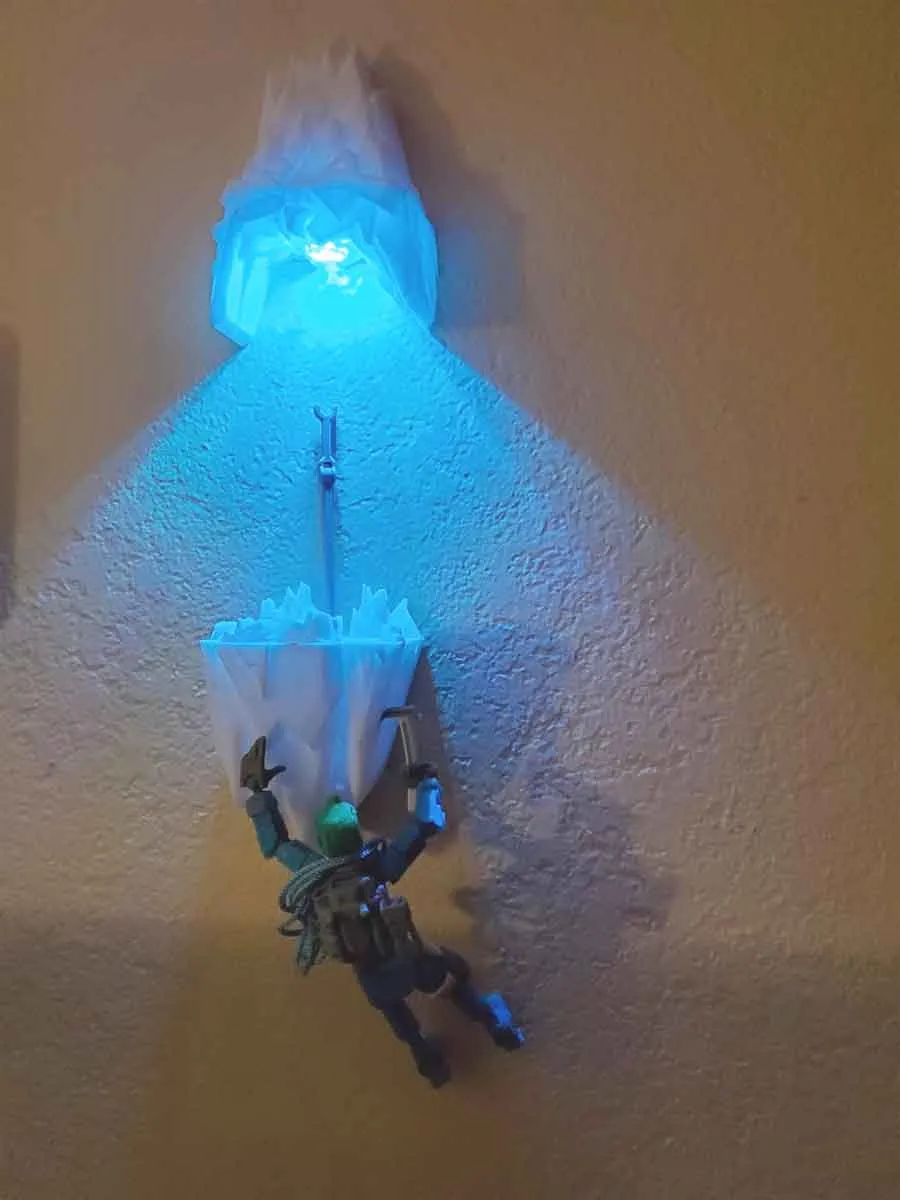
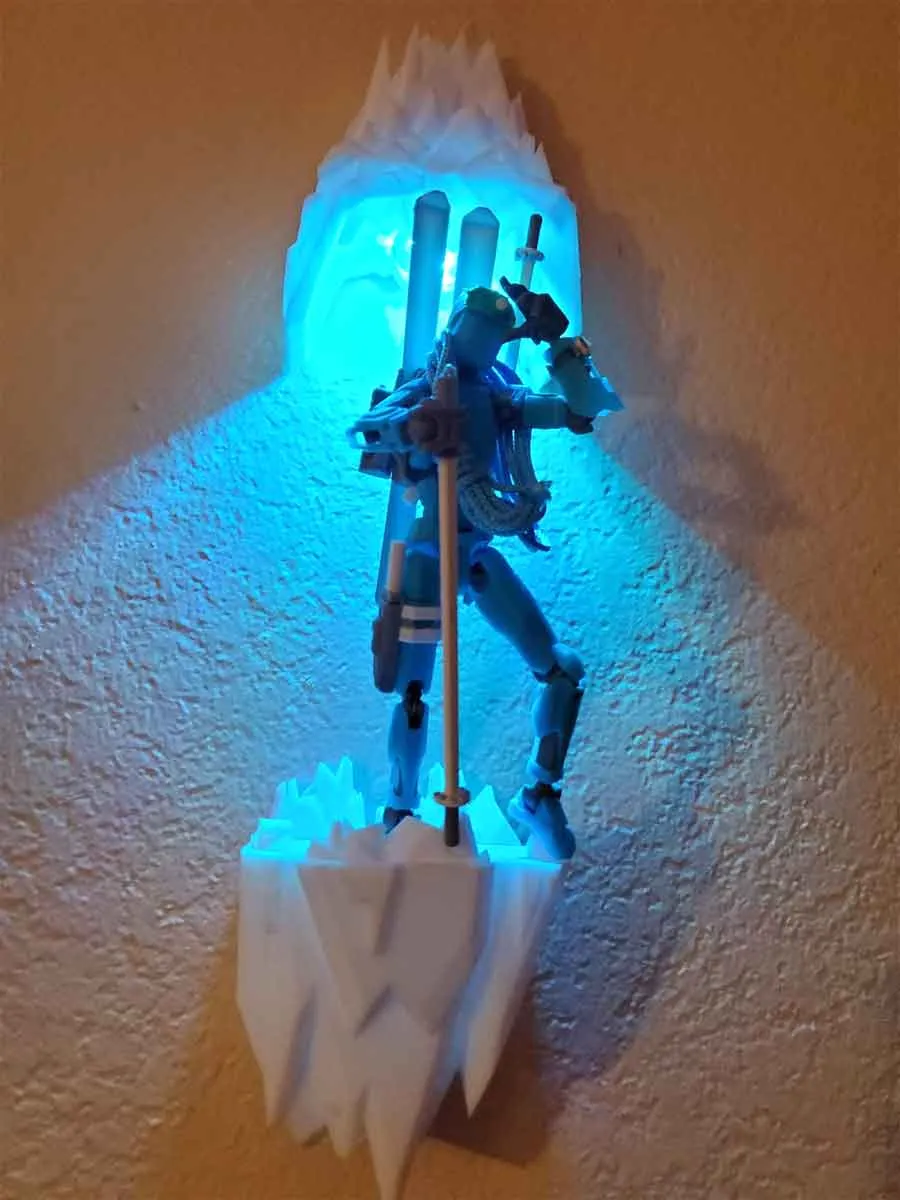
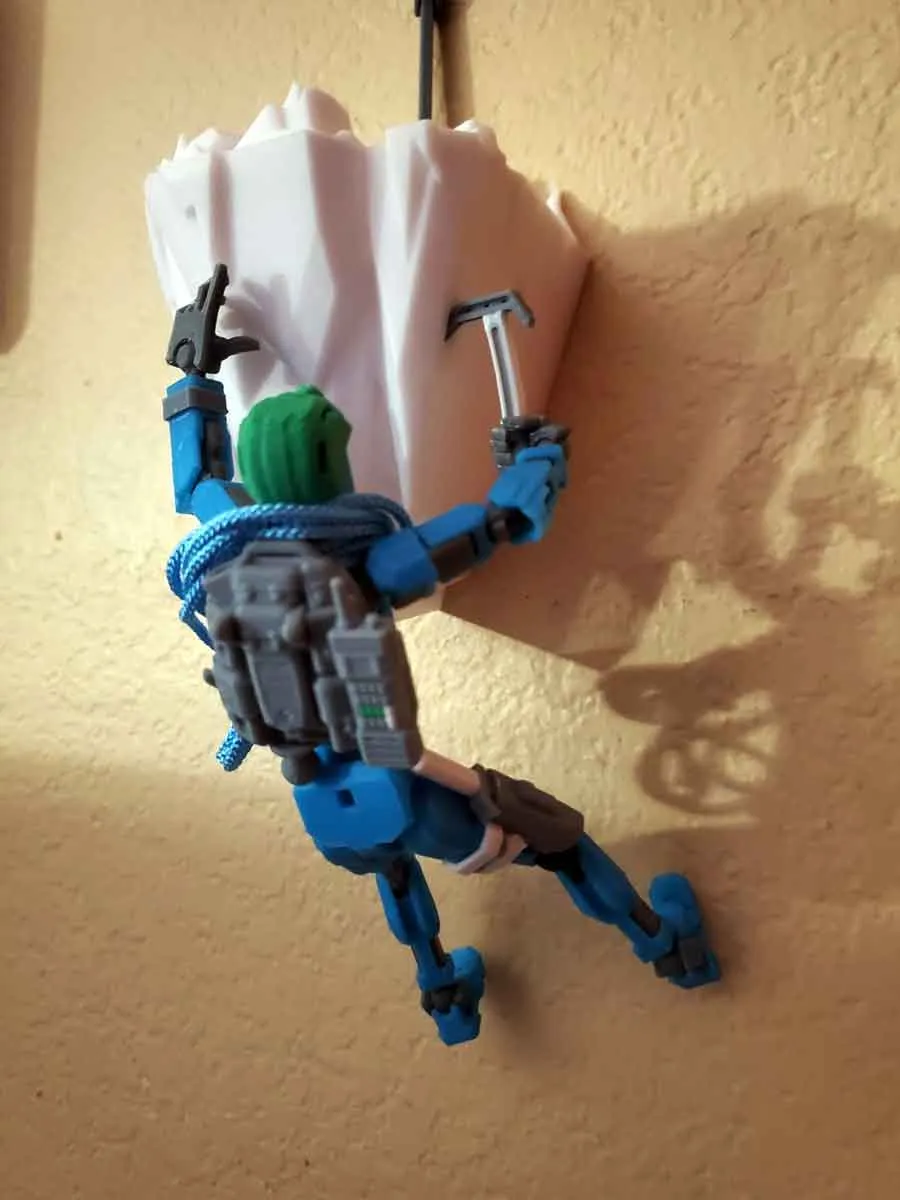
This is a wall display for Dummy 13 with a secret compartment, and is designed to work with my new Alpine Adventure Kit, but can be used with any Dummy 13 model. The design has some unique features which work with the Alpine Adventure Kit tools, such as locations to mount the skis and poles, as well as multiple holes that fit the ice axe, so Dummy 13 can climb the sides of the icy outcrop. There are also several keyed anchor points and anchors, where a rope (or string) can be attached to the base or top.
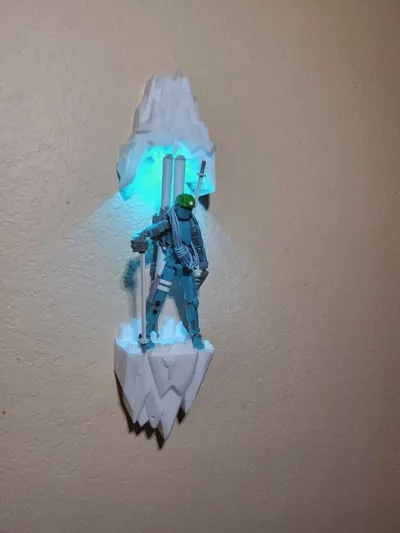
This model includes an optional lighted top, which uses one remote control waterproof LED (which I bought from AliExpress but they now sell them here on MakerSupply too). The top requires eight 8x3 cylinder magnets, and both the top and base use large 3M Command Strips to mount to the wall.
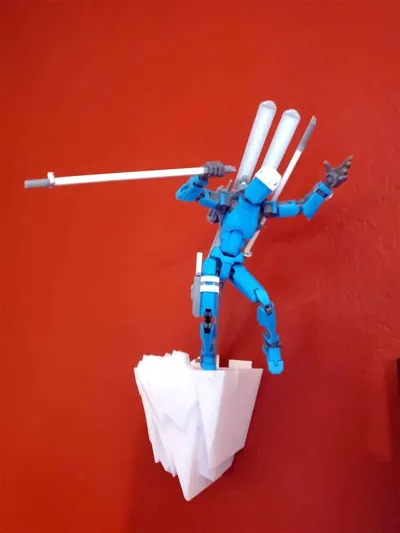
For the more difficult poses, I added some remixed components from Lucky 13 Toys Dummy 13 - simple display stand, which can be used to anchor Dummy 13 to the base. If you use the Alpine Adventure Kit, you have the option of using a mounting post hole in the base of the backpack, which can be used to hold the model in place. I included the upper and lower arms from Lucky 13 Toy's display stand, but also added a shorter version of both, which may work better with the wall mount.
Finally, there is an extra little “secret” compartment in the base of the wall mount, with a flip up door that Dummy 13 will be able to guard by standing on it. The door has one hinge pin integrated, and the other side requires a small length of filament (about 35mm). There is a tab on the door, which will need to be broken free using a thin spudger tool or flat screwdriver, before installing. It can help to cycle the tab several times before installing the door, to loosen it up. The tab will latch the door shut, when closed.
Assembly tips for the Base:
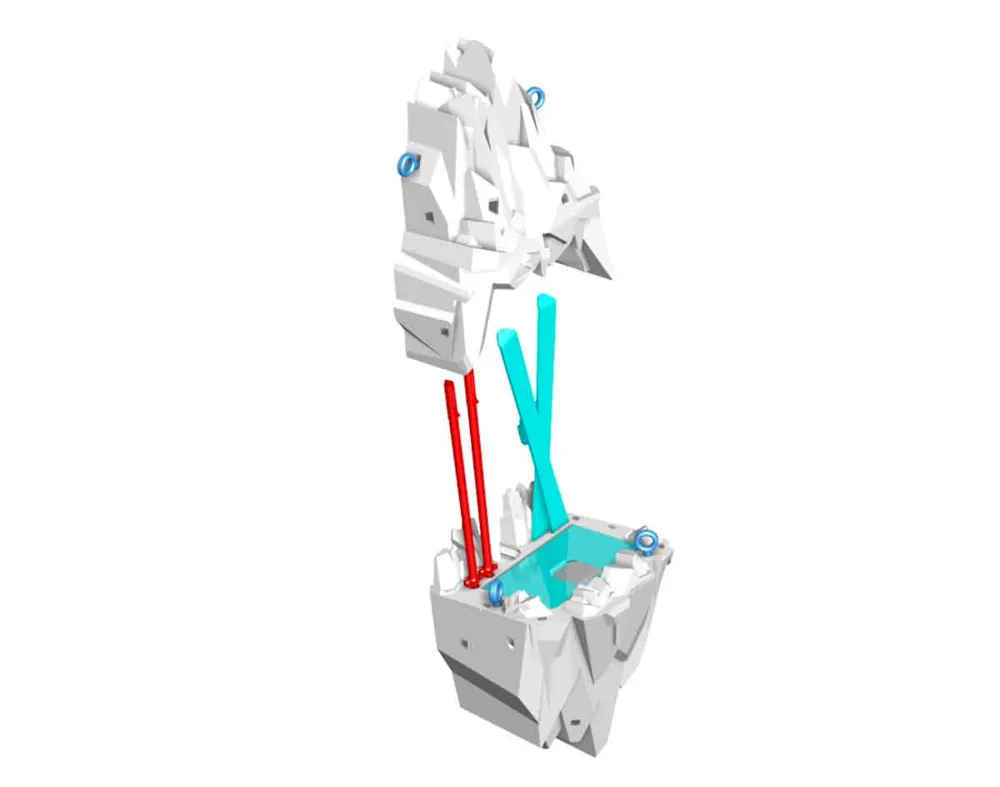
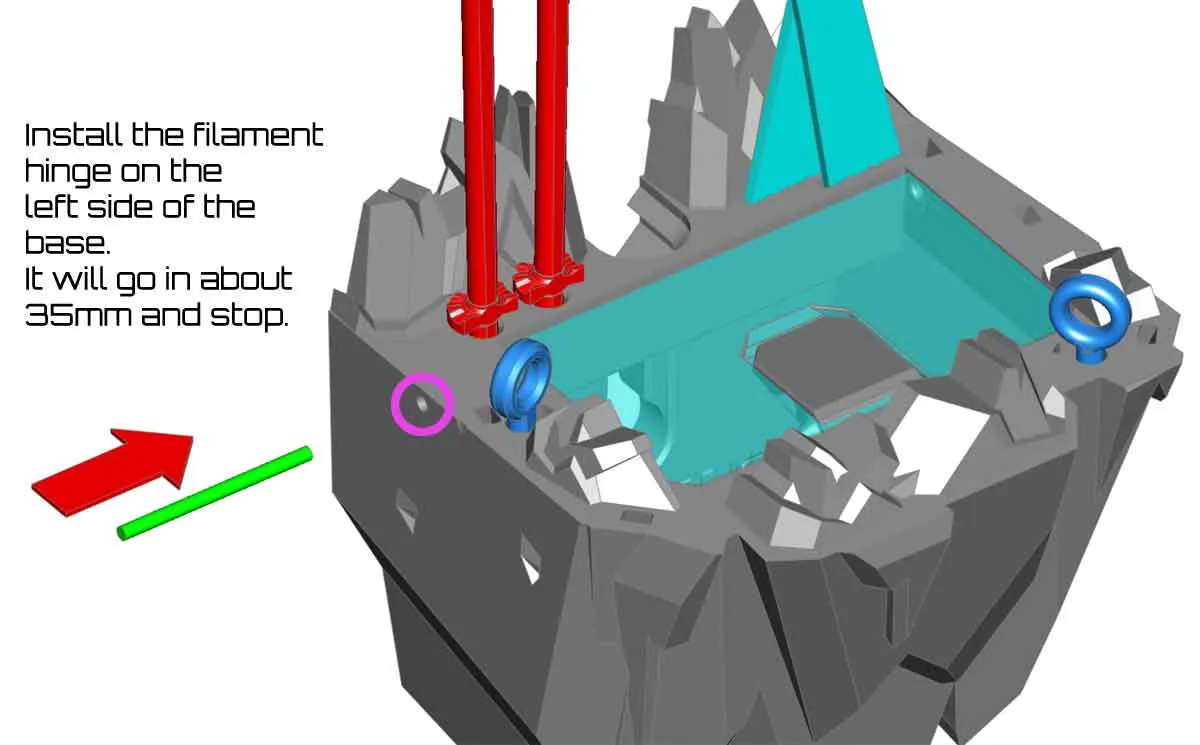
Install the door in the base by inserting the right hinge pin attached to the door, into the base. Then, using an approx 35mm filament, insert that through the access hole in the side of the base, through the base and into the door. It should go about 35mm when fully installed. The excess filament can be trimmed using a side cutter.
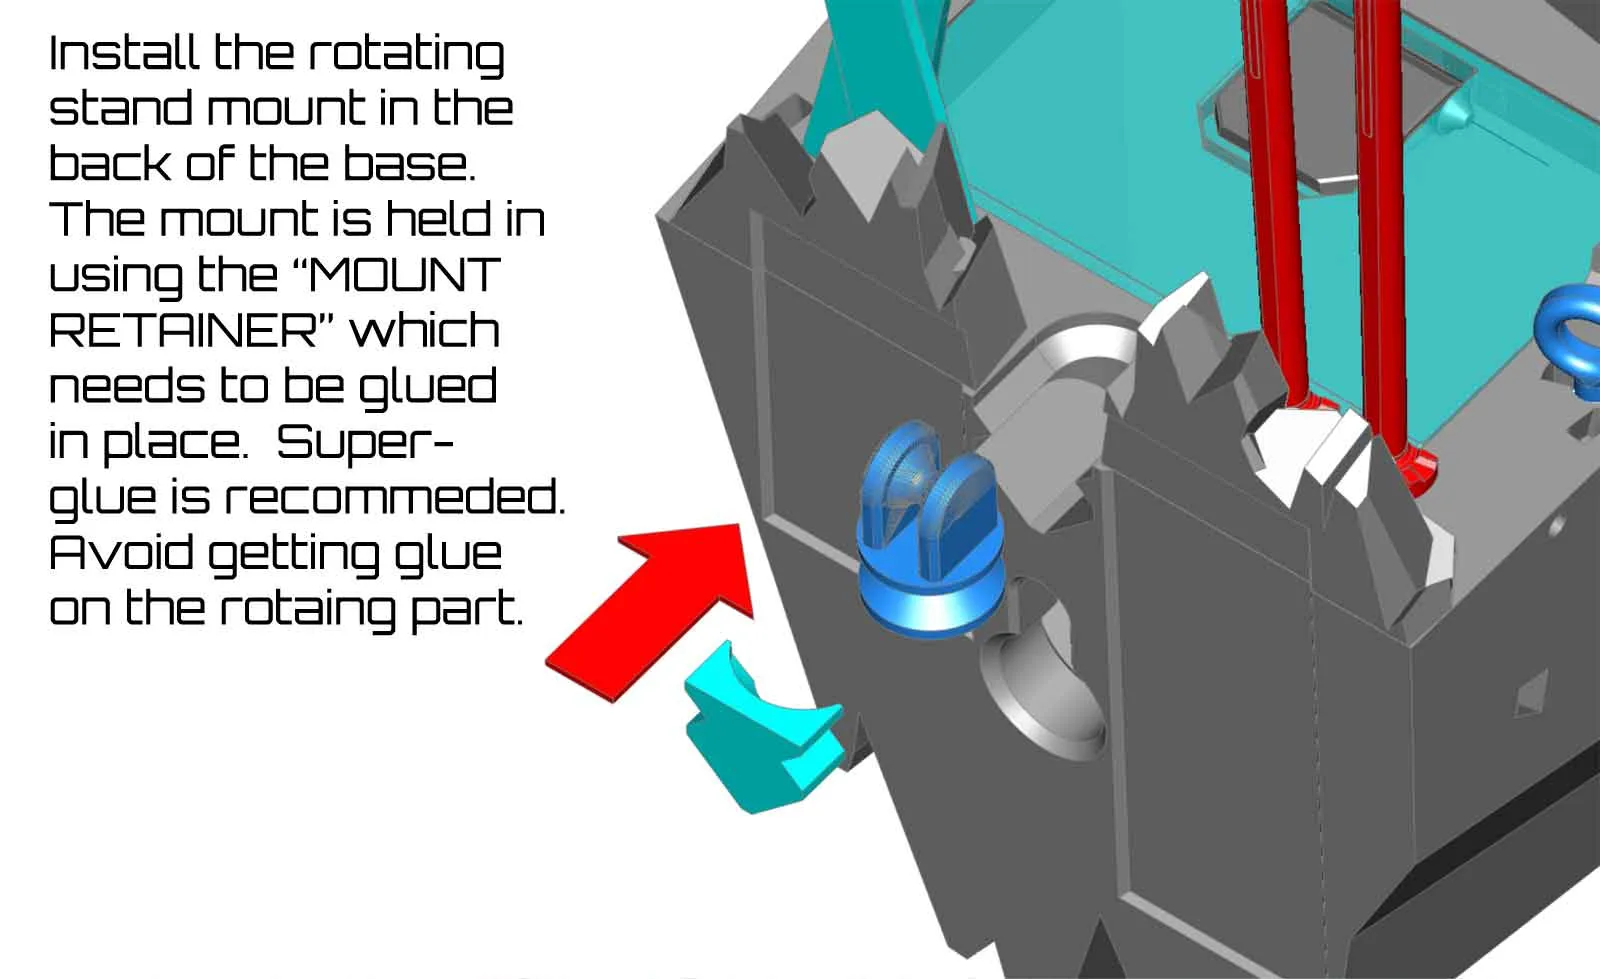
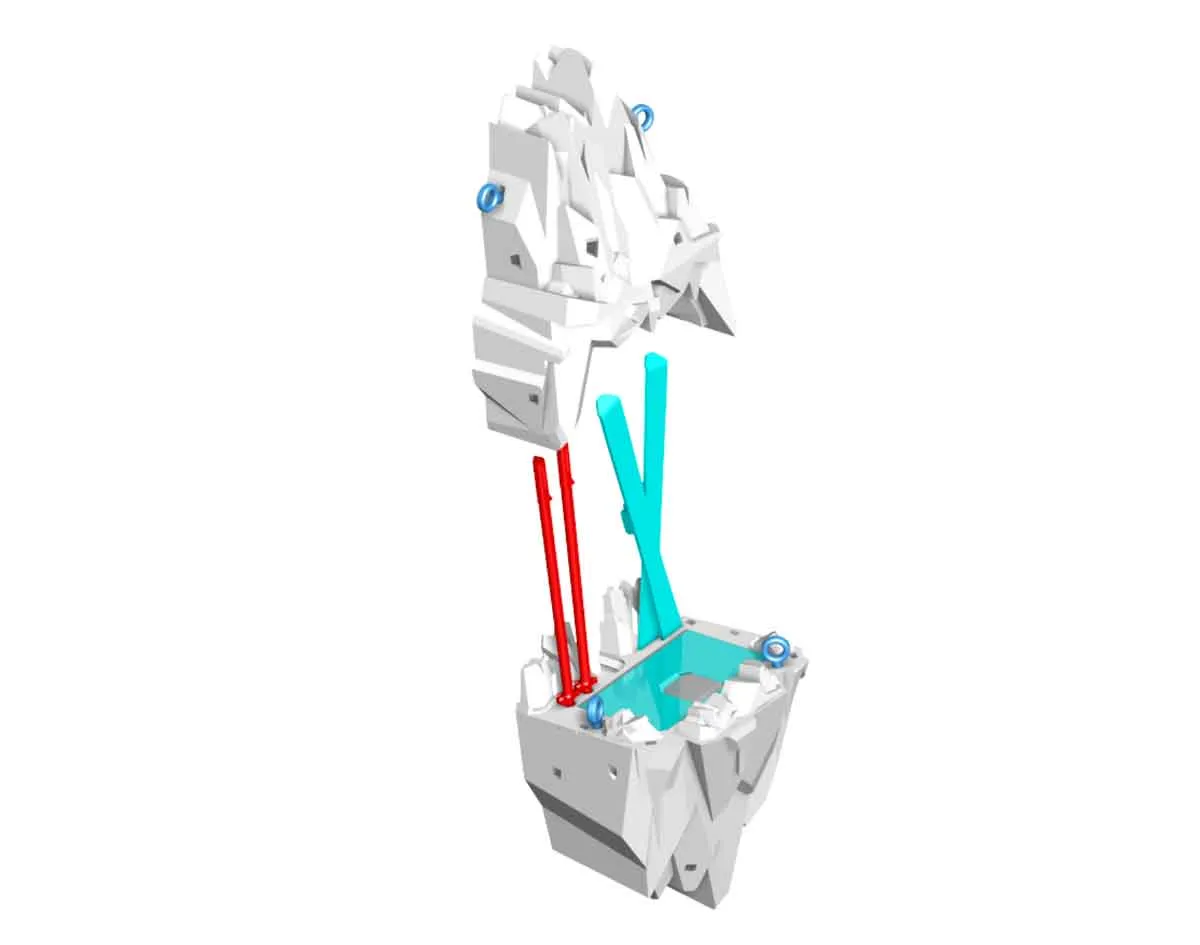
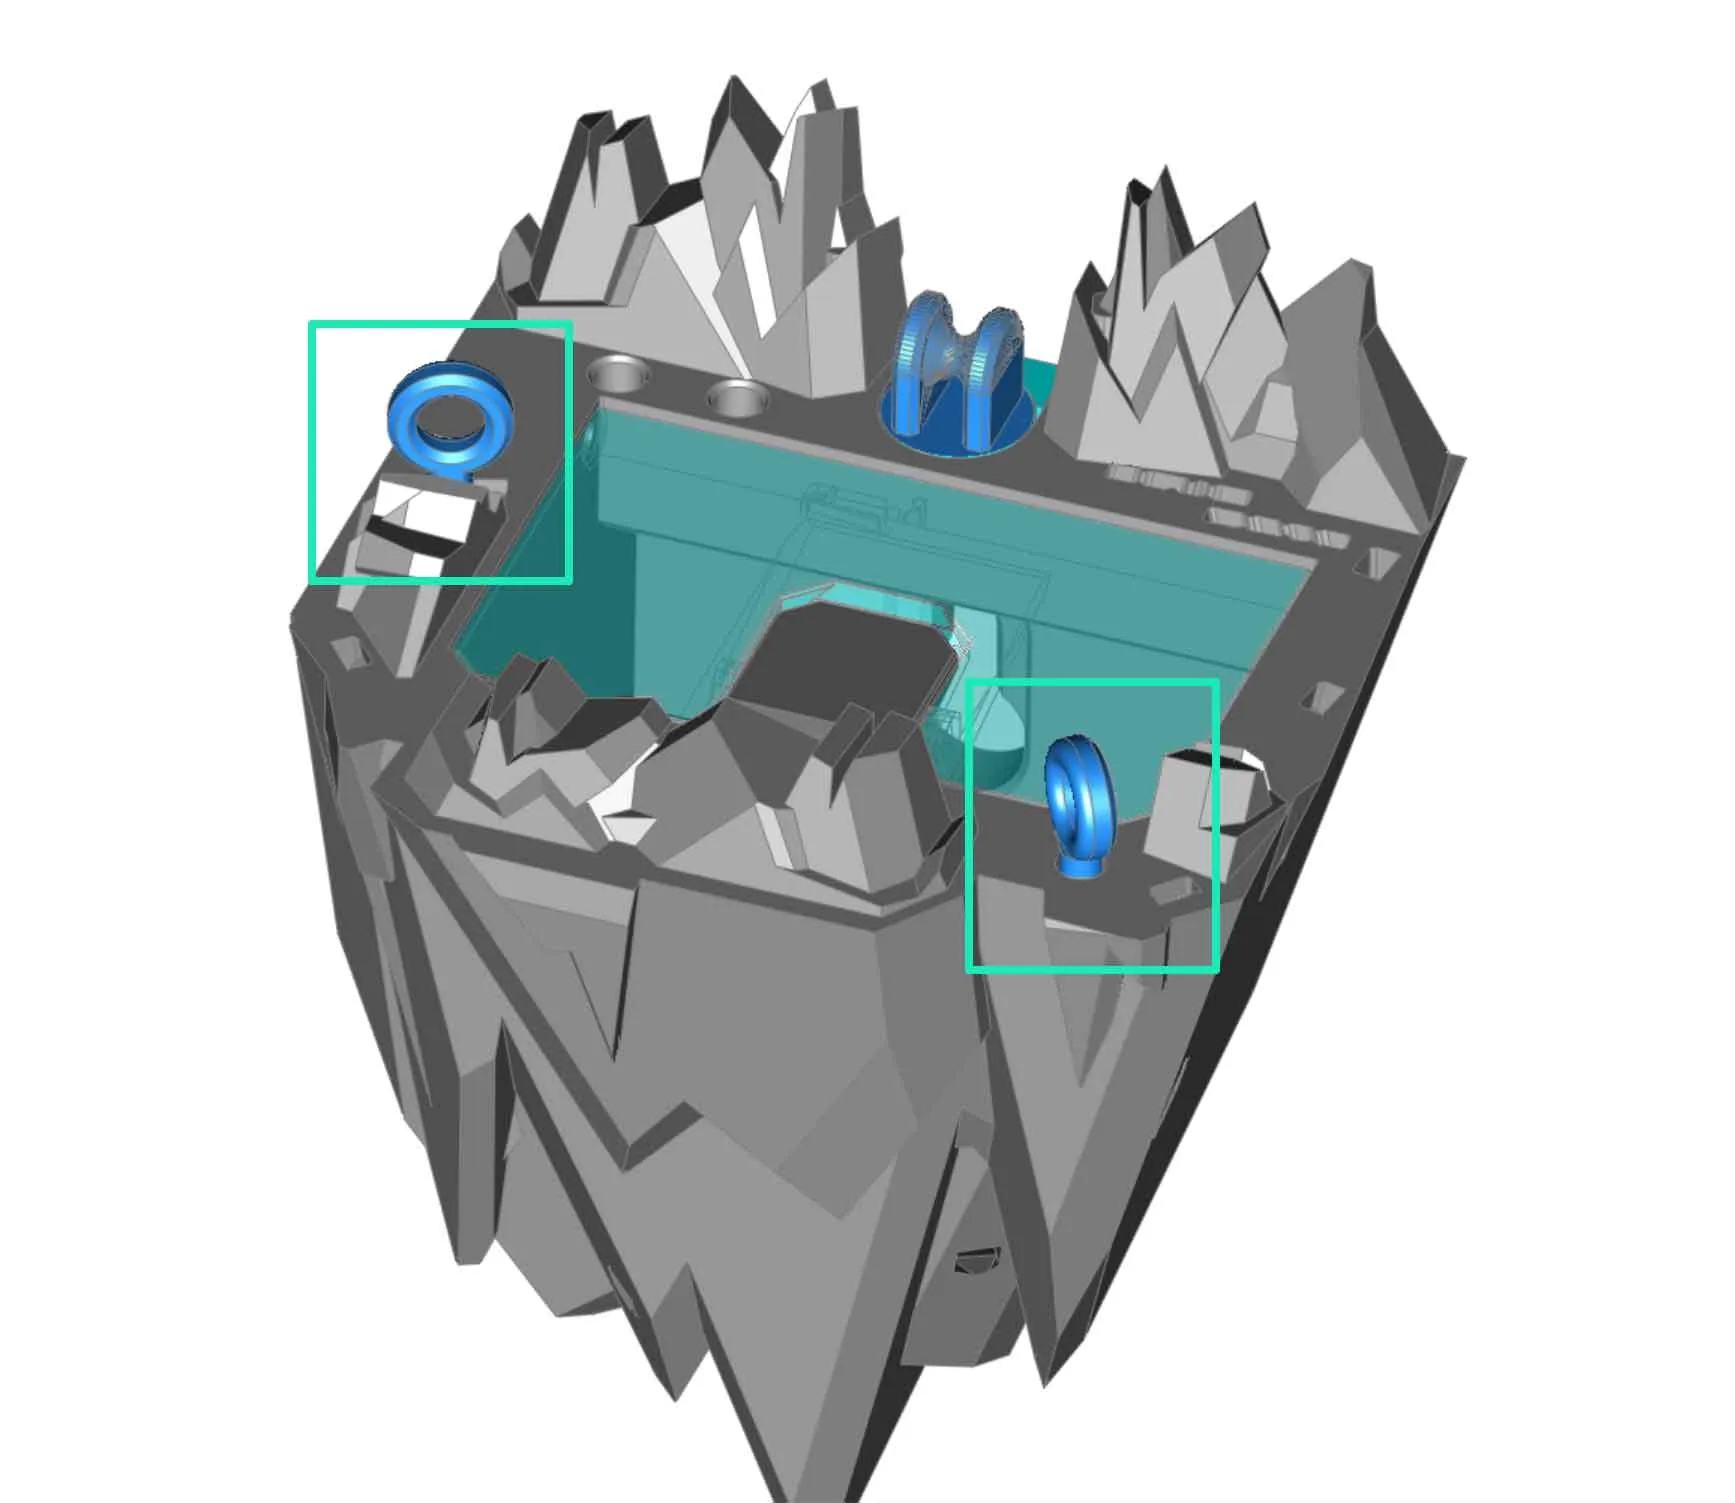
Next, the rotating mount point can be installed in the back (wall facing side) of the base. This will require superglue. The parts are installed as shown below. Try to avoid getting glue on the rotating mount for the arm.
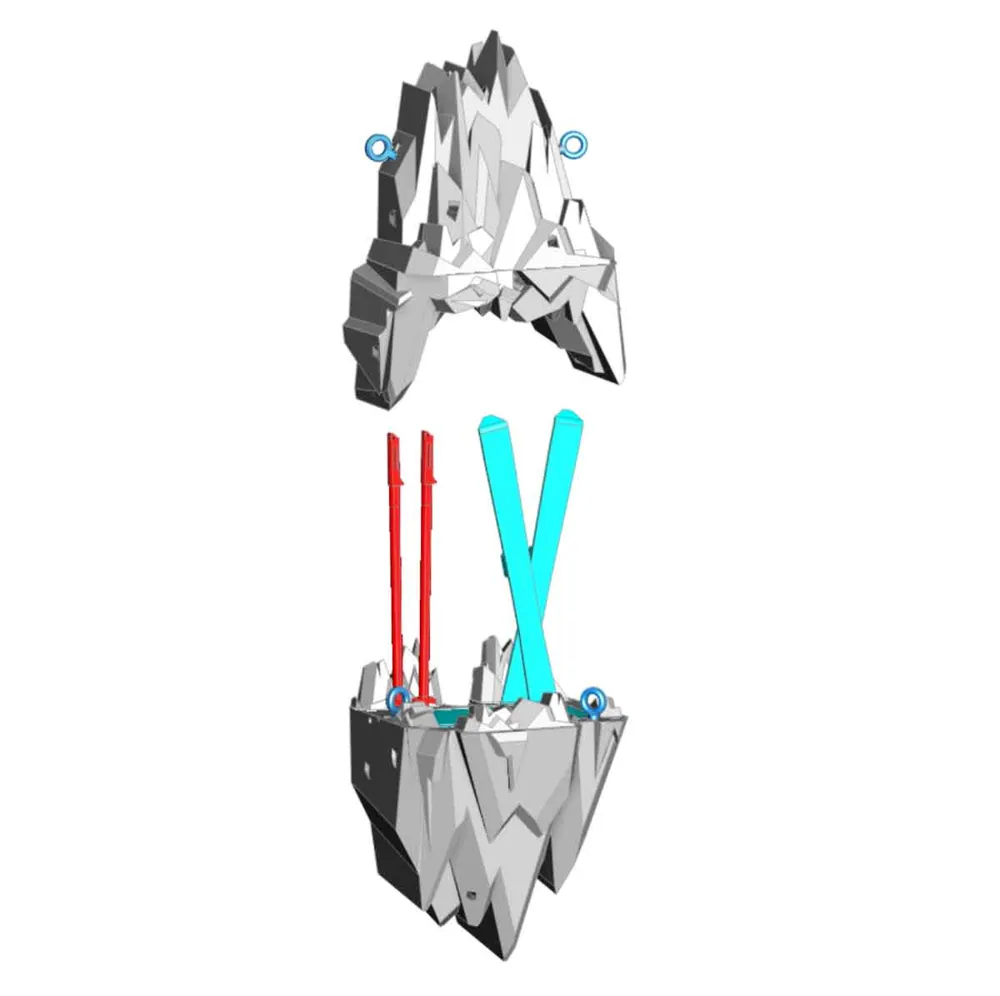
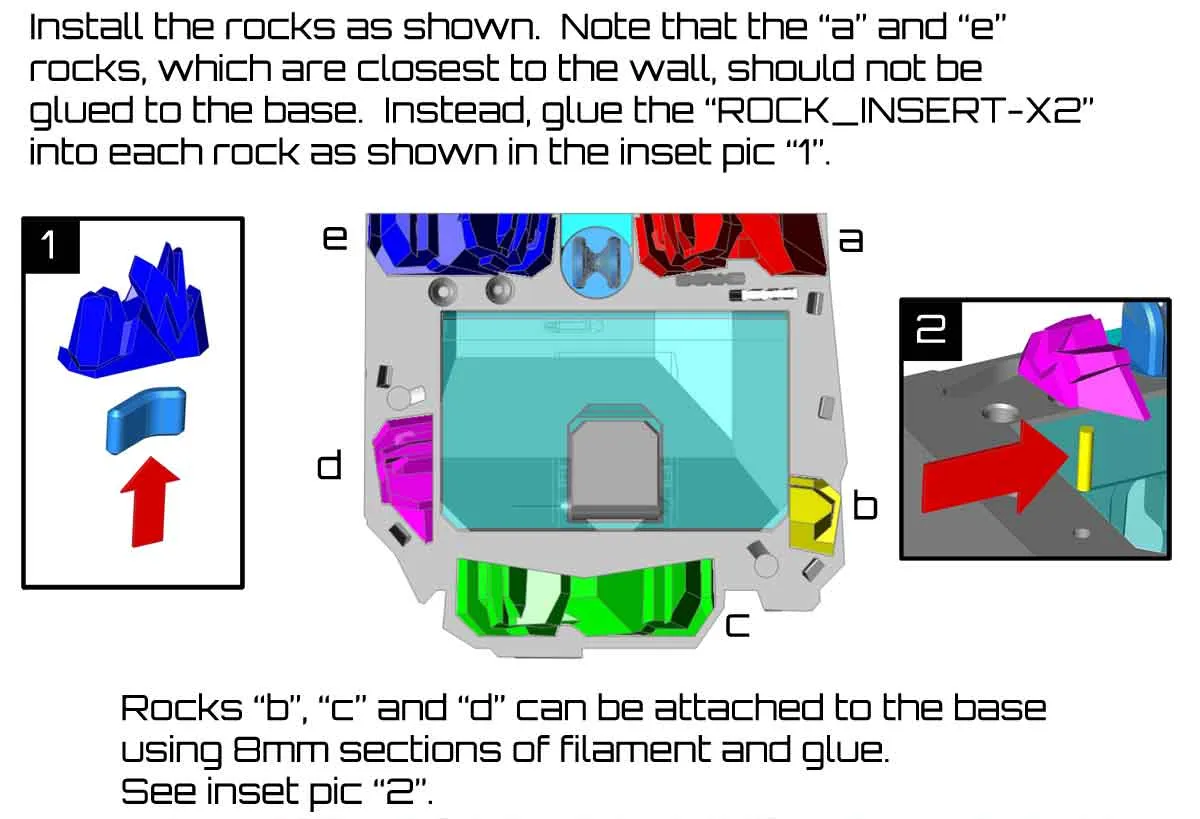
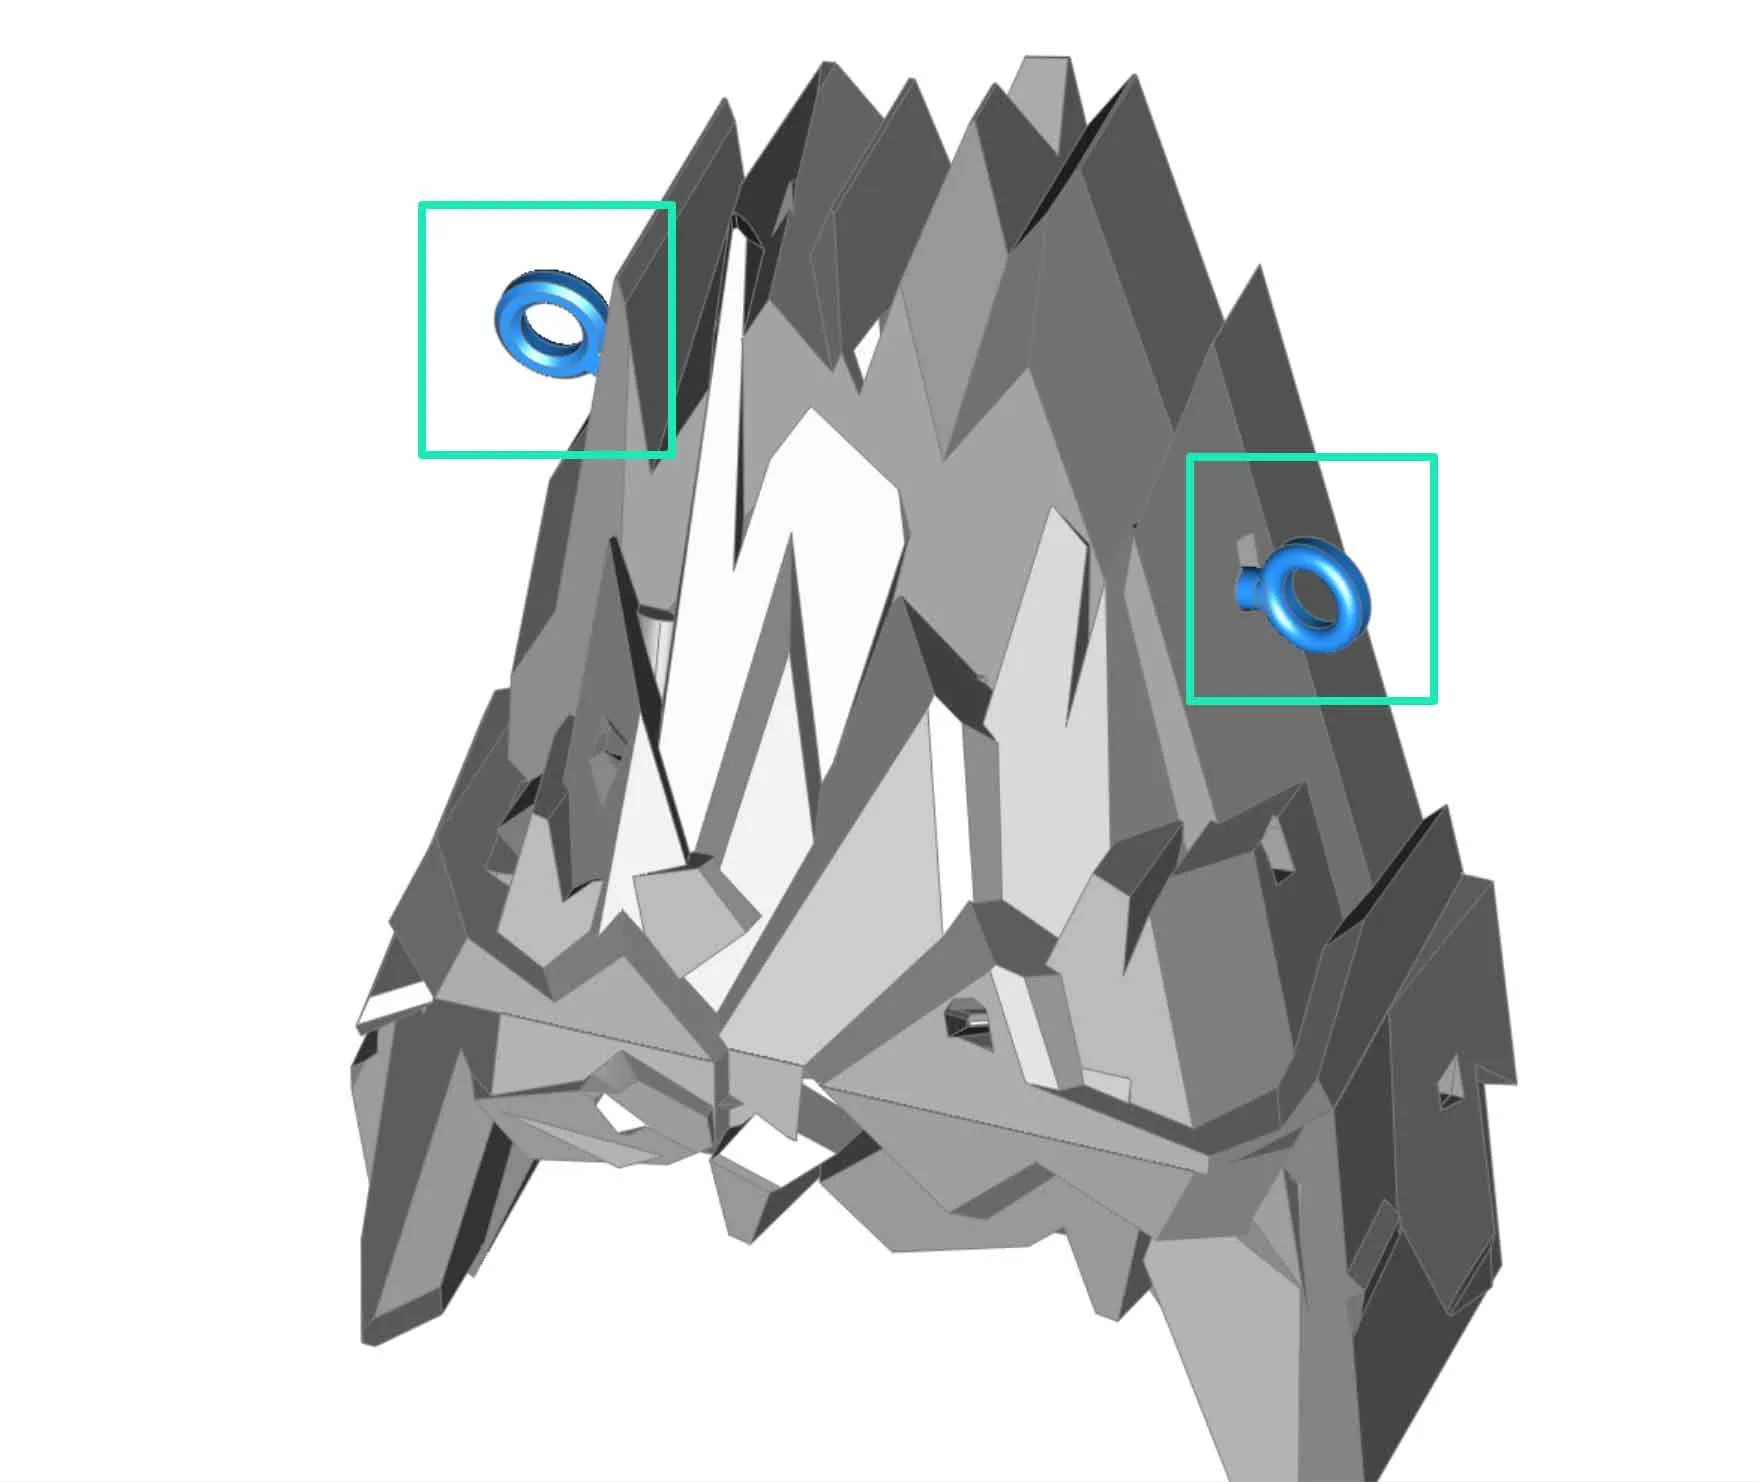
The rocks can be installed according to the image below. Note that the two large rocks which are closest to the wall, should only be glued into the curved “ROCK_INSERT_X2” parts, since they need to be removable to access the 3M Command Strips (if the mount needs to be taken down later). The other smaller rocks use 8mm sections of filament to help locate them, and may be glued to the base permanently.
- You can now install the optional mounting arms for the Dummy 13 mount. The original arms are included, or you can mix them up with the shorter arms if that will fit the pose and space needed. Note that if you use the Alpine Adventure Kit, there is a mount point on the bottom of the backpack, which will accept the regular Dummy 13 “Stand Adapter”.
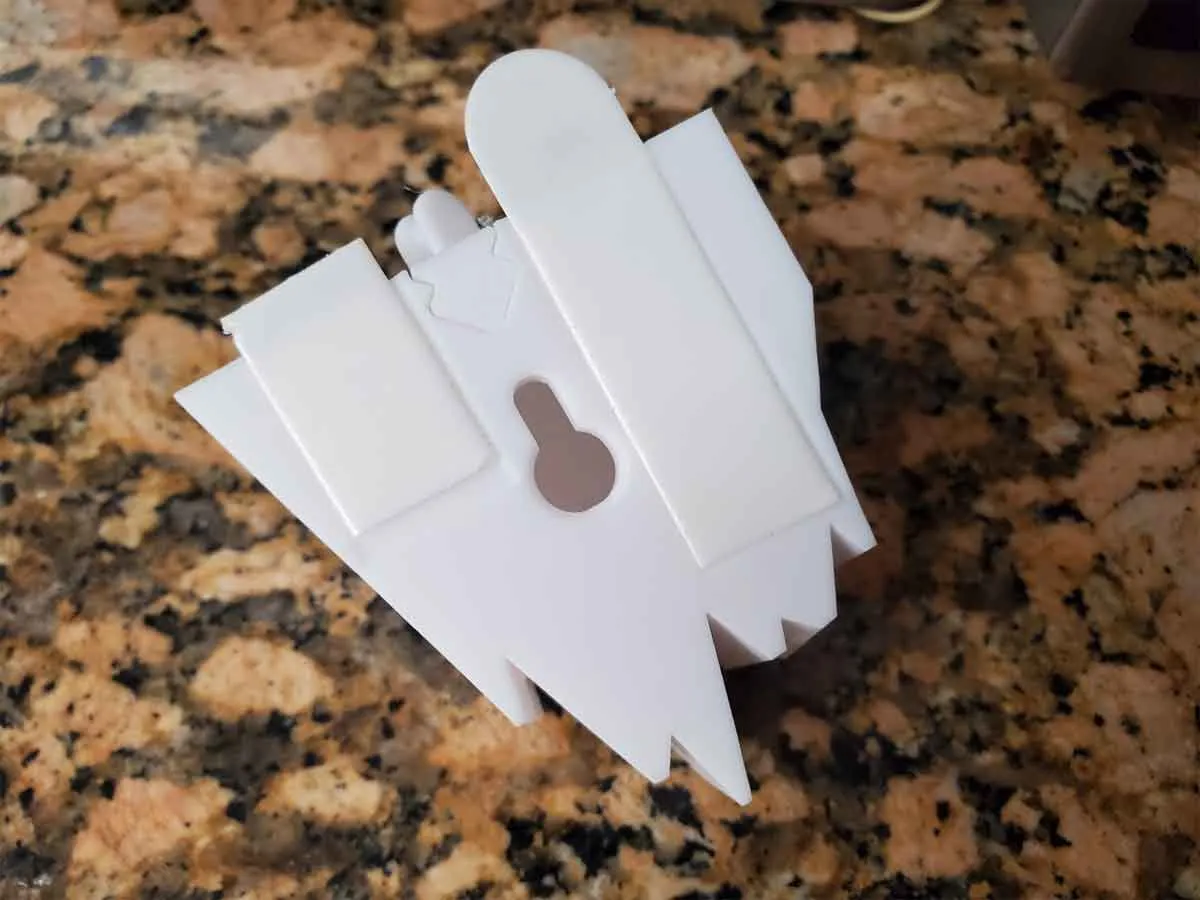
To mount the base to the wall, apply two 3M Command strips to the back of the model. There are indented areas where the strips can be placed. The strips will need to be cut down to fit (make sure to cut the side without the tabs). The tabs should overhang the end of the mount, where they will be covered up by the removable rocks. In the pic below I use one strip (the remainder was used on the left side), but I recommend using two cut down strips, since there needs to be enough tab sticking out that can be grabbed and pulled on to cleanly remove them.
Assembly tips for the Lighted Top:
- Start by cleaning out all support material from the top and bottom parts of the lighted top.
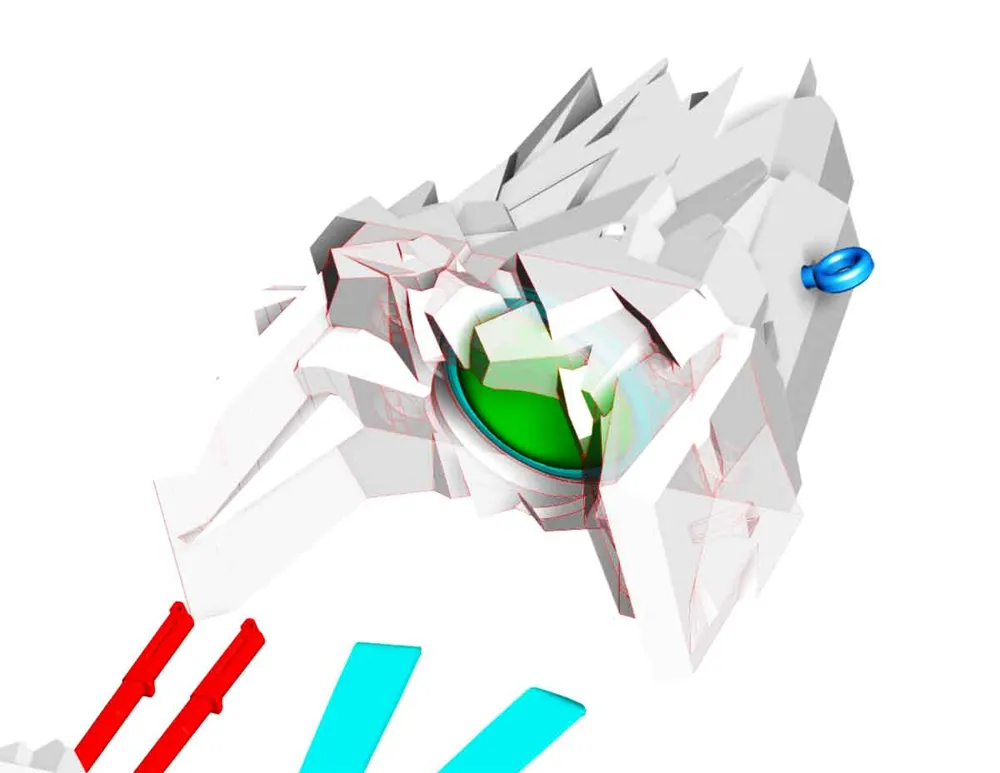
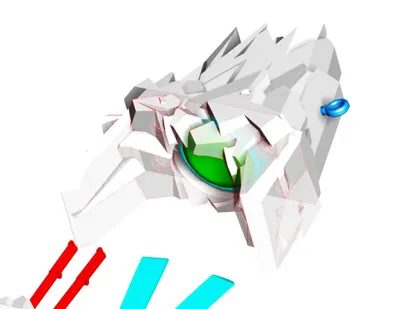
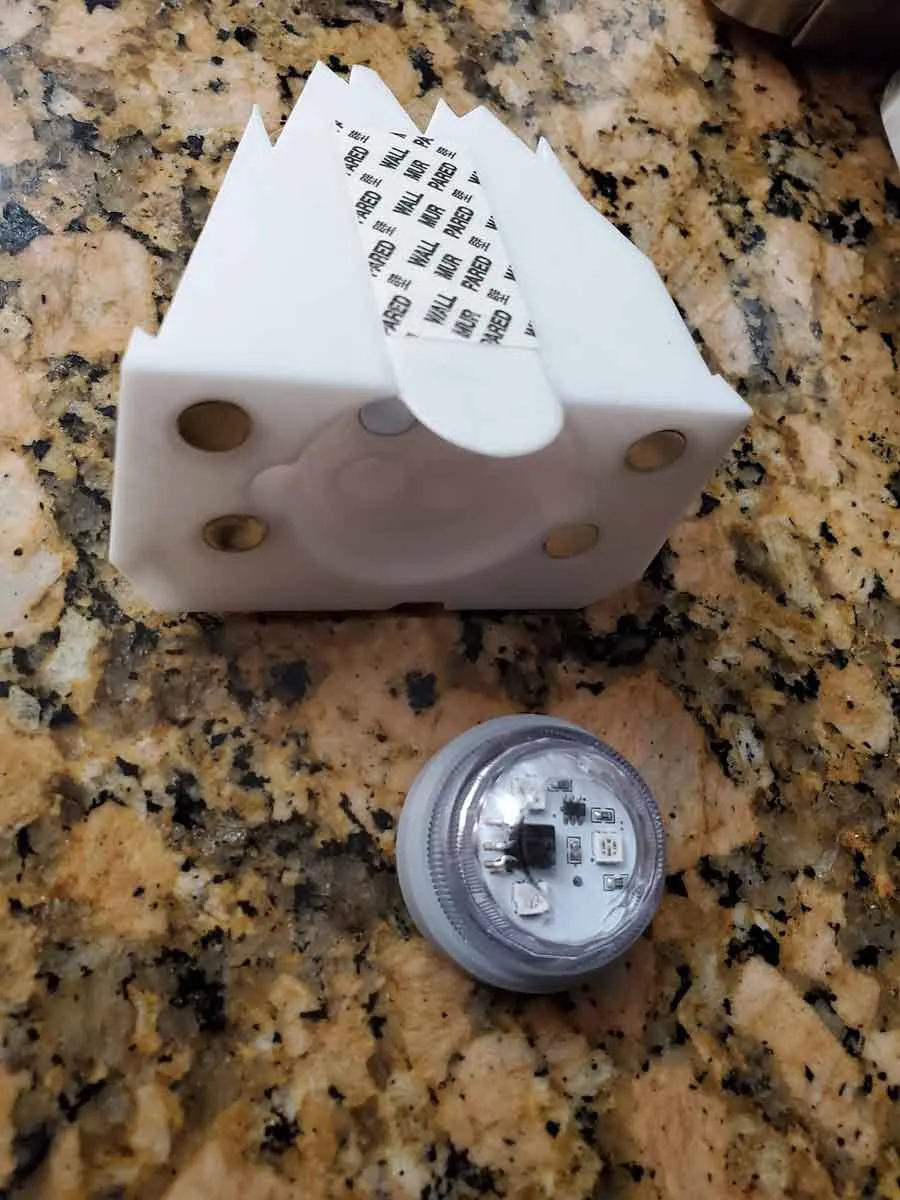
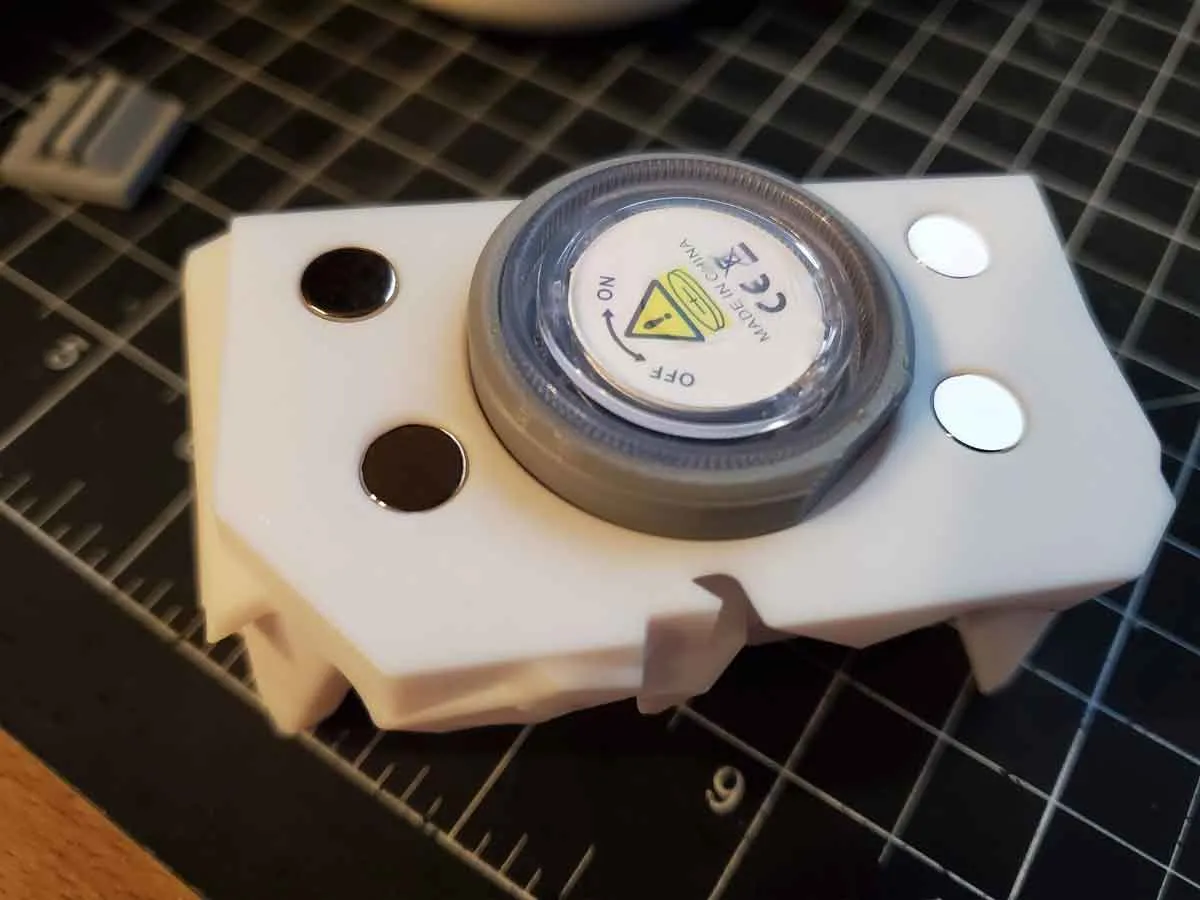
Install the ring around the LED. Note that the LED may need to be disassembled to remove a spacer which they use to keep the batteries from discharging in shipping. Also note that the LEDs have an on and off position (through twisting the base). The LEDs should be off when not in use, since their remote control receive circuitry will otherwise draw some current, even when the LEDs are off.
Next, install the 8x3 cylinder magnets in the top and bottom. Make sure to observe the polarity, since these magnets need to attract each other. They should not require glue, but if they are loose, some superglue should help. There is a space for a larger 12x3 (or 12x4) magnet located under the LED, however in testing I found that was not needed.
Apply a large 3M Command Strip to the back of the top part of the model. The strip will need to be cut down (cut the end without the tab). Make sure to leave enough of the tab hanging over, that it can be grabbed and pulled on to release the tape, so it can be removed without a problem if needed. The tab will be covered up by the bottom of the LED mount.
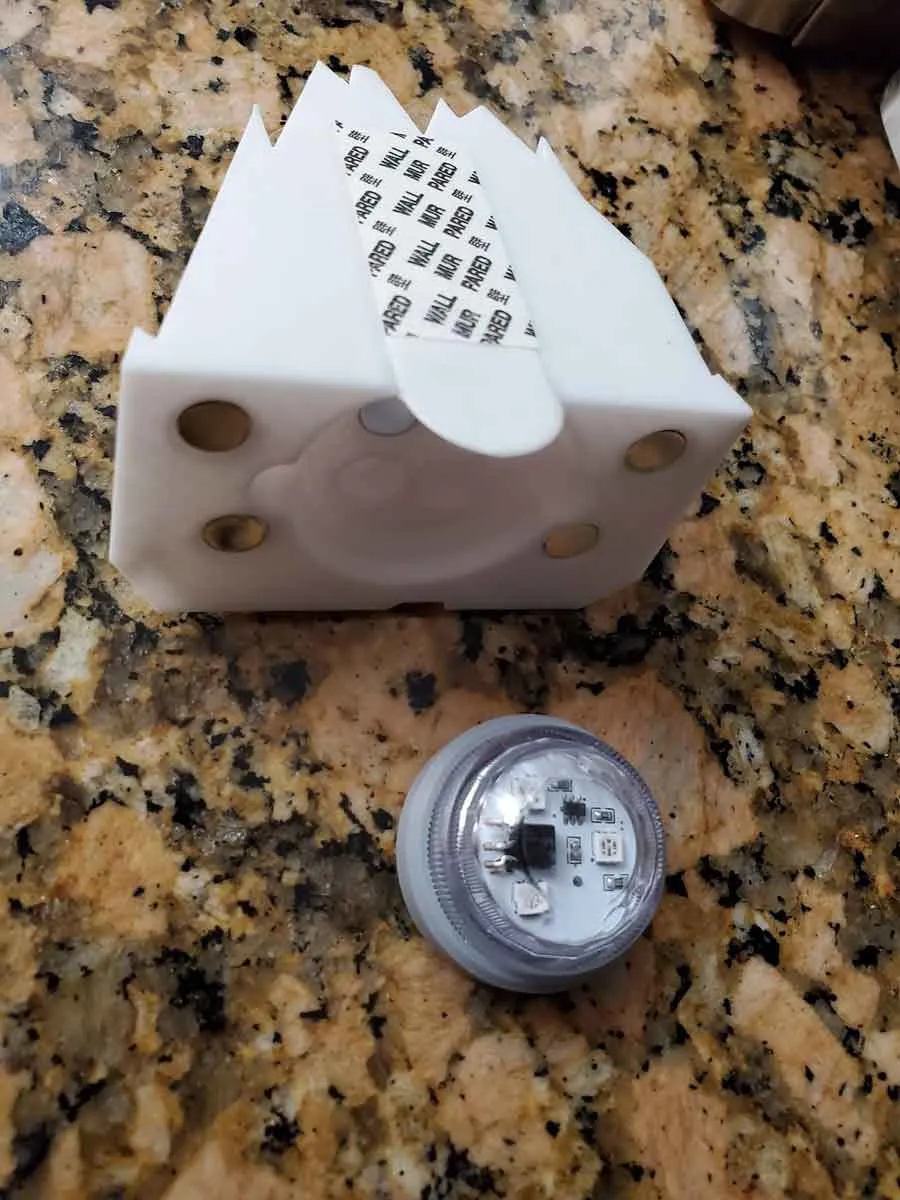
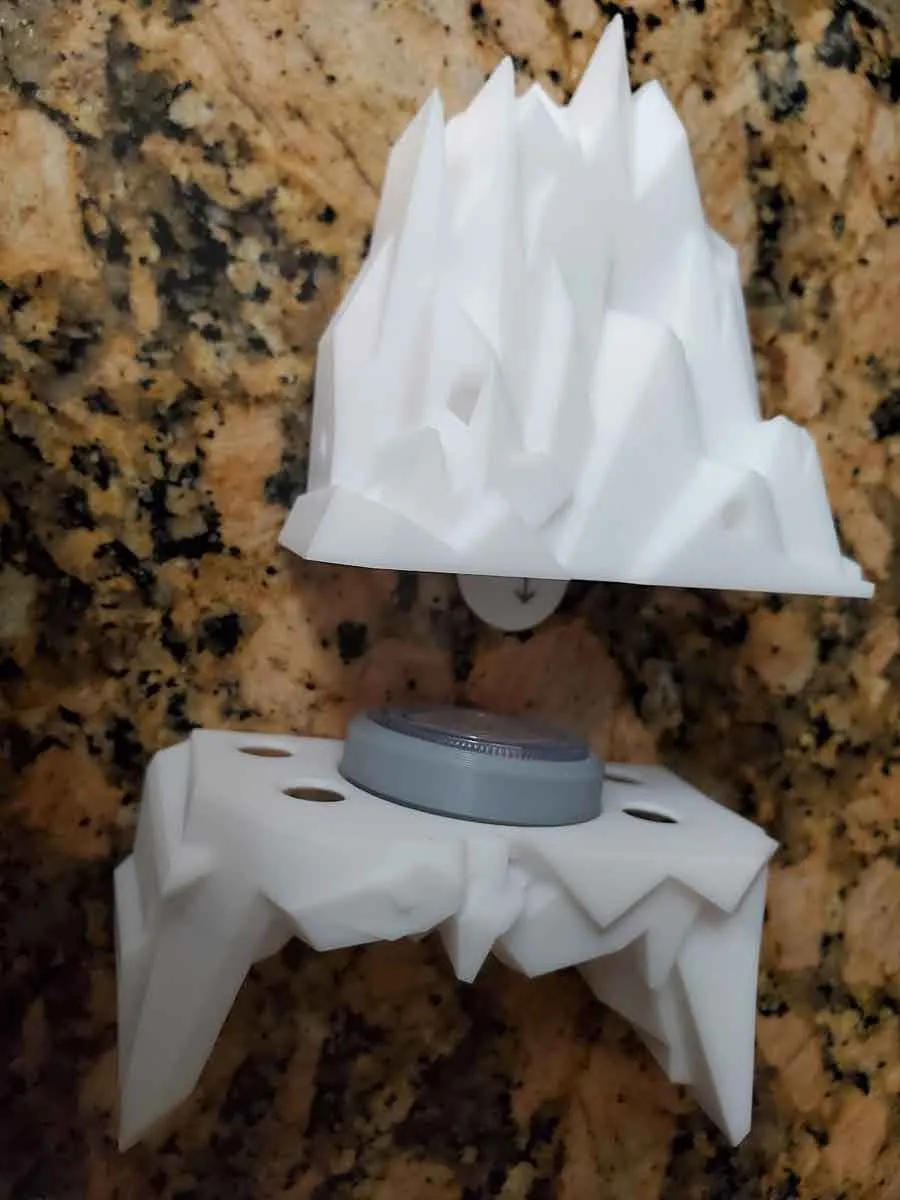
- Then you can apply the LED mount to the wall. Make sure to leave enough room between the completed LED holder and the base, to clear the Dummy 13 on the wall mount below (along with any tools or other parts that will be displayed).
Install the LED in the bottom of the LED holder (with the ring around the LED), and then attach it to the wall mounted top using the magnets. If you notice light bleeding through the seam between the top and bottom of the LED holder, you can try reprinting the ring which goes around the LED in a more solid color (like the gray ring in the pics).
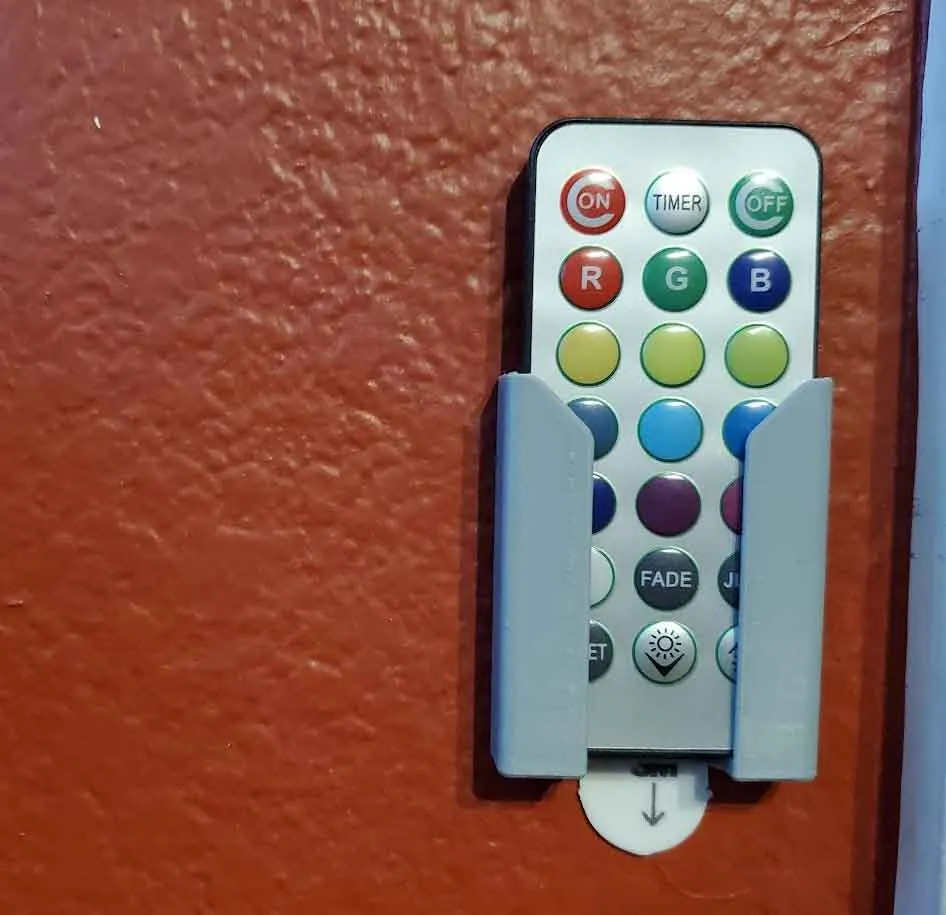
There is an optional holder for the remote control that they send with the LEDs. It also mounts to the wall using a cut down large 3M Command Strip.
Now you can just pose Dummy 13 and enjoy your new lighted display. If you use my Dummy 13 Alpine Adventure Kit, you can keep the skis and poles into slots in the back of the base, and store any other parts in the “secret” compartment inside the base. There are also four “anchor” points for adding a “rope” (or string) to the either the base or the top LED mount. And a number of holes which the ice axe from the adventure kit will fit into.
 |  |  |
It's a good idea to shut off the LEDs when they are not gonna be used for a while though, since the tiny CR2032 batteries used in them will not last forever.
 |  |  |
Other Stuff:
If you like this design and want to check out some of my other Dummy 13 stuff, here is a list of my Dummy 13 Weapons and Adventure Packs:
Weapons Pack V2.1 - MP5SD, MP5K's, Handguns, Holsters and Katanas
Alpine Adventure Pack v1.0 - Skis, Ice Axe and Backpack for Winter Adventure Sports
Astronaut Tools Kit v1.1 - Space drill, pick, geologic collection scooper, camera and other Astronaut stuff
Astronaut Armor - Includes a helmet, backpack and other armor parts to turn Dummy 13 into an astronaut (in multicolor too)
BBQ Tools Kit - You read that right, even Dummy 13 likes to grill up some burgers now and then
Dino Safari Pack - Everything a Dino Safari Park Ranger needs, including a cool hat!
Roadside Assistance Kit - Traffic cones, a bottle jack and other tools
Big thanks to Lucky 13 Toys (Soozafone) for sharing the awesome Dummy 13 (v1.0) model with the world. The Dummy 13 model (which this was designed for) is shared under the following license:
| DUMMY 13 Printable Jointed Figure © 2023 by Lucky 13 Toys is licensed under CC BY 4.0 |
Note - if you see these for sale on Amazon , Etsy or anywhere else, they are not being sold with my permission. There are no "authorized" sellers of these models. They were made for the 3D printing community, not for Amazon or Etsy sellers to profit from.
If you find these models useful, please post a like or a comment with some pics of your prints. You can find the other things I'm working on at my blog here. You can also follow me here, on BlueSky or on Printables, to get news on any new stuff I post.
If you would like to support my work, you can “Boost Me", or even Buy Me A Coffee using this link:
https://www.buymeacoffee.com/mystoopidstuffmystoopidstuff
Boost Me (for free)
Thanks for supporting my work!
This remix is based on


License

You shall not share, sub-license, sell, rent, host, transfer, or distribute in any way the digital or 3D printed versions of this object, nor any other derivative work of this object in its digital or physical format (including - but not limited to - remixes of this object, and hosting on other digital platforms). The objects may not be used without permission in any way whatsoever in which you charge money, or collect fees.


Comment & Rating (4)