
Penguin Mario - Multi Part
Print Profile(3)


Description
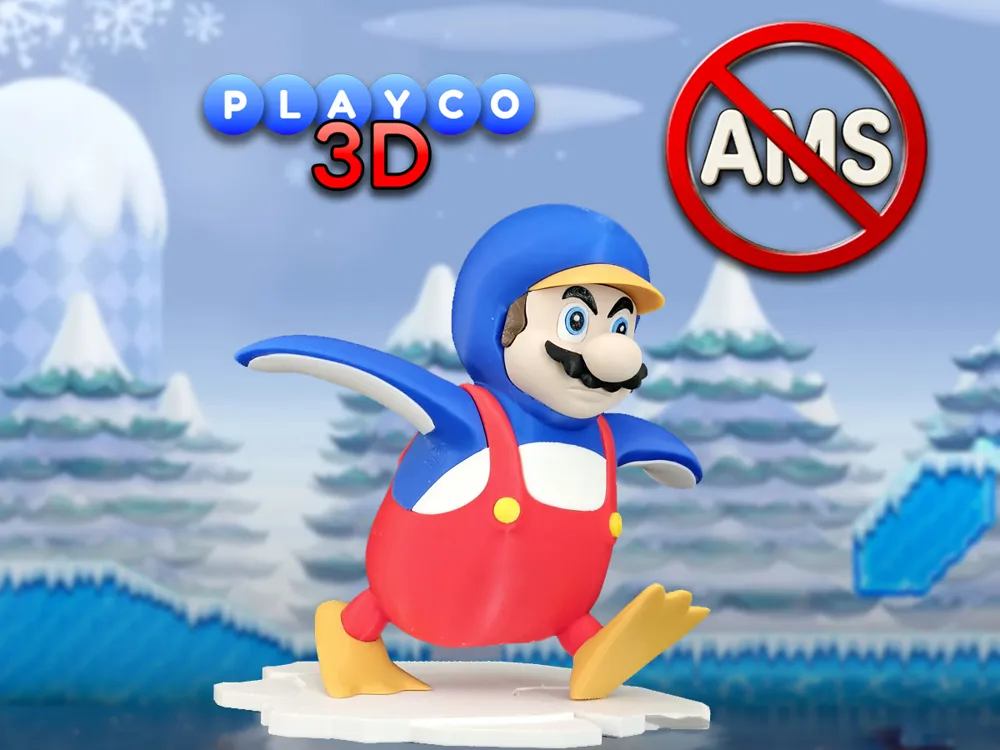
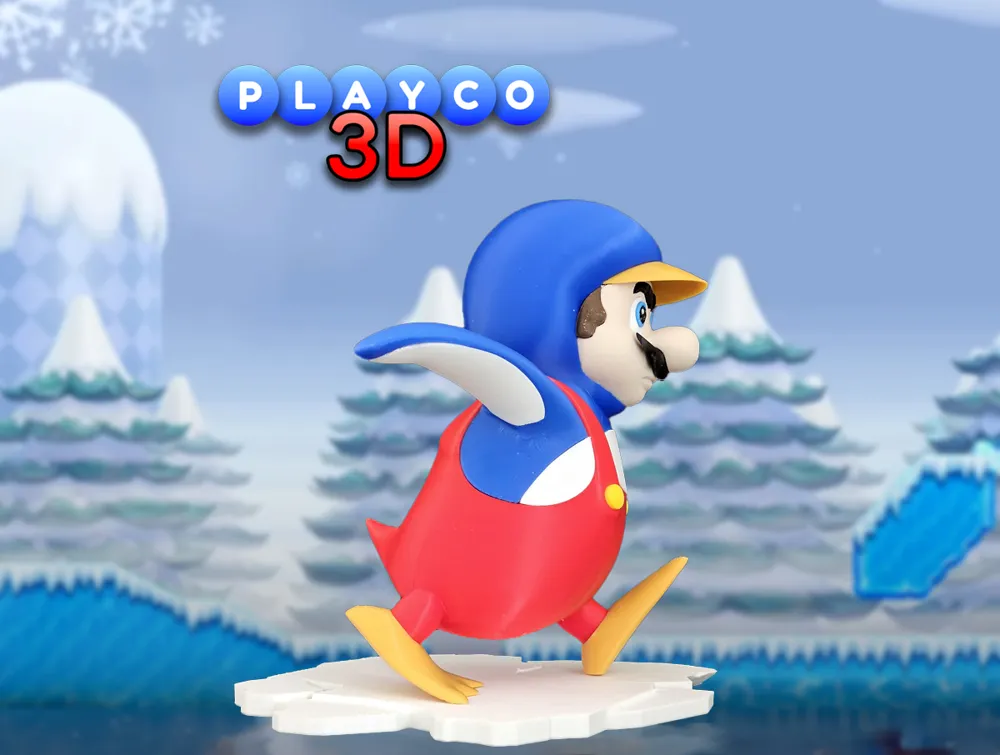
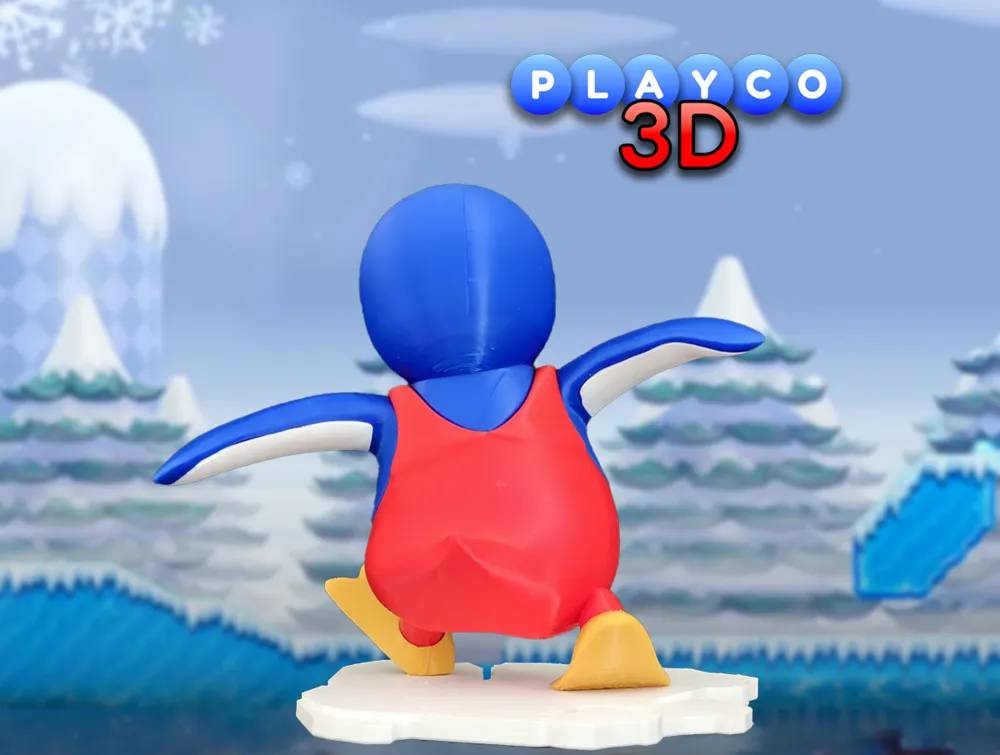
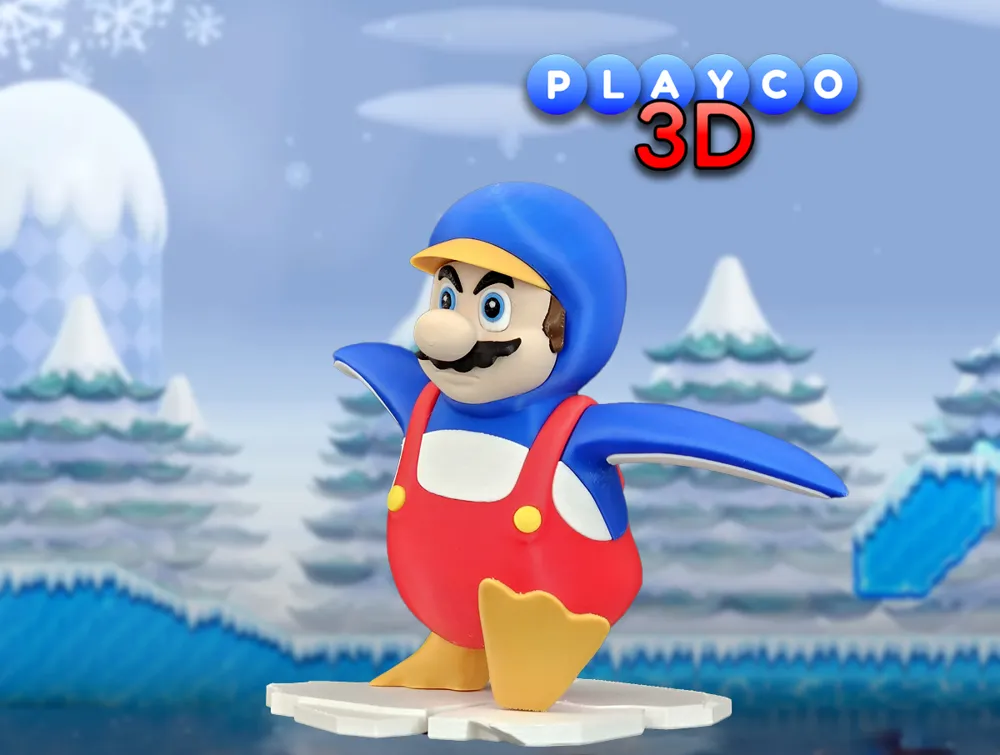
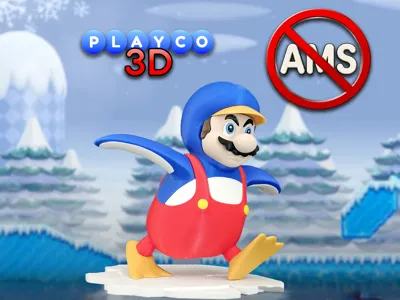
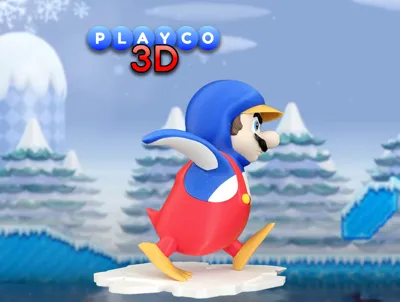
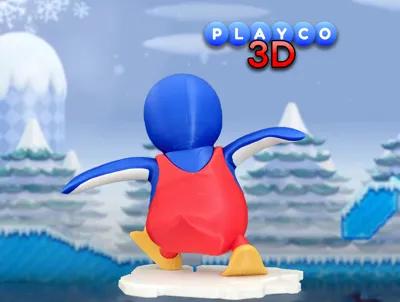
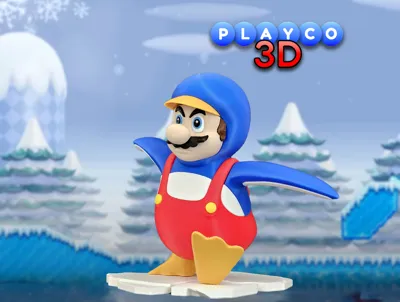
Meet Penguin Mario, the chilly hero of the Mario universe! Donning his blue and white penguin suit, complete with flipper arms and a bright red pants, he’s ready to slide, swim, and take on icy adventures. This 3D model captures his fun, action-ready pose as he gears up to tackle the cold. Get ready to chill with this iconic transformation of Mario!
Dimensions:
- Penguin Mario stands just about 5.75 inches (146mm) tall at 100% scale witht the ice, and 7in (178mm) wide, You can scale the model up or down but the eyes may fit a little differently. I've also split up the ice into 4 pieces so you can scale it up.
Colors Used:
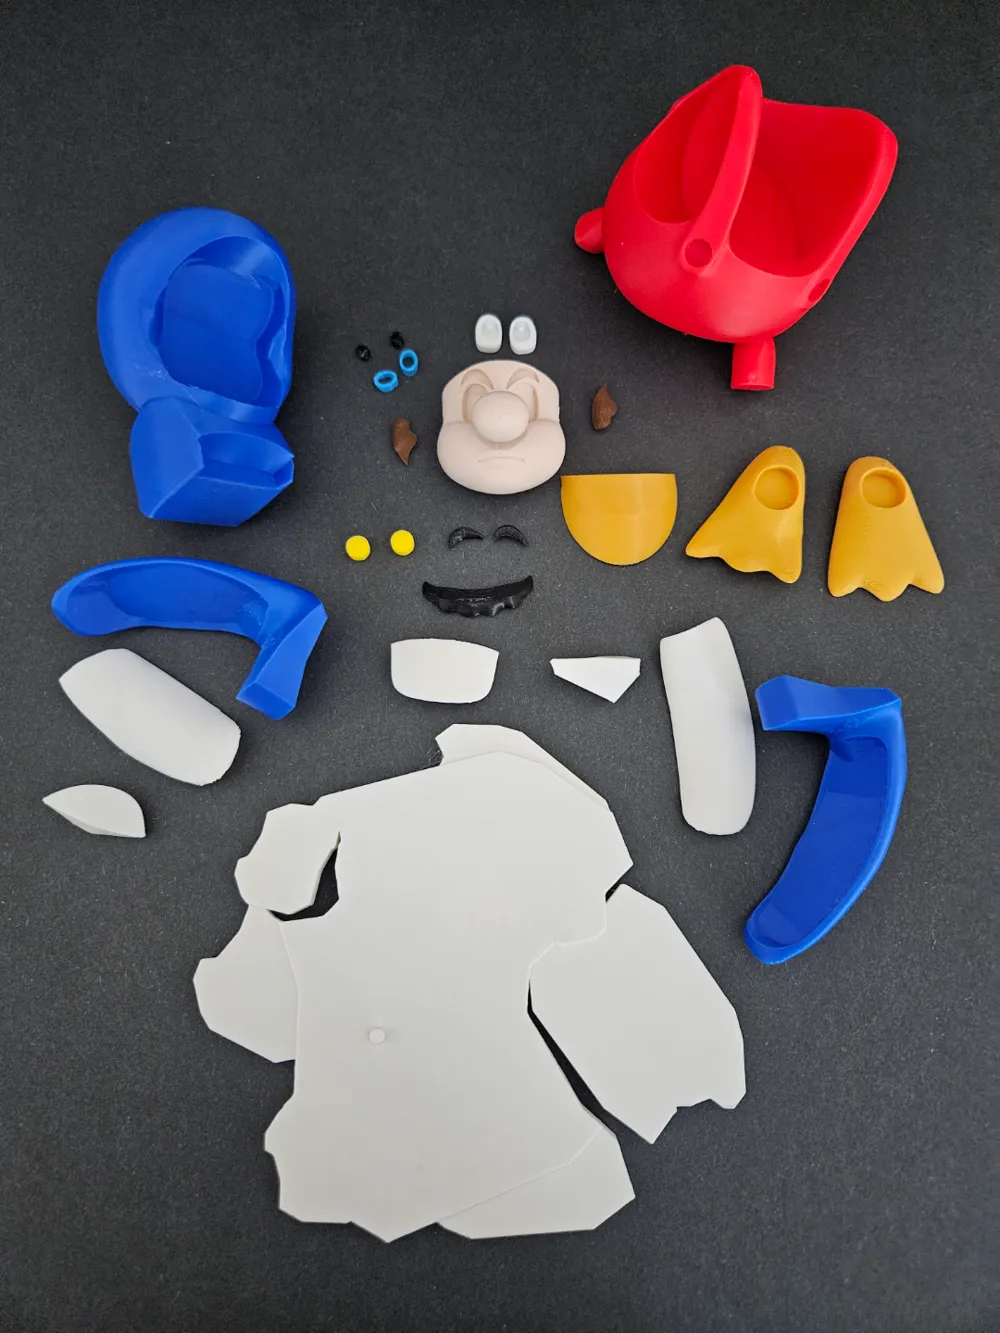
- Elegoo: Yellow, Dark Blue, Sky Blue
- Overture PLA Pro: Chocolate
- Overture Matte PLA: Skin
- Bambu Basic: Black, Red
- Bambu Matte: White
Esun: Gold (not shiny) (Dark Yellow)
Printing Tips:
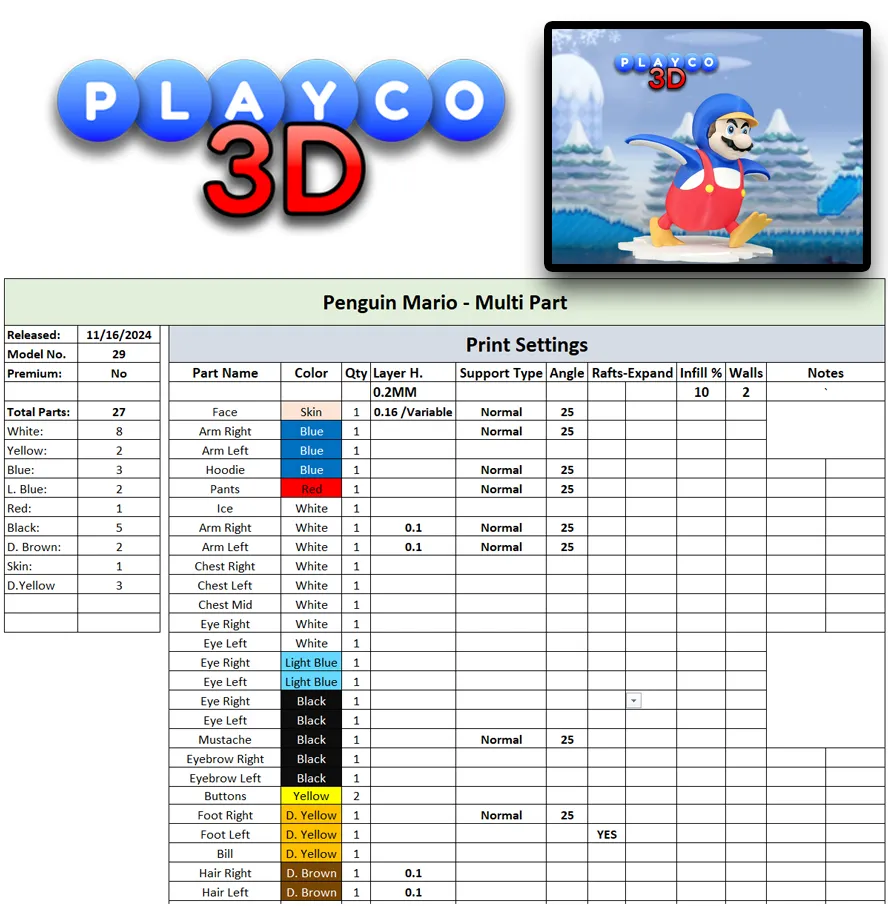
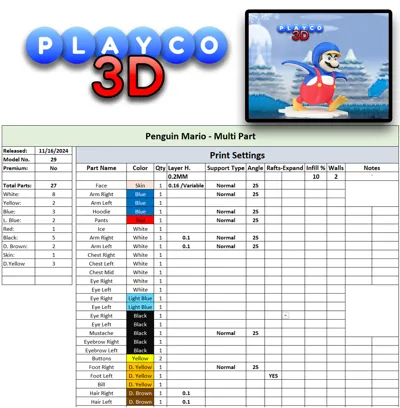
- Supports: Please refer to the print settings picture.
Assembly Tips:
- The right foot has a hole to attach to the ice stand peg. If you prefer not to use the peg, an alternative ice stand without it is available.
- Before gluing the feet, line them up with the body to ensure Mario stands flat. Once positioned correctly, glue the feet in place.
- When attaching the face and visor, first line up the visor in the hoodie and glue it to ensure a flush fit with the face before gluing the face on.
- The back of the face is cut that creates gaps in the hoodie. Apply glue along the edges of the face to attach it securely to the hoodie.
Assembly Steps:
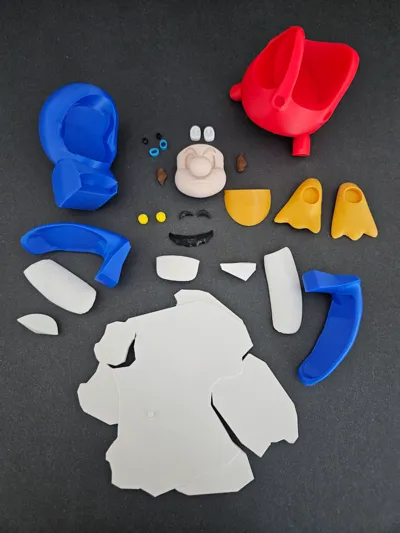
- Glue on the white parts to to blue arms
- Attach the arms to the red pants followed by the side white chest pieces
- Attach the blue hoodie in the red pants, then the center white chest piece.
- Attach the buttons
- Before gluing on the feet, attach to the body and line them up so mario stands flat. Once you figure out the correct position glue the feet on.
- Glue on the side hair pieces, followed by inserting the eyebrows, attaching the eyes, then mustache.
- Glue on the visor and face, applying glue around the edges to glue on the face.
- Finally attach Penguin Mario to the peg on the ice stand.
Congratulations on completing your 3D model of Penguin Mario! You’ve brought this iconic Mario transformation to life, and your model is sure to impress. Enjoy showcasing this frosty addition to your collection!
As always, happy printing and thank you for all your support!
License

You shall not share, sub-license, sell, rent, host, transfer, or distribute in any way the digital or 3D printed versions of this object, nor any other derivative work of this object in its digital or physical format (including - but not limited to - remixes of this object, and hosting on other digital platforms). The objects may not be used without permission in any way whatsoever in which you charge money, or collect fees.


Comment & Rating (49)