
Simple vertical stand for Hueforge
Print Profile(4)


Description
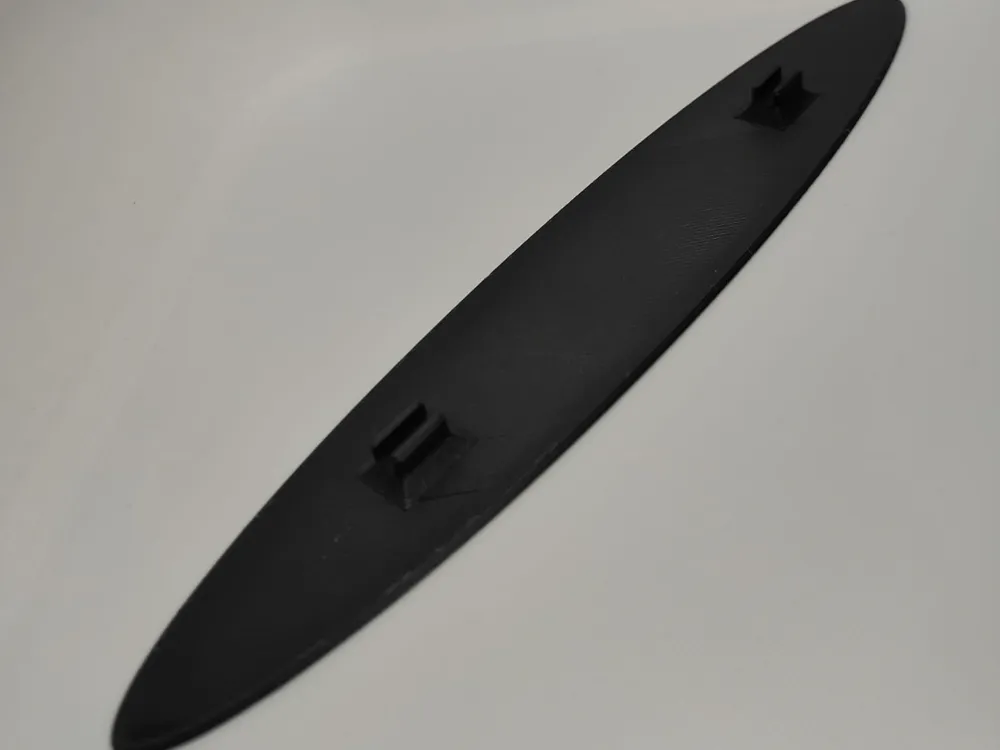
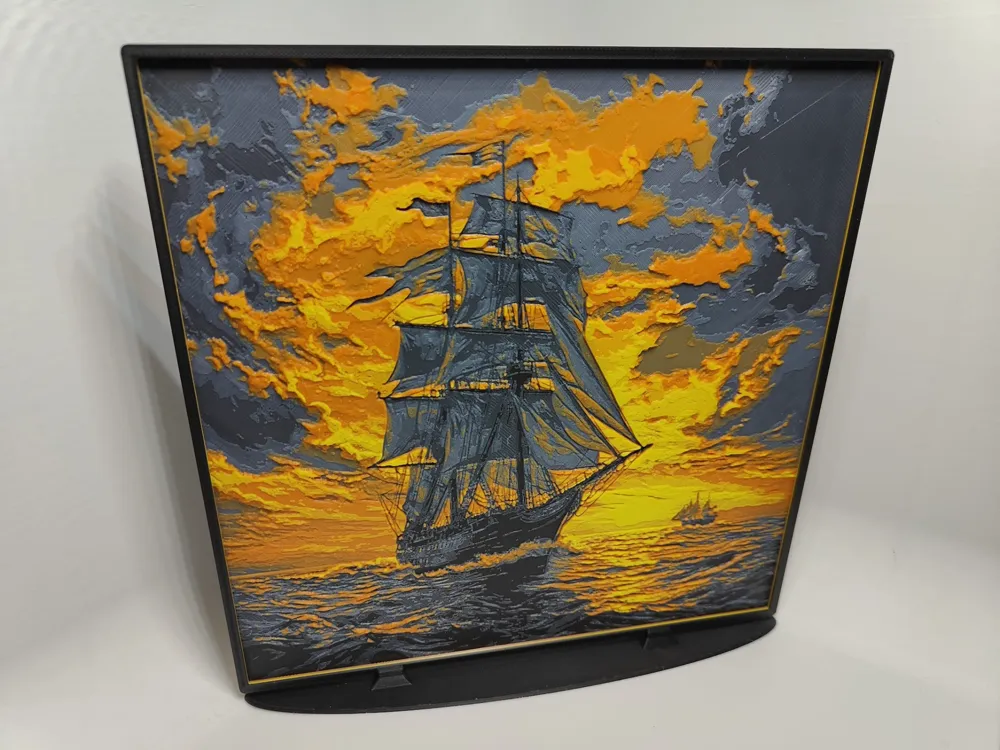
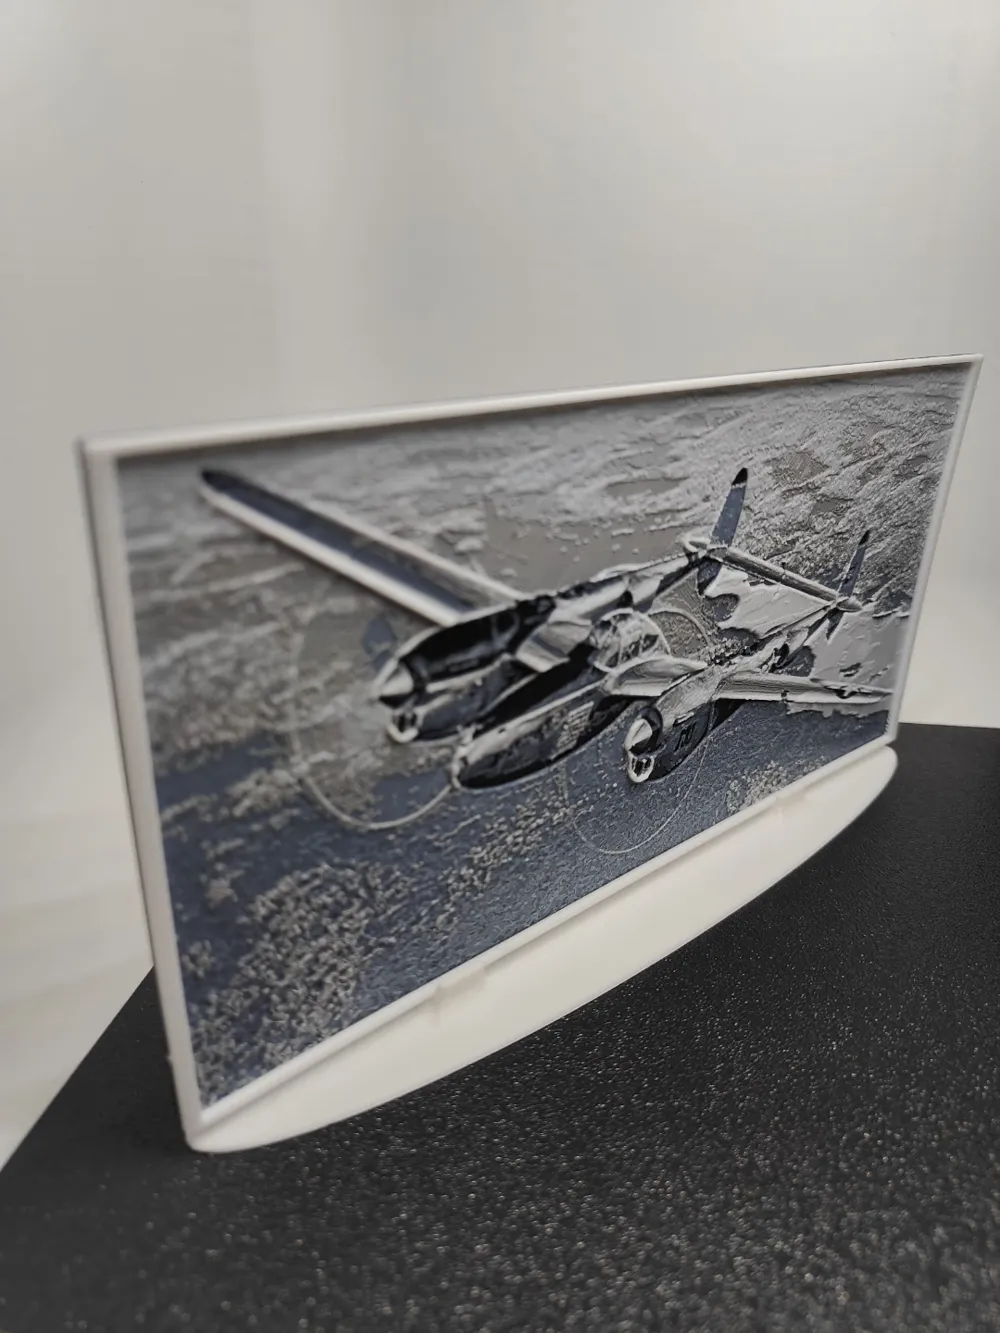
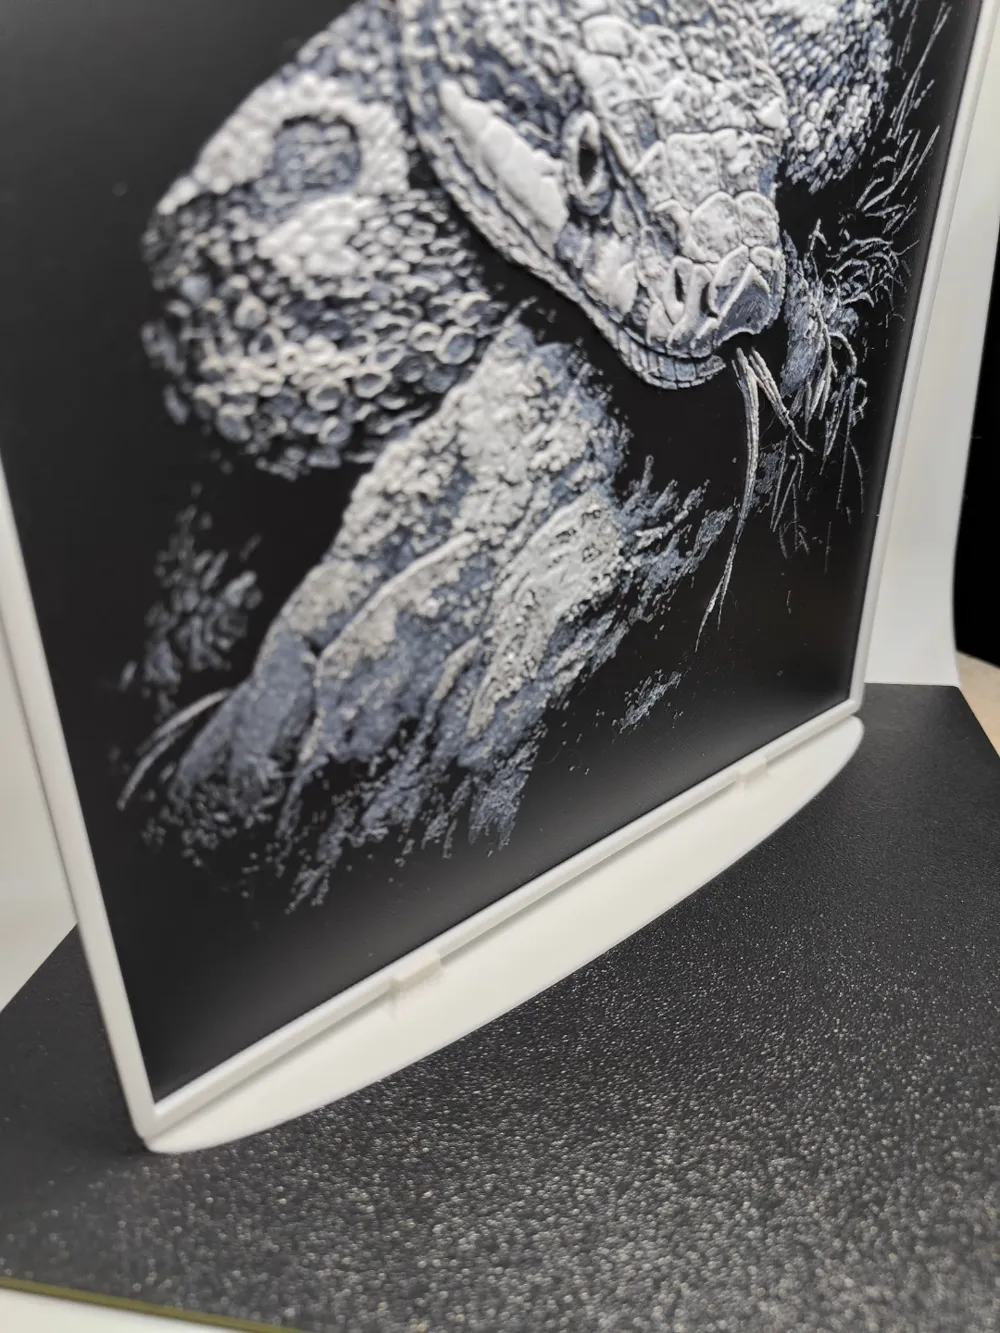
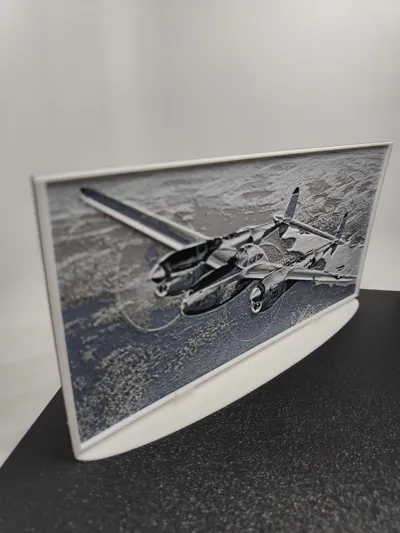
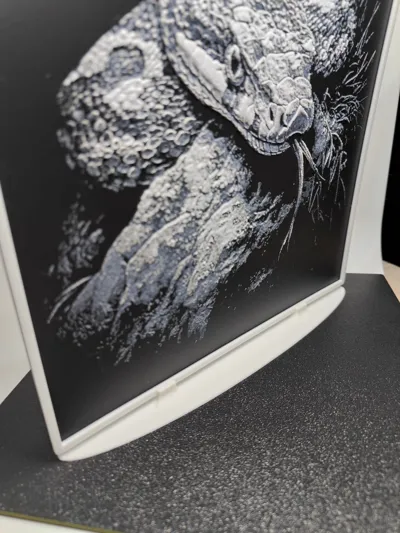
I wanted some simple stand for my pictures, and wanted to put them vertically so they are better for displaying on shelves for example. Also i wanted to save filament and time so i could print them fast and cheap.
Features:
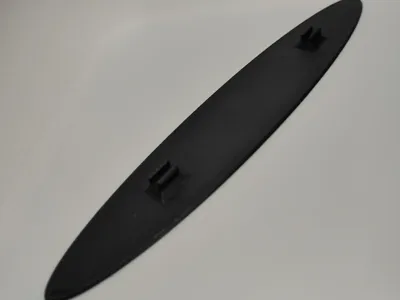
Simple vertical stand - better for shelves
Minimalistic design
Press fit - holds on to the picture
Quick print and low filament usage - only 22 minutes and 7,5 grams
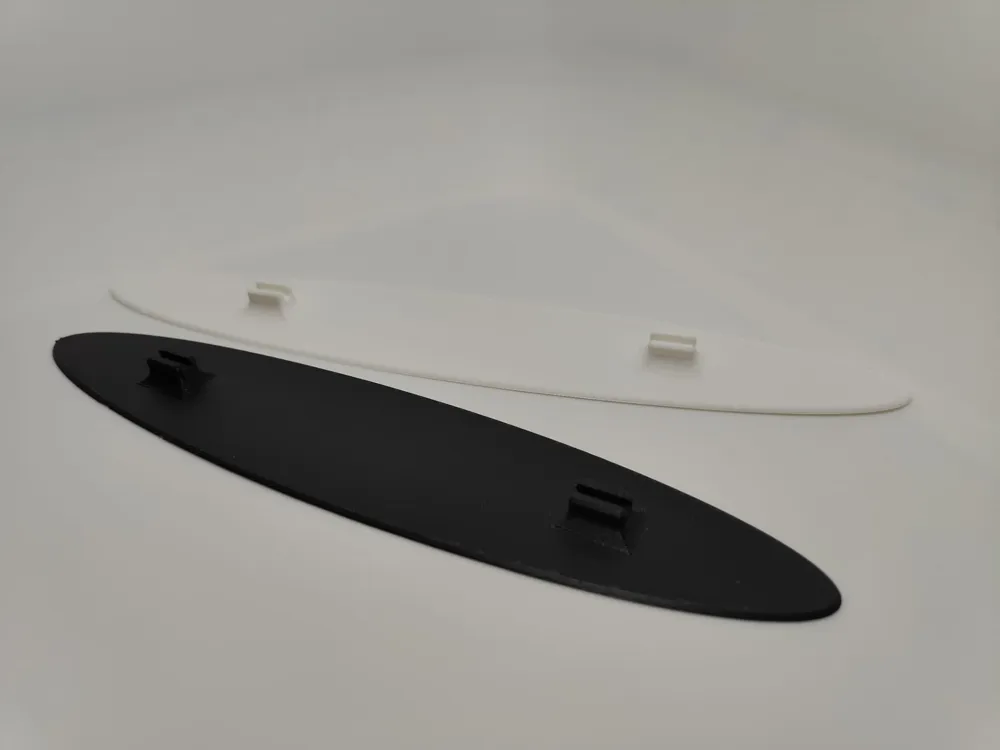
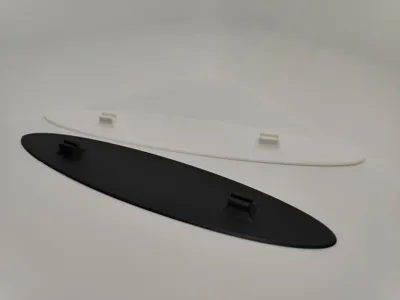
Three versions - 200 mm wide, 180 mm wide and 165 mm wide
How it works:
You just align the picture with the gap and press the picture in the stand.
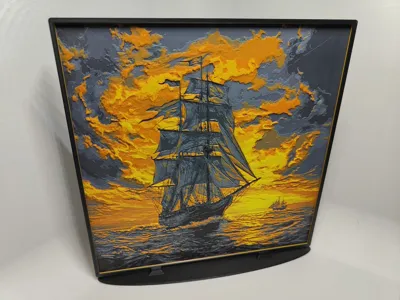
I tested this stand on my 200x200 Hueforge pictures with border and they work great, and are stable enough to not fall down.
For smaller pictures that are less tall, they stand very well and its much harder to tip them over.
For taller prints like 250 mm it works but the picture will be much less stable and is more prone to tipping over.
There are two versions and profiles, one that is 200 mm wide, and second that is 180 mm wide - for those who own A1 Mini and print pictures that are 180 mm wide.
And one profile is stand that is 200 mm wide, but printed diagonally so it fits A1 Mini bed.
In the profiles I provided stands for pictures with thickness 3 mm, 2,5 mm, 2 mm and 1,5 mm, just choose the correct palate when printing.
1st Plate - 3 mm gap
2nd Plate - 2,5 mm gap
3rd Plate - 2 mm gap
4th Plate - 1,5 mm gap
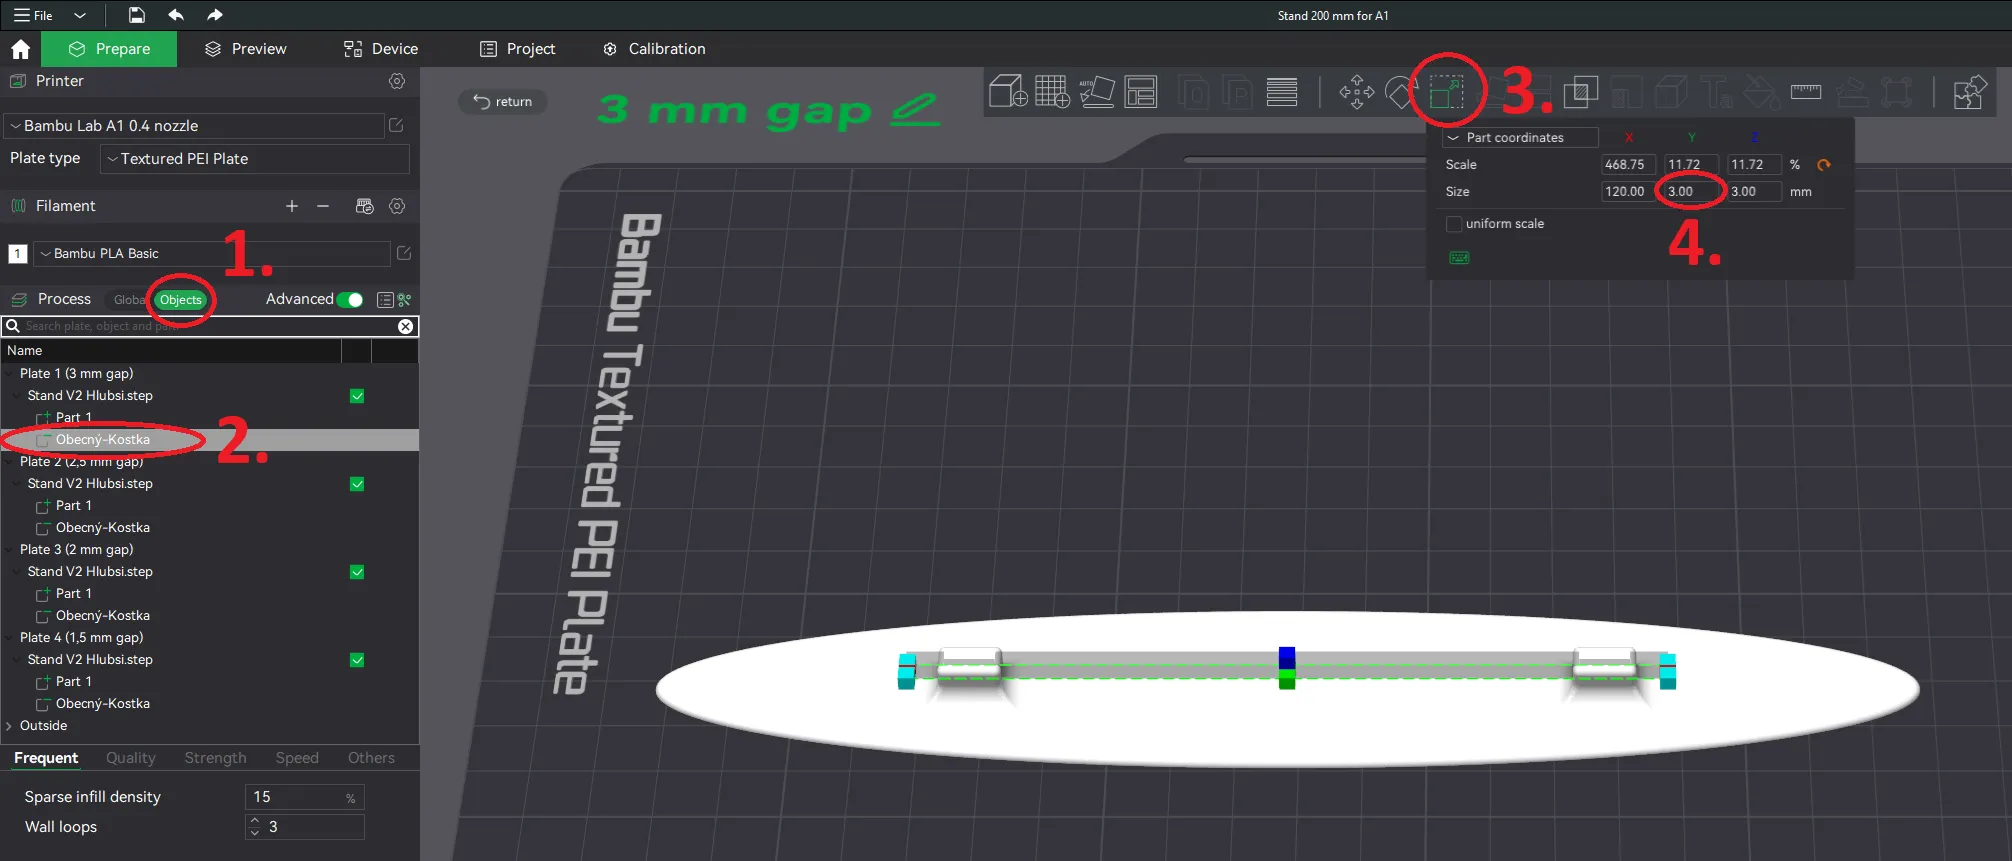
You can edit the stand in the slicer by changing the thickness of the negative part rectangle for your own desired thickness that fits your picture. Don't know how to do this? Guide down below.
For my Hueforge pictures with border choose the version with 3 mm gap.
Boost Me (for free)
I print all of my creations myself.
If you like my work, pls send me a boost, it will help me make more.
Feel free to PM me if you have some idea for a nice picture.
Thank you.
Guide for changing the gap size
Step 1. Click on objects
Step 2. Select Obecný-Kostka
Step 3. Select Scale
Step 4. Change the size in the Y axis to your desired gap size.
License

You shall not share, sub-license, sell, rent, host, transfer, or distribute in any way the digital or 3D printed versions of this object, nor any other derivative work of this object in its digital or physical format (including - but not limited to - remixes of this object, and hosting on other digital platforms). The objects may not be used without permission in any way whatsoever in which you charge money, or collect fees.


Comment & Rating (94)