
X1 & P1 Build Plate Alignment Guides V1.1

Print Profile(4)




Description
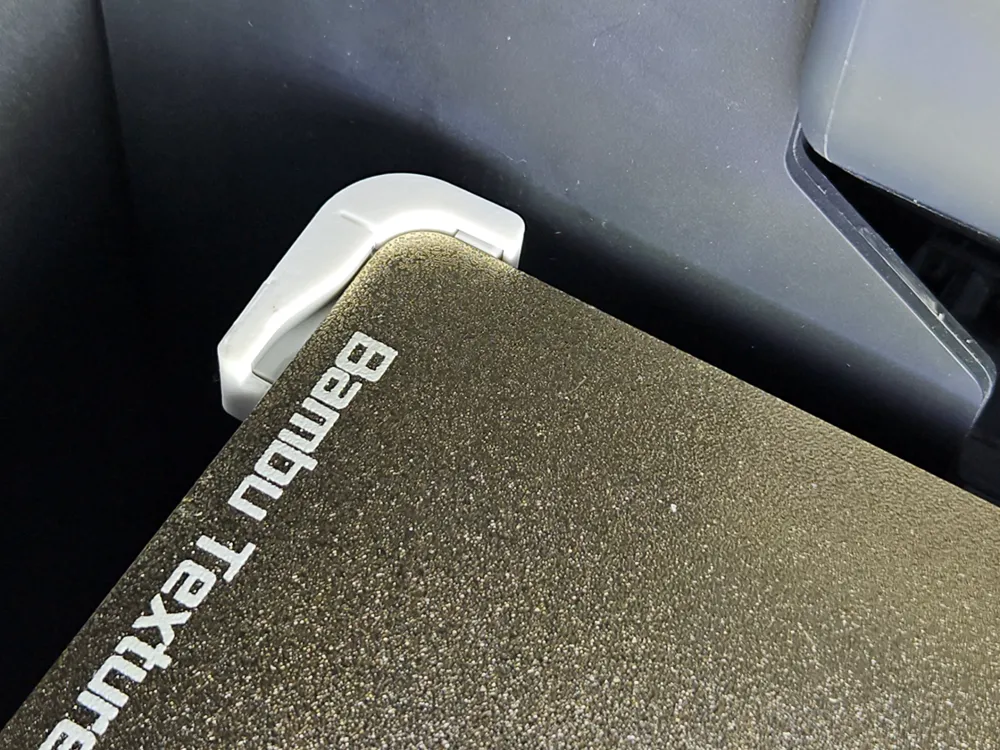
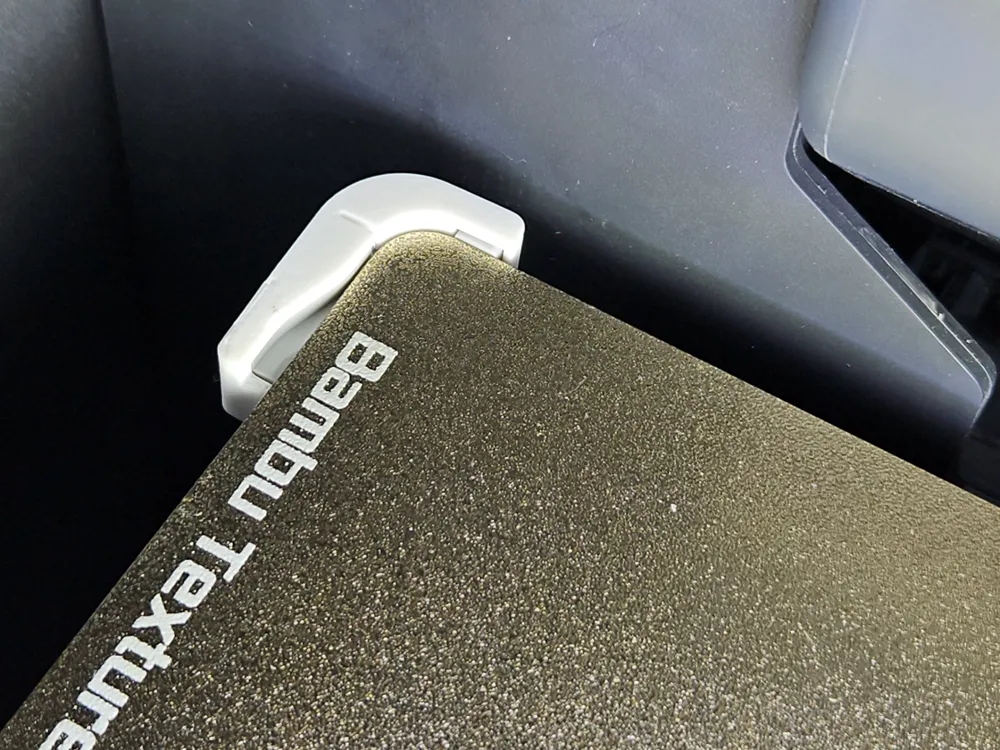
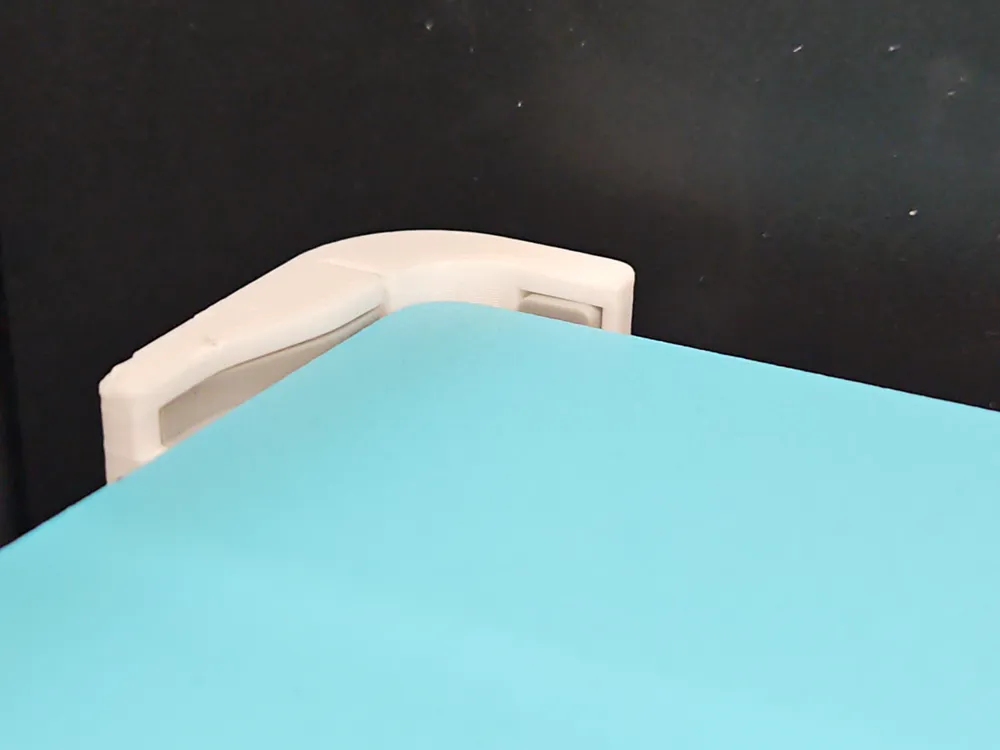
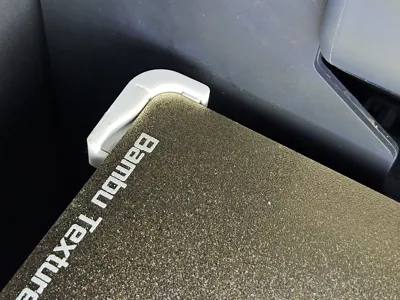
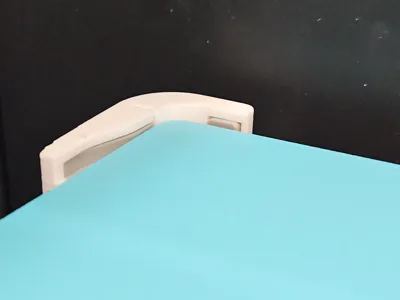
I used to have a little difficulty inserting my build plate onto my X1C heated bed. Sometimes it was crooked or even overlapped a corner. Well, not anymore with my alignment guides. The guides provide a raised channel to align the print plate and stop over shooting its position.
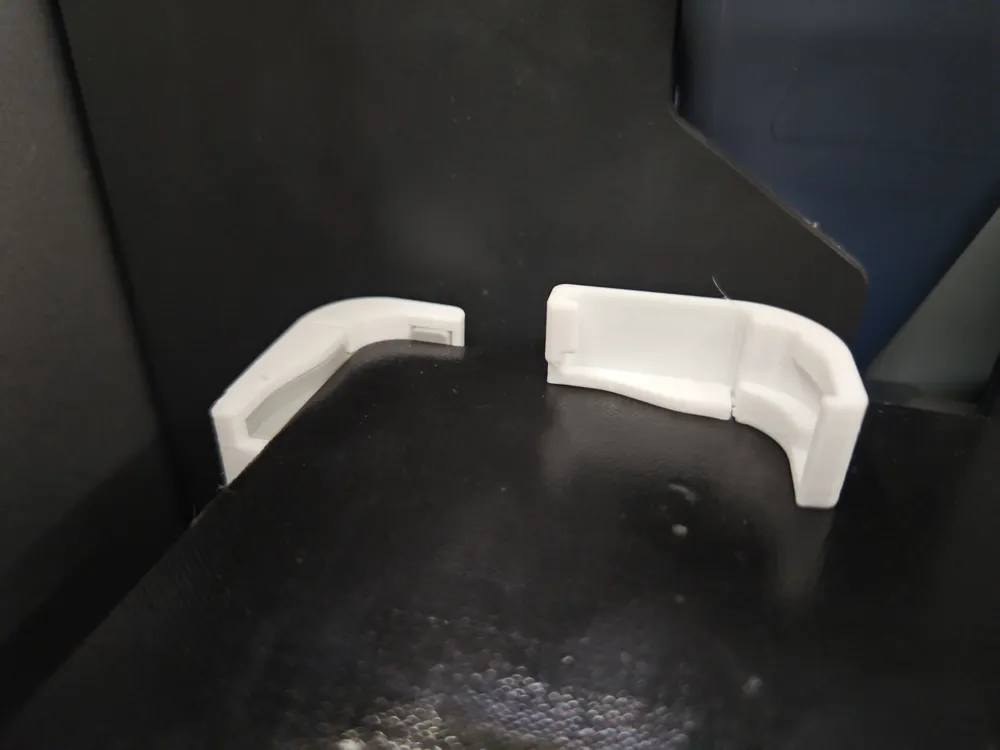
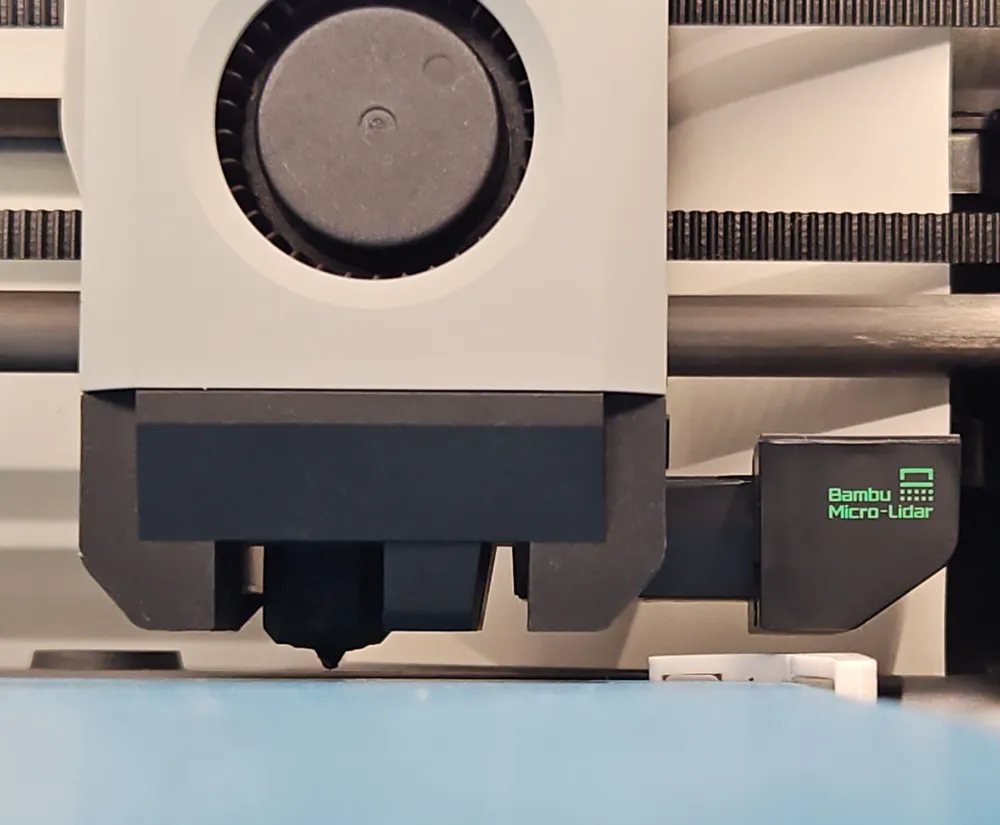
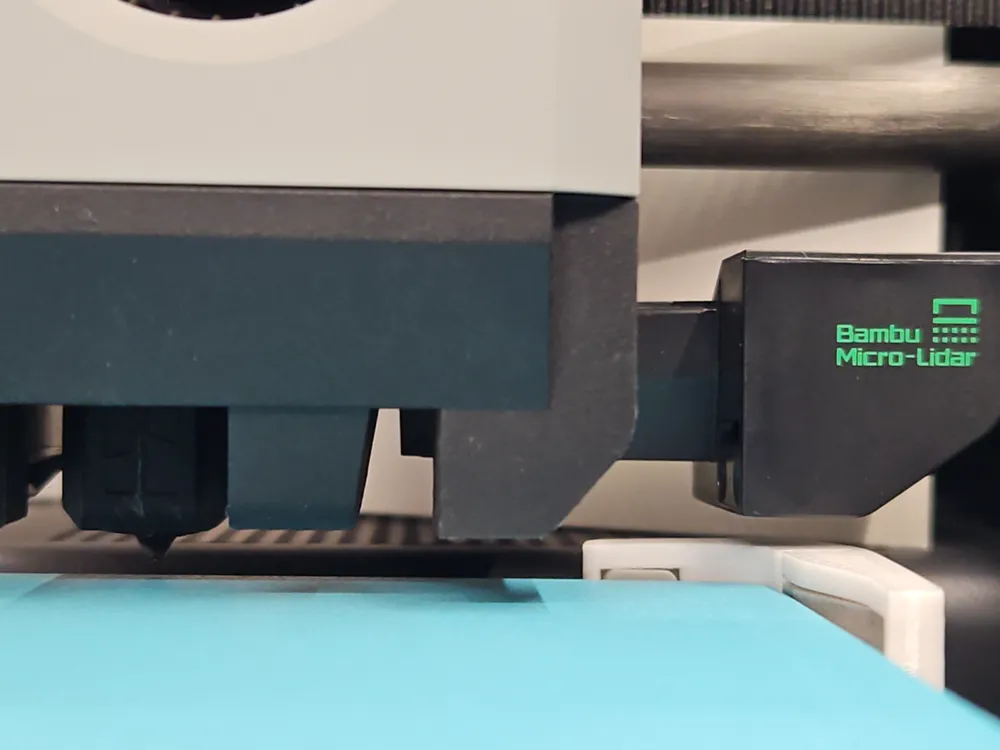
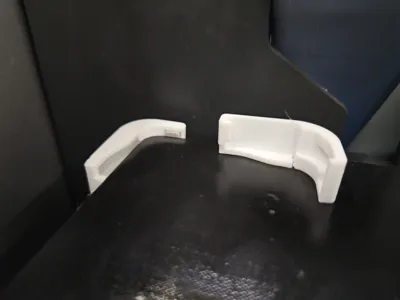
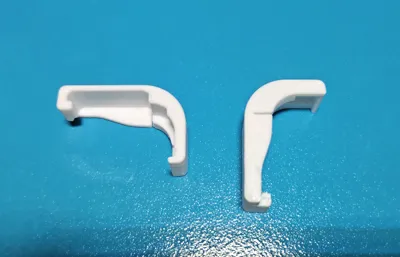
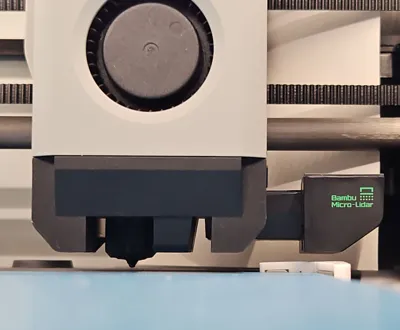
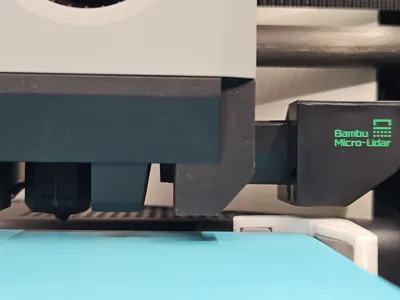
Here is my updated design for top corner alignment guides that clip onto the heated bed to help you place your print plate accurately. The guides clip (with a nice clip sound) onto the print plate and should be left there for on-going use. With direction from downloaders, I also ensured that the Micro Lidar clears the clips.
Compatibility
I designed the clips for a Bambu Lab X1 Carbon printer and it also works with the Bambu Lab P1 printer, too.
Clip Temperature Exposure
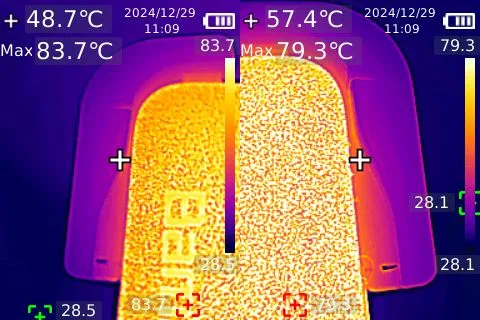
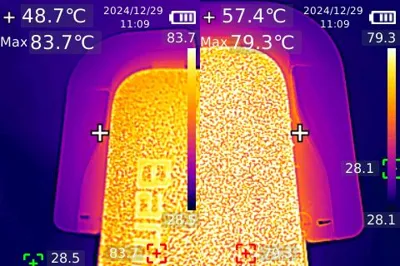
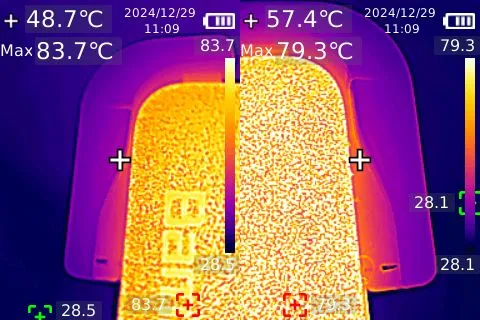
I was wondering how hot does the clip area get. So, I set my X1C heat bed to 100°C and observed the thermal temperature maps around the clip areas with a thermal camera. I recorded temperatures maximums around the 50-60°C range; with the working range of PETG. Other higher temperatures plastics can be considered, too.
Printing Guide
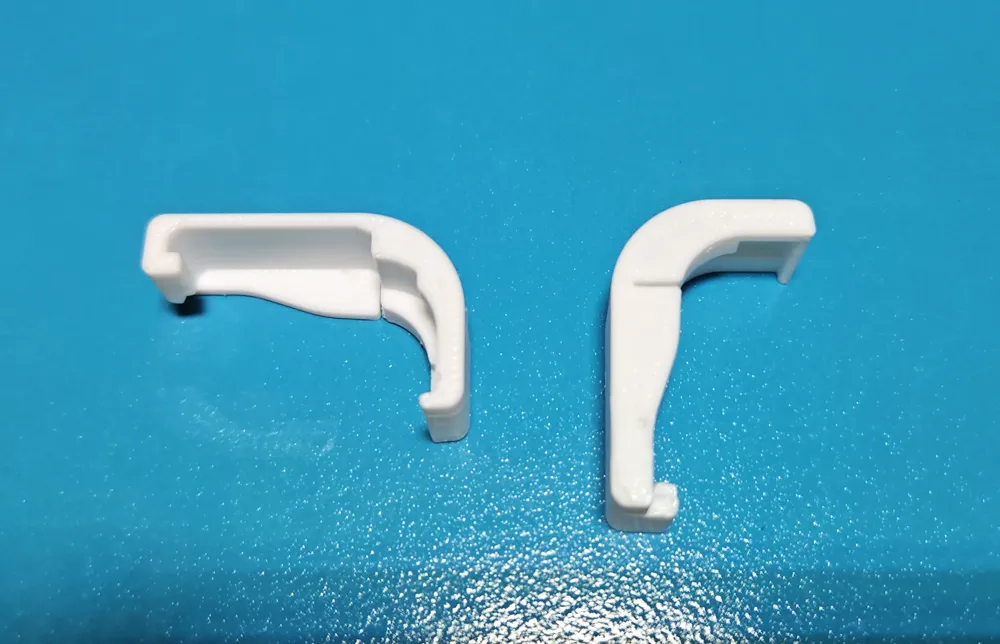
My print is made in eSUN PETG White 1.75mm filament, with 0.2mm layer height on a Bambu X1 Carbon printer. Print supports are required.
Both a print profile and the individual STL files are included.
Fitting the Clips
Align the lower part of the clip into position, first. Follow by pushing the clip to the right/left (depending on which clip side you are fitting) of the printer. You should feel and hear a click sound when the clip locks into position.
Right Guide Clip
Since there is no Micro Lidar on the Bambu Lab P1 printers, there are no concerns with the P1 and interference from the right clip. Use the default right clip which has a 2mm protrusion.
For the Bambu Lab X1C, you only need to consider one of these extra clips if your X1C Micro Lidar is striking the right clip. In most set-ups, this is not the case. I've provided five extra right guide clip size variations. They range in size of the top protrusion from 1.0mm to 1.8mm (the highest).
I hope that you can find this print useful, too. If so, you can support my work by buying me a coffee …
Remember to leave me some feedback or even a tip to keep me enthused to make more of these drawings.
UPDATE 26/01/2025 V1.1
The alignment clip seating was not fully level. This update corrects the clip seating. For past people that already made these alignment clips, consider this an optional update.
License

You shall not share, sub-license, sell, rent, host, transfer, or distribute in any way the digital or 3D printed versions of this object, nor any other derivative work of this object in its digital or physical format (including - but not limited to - remixes of this object, and hosting on other digital platforms). The objects may not be used without permission in any way whatsoever in which you charge money, or collect fees.


Comment & Rating (1354)