
Print Profile(1)

Description
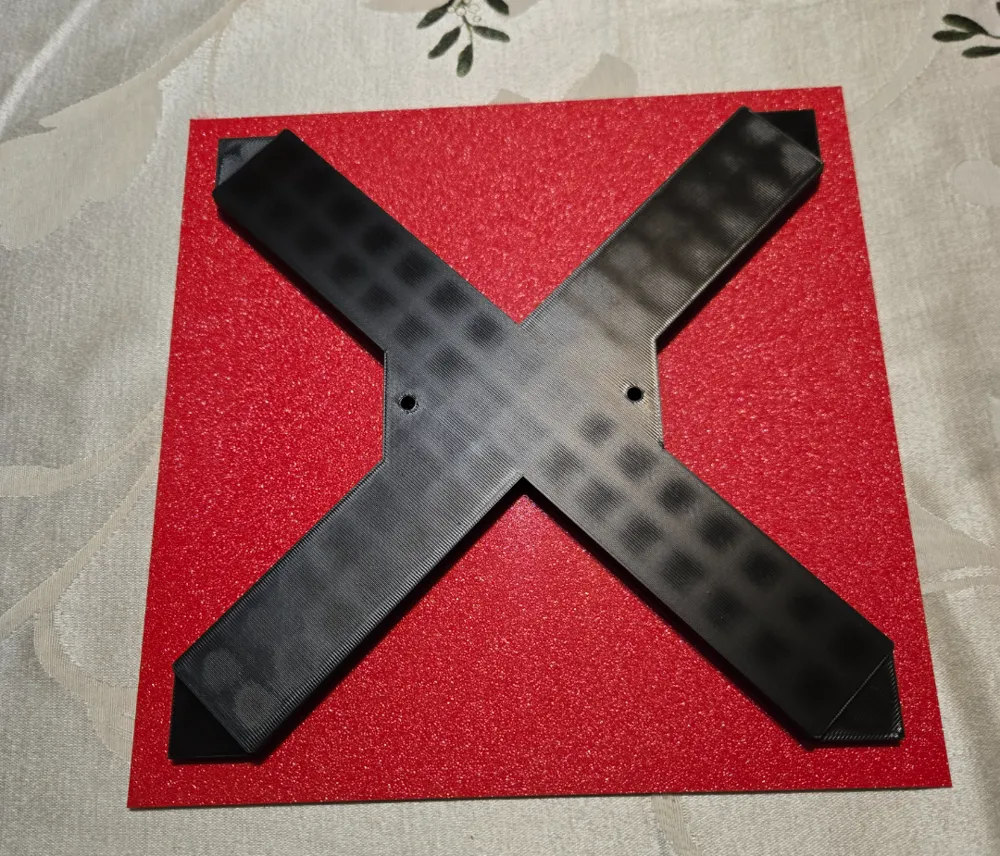
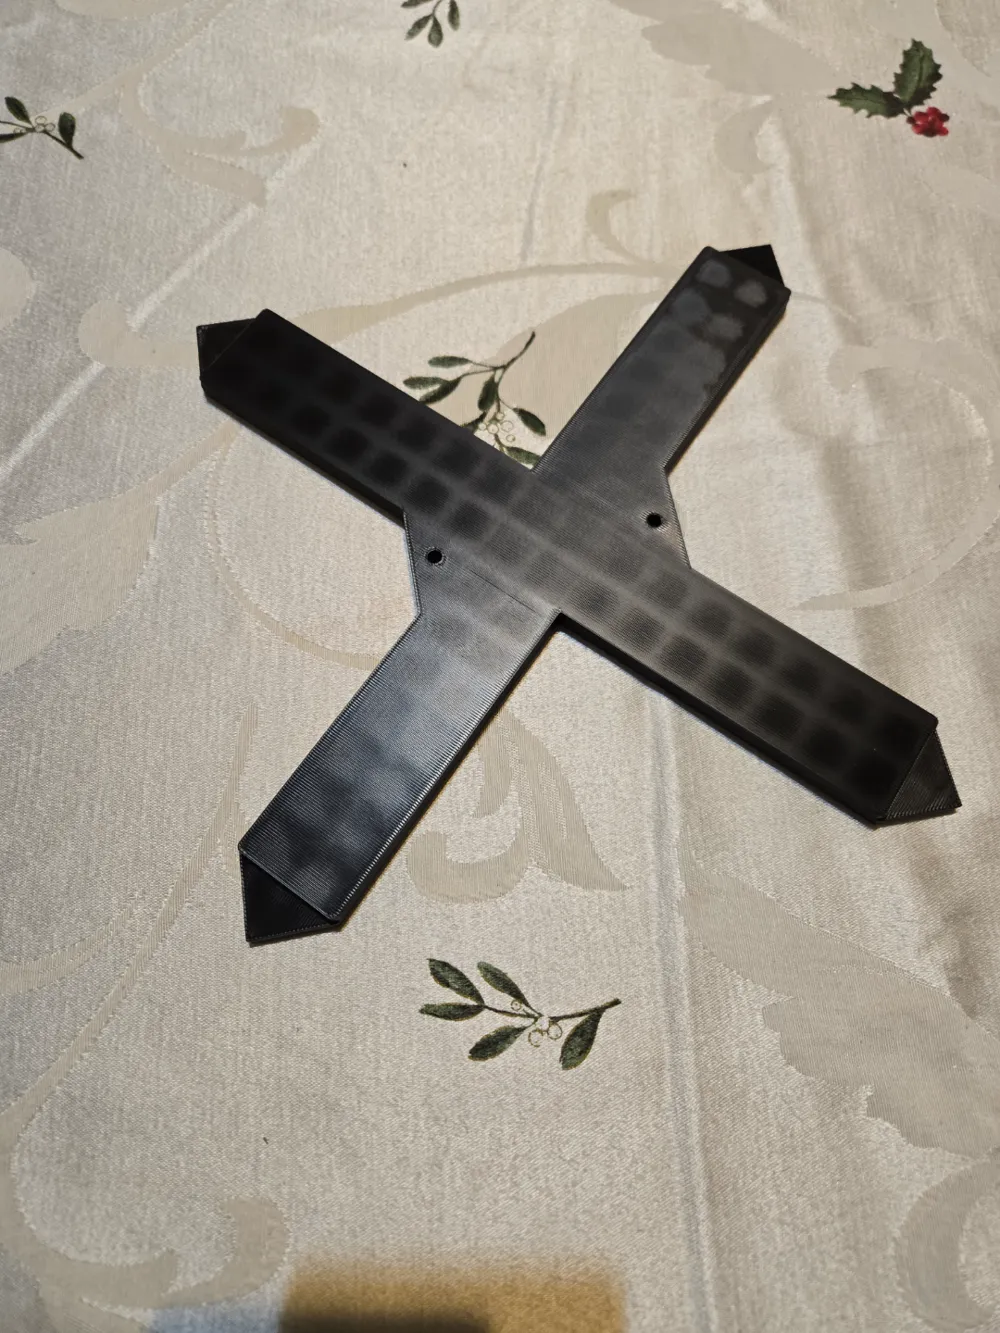
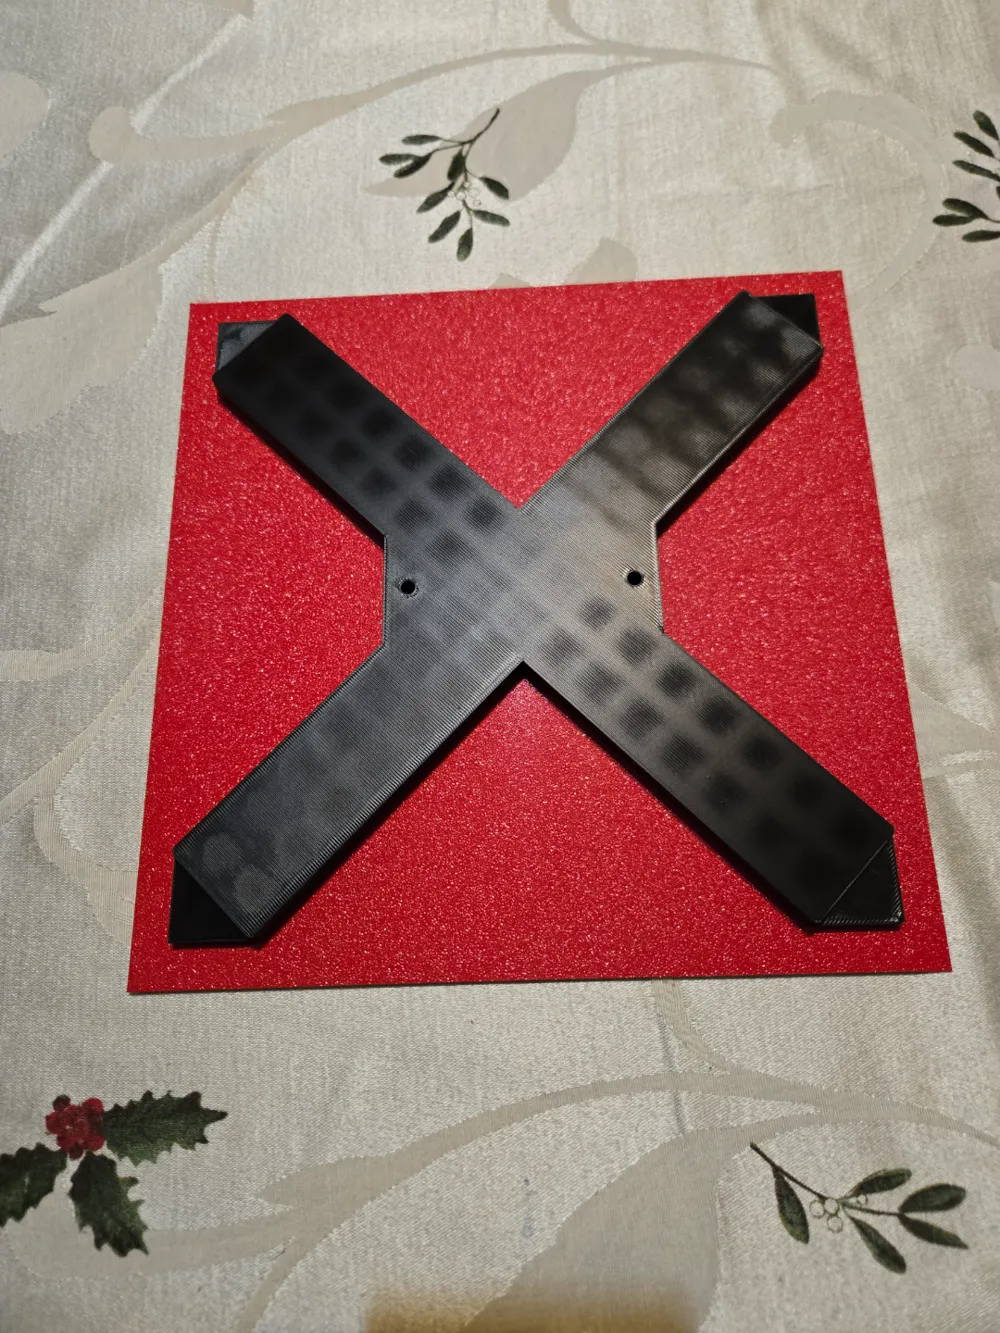
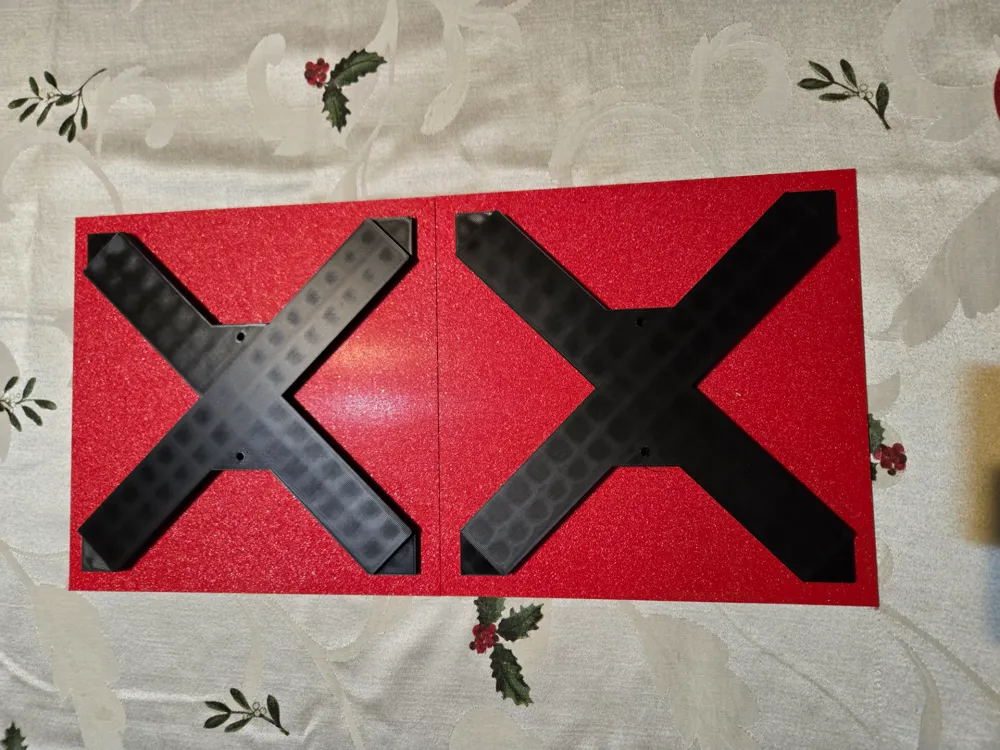
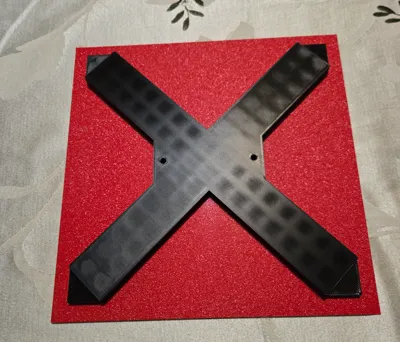
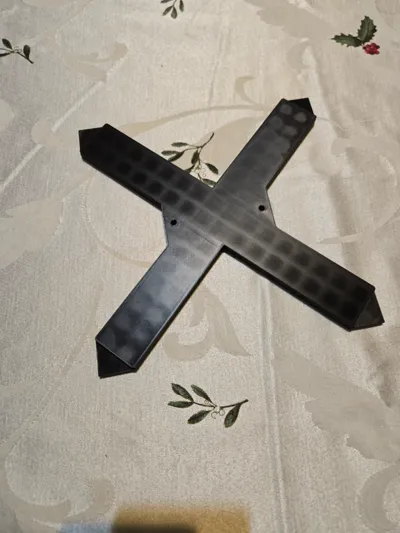
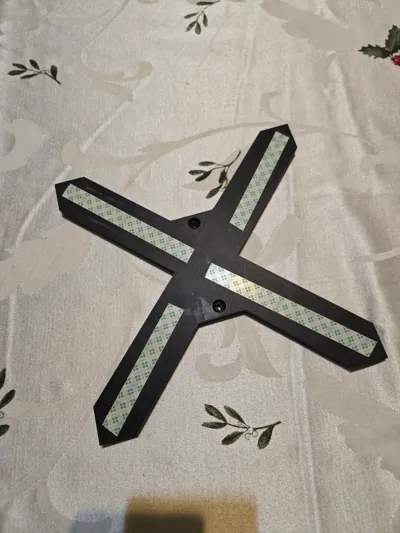
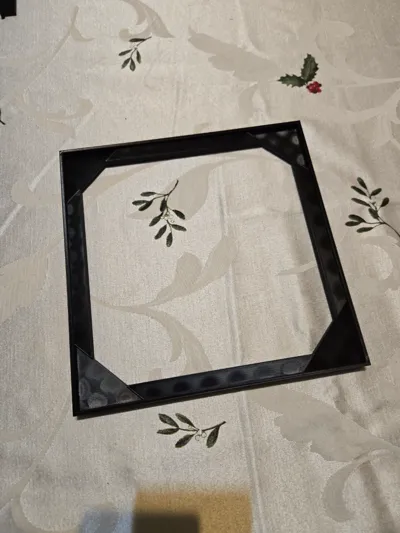
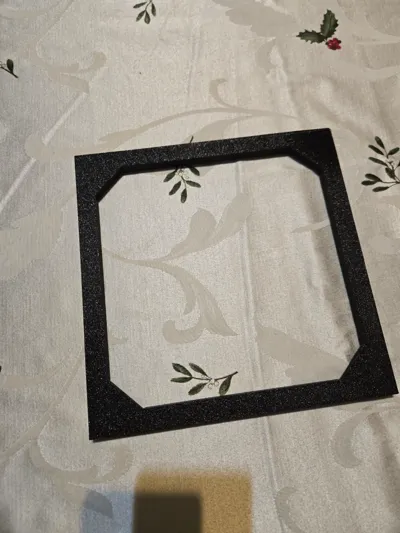
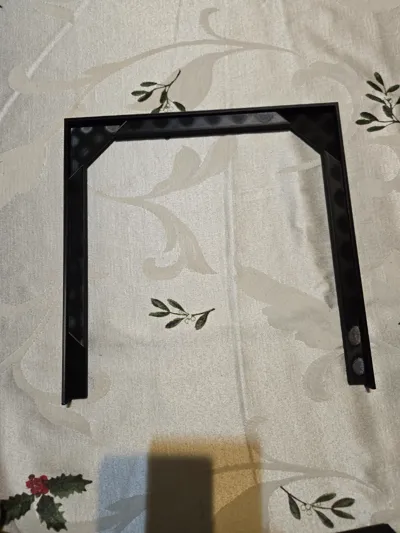
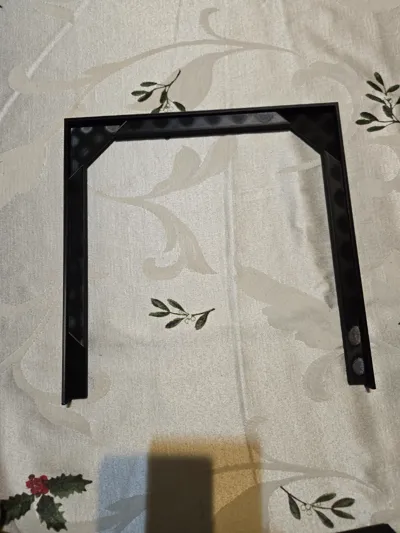
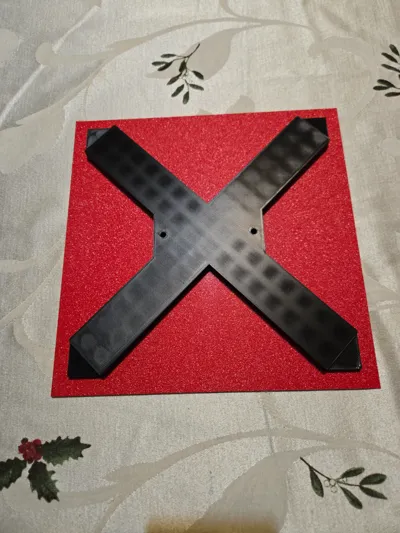
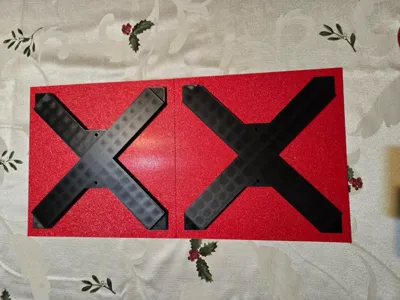
This is my frameless wall mount system for 230mm X 230mm multipart or single hueforges. You can use them for smaller sized hueforge prints but the alignment tool is designed for 230mm X 230mm.
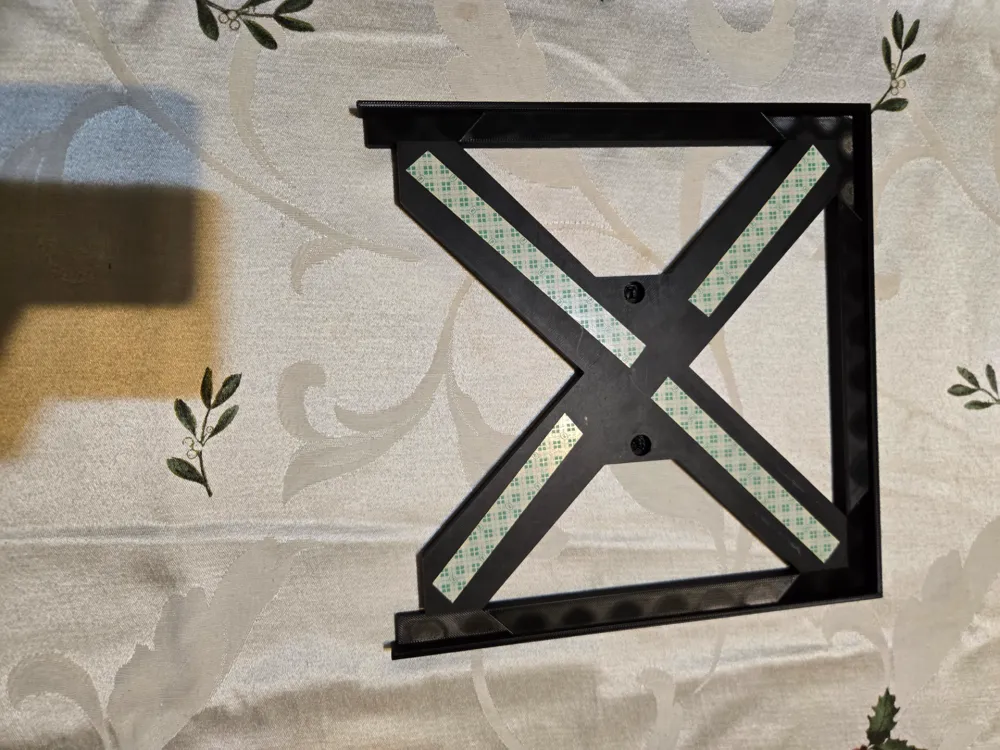
Alignment for Command Strip Mounting
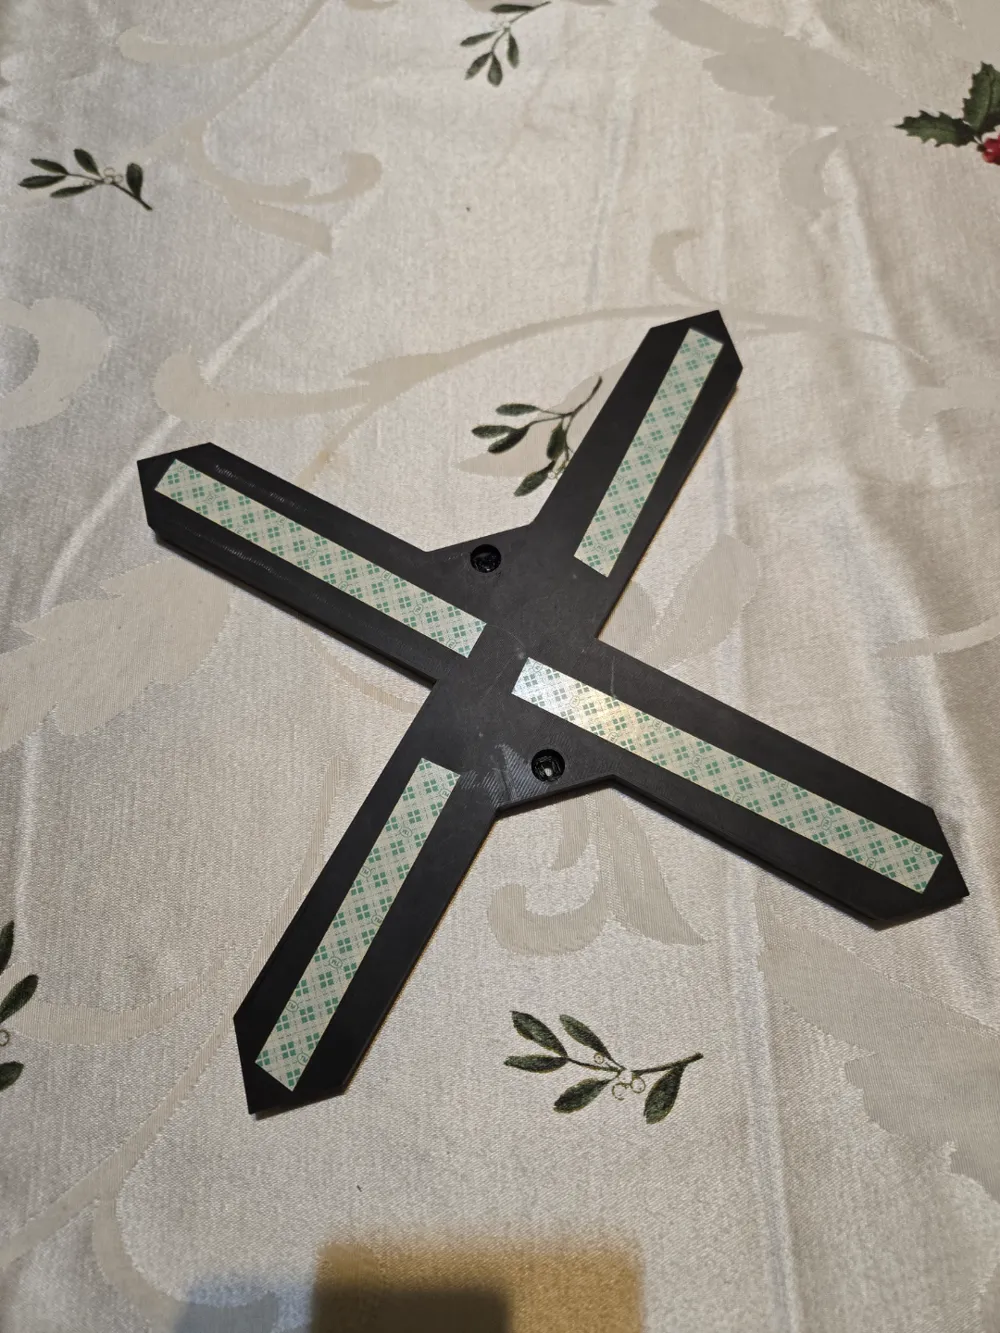
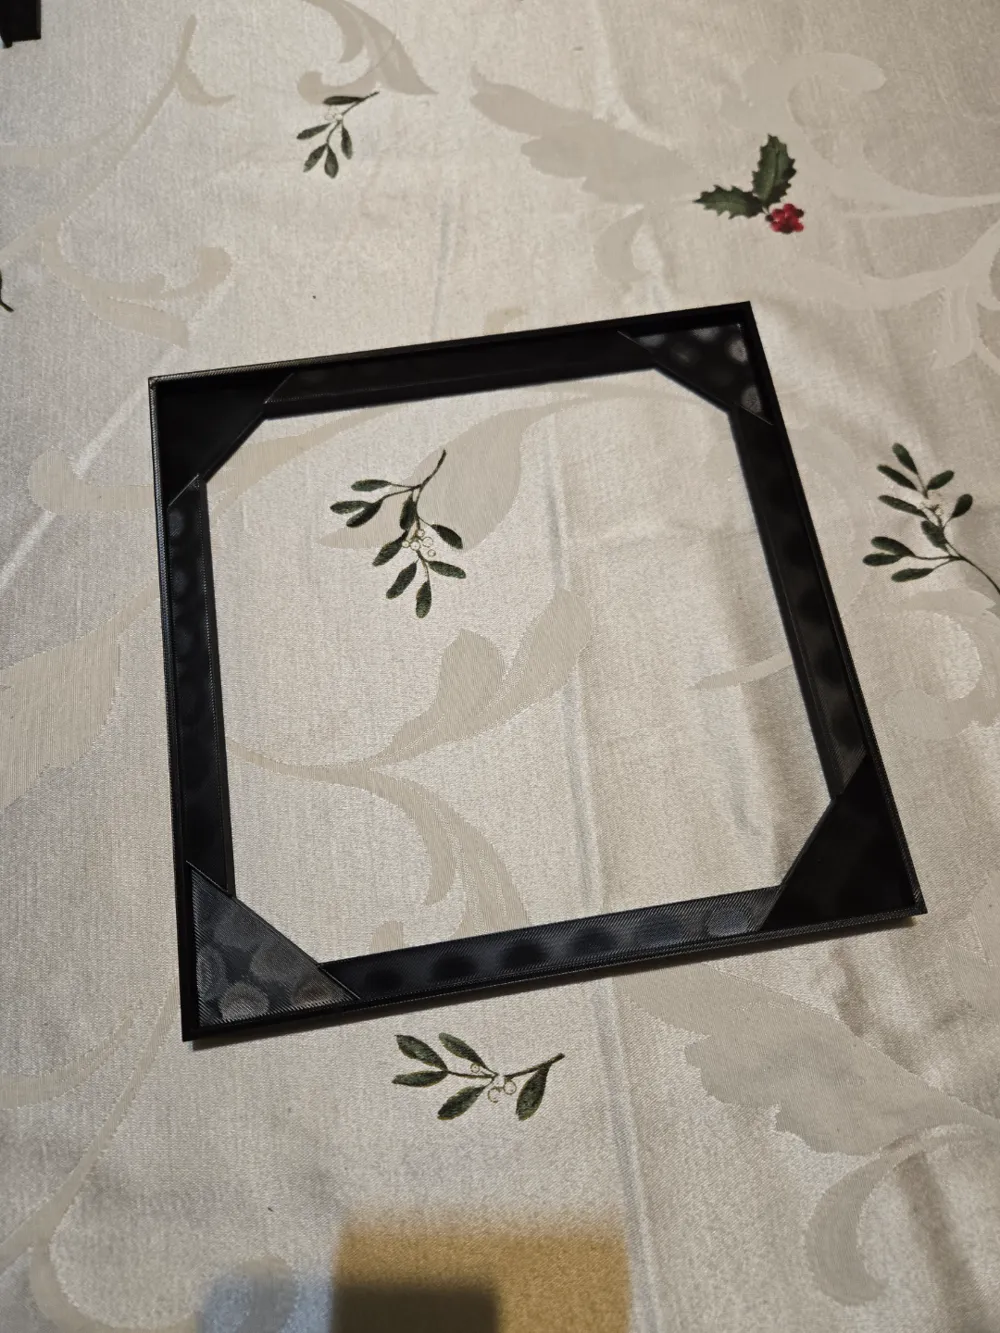
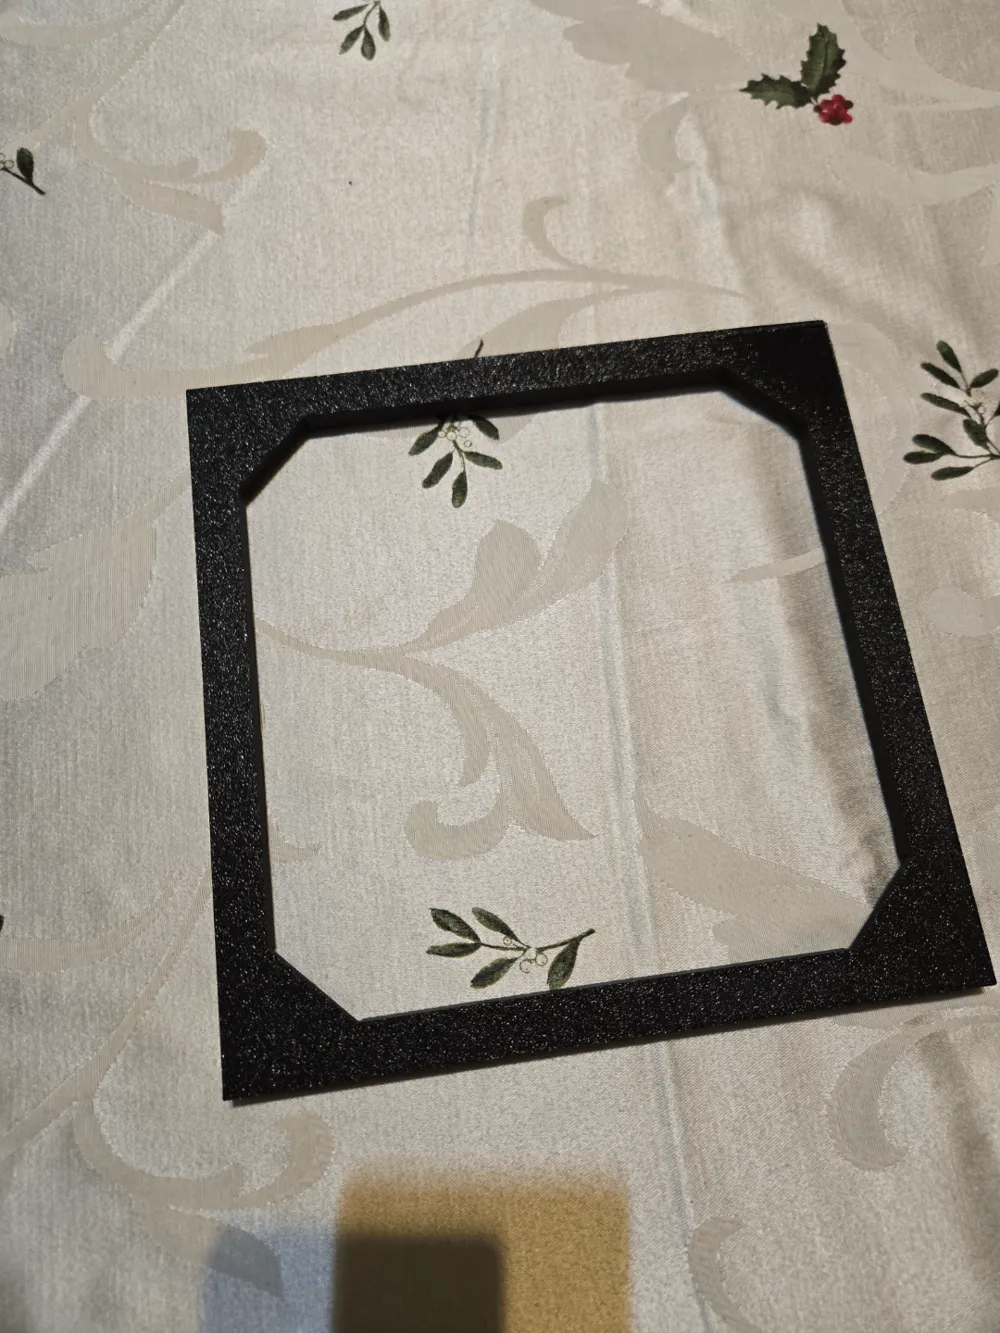
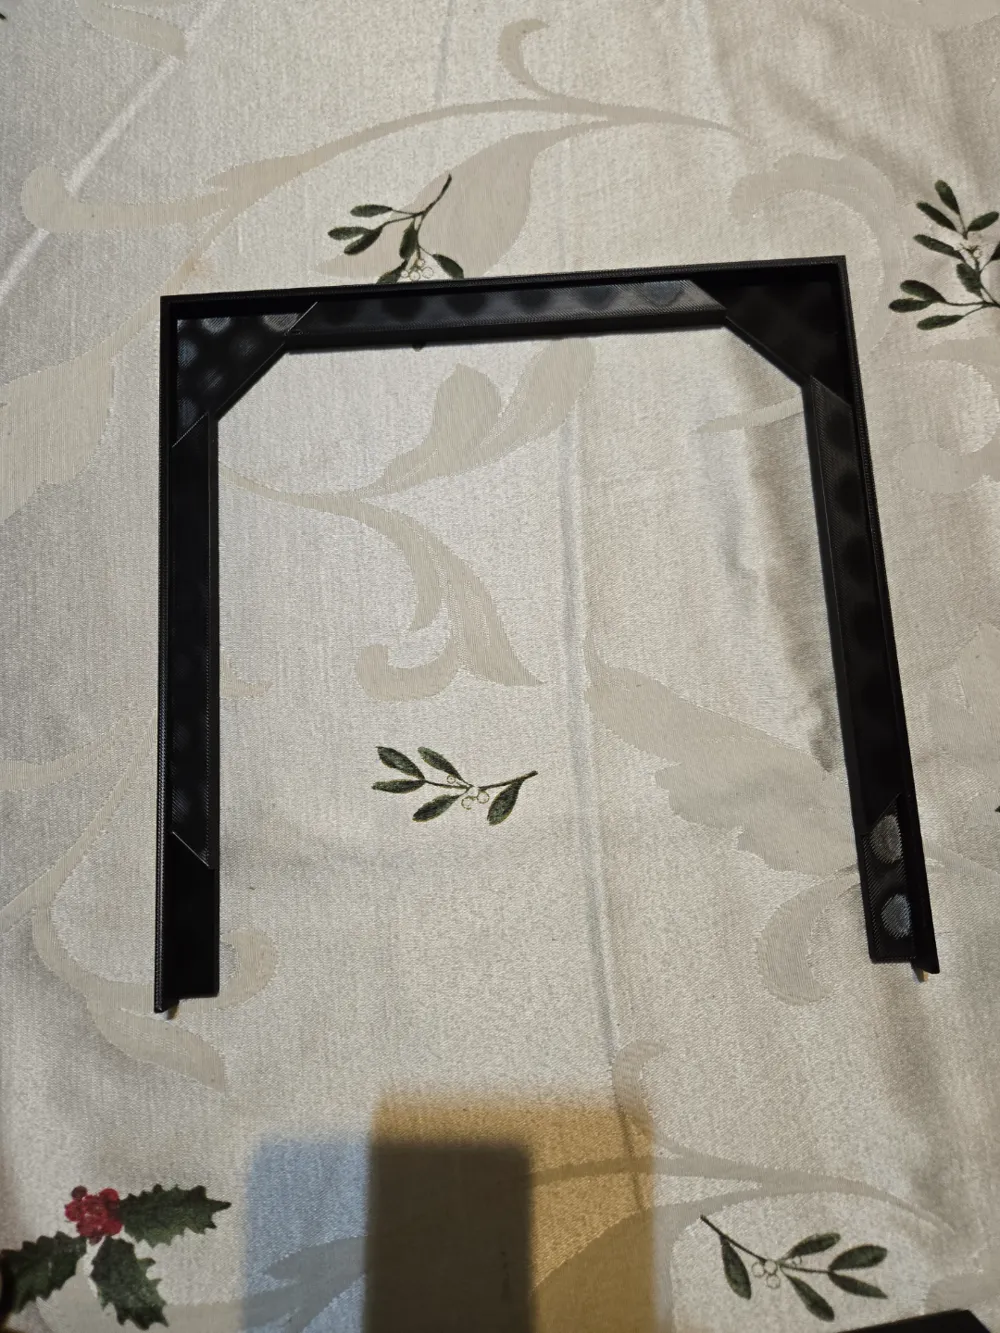
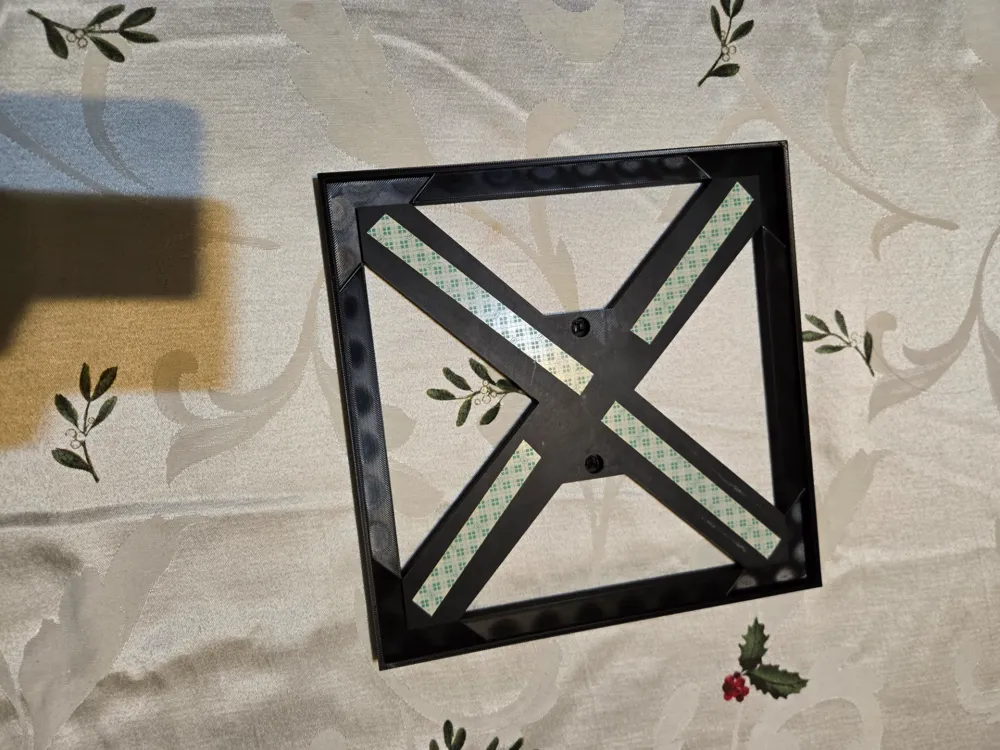
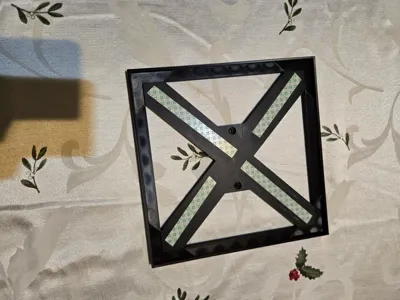
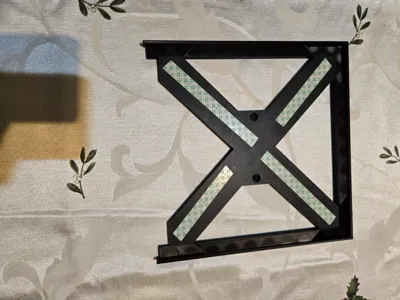
Alignment tool is simple to use, put the tool flat side down on a flat surface. place the frameless mount X in it, it should line up nearly perfectly but you may need to push it down on each edge to make it flat with the inside of the alignment tool. Once flat add your double sided tape or glue only to the X. Take your 230X230 hueforge and set one edge in aligned with the wall of the tool the push down the rest of the edges. Apply pressure to everywhere you have tape or glue. Flip it over push on the X while holding the frame and the hueforge with wall mount should pop right out.
Command Strip Mounting (recommended)
For wall mounting I recommend using Velcro command strips as you can slightly re-align if you don't get it perfectly level the first time. To make a multipart hueforge level the easiest way I have found is take one of the top parts, pick where you want it to go, hold a small level on top of it as you command strip it to the wall and then just line up everything else with that one and you should be very close to level.
Screw Mounting (not recommended)
If you decide you would rather use the screw hole mounts you first find your desired location, DO NOT put the print on the mount yet. Put one screw in the X mount just tight enough that you can still move the X mount along the wall. Put your level on top and make it level, hold it on that spot and screw in your second screw. To mount the rest of the X mounts measure 25mm/1 inch from the side or bottom of the X mount and that will be the location of your next X mount. Screw in all the needed mounts. Take your 3 Wall Alignment tool and slide it onto the top left or top right X mount. Apply your glue or double sided tape to the X mount. Place your hueforge print into the alignment tool with the top edge first against the alignment tool. Apply pressure to all the areas the tape/glue are. Slide the 3 wall alignment tool out. Do this for the one under the one you just did but slide the alignment tool in from the bottom not the top. Line up the next part of the print with the edge of the top print first then apply pressure to everywhere else. Once that column is finished you start back at the top of the other column. Slide the Alignment tool in from the side (not the top or bottom) opposite of your already finished side. Align your print with the edge of the print first then apply pressure to make a secure mount with your glue/tape. For the rest you do not need to use the 3 wall alignment tool as you just align them with the two edges of the already mounted prints. I DO NOT RECOMMEND THIS METHOD but the option is there if you want it.
Feel Free to check out my ready to print Multipart Hueforges that work perfectly with these frameless mounts, they are thickened as to have more rigidity for this style of mounting.
https://makerworld.com/en/models/855446#profileId-804641
https://makerworld.com/en/models/852260#profileId-800656
https://makerworld.com/en/models/849824#profileId-797542
https://makerworld.com/en/models/849803#profileId-797516
https://makerworld.com/en/models/826255#profileId-769921
I also have 2 modular frame (not frameless) systems for multipart hueforges.
https://makerworld.com/en/models/826255#profileId-769921
https://makerworld.com/en/models/826217#profileId-769879
License



Comment & Rating (3)