
Letter cubes

Print Profile(3)


Description
German | English |
|
|
German
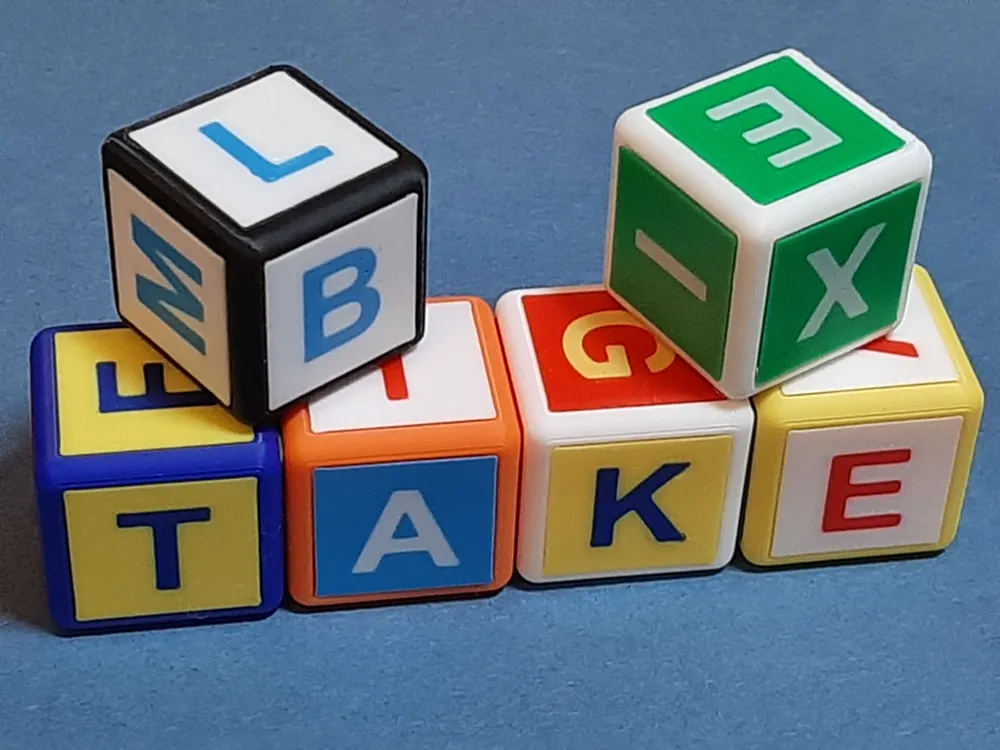
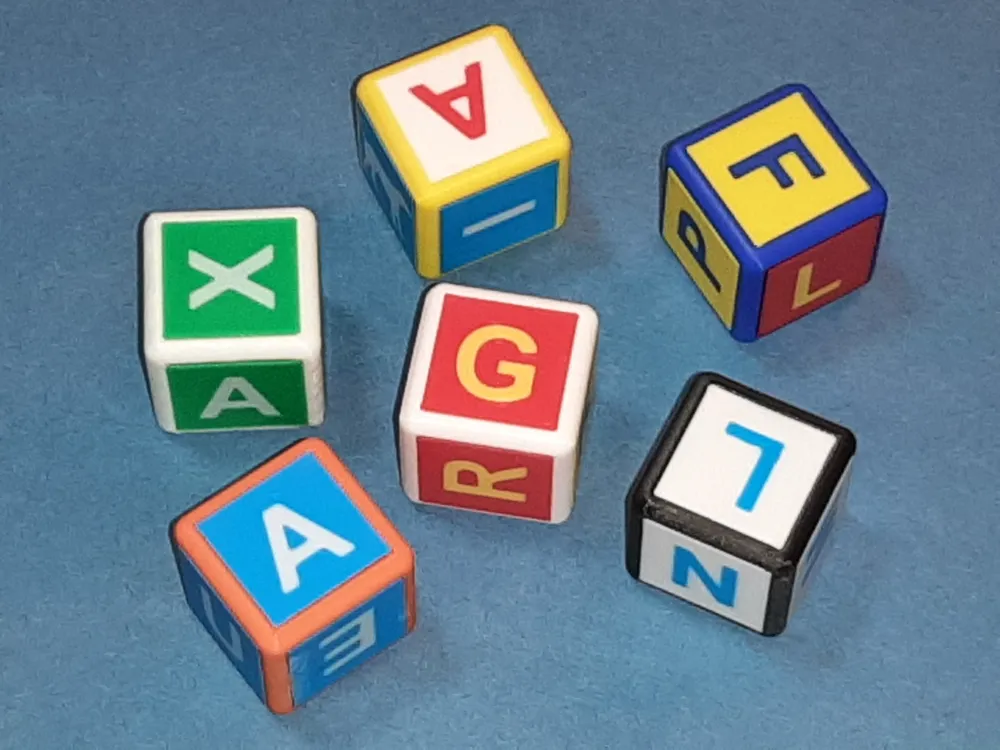
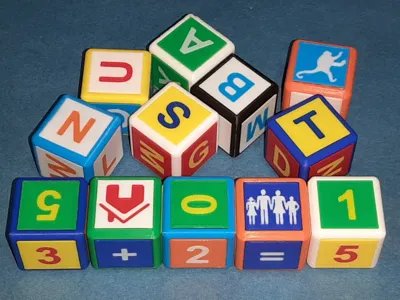
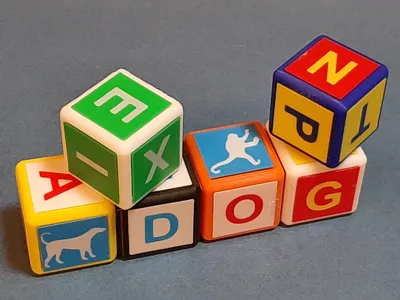
- When I searched for letter blocks on the internet, I found some, but the printing times were beyond what I was willing to endure (more than 5 hours per cube was not uncommon).
- So I developed my own solution, which on the one hand prints significantly faster, and on the other hand dispenses with any restrictive specifications.
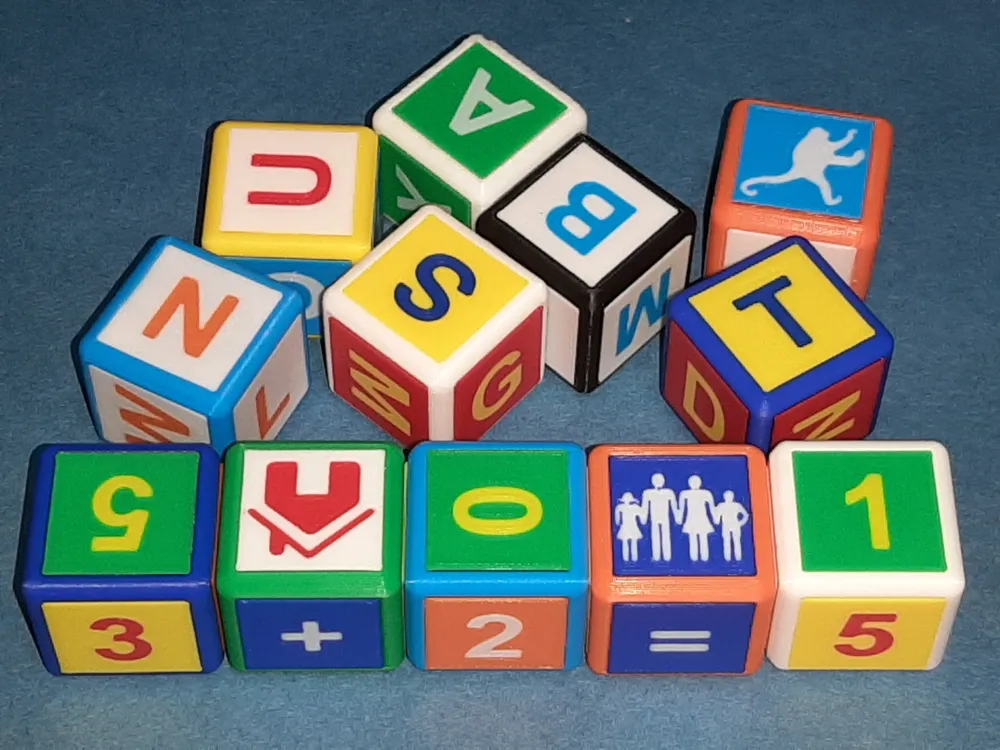
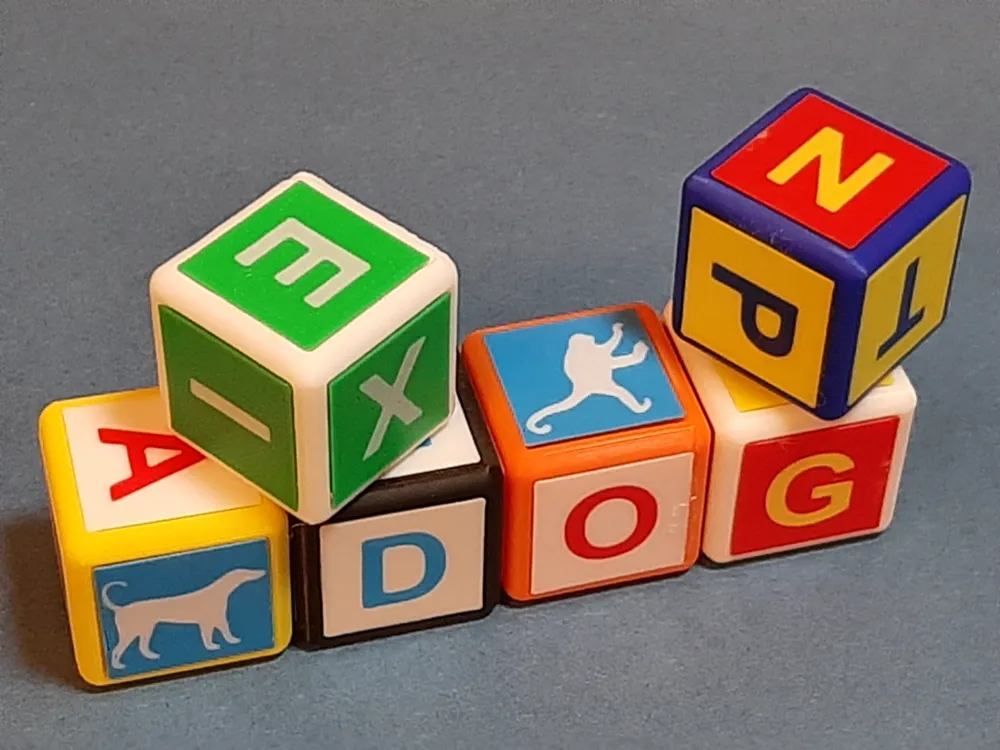
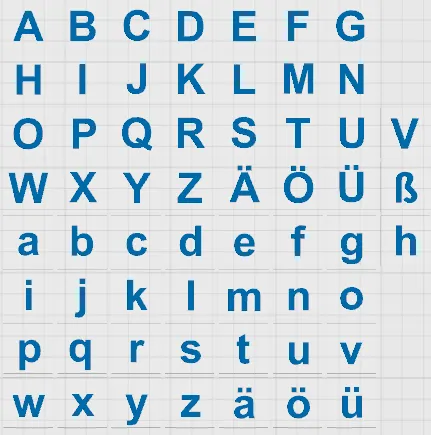
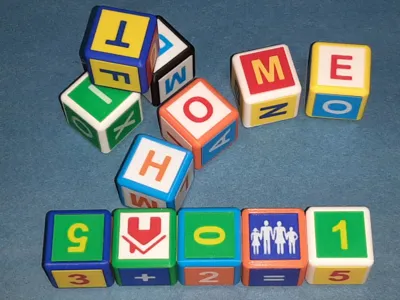
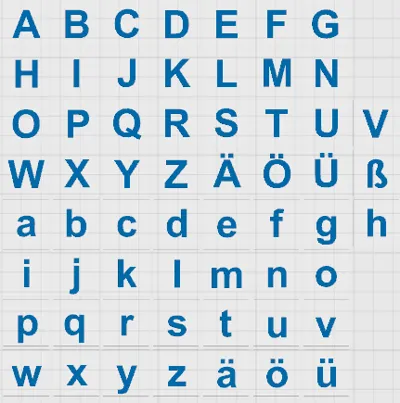
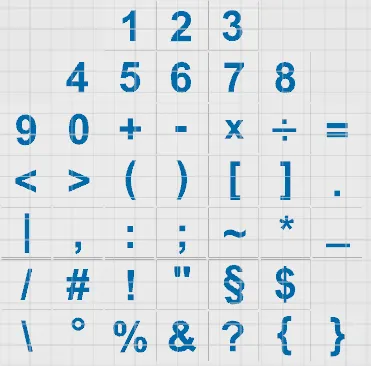
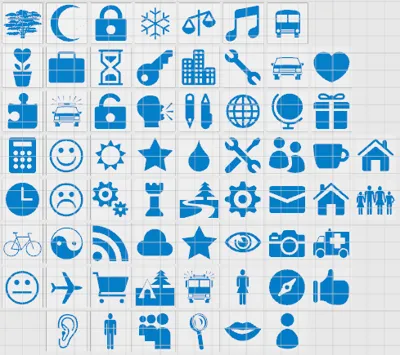
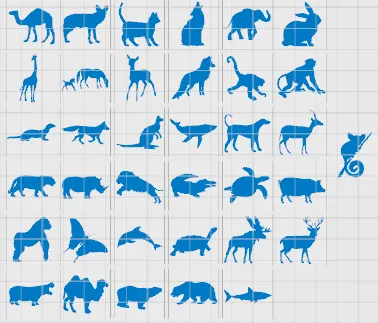
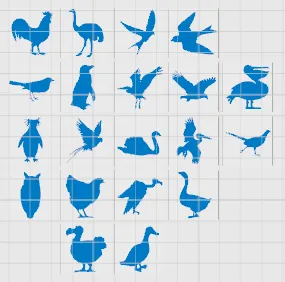
- As a template, I prepared a print bed with approximately 220 tiles, from which only the necessary tiles need to be selected:
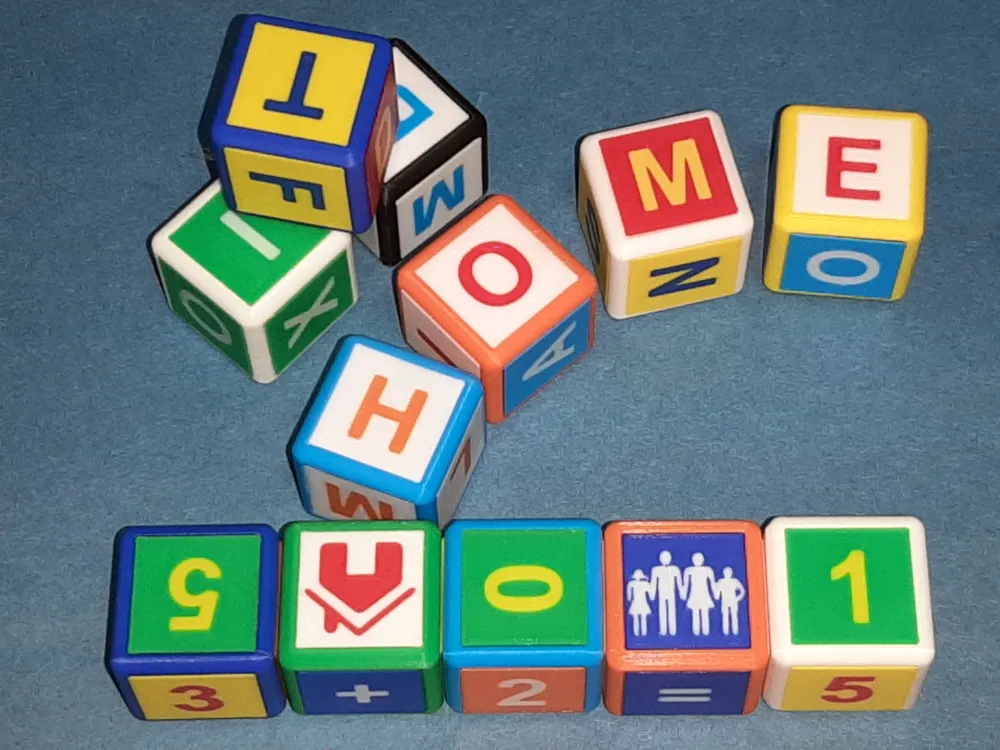
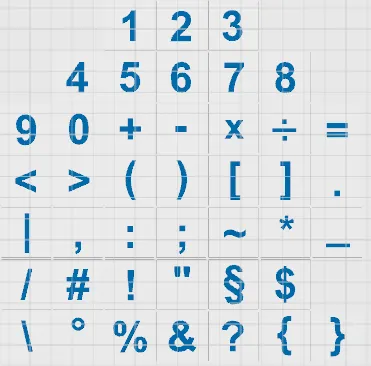
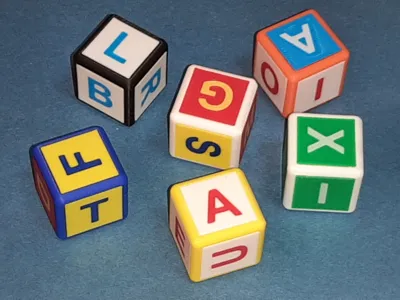
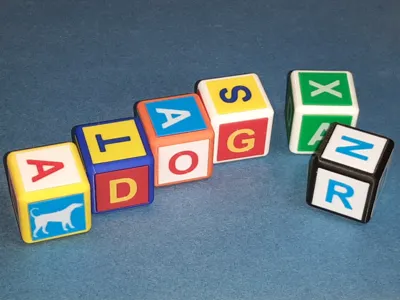
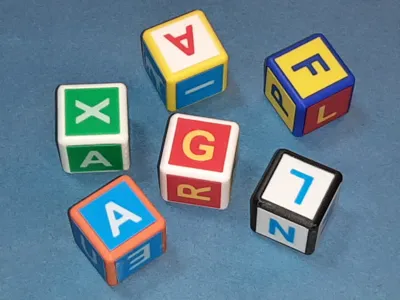
- The alphabet with small and capital letters
- The digits 0-9, arithmetic symbols, and other characters
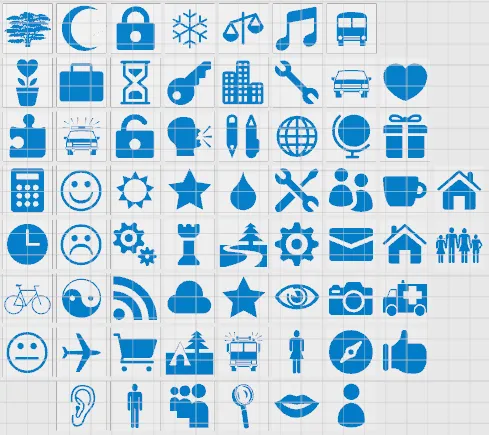
- Simple pictograms
- General symbols
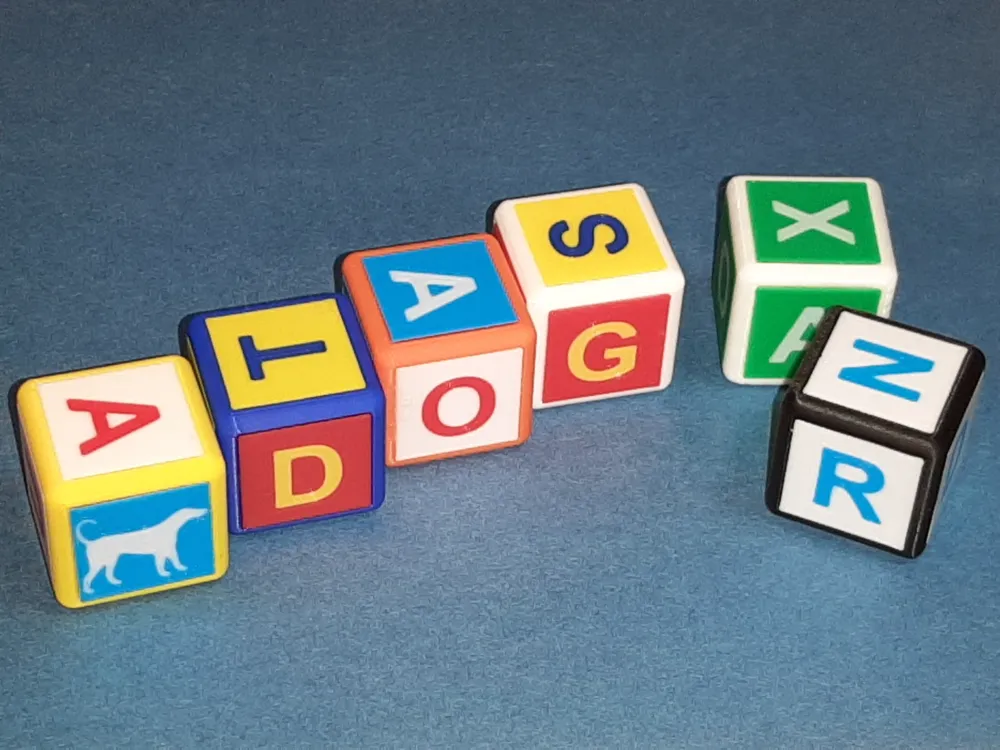
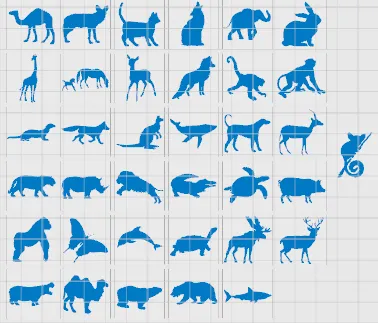
- Animals (excluding birds)
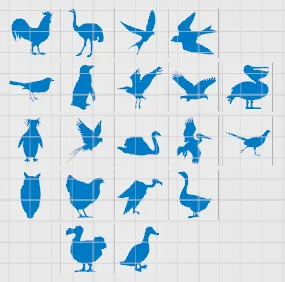
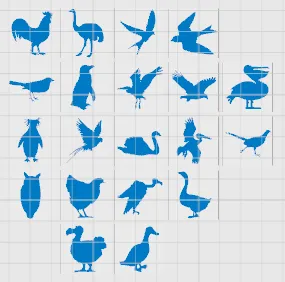
- Birds
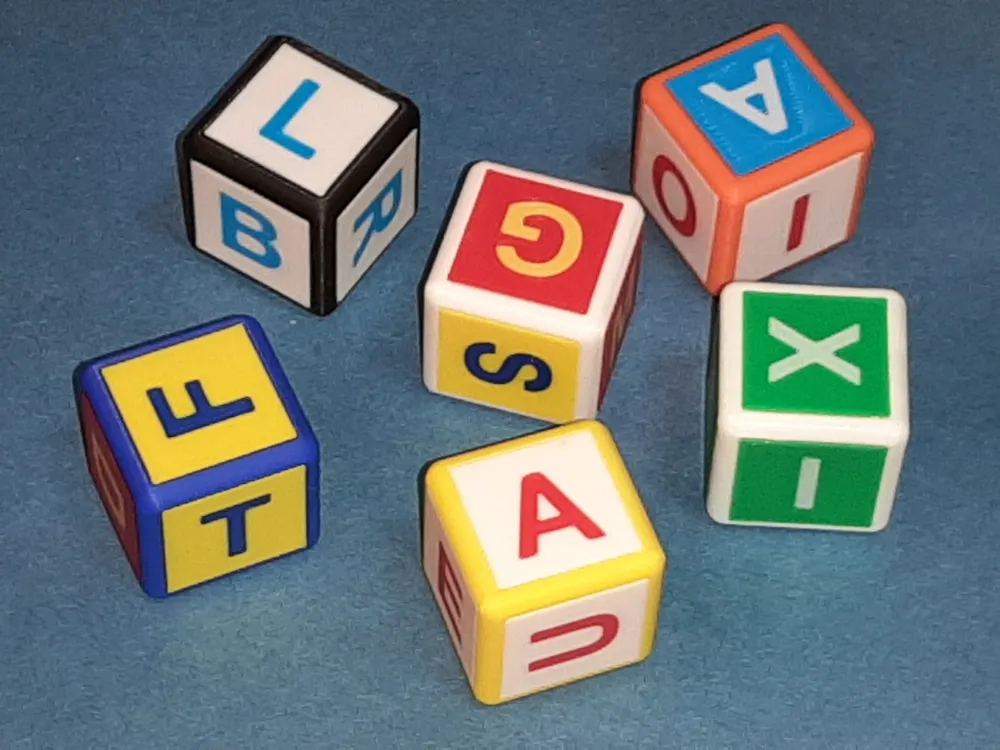
- All templates are prepared for two-color printing (with AMS). The first color is for the base body, the second color for the symbol)
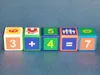
- The cube, which serves as a carrier for the 6 side panels, has an edge length of 3 cm.
- The individual tiles are glued into the prepared recesses. Since the tiles are quite stiff, a few drops of adhesive on the surface are sufficient. Precision is not necessary, as the bevels practically self-center the tiles.
- To keep the printing time relatively short despite multi-color printing, a few rules must be followed (these are actually self-evident for most, but should still be mentioned):
- Cubes are generally printed in one color.
- When printing the tiles for the cube sides, always print only identical color pairs – meaning only 2 different colors per printing process (only 4-6 color changes are then required).
- If all cube sides are to have different color combinations, then there must be as many printing processes as there are color combinations.
- If all this is taken into account, for 10 to 20 cubes, you will achieve approximately 30 minutes of printing time per cube, including the side tiles.
- Gluing on the tiles is an additional step, but does not take much time.
Enlargement can be carried out in the slicer as needed, but this can have significant effects on the printing time.
- Selection of Side Tiles for Printing
- Open the 3mf file containing all templates in the slicer ("Collection.3mf").
- Add one or more additional print beds (one per planned color combination).
- Duplicate the required tiles onto a new print bed (this always happens automatically on the active print bed).
- Assign colors (Color 1: Base color, Color 2: Symbol color).
- Save the file as a copy with a new name.
Before printing a print plate, set the color pair (vary for more variety).
- Add Side Tiles with Custom Content
- Other countries, other customs: Depending on the language, there will be many other requests regarding letters and accents alone.
- Customization is easy; I know this because I created all the letter tiles myself in the slicer exactly this way... and it works as follows:
- First, load the “Collections.3mf” print plate.
- Then create an additional print plate and copy one of my prepared tiles by duplicating it (e.g., the one with the capital letter “A”).
- ATTENTION: the characters are placed with the reading side down so that the texture of the print bed is adopted. This allows for nicer surfaces.
- Now duplicate as many parts as needed.
- INFO: when duplicating, the created copies are always placed on the active print bed.
- Then turn the print bed over. A lot of “A”s (from below) should now be visible.
- Switch from “Global” to “Objects”.
- Each tile consists of two objects: the base body and the text. The colors must be different.
- By clicking on the tile on the print bed, the tile is highlighted in color in the object list.
- Find this tile in the list and click on the corresponding text shape. The “old” letter is now selected for modification.
- Now select the text tool in the icon menu. The old settings are displayed:
- Size: 20.00 (can be changed)
- Thickness 0.05 (must be less than half the layer height)
- Embedded depth: 0.60 (means that with a 0.2mm layer height, the color is only introduced into layers 1 to 3)
- Enter text: replace the existing character with the new one.
- Verify placement.
- Done, proceed to the next tile.
Important: Before printing, set Quality/Wall Generator to “Arachne”
Assembly
- The tiles are glued into the recesses on the cube sides with a few drops of suitable adhesive.
- 3D Printing
The cube is placed on one side for printing. A recessed side surface must then be supported (my solution: manually set 9 points). The cube must then be separated from the print bed very carefully, otherwise the surface could be damaged. The surface must/can be reworked slightly if it is too high. After gluing on the tile, this is no longer visible.
- Material
- The material does not matter, but PLA is suitable.
| Content of “Collection.3mf” (bottom view) | |||
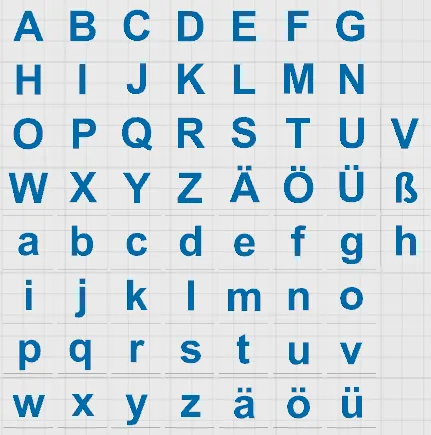
| 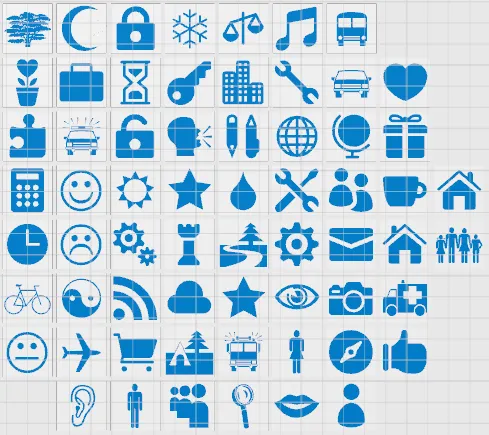 | ||
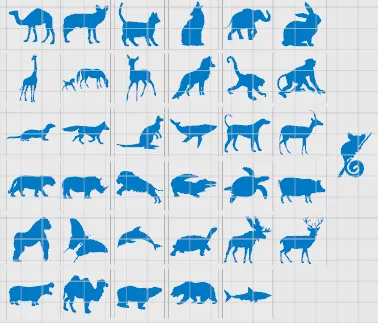 | 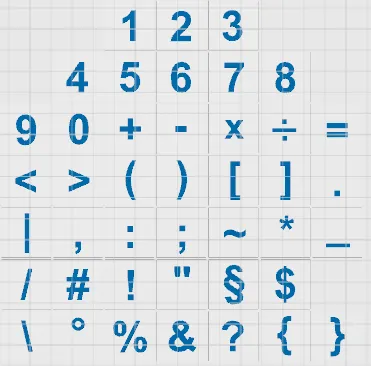 |  | |
English
- When I searched for letter blocks on the internet, I found some, but the printing times were beyond what I was willing to endure (more than 5 hours per cube was not uncommon).
- So I developed my own solution, which on the one hand prints much faster and on the other hand dispenses with any restrictive specifications.
- I prepared a print bed with approximately 220 tiles as templates, from which only the required tiles had to be selected:
- The alphabet with small and capital letters
- The digits 0-9, arithmetic symbols, and other characters
- Simple pictograms
- General symbols
- Animals (excluding birds)
- Birds
- All templates are prepared for two-color printing (with AMS). The first color is for the base body, the second color for the symbol).
- The cube, which serves as a support for the 6 side panels, has an edge length of 3 cm.
- The individual tiles are glued into the prepared recesses. Since the tiles are quite stiff, a few drops of adhesive on the surface are sufficient. Precision is not necessary, as the tiles are practically self-centering due to the bevels.
- To keep the printing time relatively short despite multi-color printing, a few rules must be followed (these are actually self-evident for most, but should still be mentioned):
- Cubes are generally printed in one color.
- When printing the tiles for the cube sides, always print only identical color pairs – meaning only 2 different colors per printing process (only 4-6 color changes are then required).
- If all cube sides are to have different color combinations, then there must be as many printing processes as there are color combinations.
- If all this is taken into account, for 10 to 20 cubes, it will take approximately 30 minutes to print each cube, including the side tiles.
- Gluing on the tiles is an additional step, but does not take much time.
Enlargement can be carried out in the slicer as required, but this can have a considerable effect on the printing time.
- Selection of Side Tiles for Printing
- Open the 3mf file containing all templates in the slicer ("Collection.3mf").
- Add one or more additional print beds (one for each planned color combination).
- Duplicate the required tiles to a new print bed (automatically always on the active print bed).
- Assign colors (Color 1: Base color, Color 2: Symbol color).
- Save the file as a copy with a new name.
Set the color pair before printing a print plate (vary for more variety).
- Add Side Tiles with Custom Content
- Other countries, other customs: Depending on the language, there will be many other requests regarding letters and accents alone.
- Customization is easy; I know this because I created all the letter tiles myself in the slicer exactly this way... and it works as follows:
- First, load the “Collections.3mf” print plate.
- Then create an additional print plate and duplicate one of my prepared tiles (e.g., the one with the capital letter “A”).
- ATTENTION: the characters are placed with the reading side down so that the texture of the print bed is adopted. This results in nicer surfaces.
- Now duplicate as many parts as required.
- INFO: when duplicating, the created copies are always placed on the active print bed.
- Then turn the print bed over. A lot of “A”s (from below) should now be visible.
- Switch from “Global” to “Objects”.
- Each tile consists of two objects: the base body and the text. The colors must be different.
- By clicking on the tile on the print bed, the tile is highlighted in color in the object list.
- Find this tile in the list and click on the corresponding text shape. The “old” letter is now selected for modification.
- Now select the text tool in the icon menu. The old settings are displayed:
- Size: 20.00 (can be changed)
- Thickness 0.05 (must be less than half the layer height)
- Embedded depth: 0.60 (means that with a 0.2mm layer height, the color is only introduced into layers 1 to 3)
- Enter text: replace the existing character with the new one.
- Verify placement.
- Done, proceed to the next tile.
Important: Before printing, set Quality/Wall Generator to “Arachne”
Assembly
- Glue the tiles into the recesses on the sides of the cube using a few drops of suitable adhesive.
- 3D Printing
The cube is placed on one side for printing. A recessed side surface must then be supported (my solution: manually set 9 points). The cube must then be separated from the print bed very carefully, otherwise the surface may be damaged. The surface must/can be reworked slightly if it is too high. However, this is no longer visible once the tile has been glued on.
- Material
- The material does not matter, but PLA is a good choice.
License

You shall not share, sub-license, sell, rent, host, transfer, or distribute in any way the digital or 3D printed versions of this object, nor any other derivative work of this object in its digital or physical format (including - but not limited to - remixes of this object, and hosting on other digital platforms). The objects may not be used without permission in any way whatsoever in which you charge money, or collect fees.


Comment & Rating (18)