
InfillLamp - Modular hexagon shaped lamp

Print Profile(1)

Bill of Materials

Description
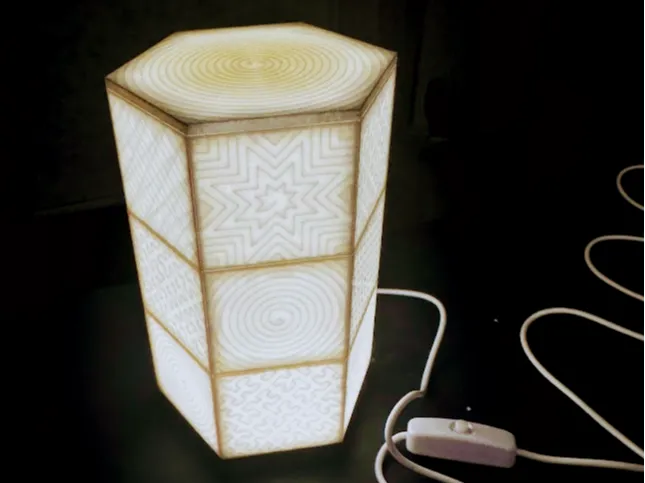
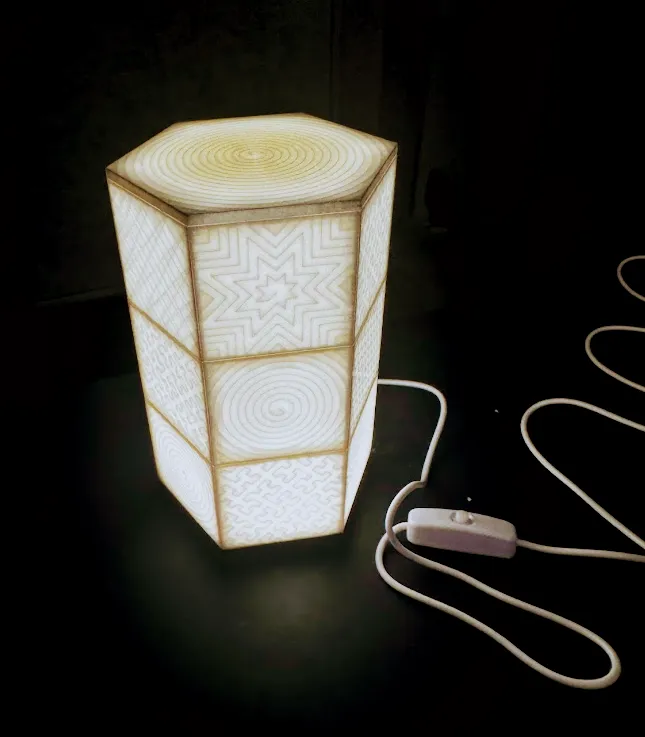
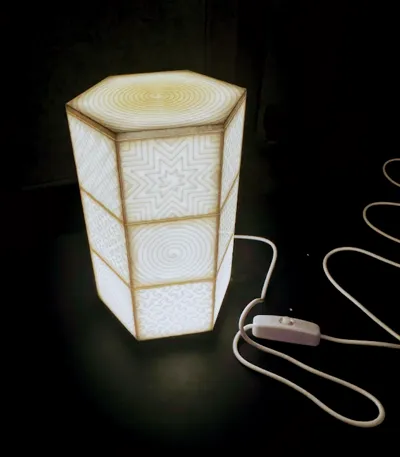
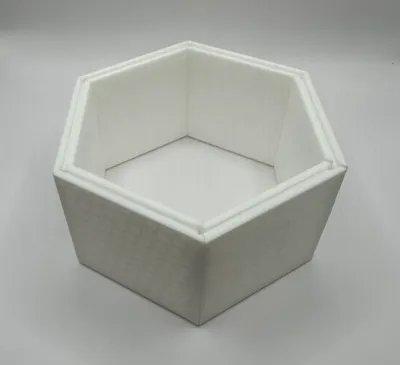
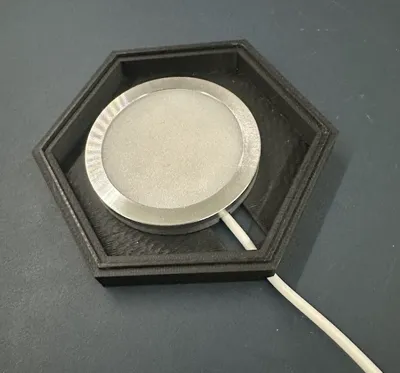
I wanted to create a lamp designed specifically for the LED Lamp Kit 001 that showcases the unique infill patterns available in Bambu Studio. My goal was to make something modular, easy to print, and simple to assemble. After some experimentation, this is the result… drumroll...
Say hello to InfillLamp!
Key Information
Print plate:
Use a cleaned!! smooth PEI plate for the best result on first layer (I used this: eu.store.bambulab.com/en-dk/products/bambu-3d-effect-plate)
Support Settings:
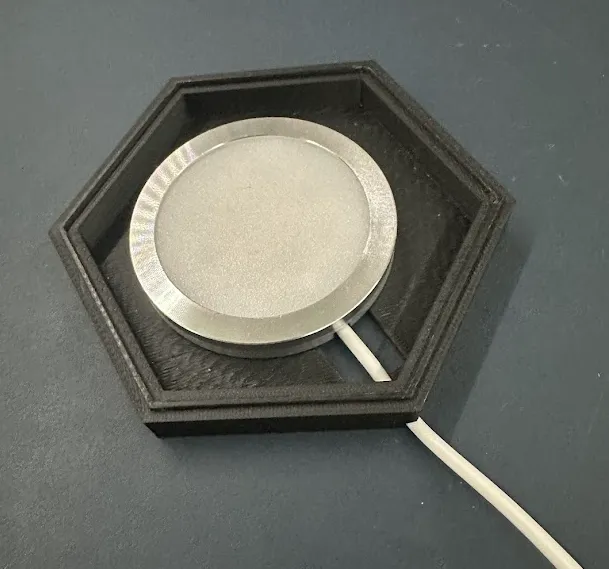
Some light support is included on the walls to ensure clean prints, but it can easily be removed post-printing. Use a pointy object (like the one shown below) to remove the supports effortlessly:
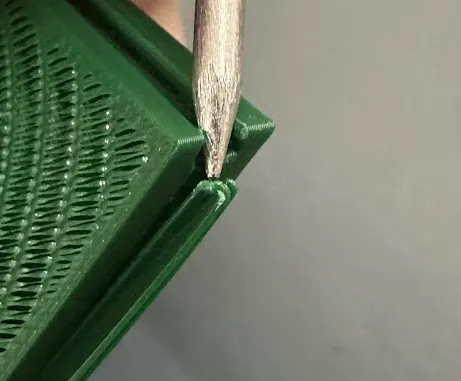
After various testing this is the settings that worked best and still was easy to remove:
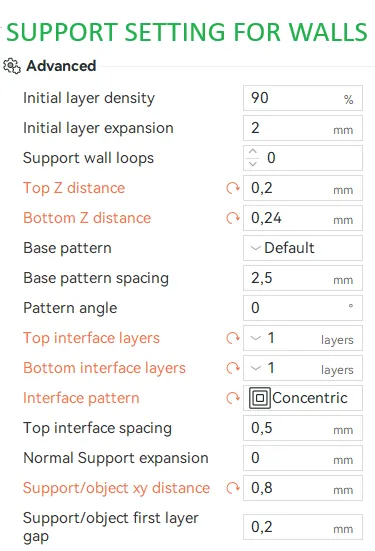
Top Shell Layers:
- For light-colored filaments, use 2 top shell layers to achieve a uniform finish.
- For dark-colored filaments, 1 top shell layer is recommended to let enough light pass through.
Just change it under global settings as it will only affect the walls. (The other parts have been configured per object)
Assembly Instructions:
- Secure the LED to the lamp base and guide the cable through the hole in the bottom.
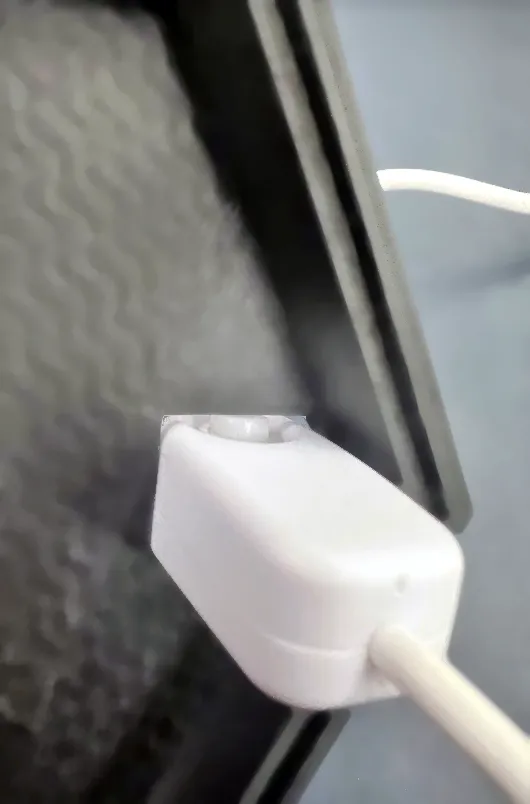
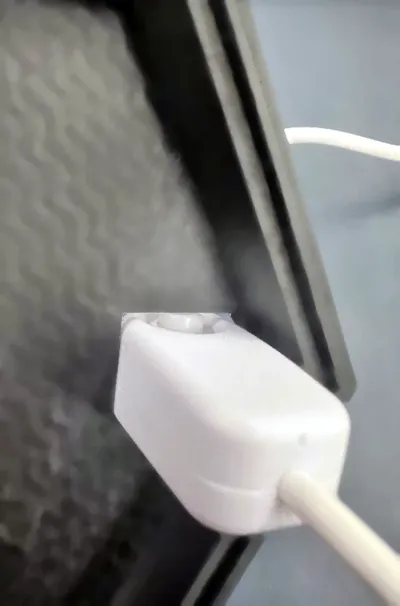
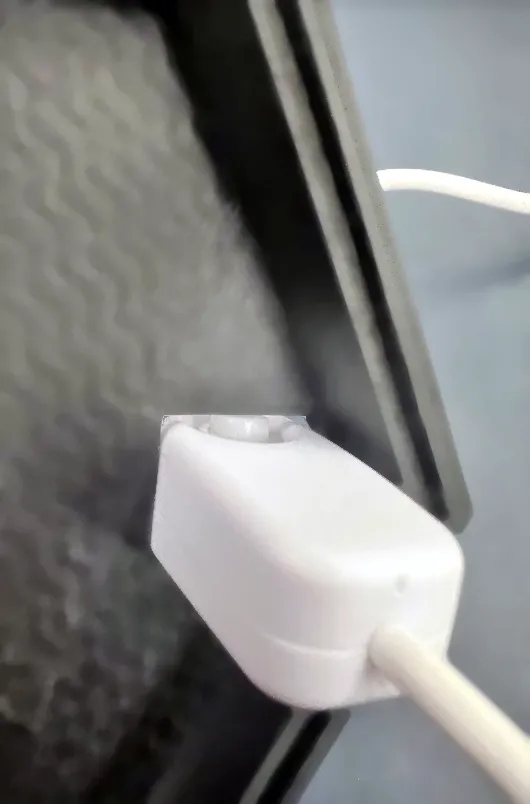
Insert the light switch through its designated hole by pressing in the button, as shown here:
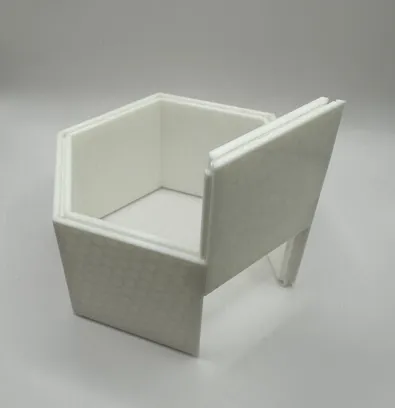
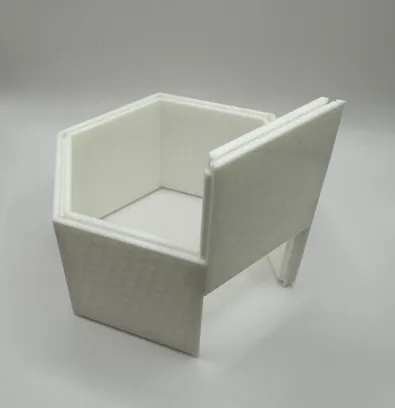
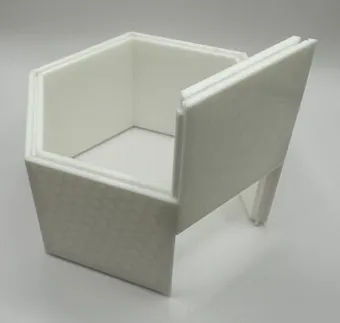
3. Slide the walls together, adding one at a time until only one wall is missing. Then secure both sides of that wall at the same time and gently push down. Here’s a picture that illustrates it:
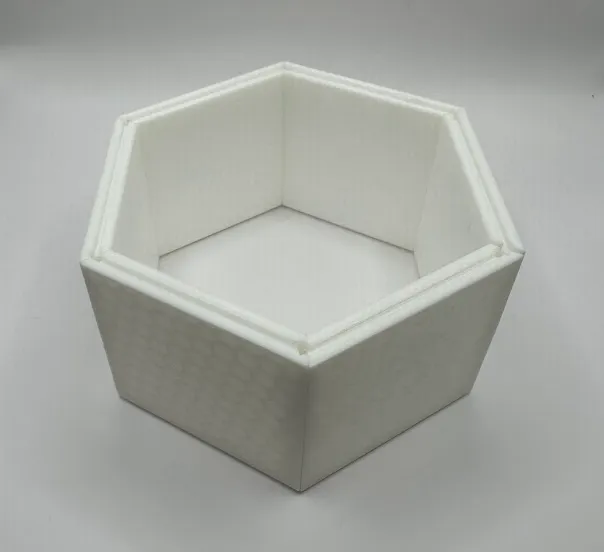
4. Place the assembled hexagonal piece with the recessed side facing up and attach the base to it. Press down firmly (but gently!) until there are no gaps. Once secured, it should hold together well. Finally, flip the lamp so the base is at the bottom.
5. To complete the assembly, either add another hexagonal piece on top or close it off with the lid, attaching it the same way as the base.
Printing Tips:
Feel free to use any color filament! I’ve tested the design with PLA Basic and PLA Galaxy, and both worked beautifully.
Once you’ve printed and assembled your InfillLamp, don’t forget to share your versions with the community. I’d love to see your unique creations!
Note: If you have ideas or requests for other lid variations, feel free to send me a message! 😊
Note 2: I made a custom lid that is made for displaying the Real looking XMAS TREE by nyx_nk - MakerWorld. Link for the lid is here: Christmas tree display lid for the InfillLamp by emilskibsted - MakerWorld
Boost Me (for free)
Lots of testing have been put in to this, so I would appreciate boost very much :D
License

You shall not share, sub-license, sell, rent, host, transfer, or distribute in any way the digital or 3D printed versions of this object, nor any other derivative work of this object in its digital or physical format (including - but not limited to - remixes of this object, and hosting on other digital platforms). The objects may not be used without permission in any way whatsoever in which you charge money, or collect fees.


Comment & Rating (0)