Search models, users, collections, and posts

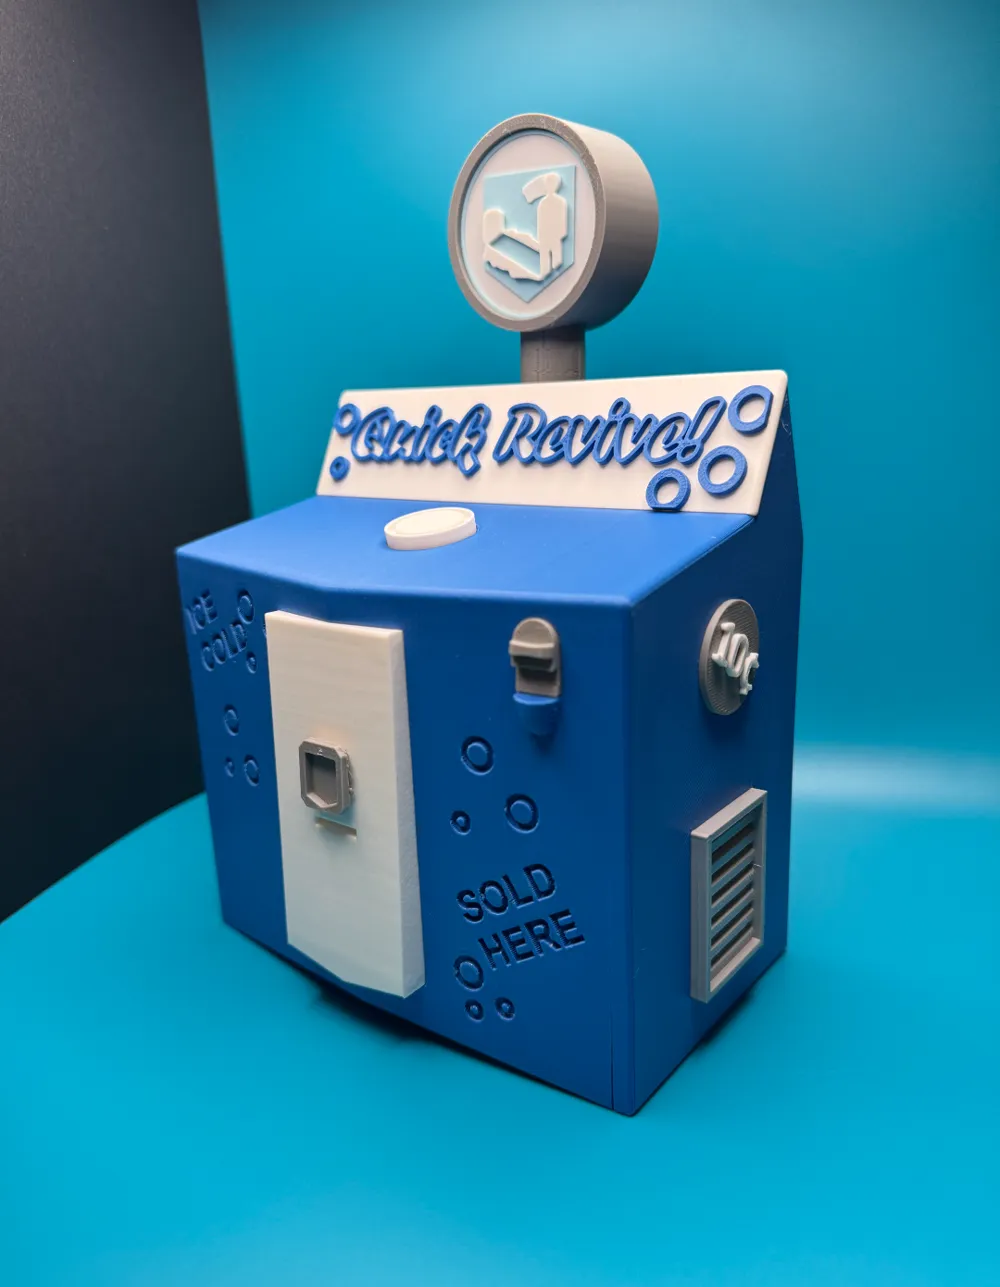
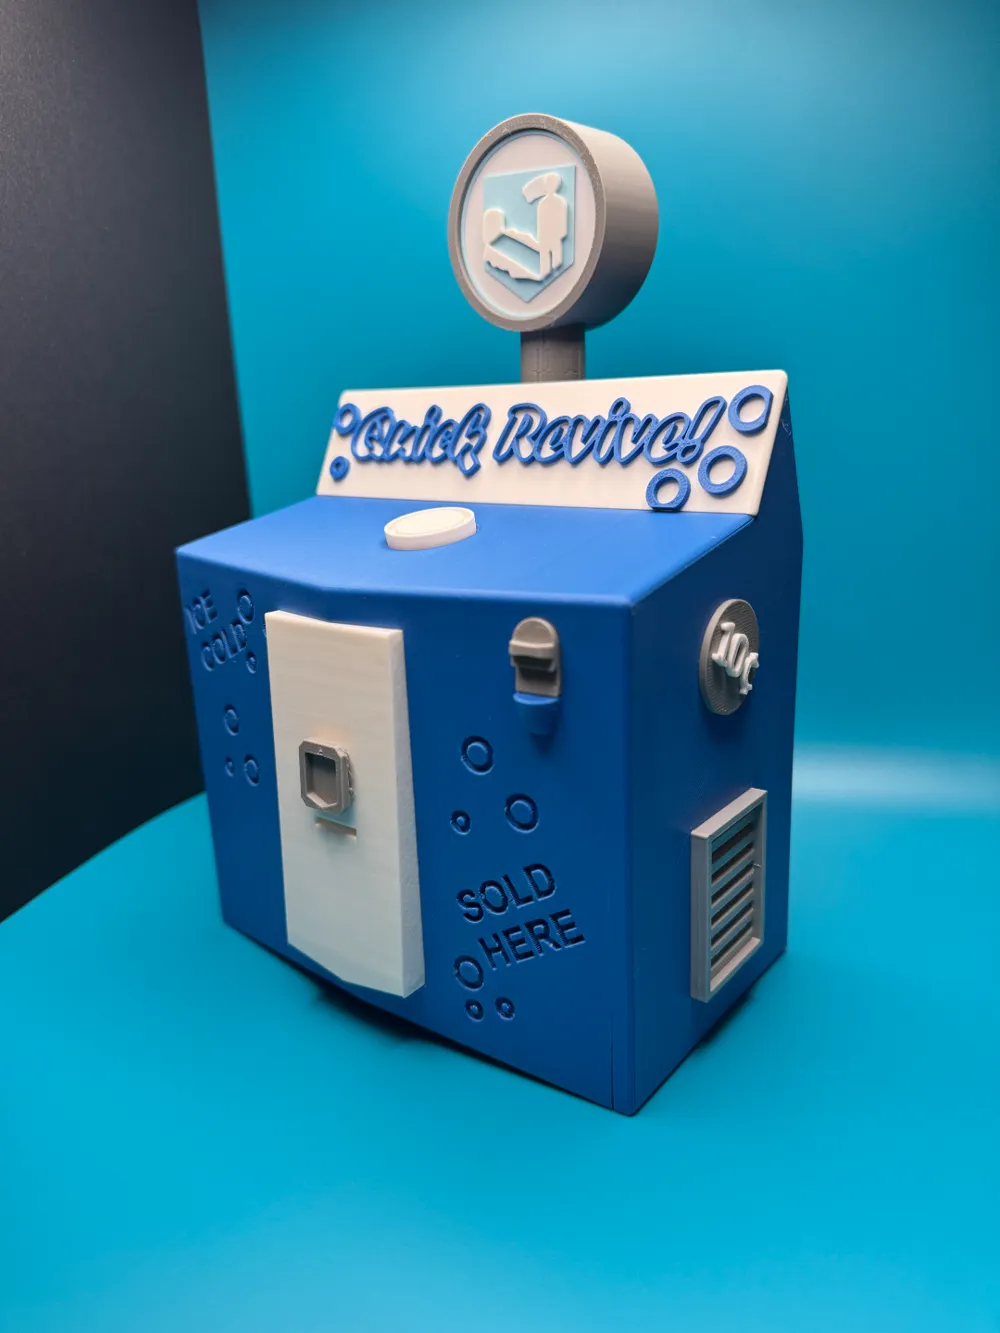
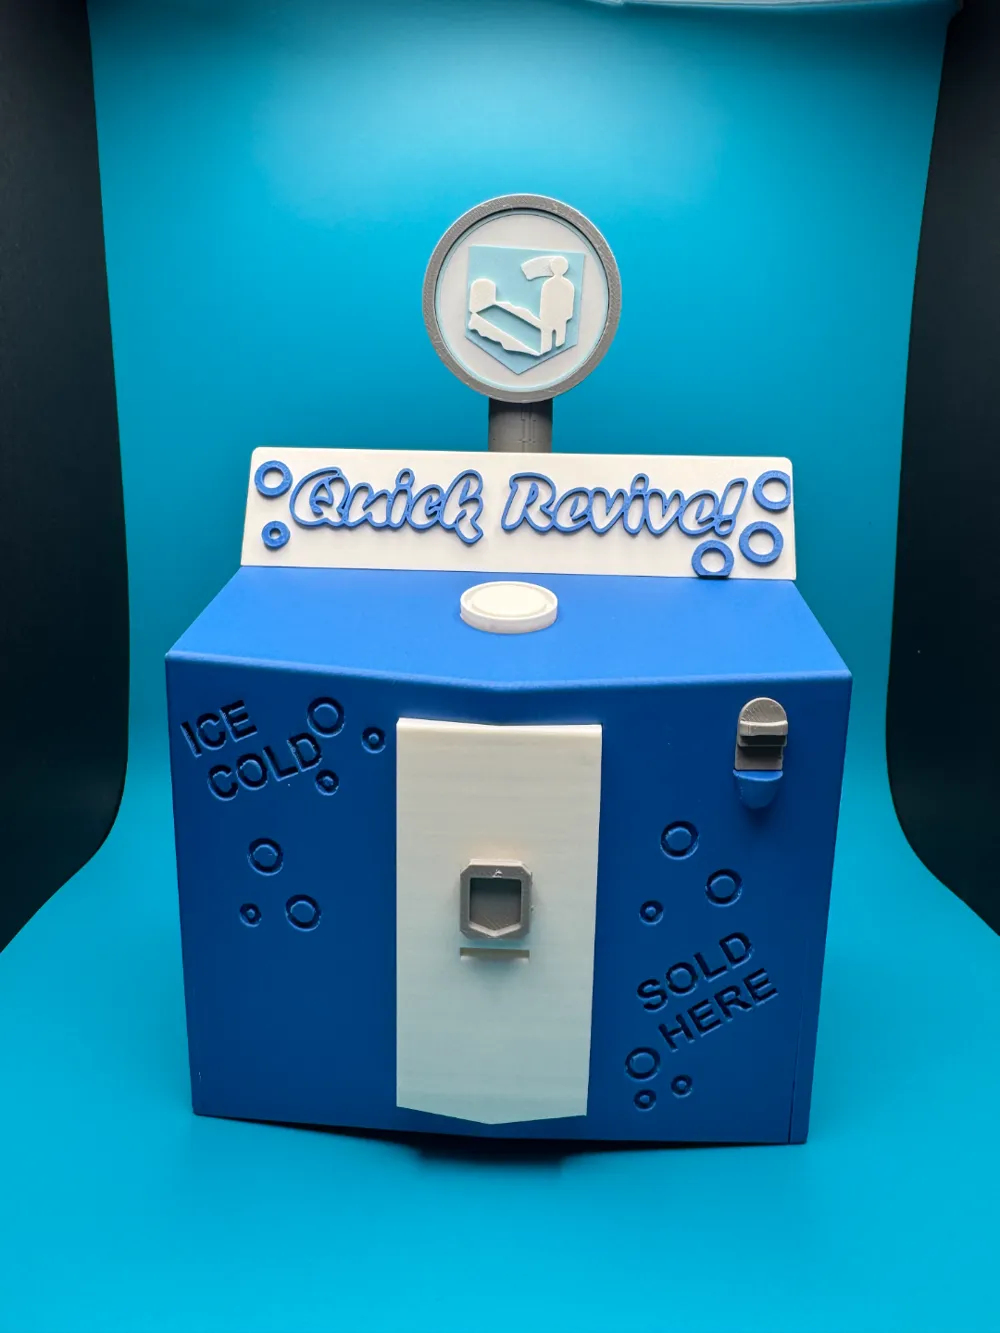
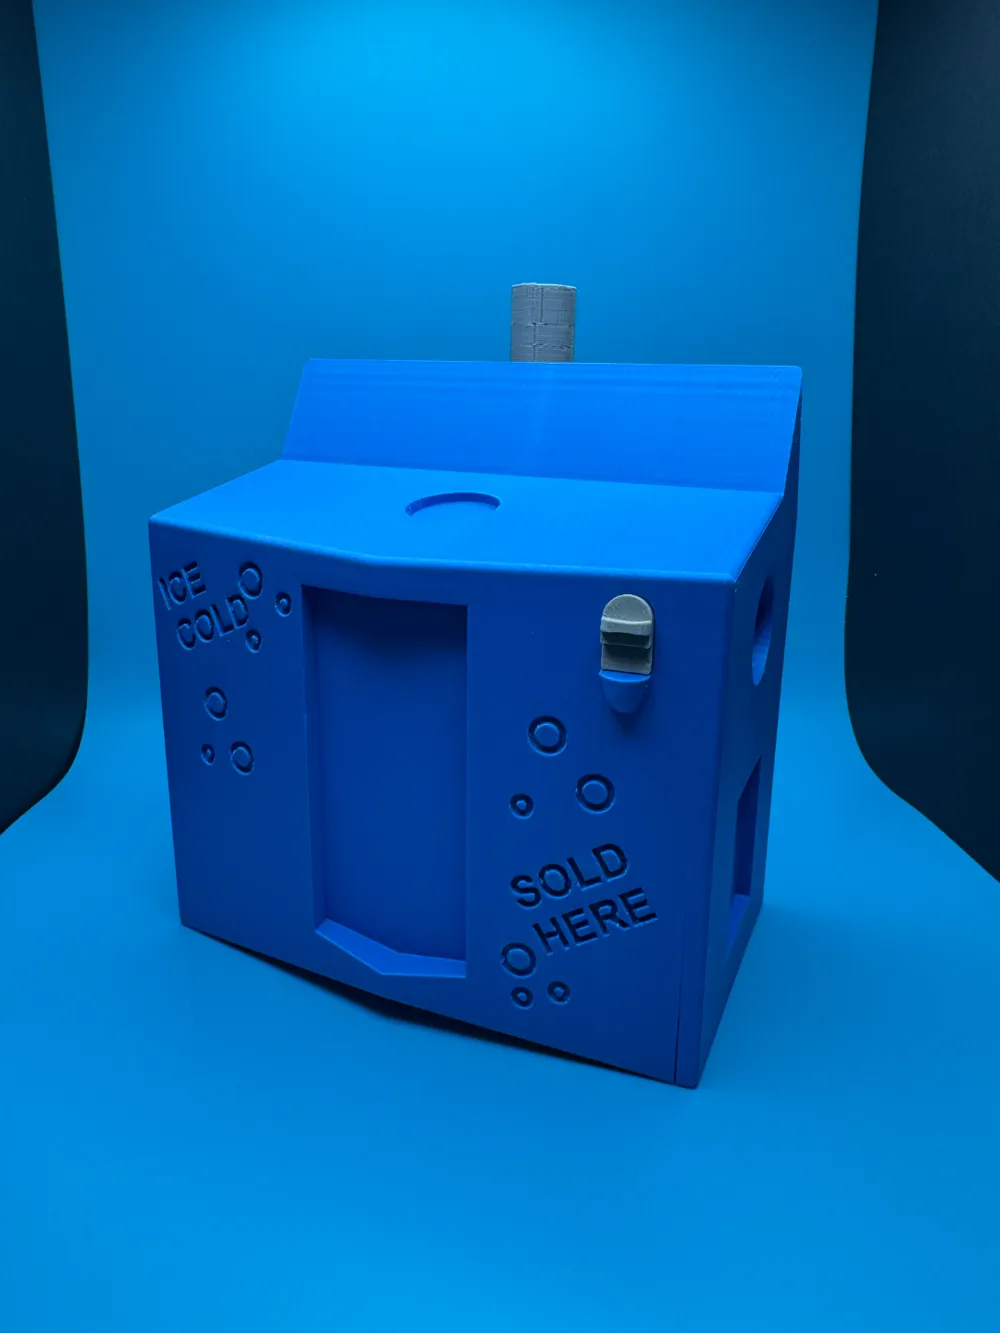
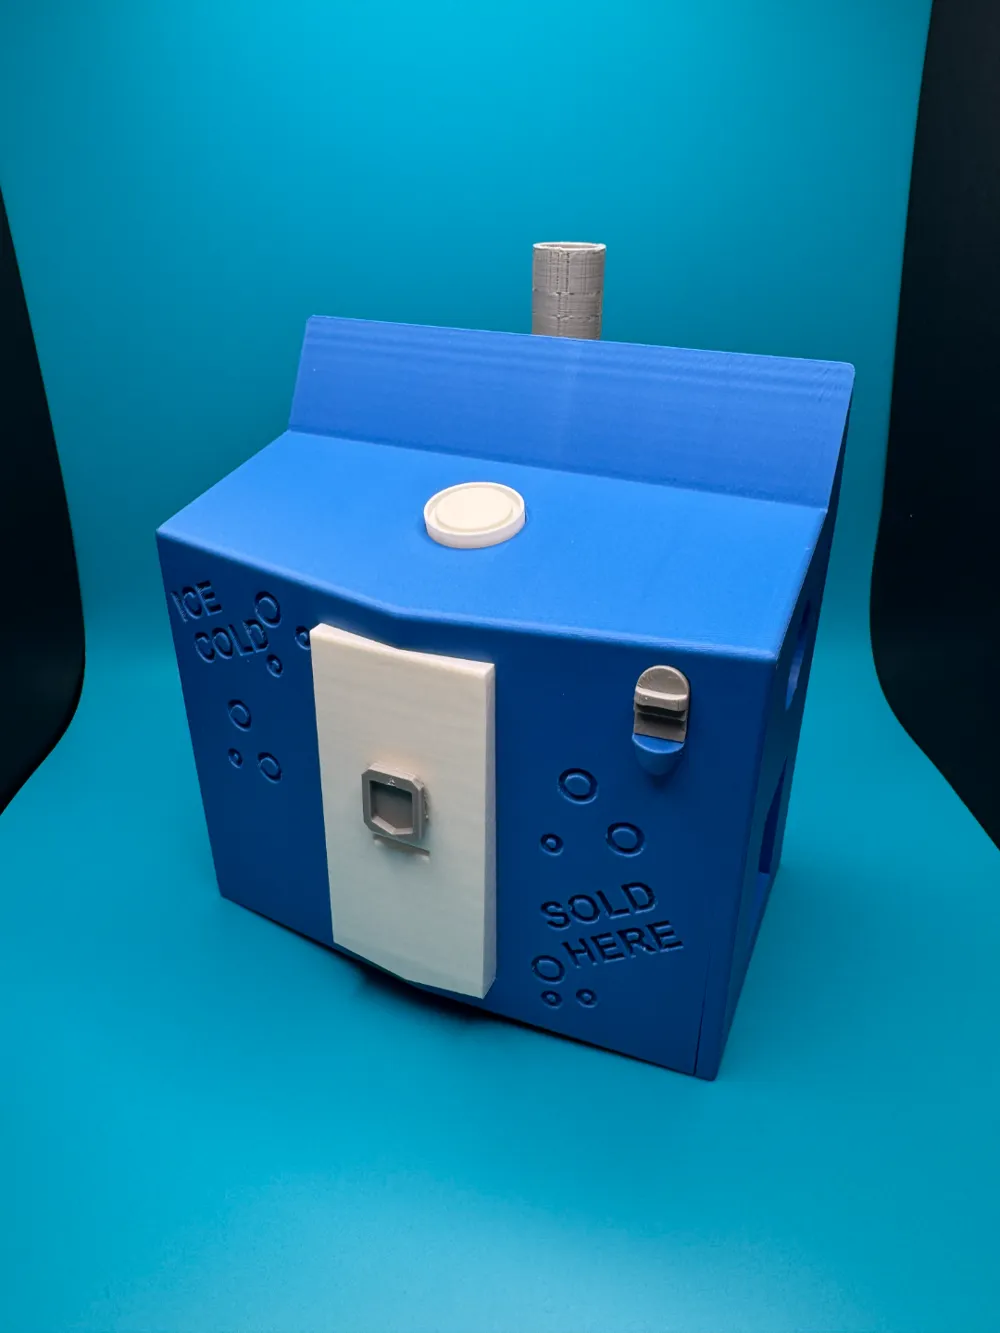
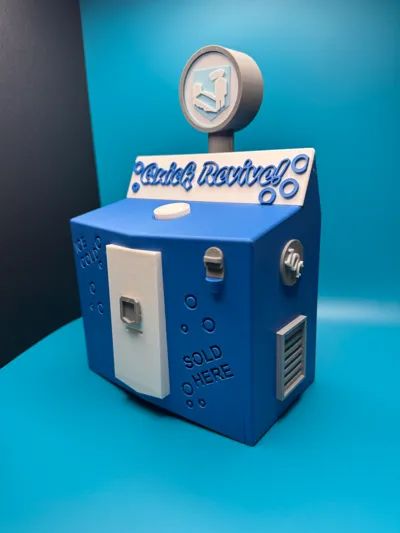
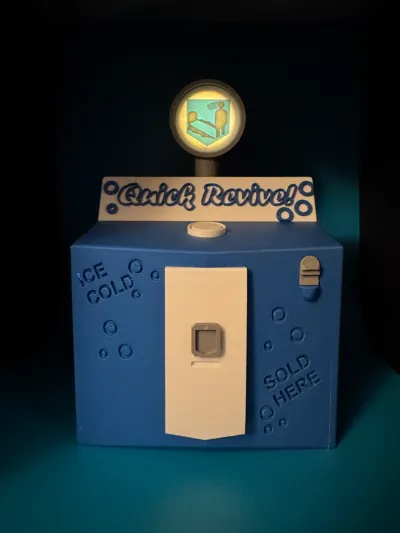
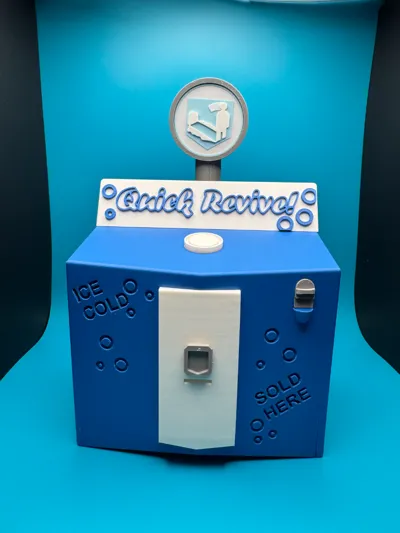
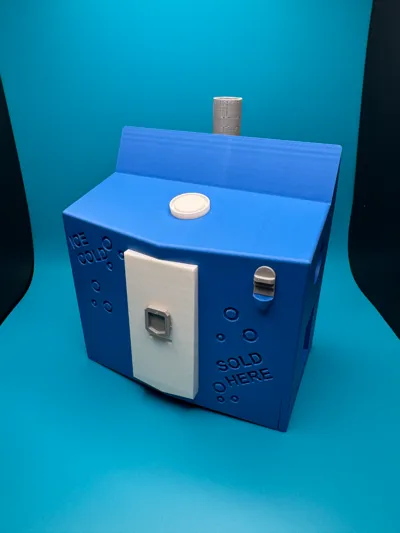
Quick Revive Machine
IP Report

Print Profile(2)

0.2mm layer, 2 walls, 15% infill
Designer
11.6 h
9 plates
0.2mm layer, 2 walls, 5% infill

11.7 h
9 plates
Open in Bambu Studio
Boost
829
1246
186
175
1.3 k
787
Released


Description
Interested in selling my models? Check out my Patreon for a commercial license!
Original Quick Revive Machine
Assembly is straightforward.
- Most parts are press-fit, but if any parts are loose, a small dab of glue will help.
- The Quick Revive logo will require glue to stay put.
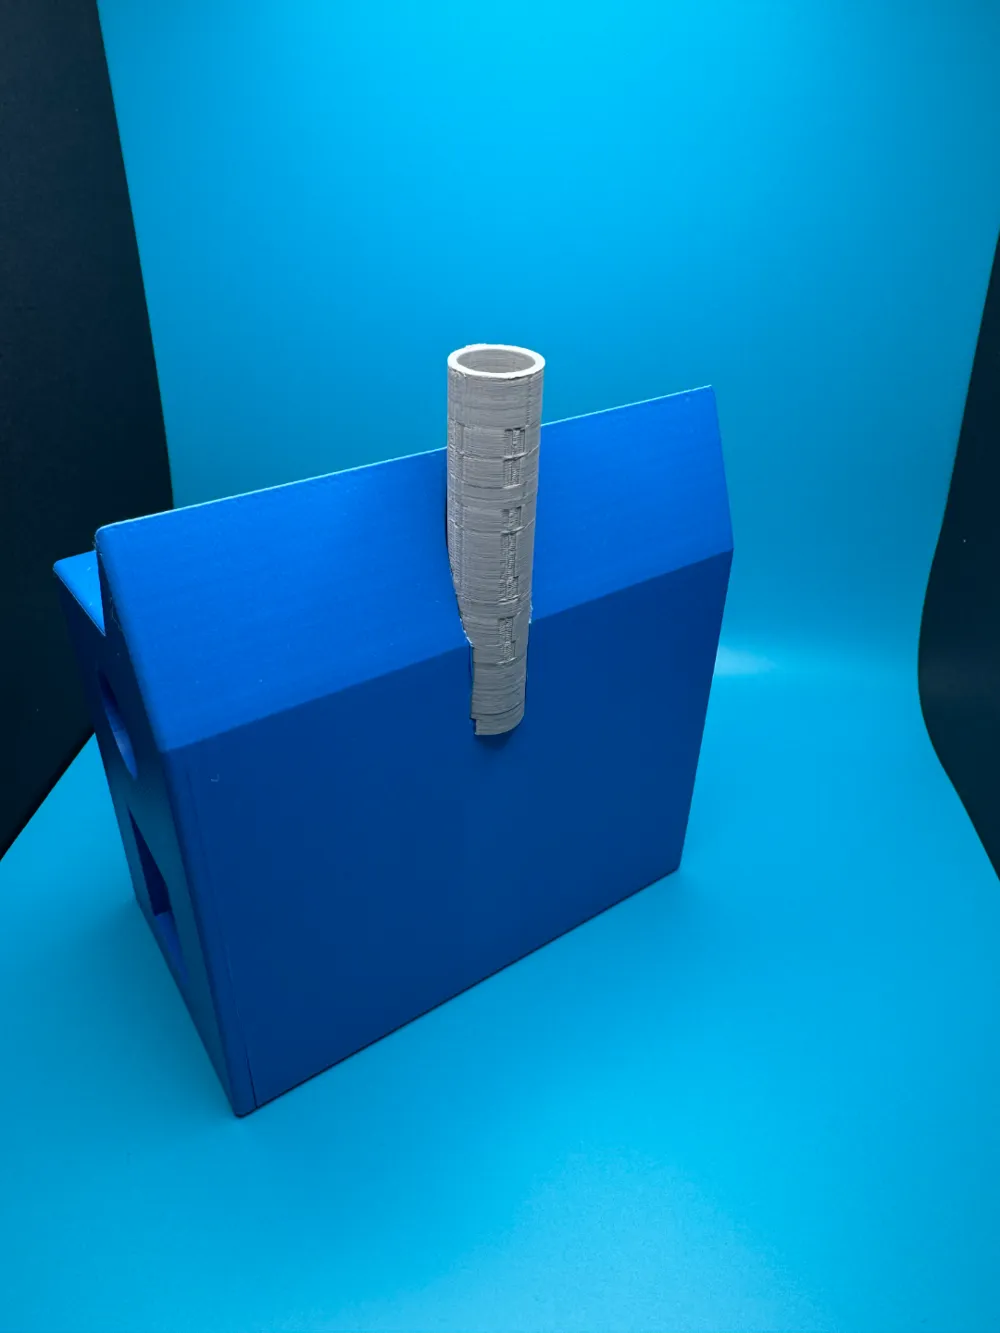
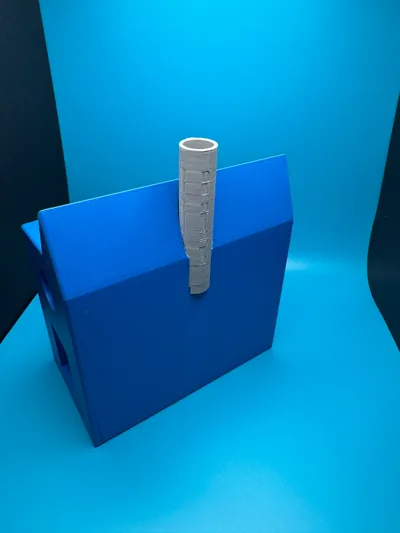
- The logo rod should slide into the hole on the back of the machine. If its tough to insert the logo rod make sure the supports are fully removed or give it some force.
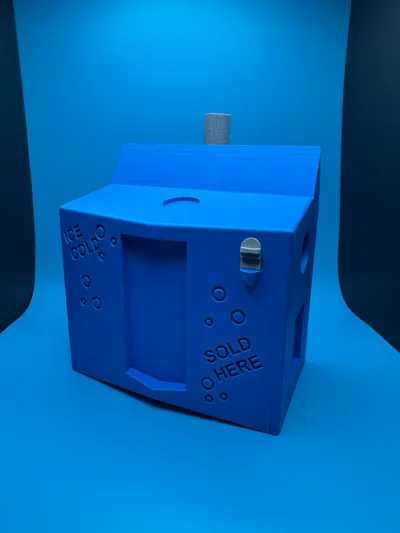
- The vents and 10 cents attach to both sides of the machine.
- The “centerpiece” should also be press-fit. However, if it is loose, a small dab of glue will help.
- The bottom part should slide into the machine and sit flush with the “feet” of the machine. If the bottom part is difficult to slide into the machine, be careful as you may damage the main body.
- Supports are the lettering, which is a bit tough to remove. I suggest using my print profile for the best results. You can also turn off supports for the lettering but I have not tested that myself.
- All parts are colored for the multicolored design. Printing in multiple colors is not required, making the parts look much nicer.
- If you have issues with a press fit part, please remove the supports fully.
- Happy printing!
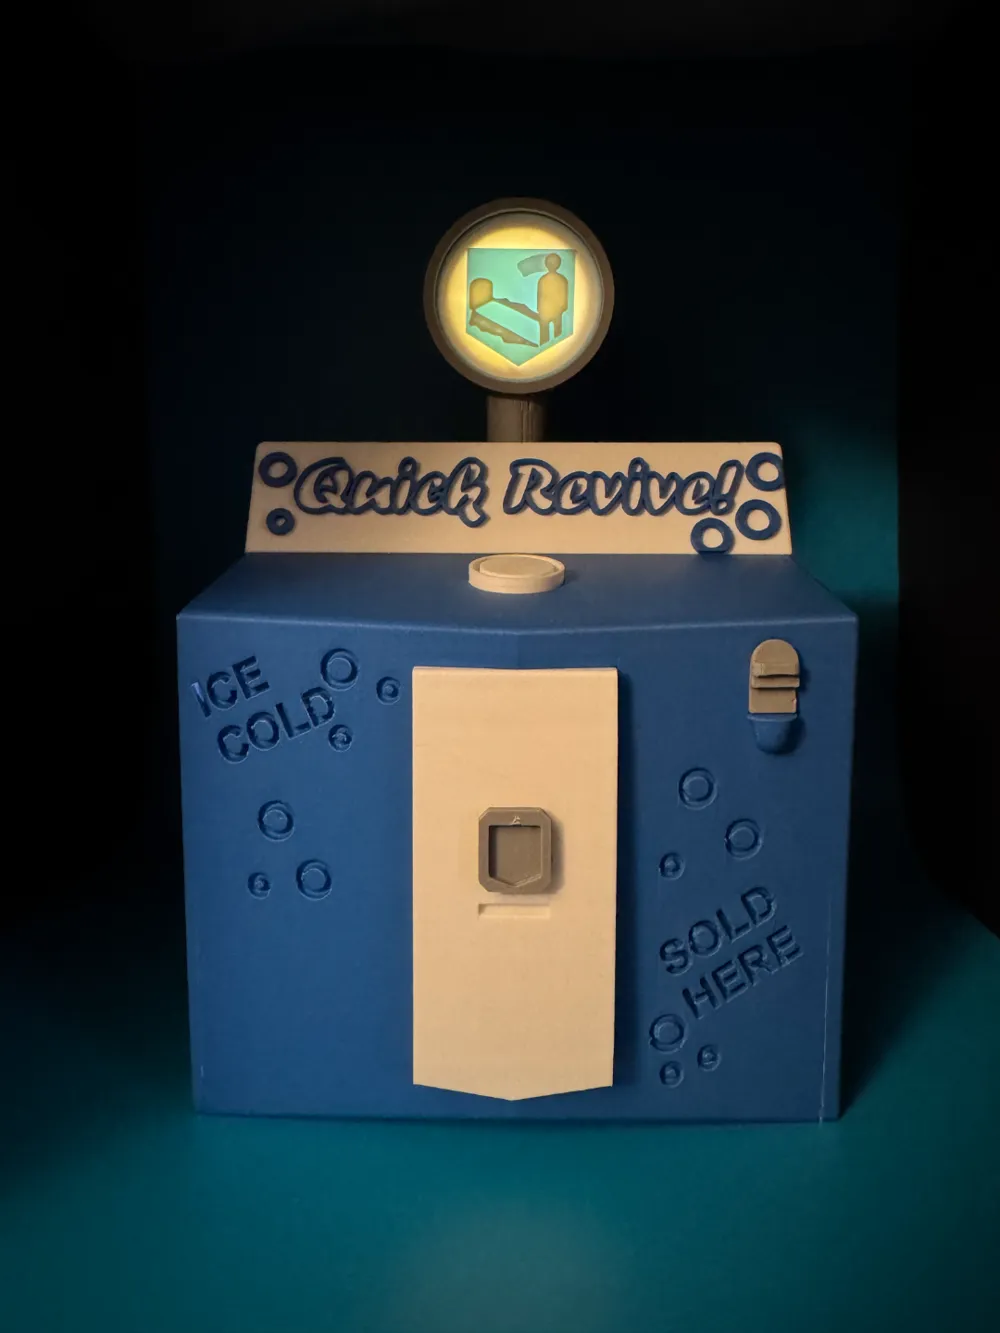
I added an opening behind the main body for this model to allow for LED wiring.
I added a hole that leads to the Quick Revive housing for LEDs as well.
License

This user content is licensed under a Standard Digital File License.
You shall not share, sub-license, sell, rent, host, transfer, or distribute in any way the digital or 3D printed versions of this object, nor any other derivative work of this object in its digital or physical format (including - but not limited to - remixes of this object, and hosting on other digital platforms). The objects may not be used without permission in any way whatsoever in which you charge money, or collect fees.


Comment & Rating (186)